Installing Pinned Pistons in Hudson Engine

BigSky
Senior Contributor
I’ve been talking to friends about installing the Hudson 4 ring (original) pistons with the NOS Hudson set of pinned rings. My question is what method have others found that works well for them?
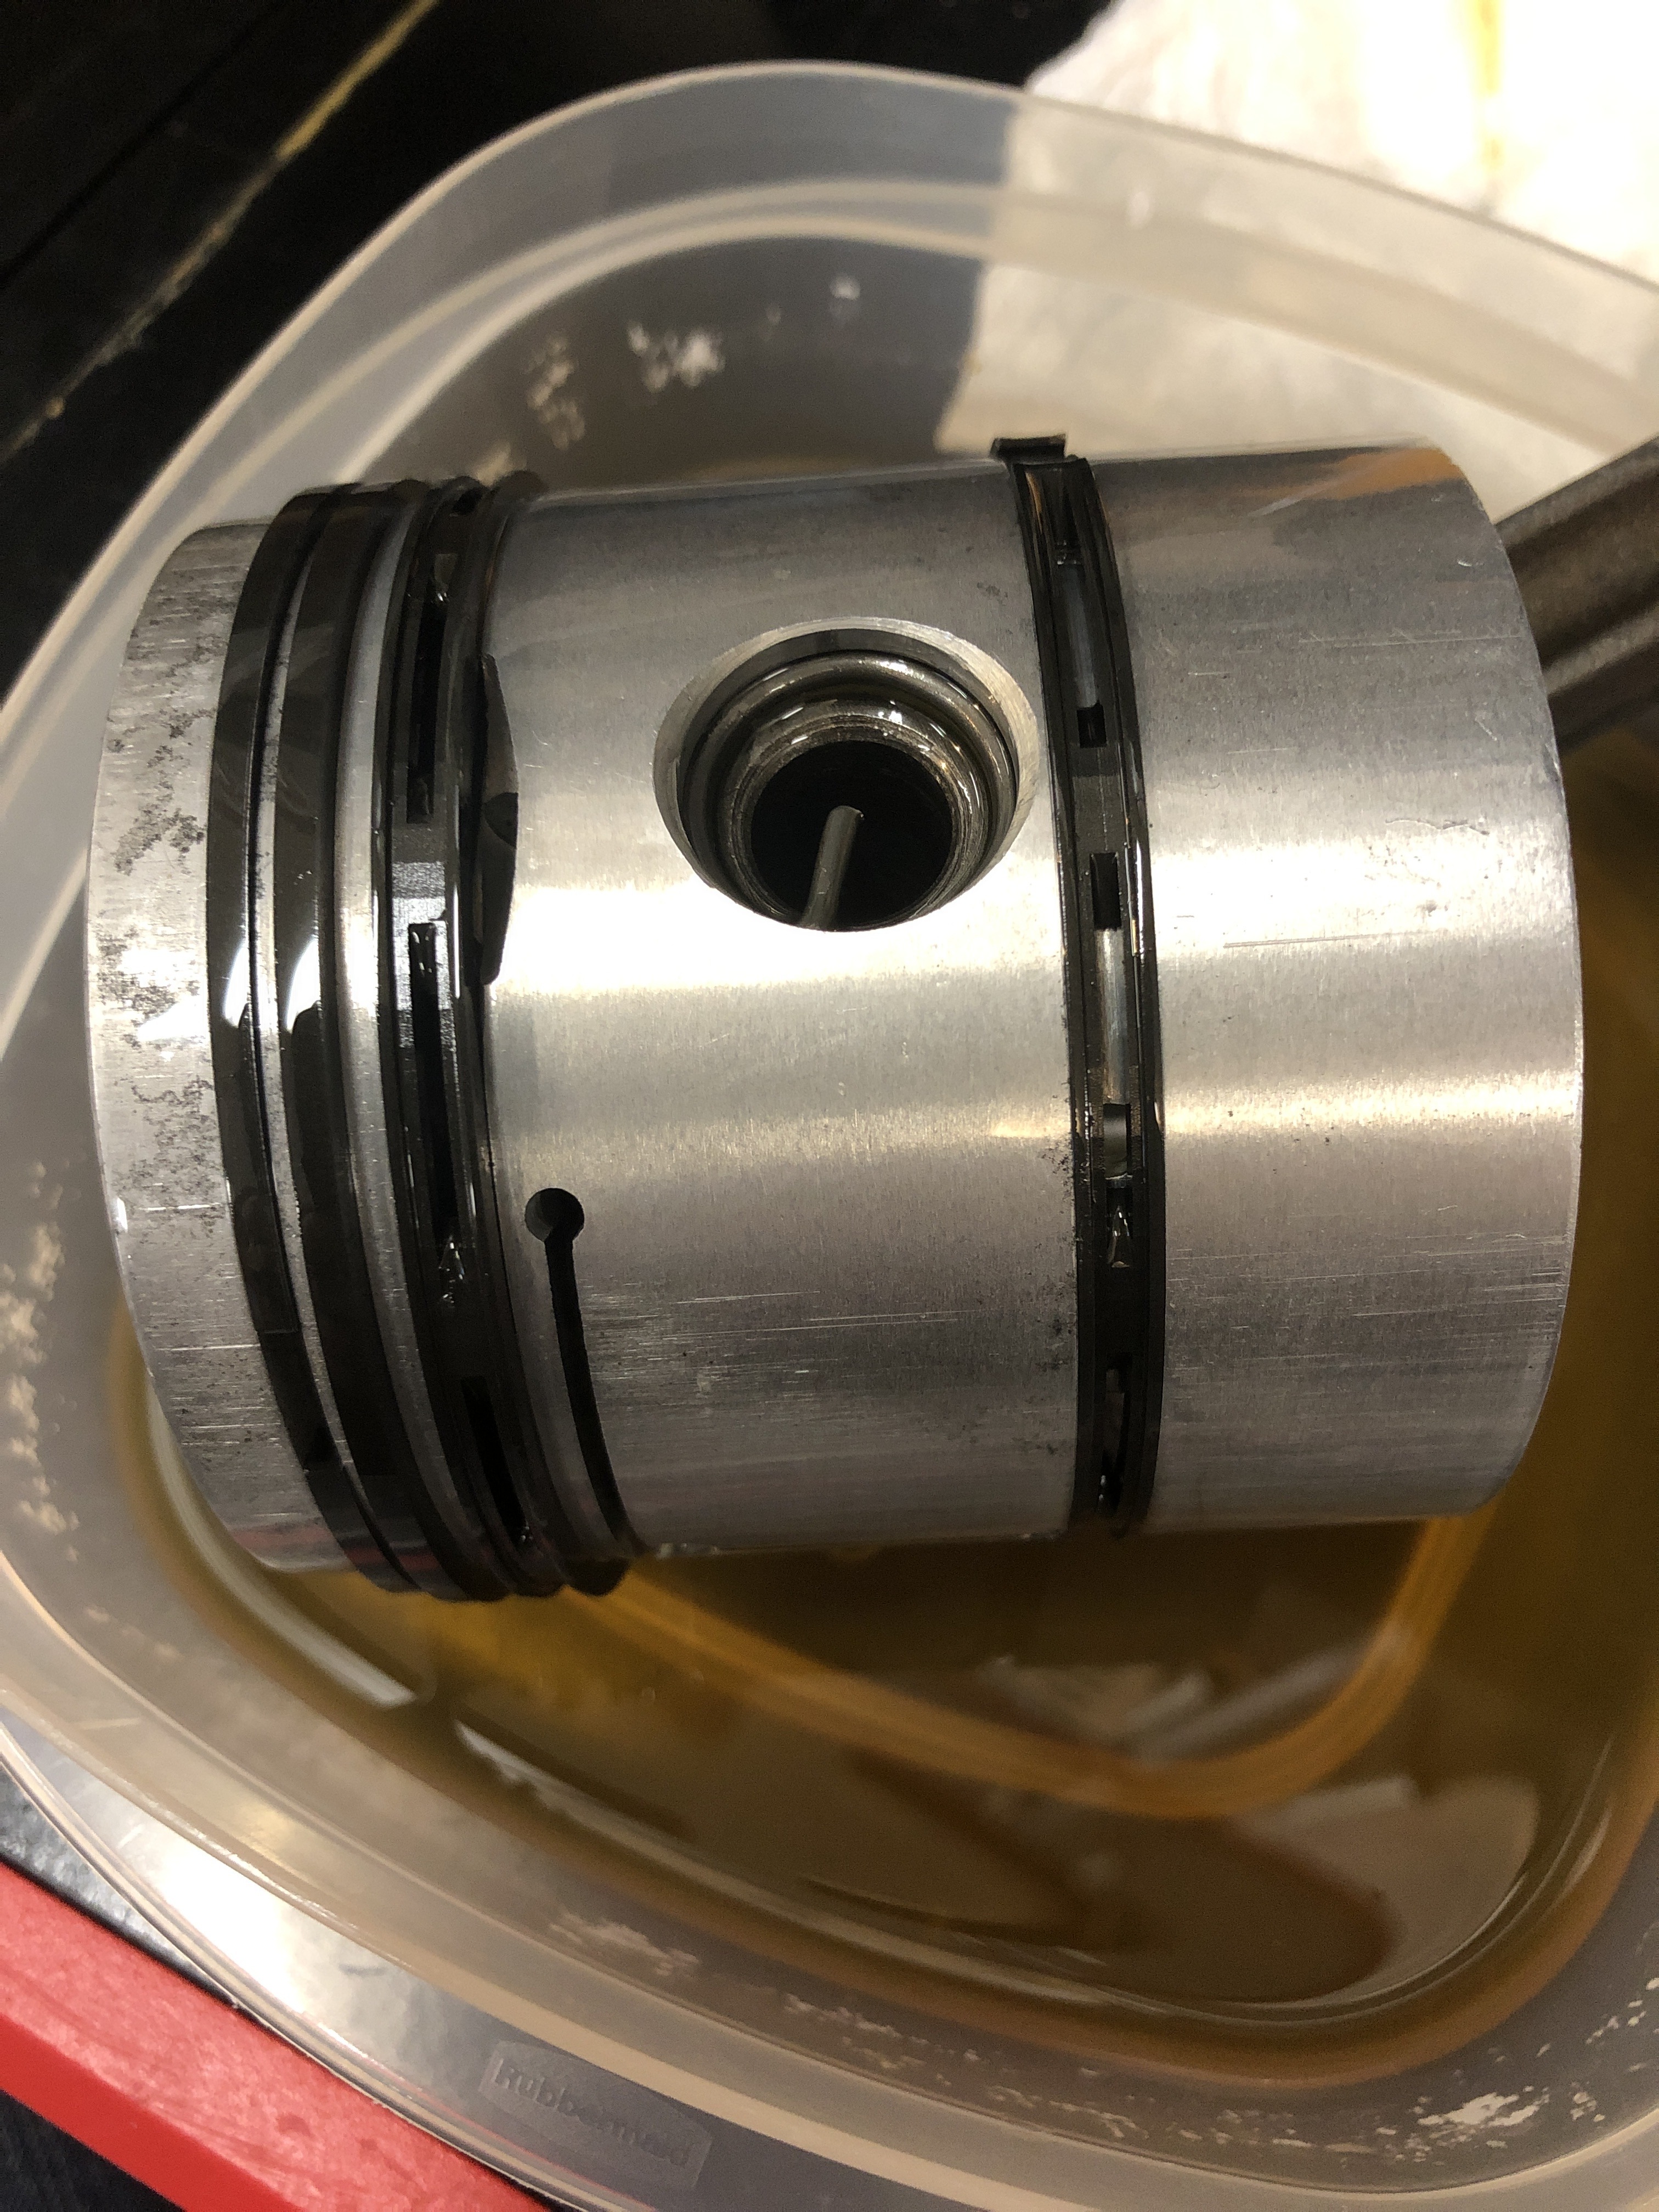
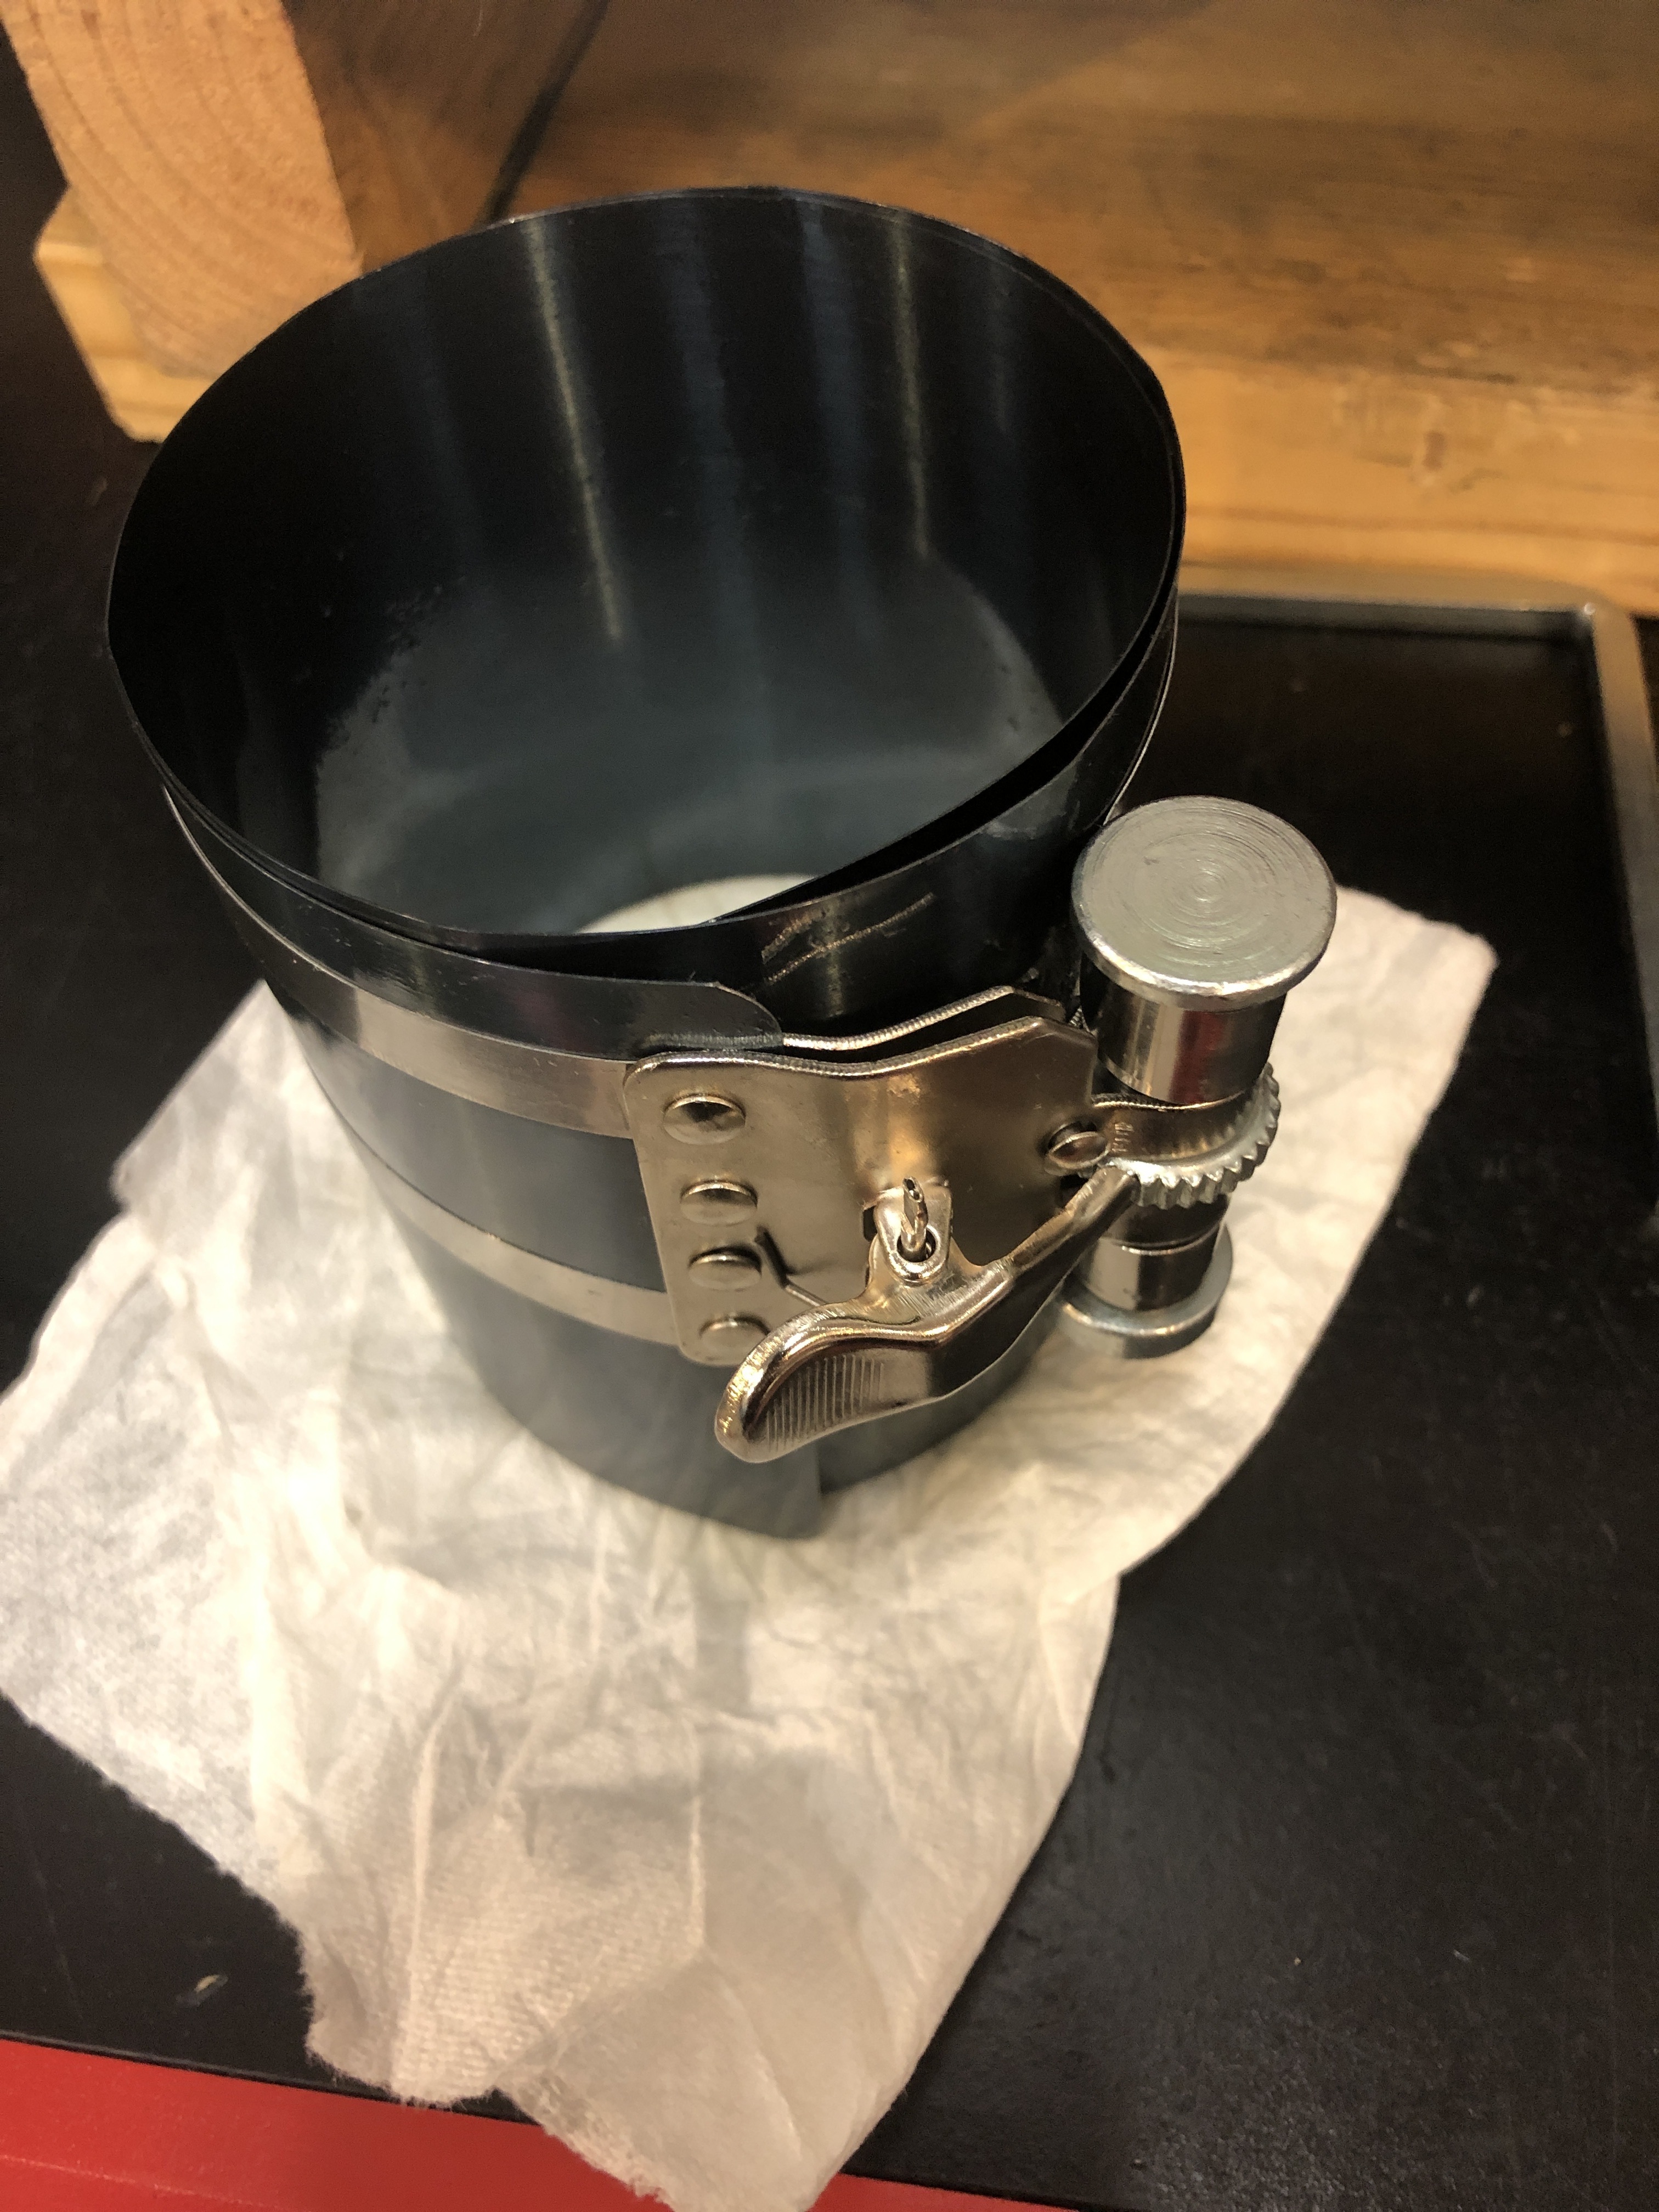
I’m using the standard 4” Piston ring compressor tool picked up at harbor freight. My main concern is damaging the rings in this process, especially breaking the ring at the pin area where it’s the most fragile. The original rings on my 37 Hudson didn’t have the ring expanders where the replacement rings do. I’ve installed all the rings & expanders on one piston already & gave it a soak in oil, so I believe I’m ready to try installing one.
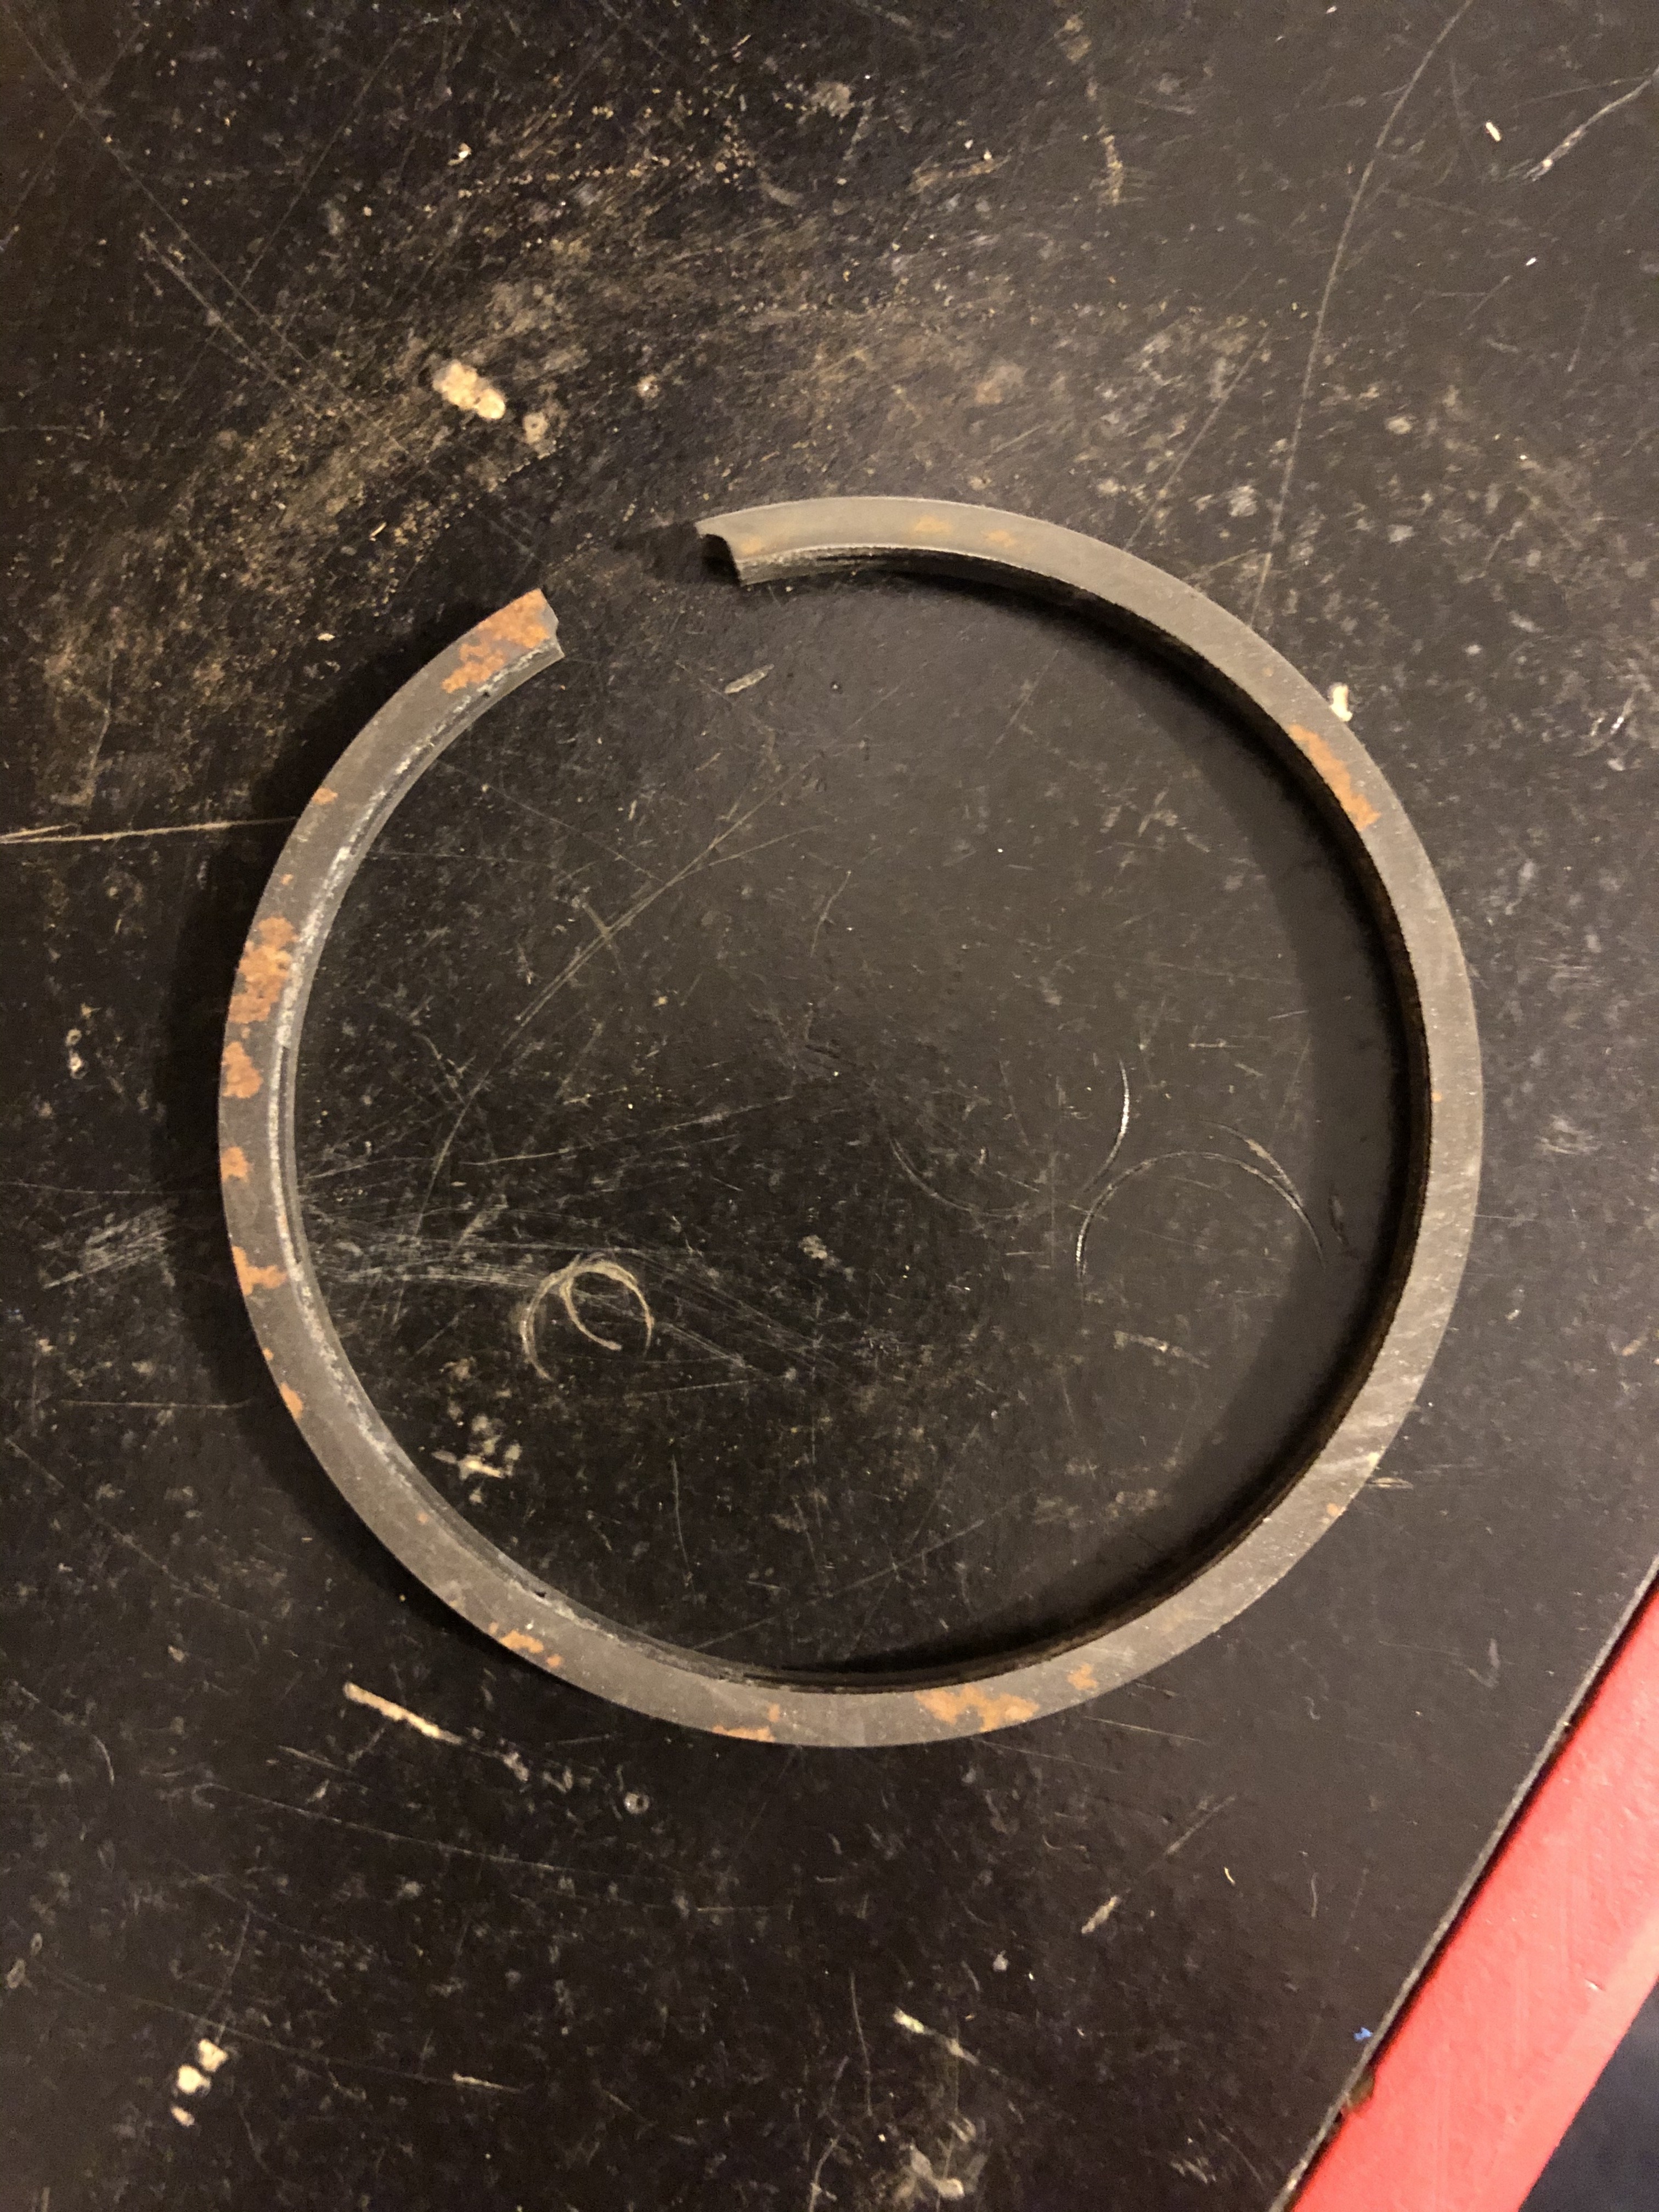
One last question on the NOS iron rings there was a little bit of rust. One friend suggested I leave it another to remove it, so I used some 1000 grit sandpaper to at least knock it down some. What do others do with some rust on the rings?
0
Comments
-
Just completed this activity. Scotch bright the rusty rings. Make sure your ring gaps are correct, the ring gaps are away from the valve pocket when the piston is inserted in the cylinder. Tap the piston down into the cylinder, retighten the compressor, watch carefully for the bottom ring to be sure it does not hang on the valve relief. Tap carefully watching for each ring set and tightening as the piston goes into the bore. Good luck0
-
Glowplug, how do you set up the rings as your inserting the piston in the tool? I mean do you put the whole piston in the tool then tighten it or do you slide the piston in the tool fairly tight, compressing each ring as it is slid into the tool or something else?
If I remember right, the “T” slot is away from the valves?0 -
Place all rings on the piston so that the gaps are away from the valve relief tighten the compressor and begin piston insertion. Gaps are spaced to keep them non aligned. I made sure the compressor set flat in the valve relief as well as the deck. I used assembly lube in the cylinder and ring compressor. Slow and steady. Any resistance on piston taps = problem!0
-
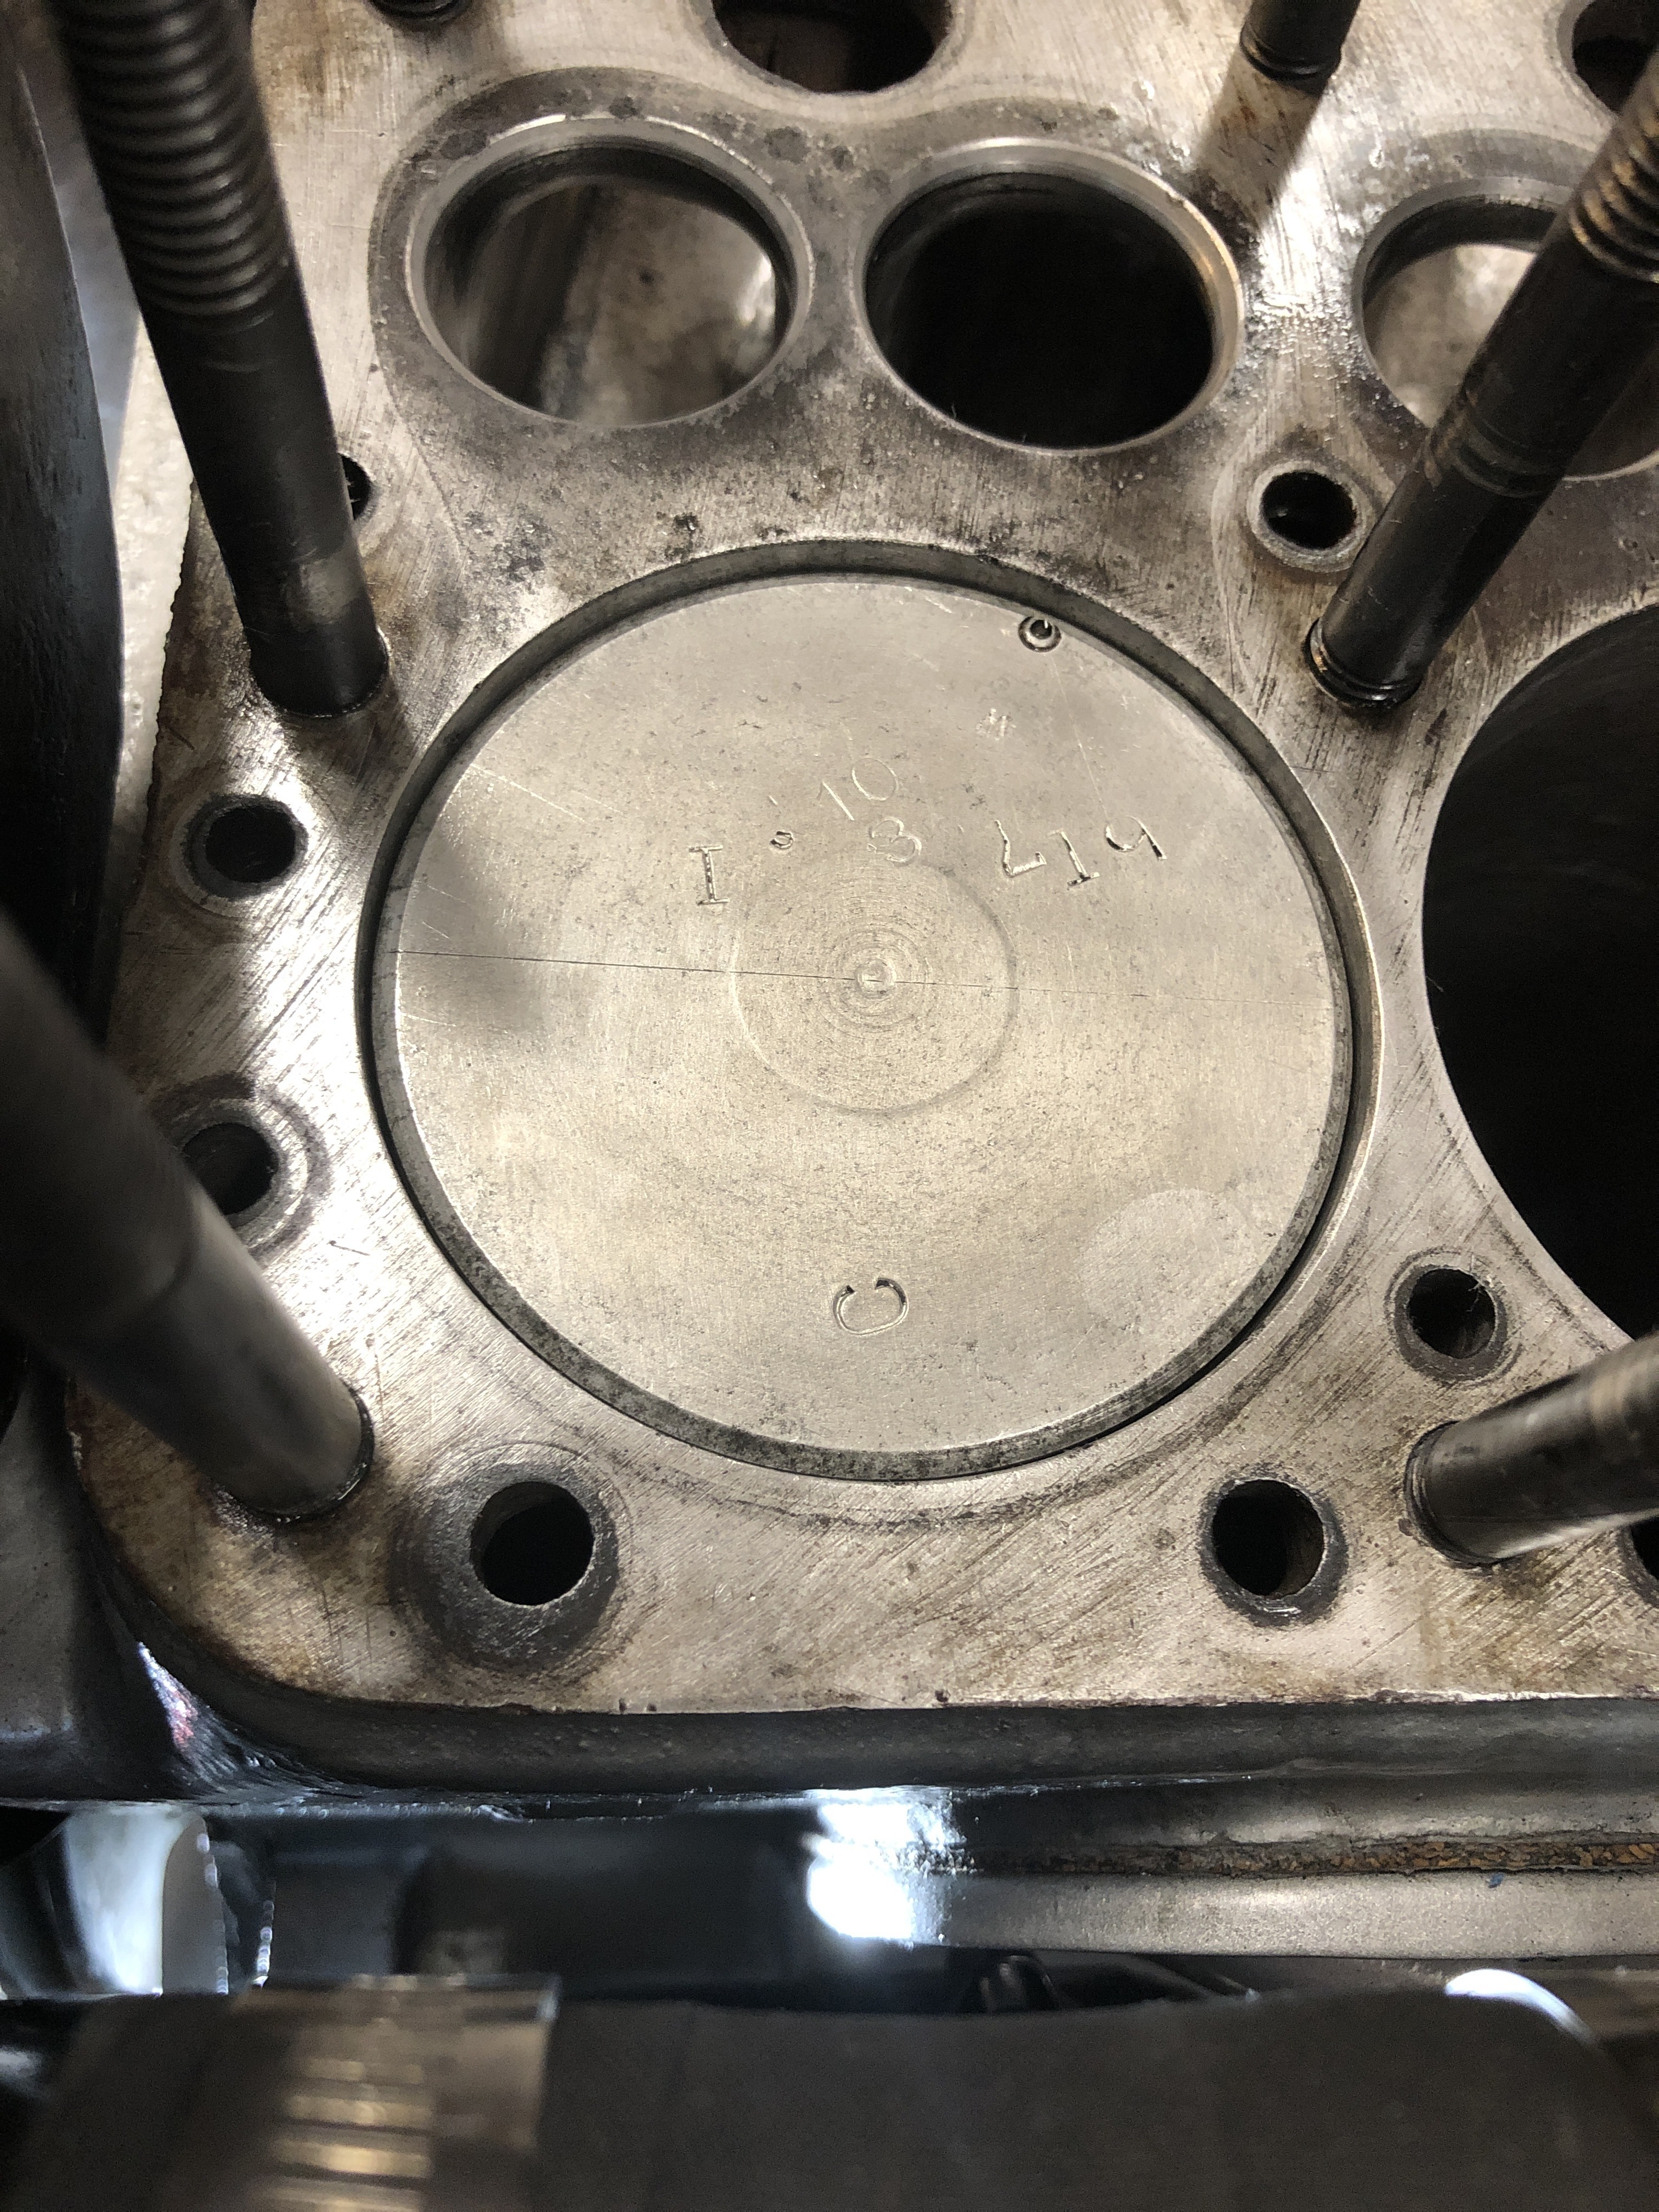 I managed to somehow not break anything, at least I think I haven’t, as 1st piston installed in the cylinder!
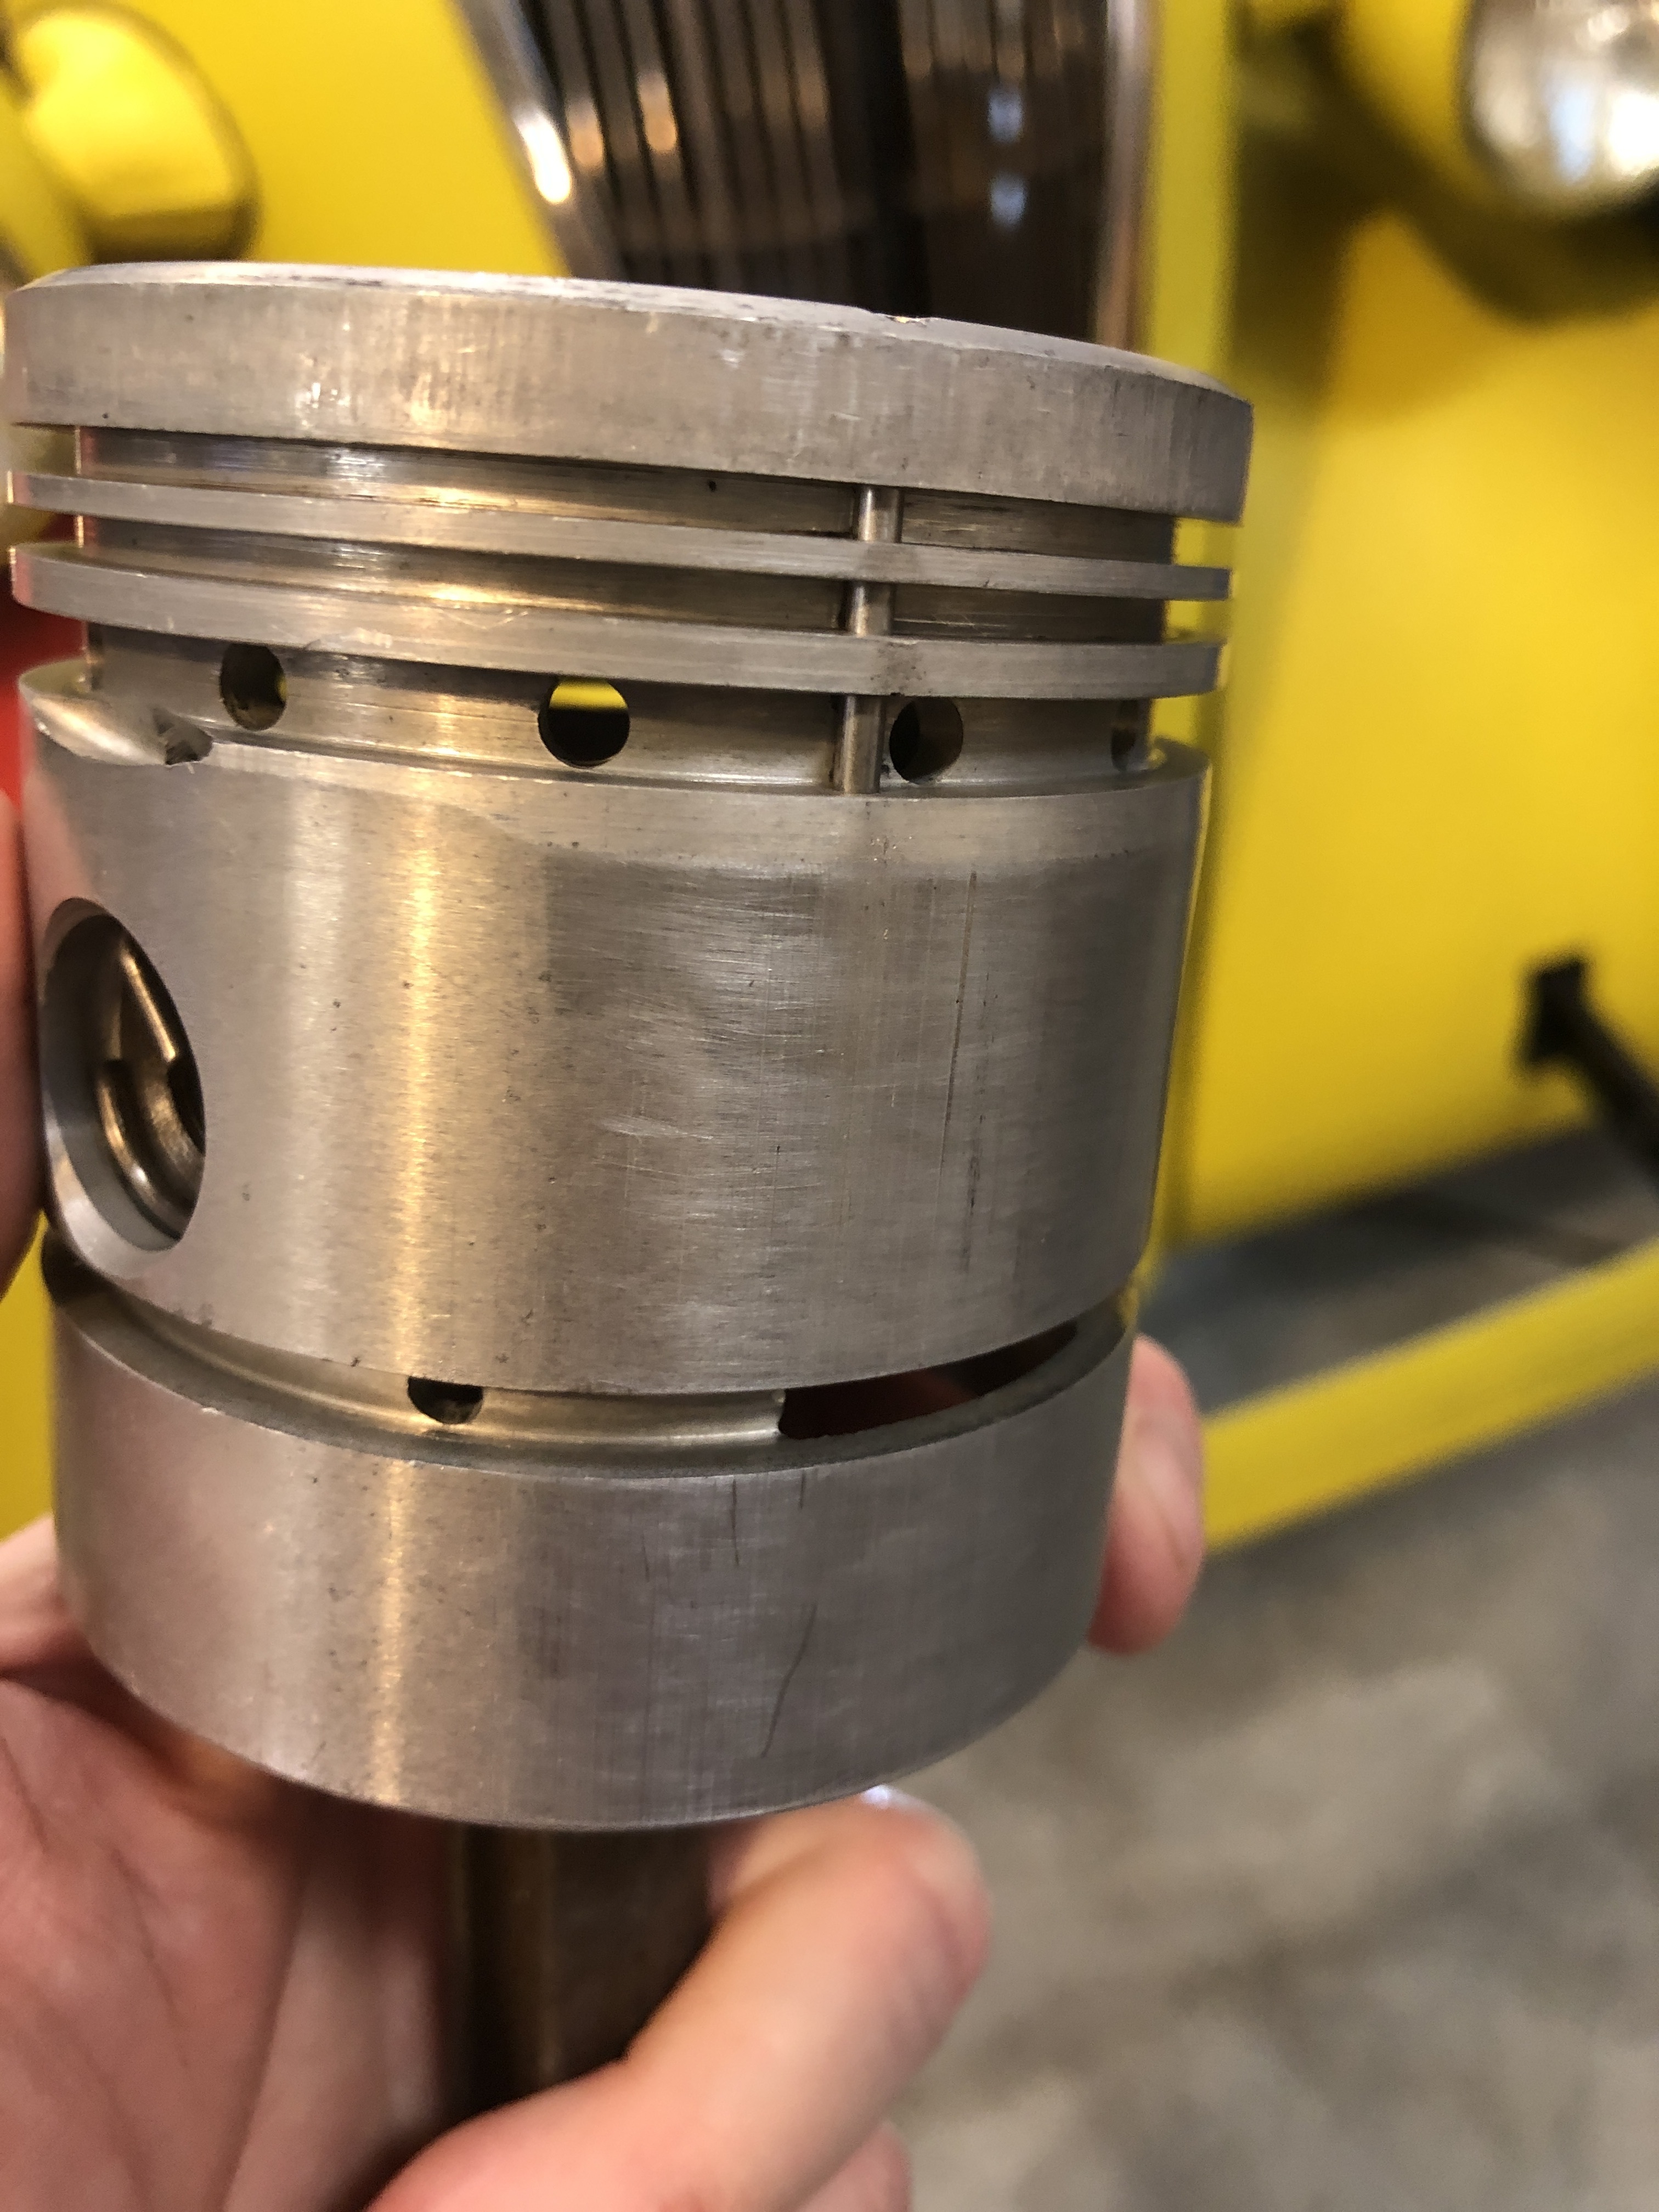
Glowplug, my pistons are originals & thus have “pinned rings”. I maybe mistaken but are you talking about regular rings? I ended up putting one end of the rings against the pin, for all the rings, and very gently tightened it. As it got closer the end of tighten it, I rotated the piston a little back & forth & held the compressor tool. My hope was that it would free any ring end that may have gotten off a little. After it was snugged up I pushed piston down til skirt came below tool & gently installed the assembly. The bearing was previously coated with assembly lube & journal centered at its lowest point. Tapping ever so gently when I got to each ring at the deck sometimes the tool centered itself. Slowly past each ring it went.0 -
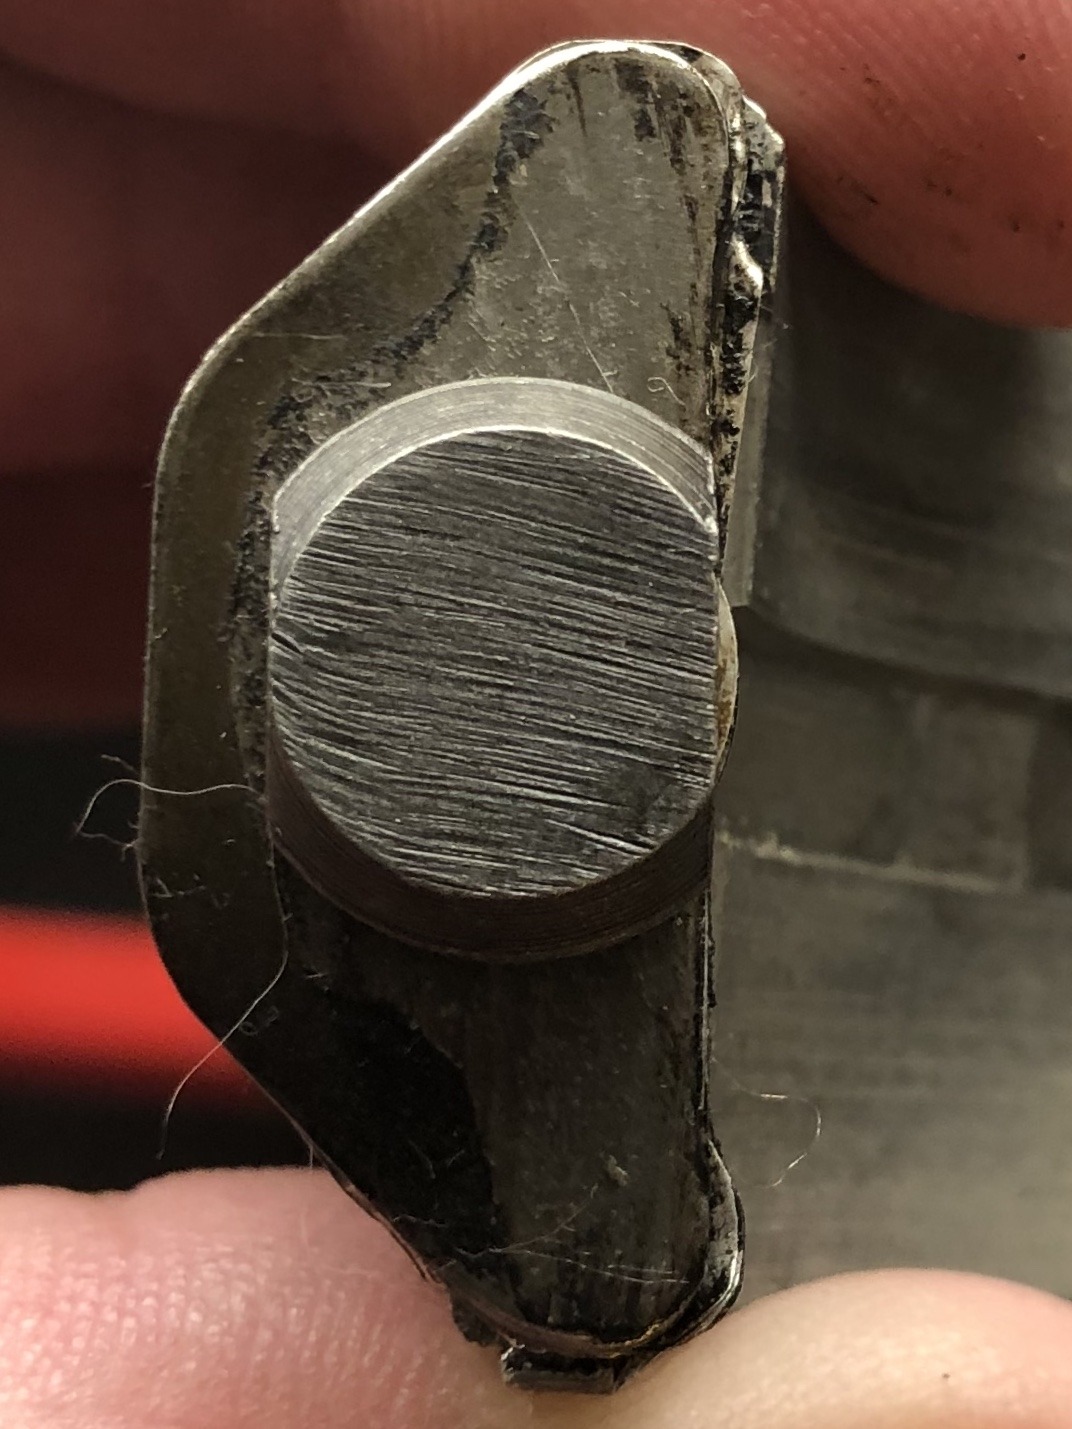
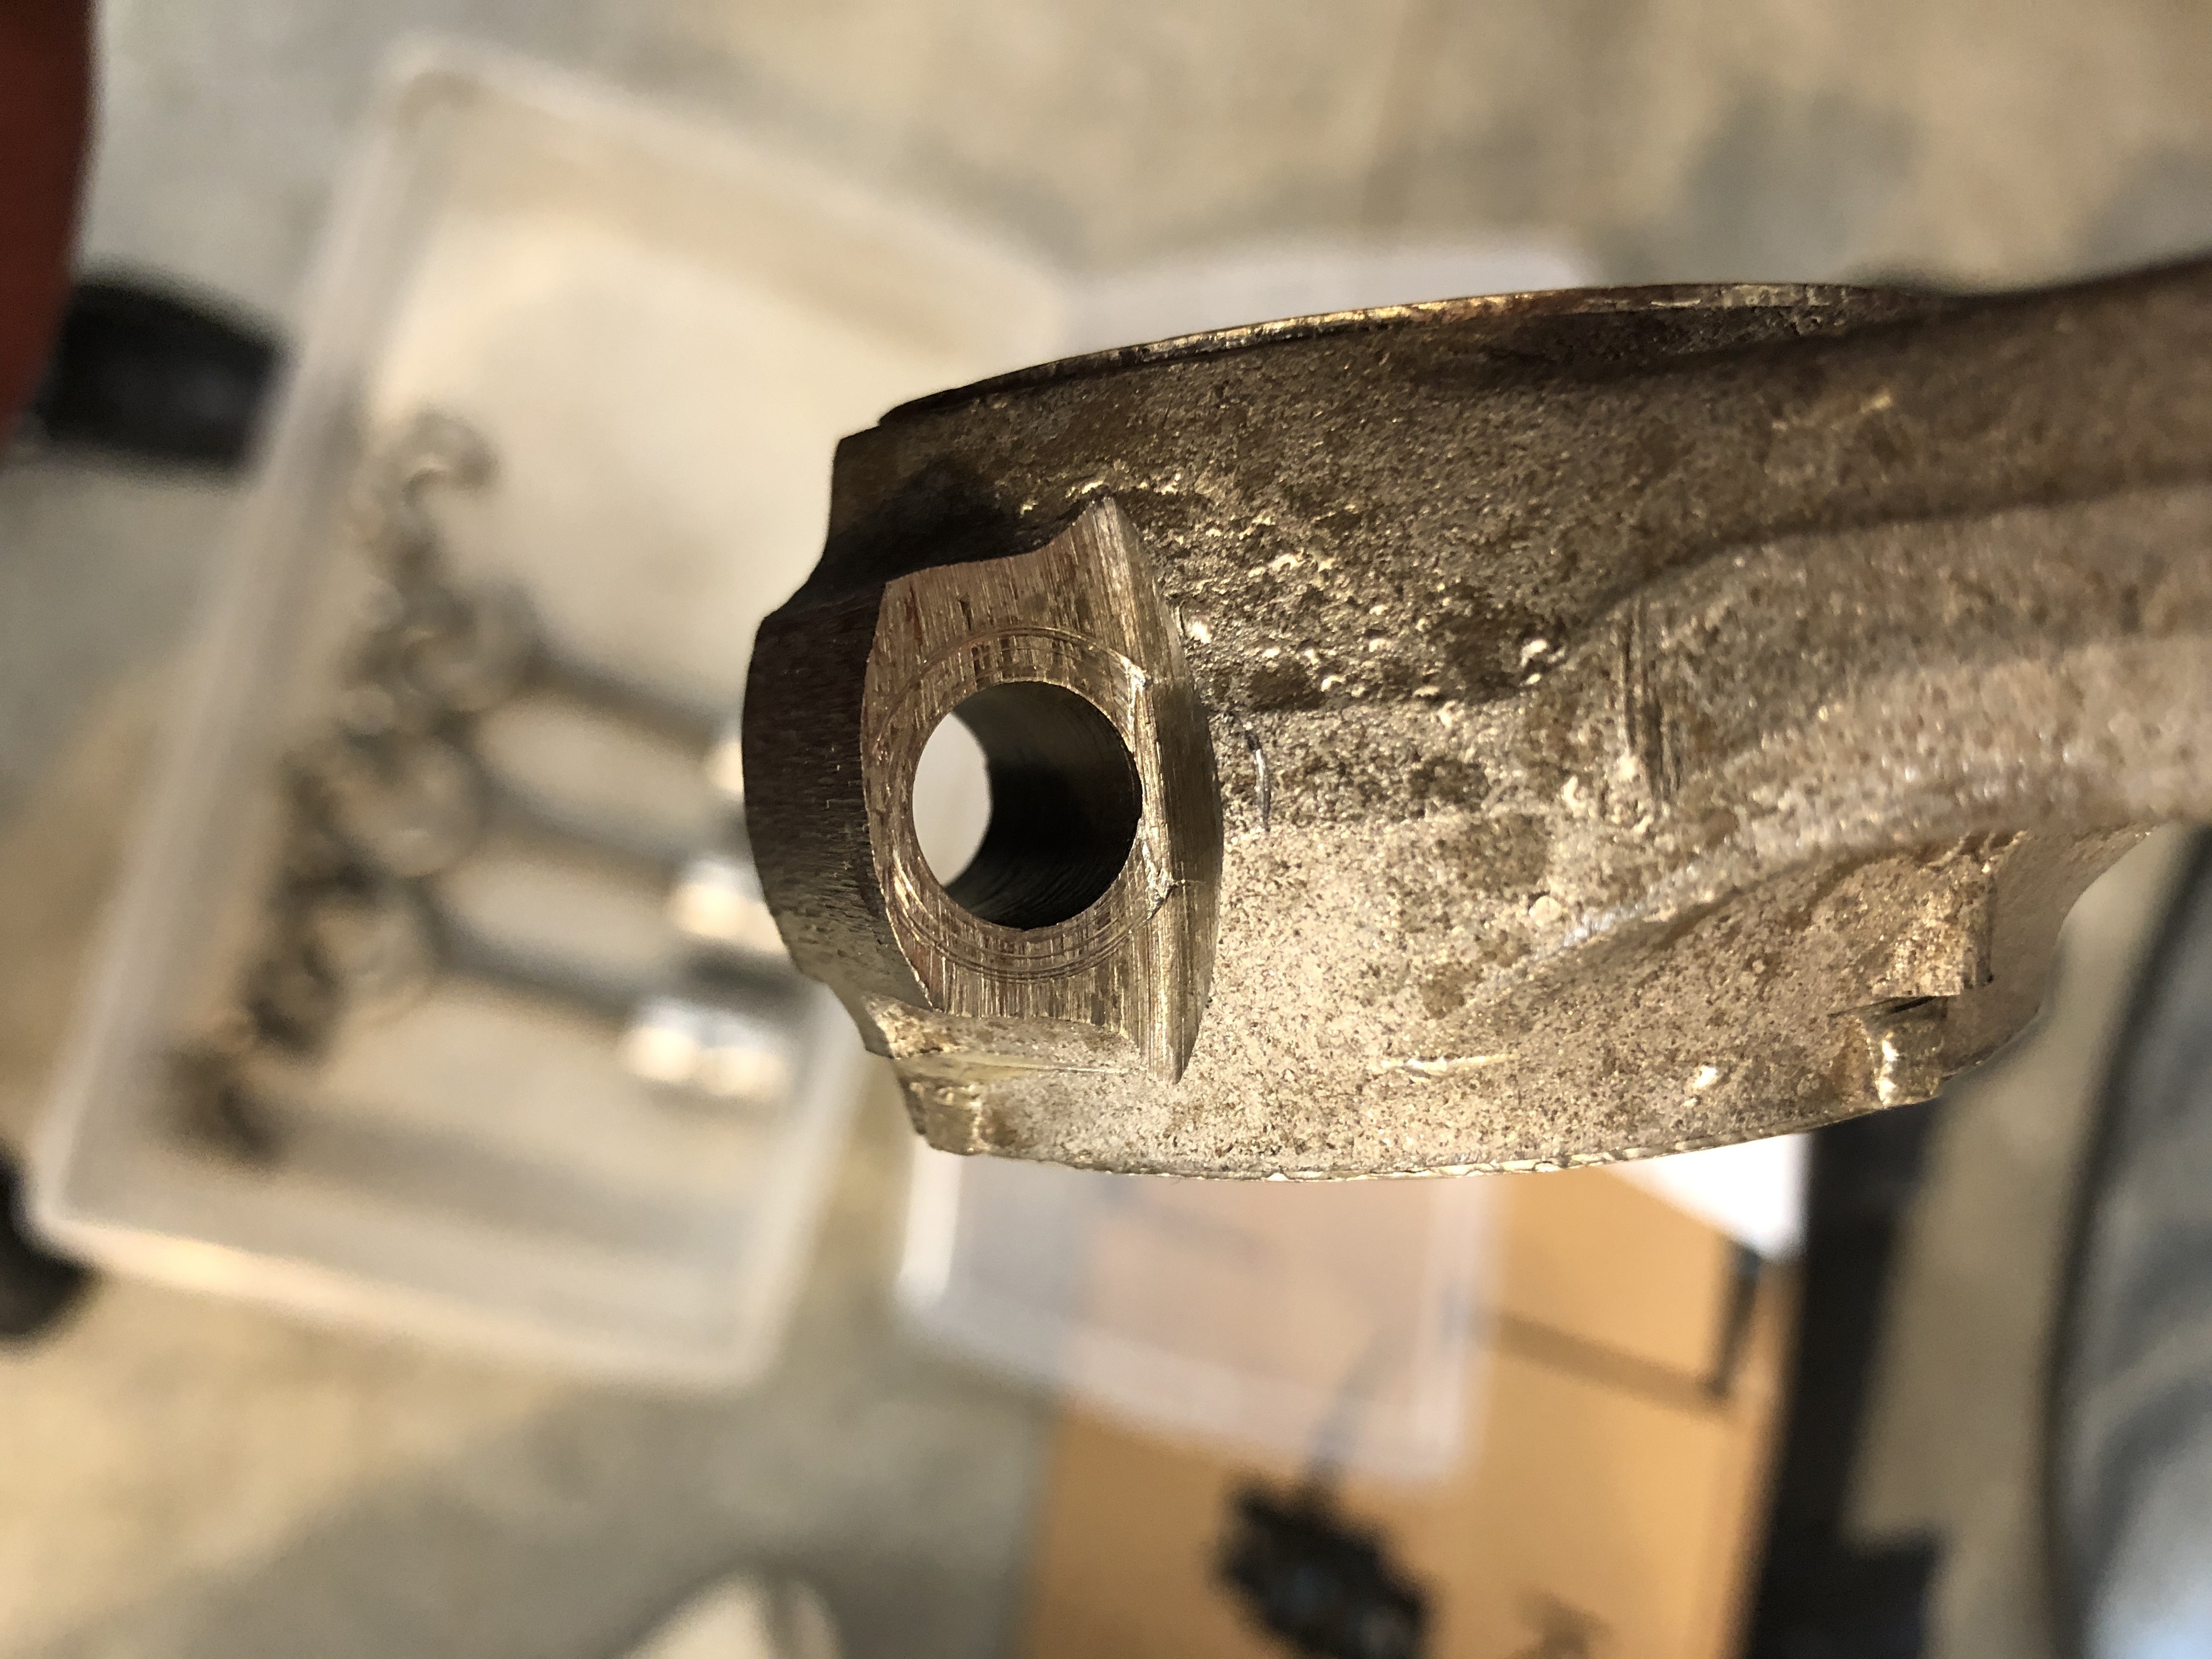
Alright, I had one of my daughters help me install the #6 piston as it’s Journal was at bottom center like #1 piston. She did great & tapped it in with me guiding her. Now it’s time to put the caps on these two rods.I noticed the rod bolts have one side of the bolt head cut back farther than the other side. I am assuming it allows one to fit one side of the bolt head vs the other side. Is there anything more to this than which side of the bolt head the rod allows to drop the bolt head all the way into position?Additionally is there concern or a way to make sure the shims get aligned properly While installing the caps? I’m not sure if this is a concern but it looks like the shims could get a little cockeyed & possibly hurt the journal. Thoughts?
 0
0 -
???? Having your child help is ????0
-
Glow plug - there is no relief on any Hudson engine until the Step-down era.0
-
Geoff - you are obviously correct...0
-
Is it safe to assume that as long as the shims are aligned correctly that there isn’t concern of them hitting the journal? Assuming one has adequate bearing thickness.0
-
That is correct. Glowplug, forgive my bluntness. I just thought Bigsky may have been confused by your reference to relief. It is certainly a concern when fitting rings to the later engines, as the rings have to be aligned so that the ends do not pop out in the relieved area. Jet pistons had the ring pins located on the opposite side to the relief, so it was not so much of a problem, but with later pistons with no locationg pins it is a matter of being extra careful, as you point out.0
-
OK, the bottom ring is not aligned with the top 3. I use a worm-drive hose clamp with the worm-housing ground off flush with the rest of the clamp. Use that to compress the first ring. Tap that one in with a wooden hammer handle. When that one is in, use the ring-compressor on the top 3 and keep it tight against the pin as you tighten it so the ring ends don't get snapped off. Then tap those in. A lot easier than trying to get all 4 in the clamp when they're not aligned.
0 -
Thanks for the help guys! Uncle Josh, I was actually able to use the harbor freight ring compressor with good success. I held the piston by the rod so it was upside down, align the piston pins so they were in the middle of ring ends. Then with the compressor upside down & oiled up well I’d gently slide the piston into the compressor. I’d have the compressor loose enough it didn’t touch the rings on insertion.Once in the compressor, I gently slid it to the edge of the bench so that only had the tightening part of the compressor hung over the bench edge. I tightened the compressor with the supplied tool, being cared not to move the piston around (or cut my hand on the compressor.) When it was almost completely tight I’d twist the piston back & forth a small amount to make sure ring ends weren’t caught out of place, then back to tightening it up. Naturally I had soaked the piston & rings in oil beforehand & squirted oil in the wrist pin piling holes, plus oiled up the cylinders & put assembly lube on the bearing before sliding the assembly into position.I actually only drove 2 of the 6 pistons into place myself and had 2 of my daughters help me with the others.... spread the love of working on old cars around! They slid down well & my daughters learned to recognize the sound difference of the tap by the wood hammer handle when the ring touched the block. I’d usually need to give it one more twist to tighten the compressor when each ring touched the block. I never had any issues with the rings sliding into the cylinders. I believe tightening the compressor (if needed) when each ring landed against the block made a huge difference in assembly without issue.Since I still had studs in the block sticking up sometimes the compressor didn’t align the piston perfectly but after installed I could twist the assembly from below as my daughter tapped it down to the journal. I have to say, new rings definitely made turning the engine over a LOT harder than before!
 0
0


Categories
- 36.6K All Categories
- 85 Hudson 1916 - 1929
- 11 Upcoming Events
- 73 Essex Super 6
- 28.4K HUDSON
- 511 "How To" - Skills, mechanical and other wise
- 990 Street Rods
- 150 American Motors
- 170 The Flathead Forum
- 47 Manuals, etc,.
- 72 Hudson 8
- 40 FORUM - Instructions and Tips on using the forum
- 2.7K CLASSIFIEDS
- 591 Vehicles
- 2.1K Parts & Pieces
- 76 Literature & Memorabilia
- Hudson 1916 - 1929 Yahoo Groups Archived Photos