1933 Terraplane 8 convert. The beginning.

Here are some pictures of Ivan's 1933 Terraplane Eight Convertible project. The amount of repair work to be done on this car went pretty deep. It was a running driving car. Ivan took it apart and she came to me like this.
0
Comments
-
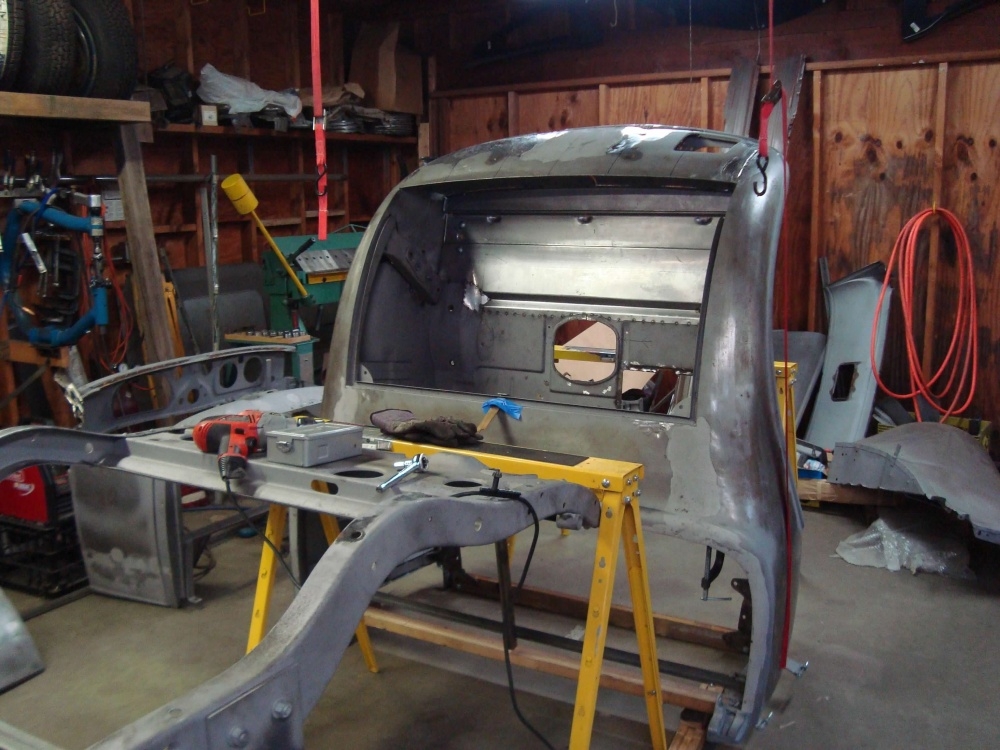
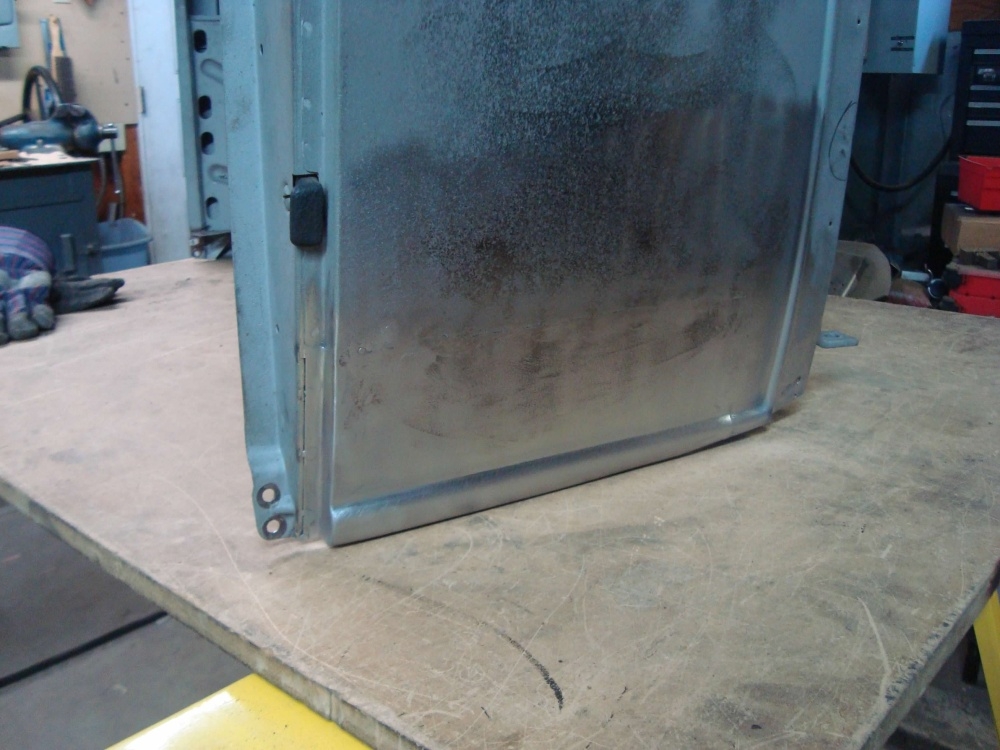
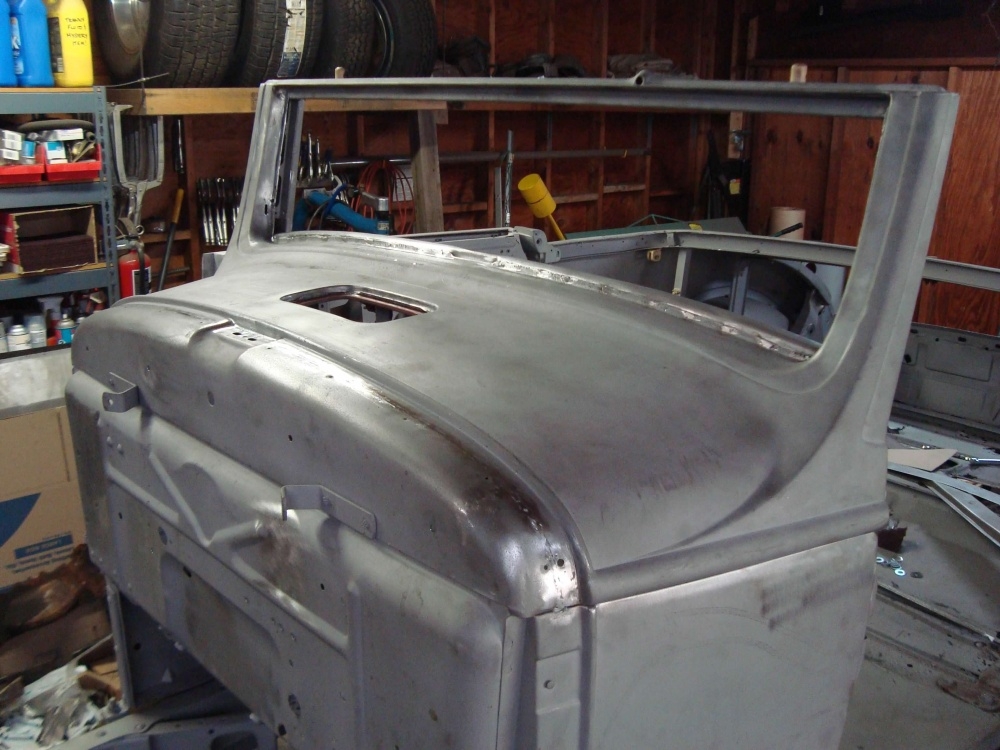
First thing I did is send it to get blasted, so we can see what we have to work with. Here is the car in my drive way, the day it came back from media blasting. This is the way I like to do a car. All apart, clean, and no paint or rust. From here I can up with a game plan.


 0
0 -
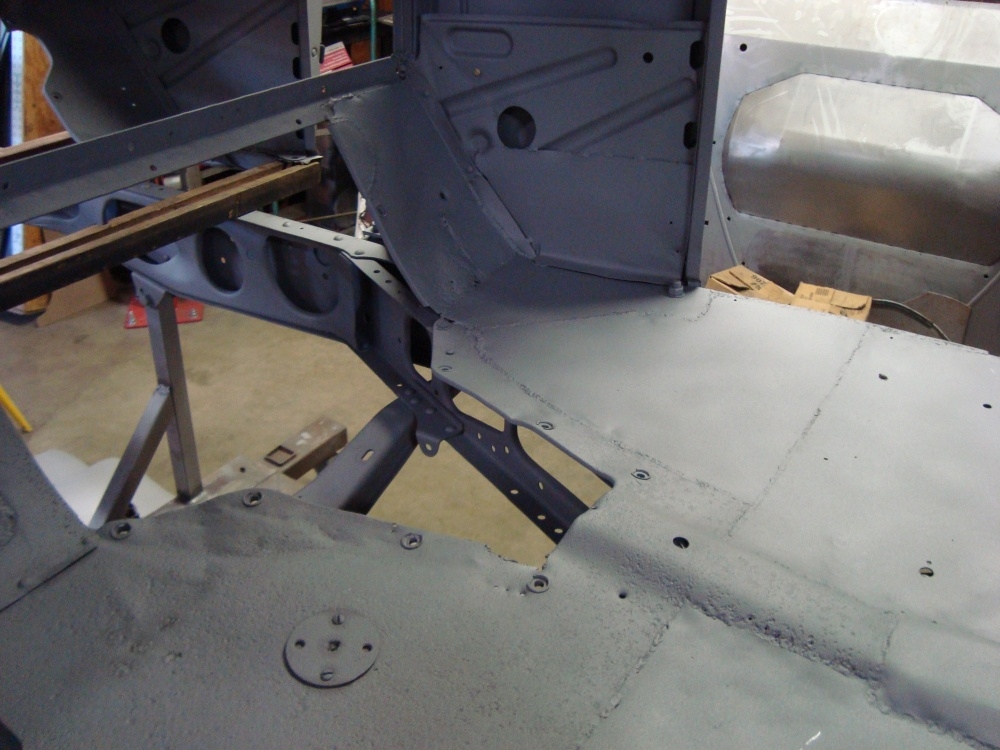
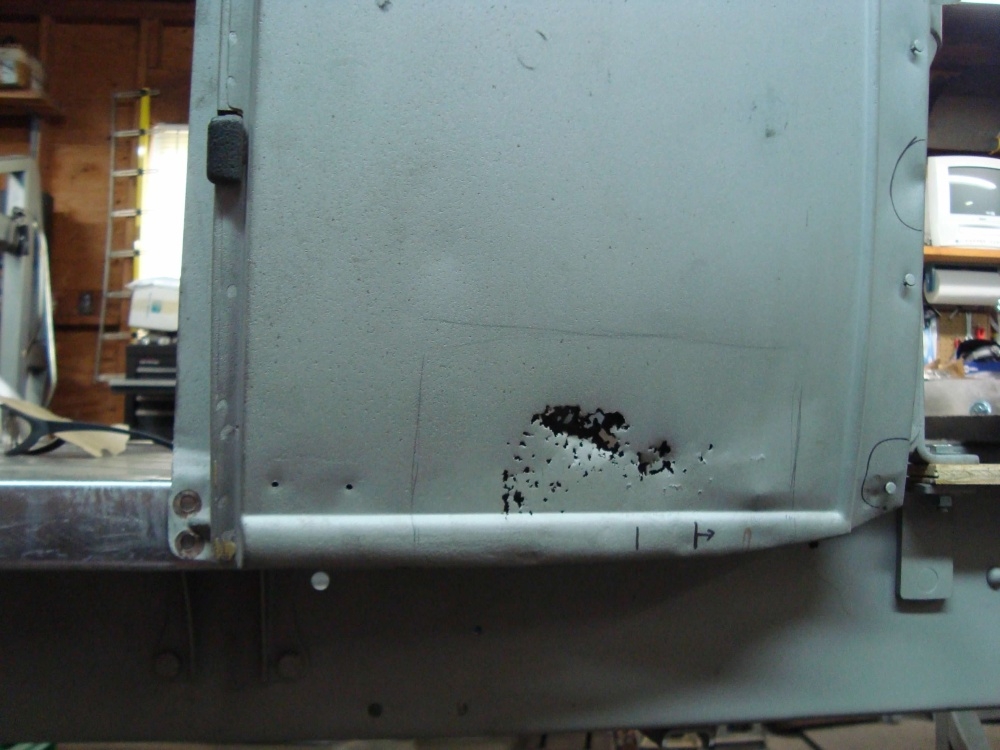
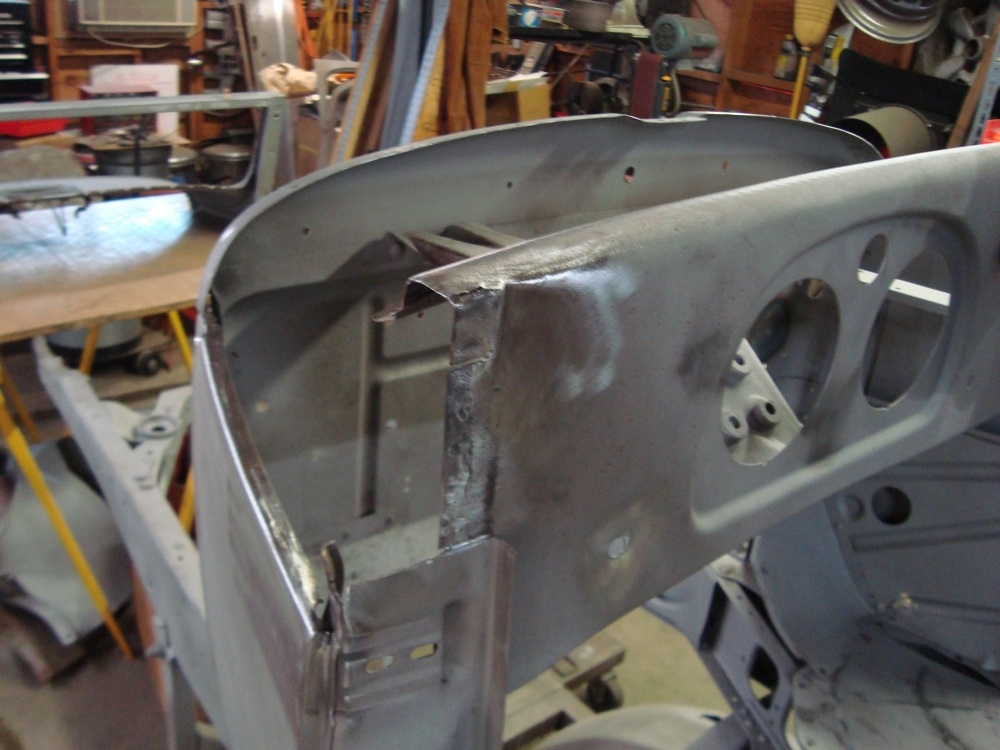
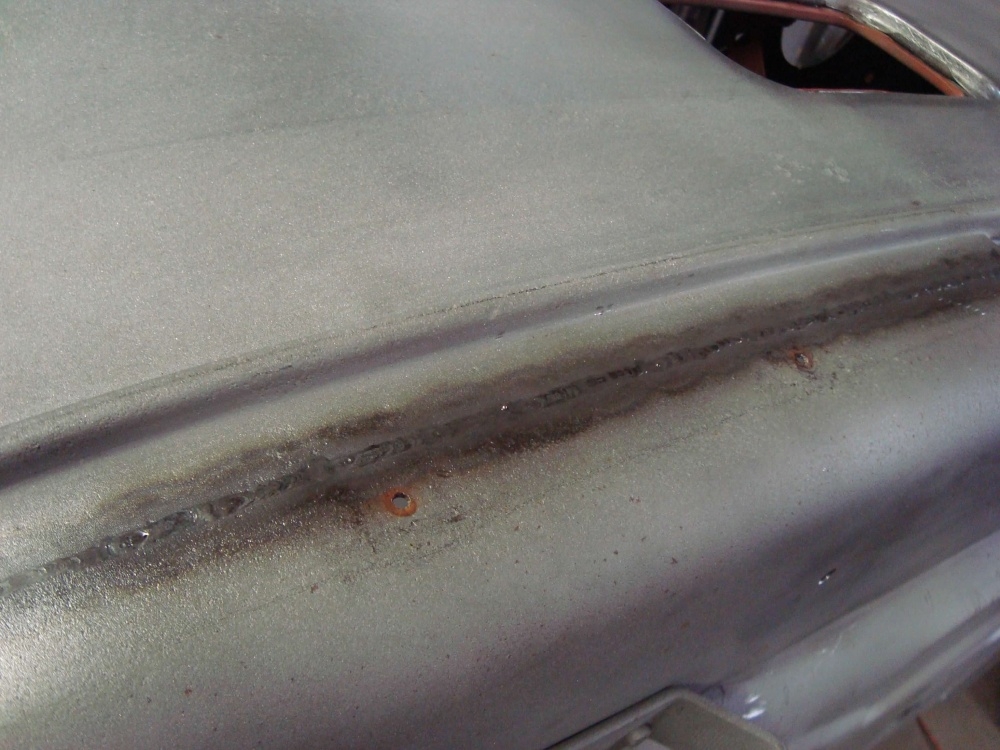
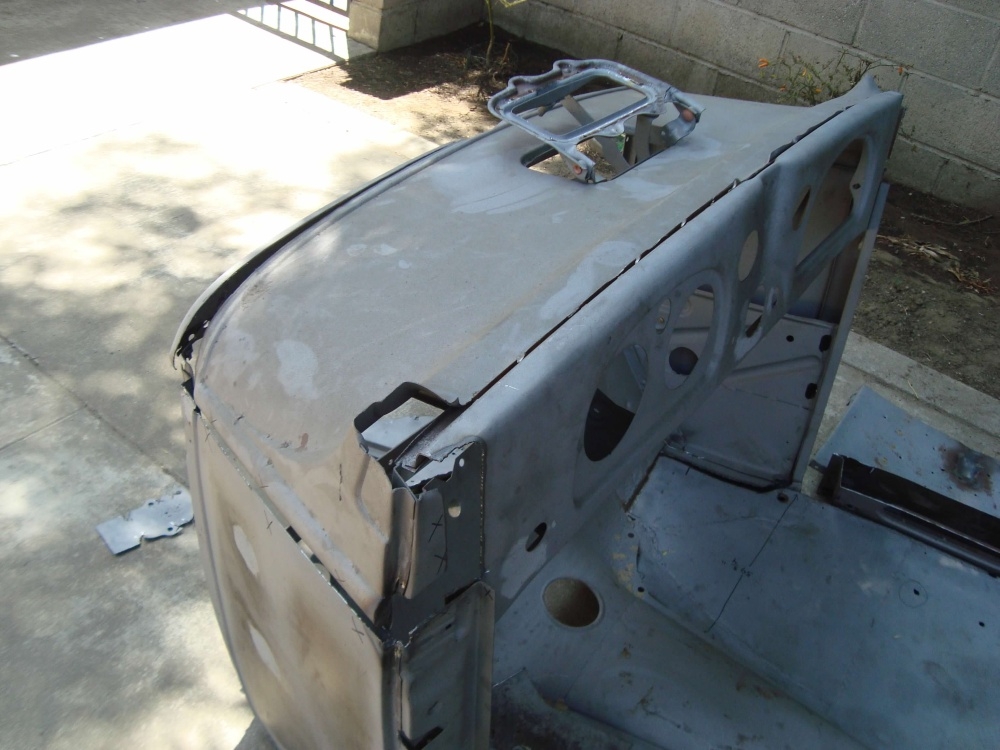
After I got the car inside and looked it over I could see that this was going to be a huge project. I can remember sitting in my garage late at night and staring at this corner of the door opening.
I thought to myself, "Oh man. Where do I start? The floor is no good, what it attaches to is no good. ...What should come first?" 0
0 -
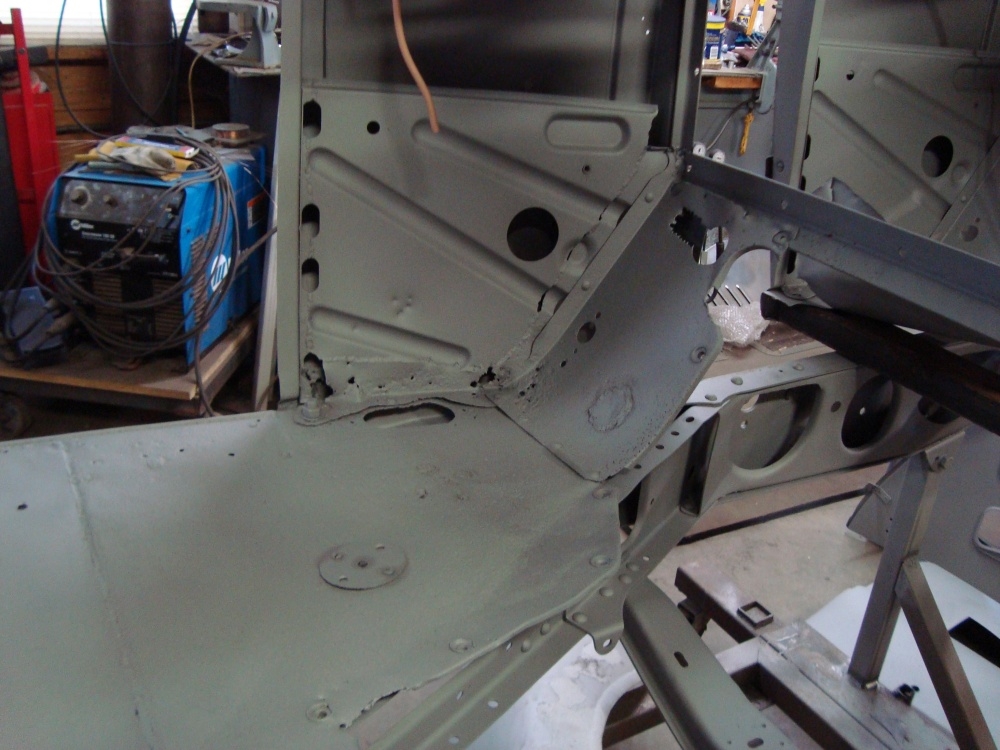
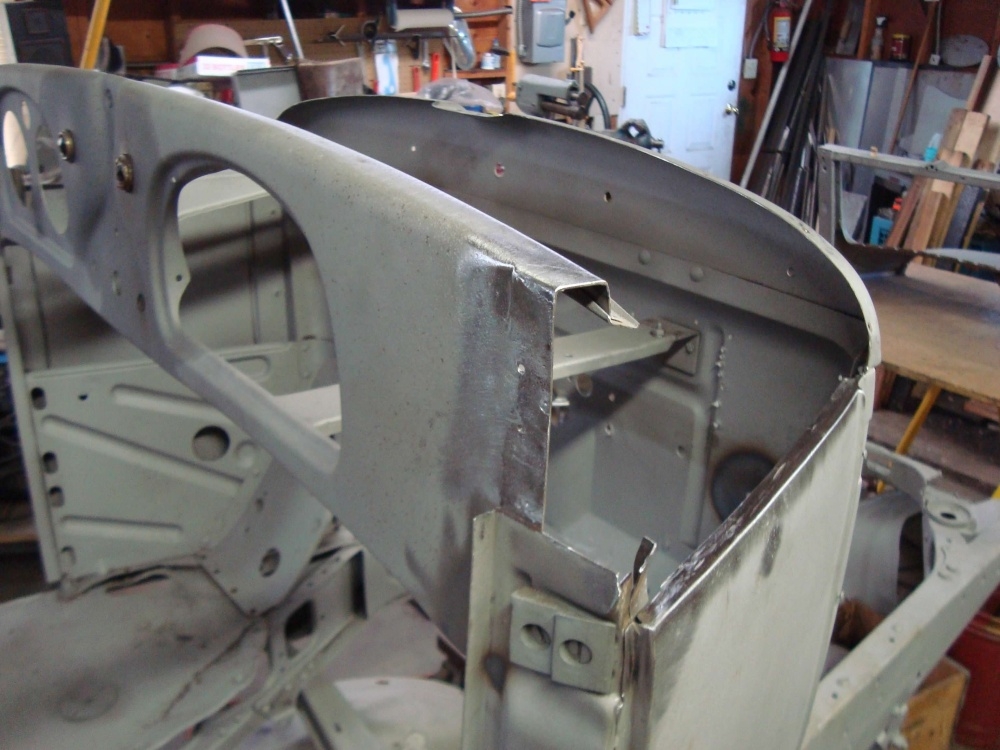
After looking at all of the photos I could find and seeing all of the cars that I could, I came up with a plan to get to this,....Replacing one section at a time.
 0
0 -
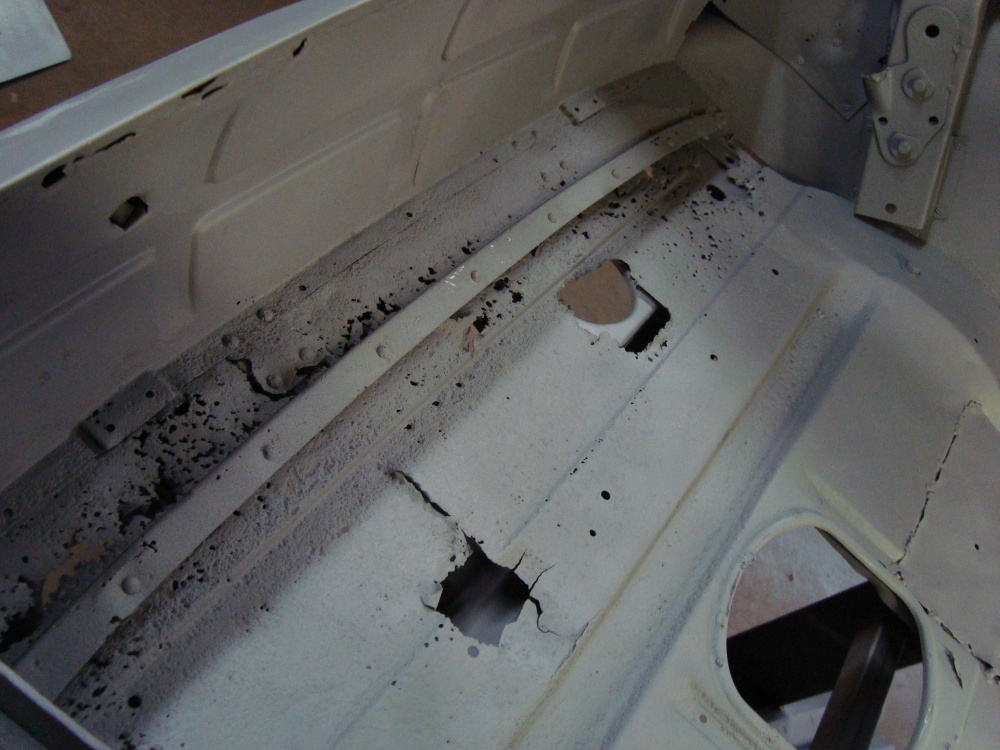
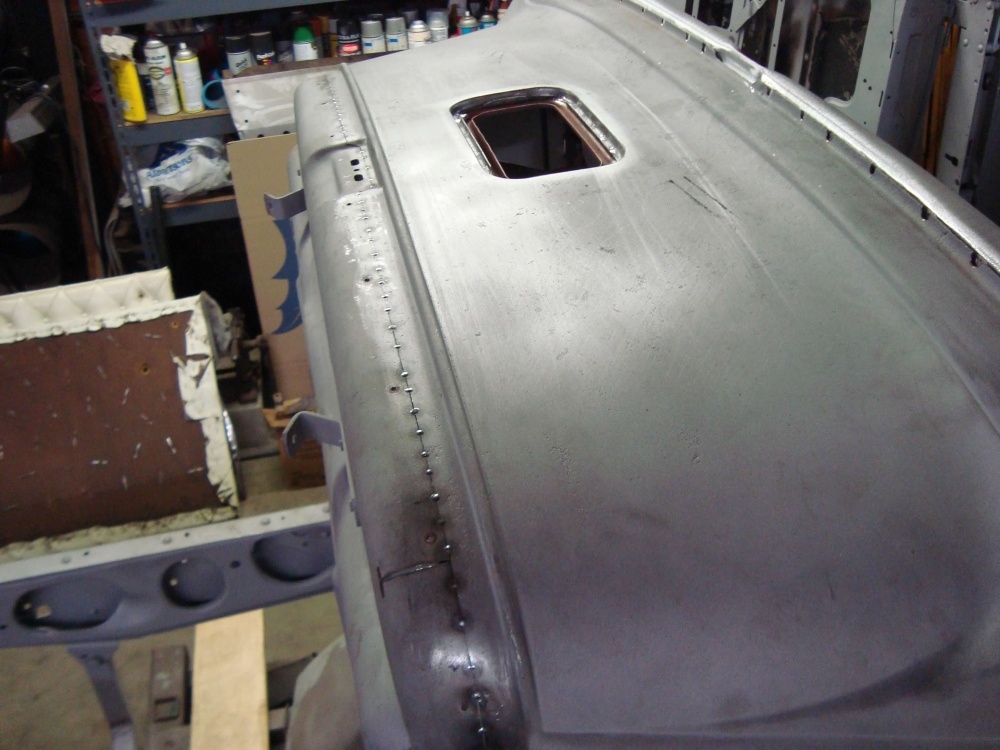
So, first on the list is "make a solid foundation". That meant fixing the floors. Here is what we had to work with.

 0
0 -
The original floor had been repaired. What was left of the original floor now needed to be replaced and so did the patch panels. Best to remove everything and go from there. So off with the cowl.
 0
0 -
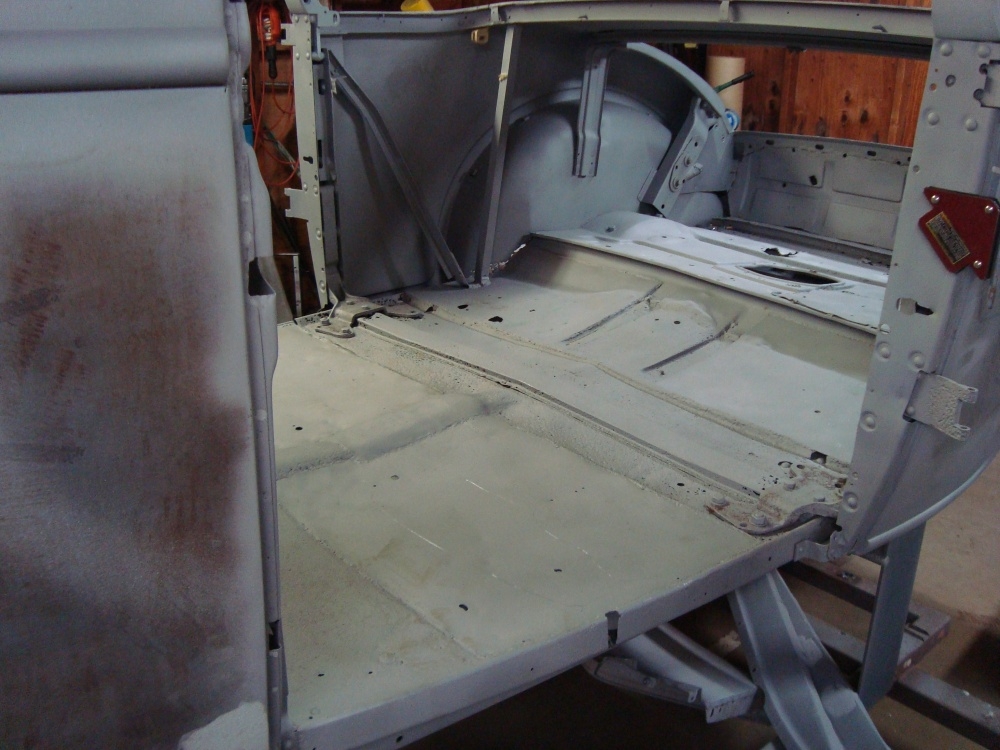
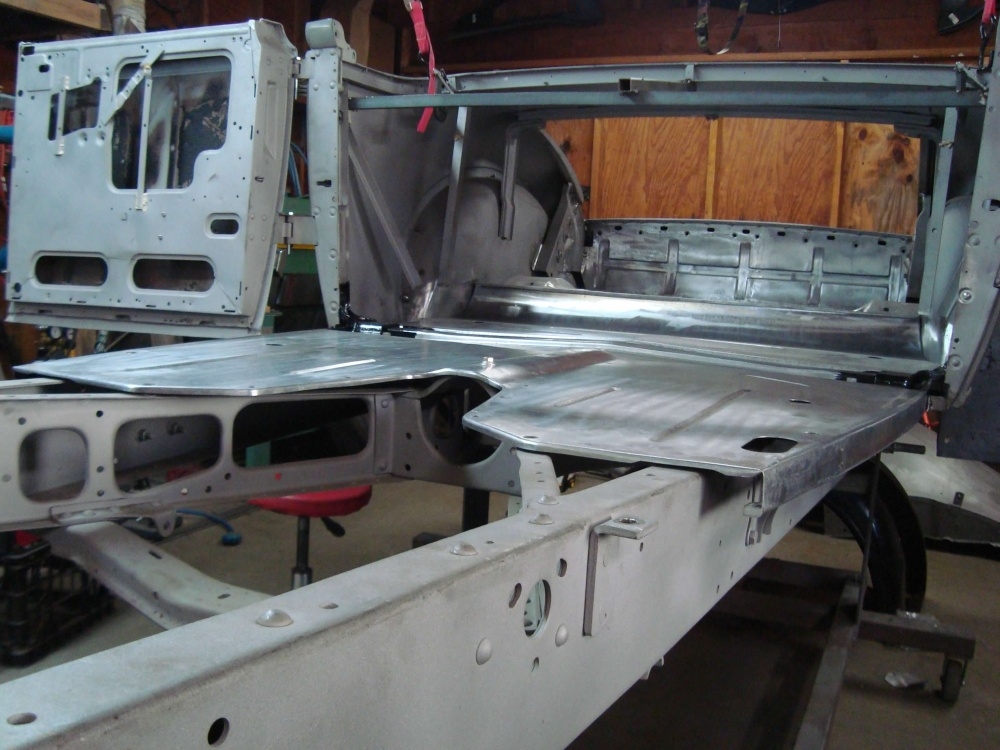
Once I figured out what was missing, what was bent, and what shouldn't be there. The doner cowl with a good firewall was test fit on the car. Some issues there too, but we'll get to that later. Next was to make new floors for the front.

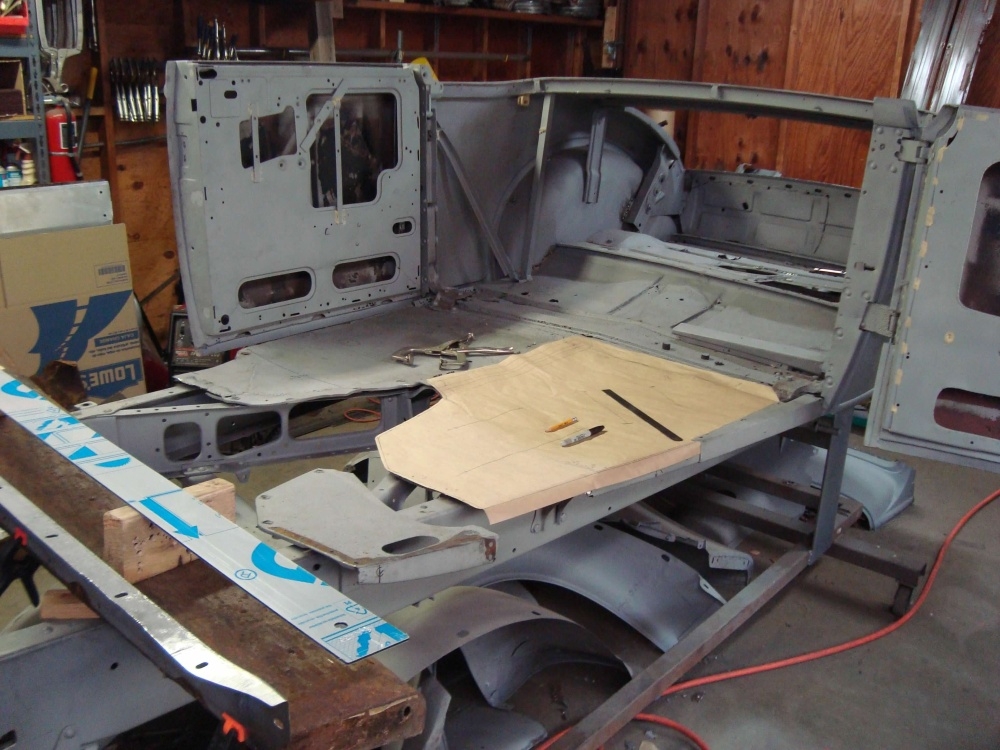
 0
0 -
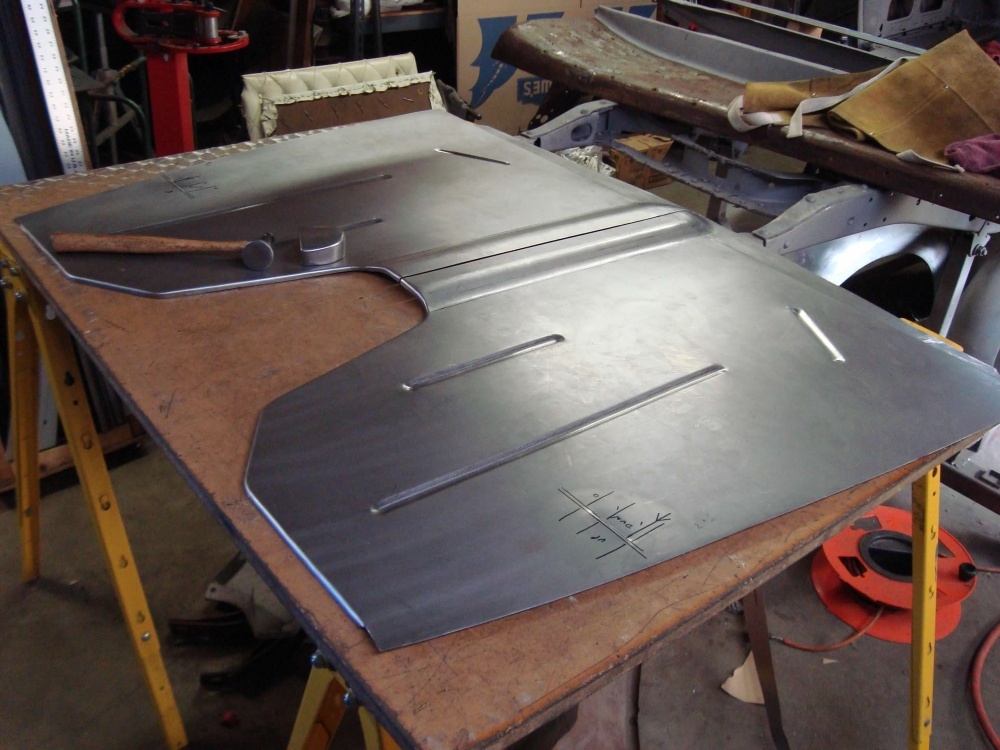
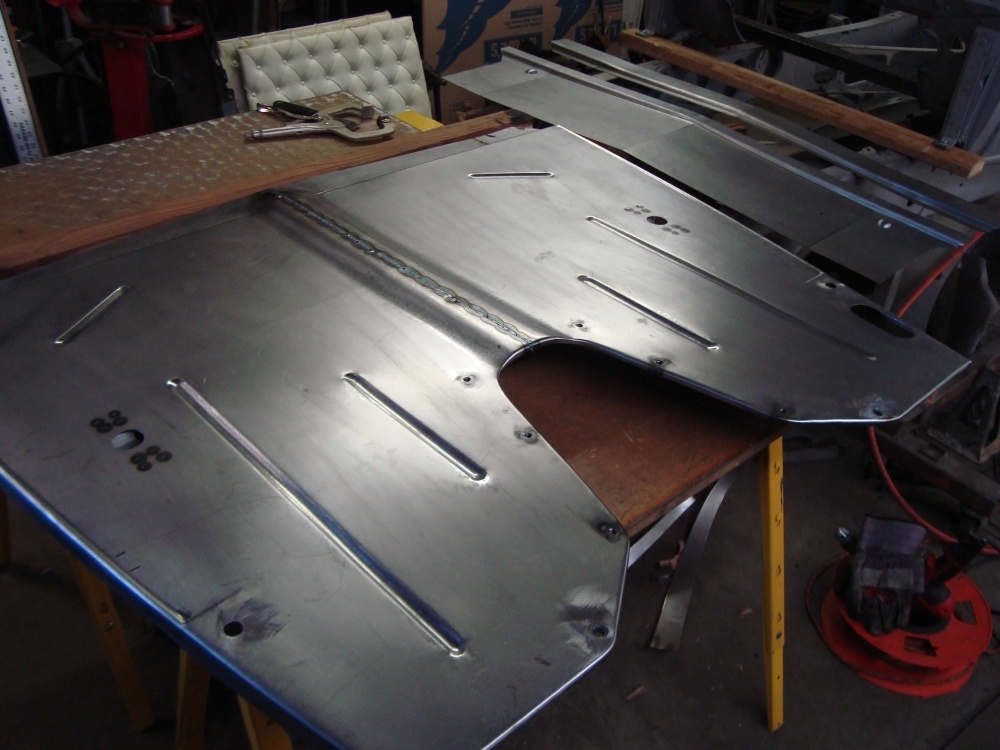
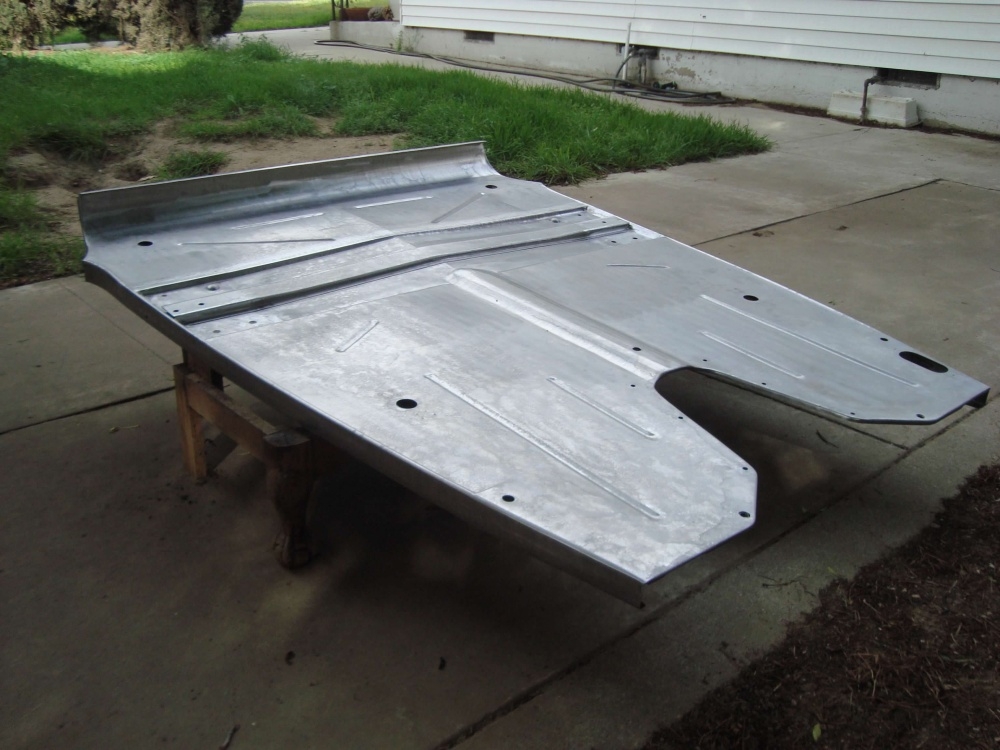
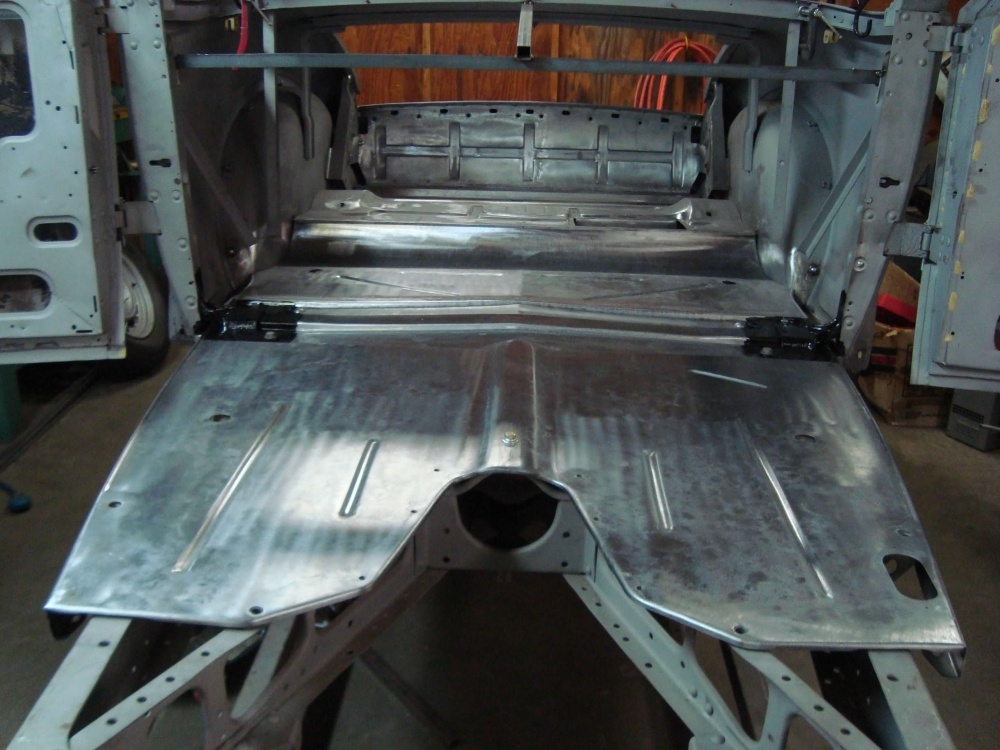
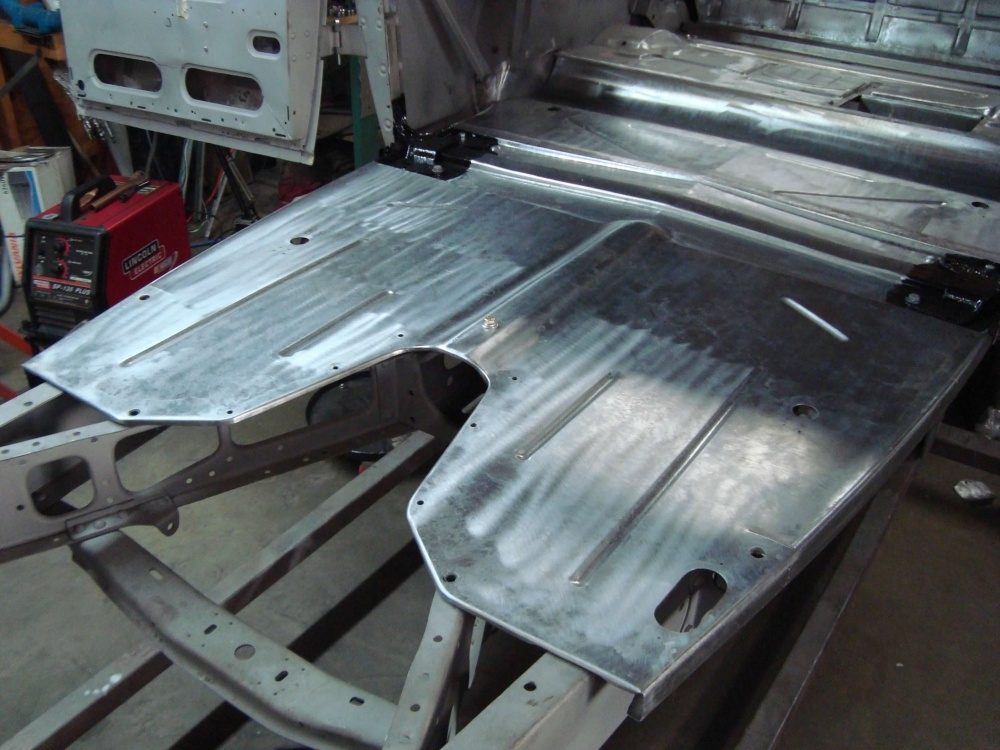
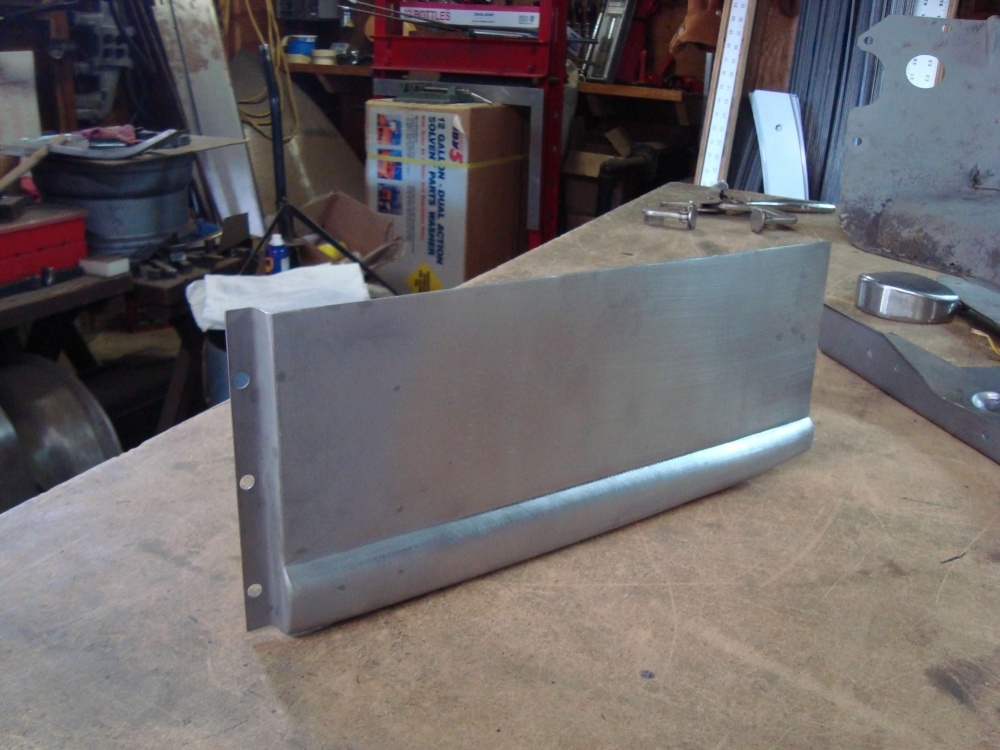
Because I work alone I try and make big pieces in sections, then weld them together to make large parts.


 0
0 -
The front floor ready to go in.
 0
0 -
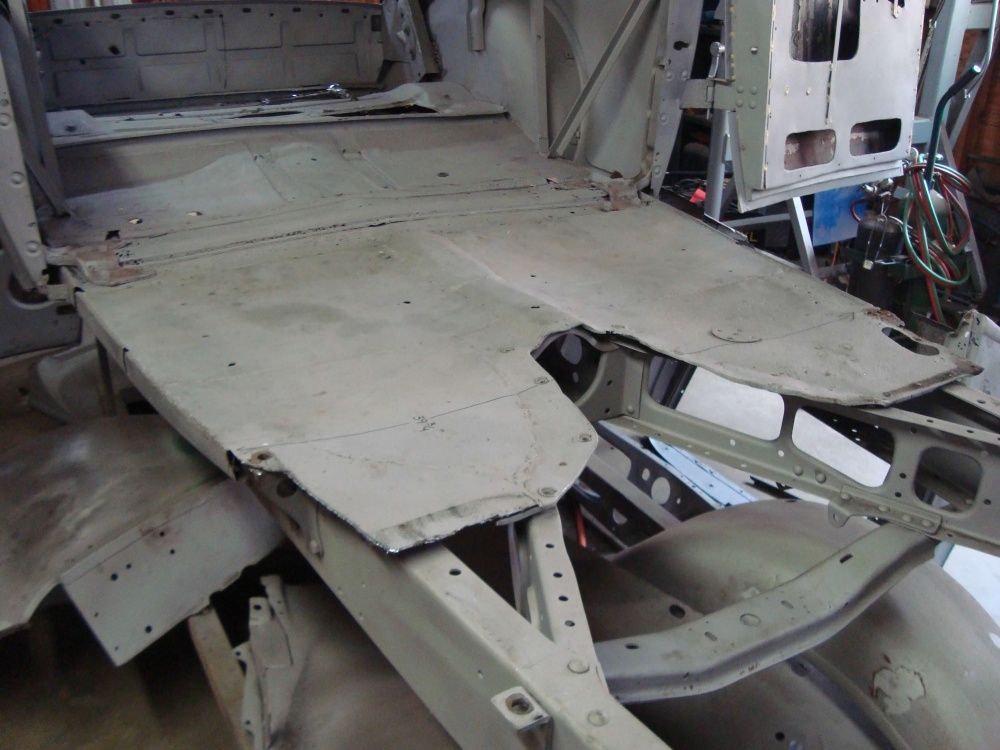
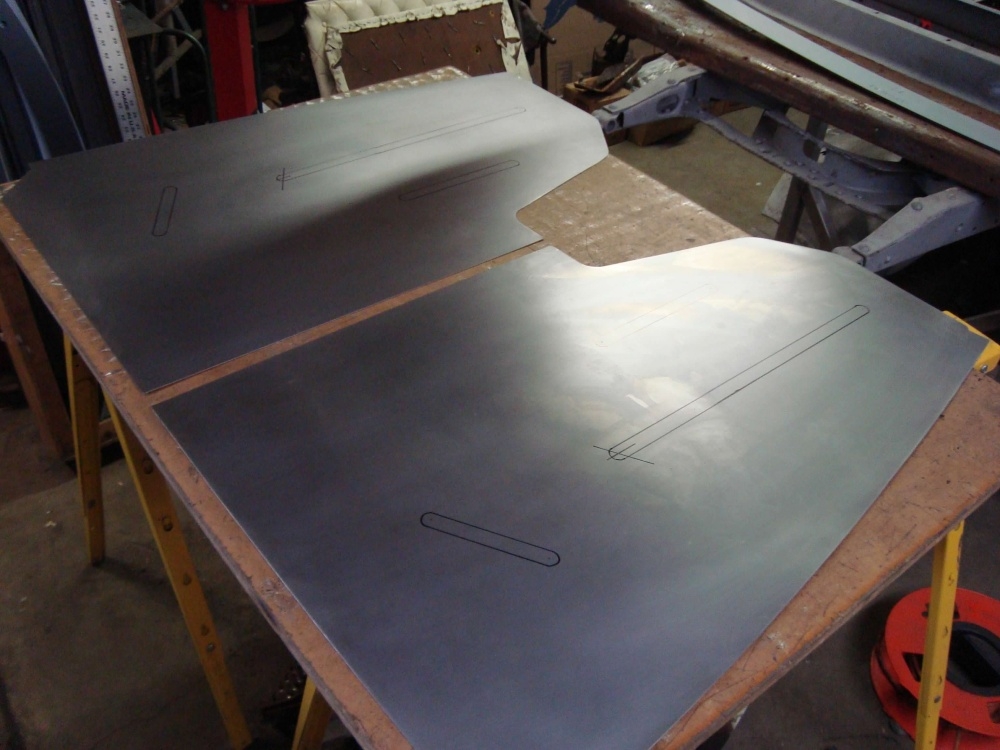
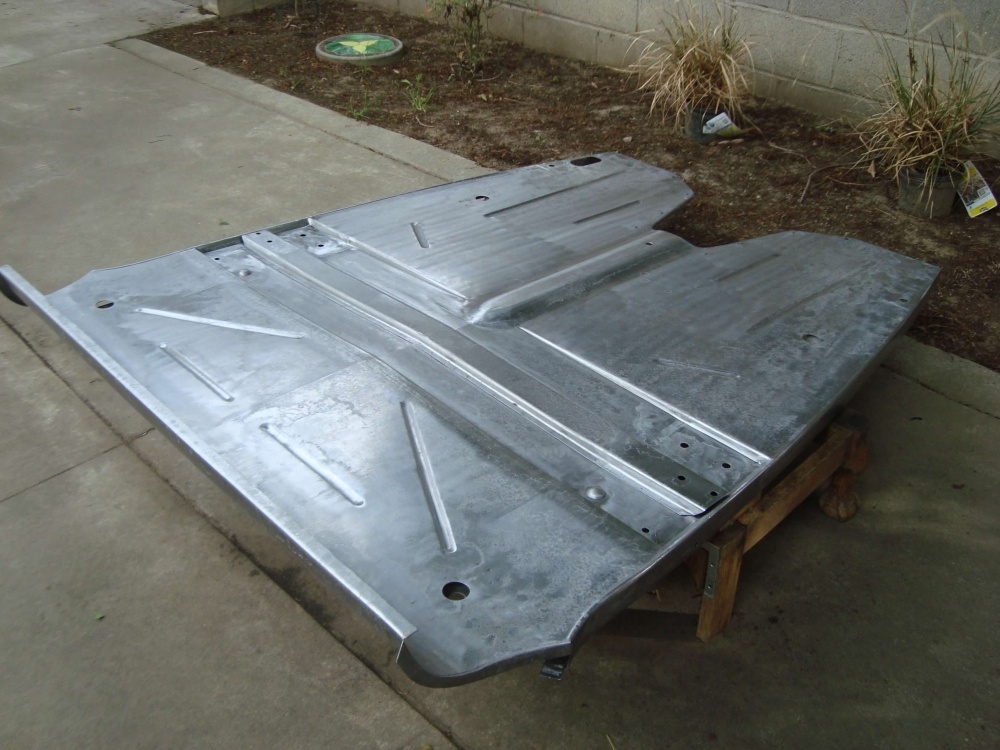
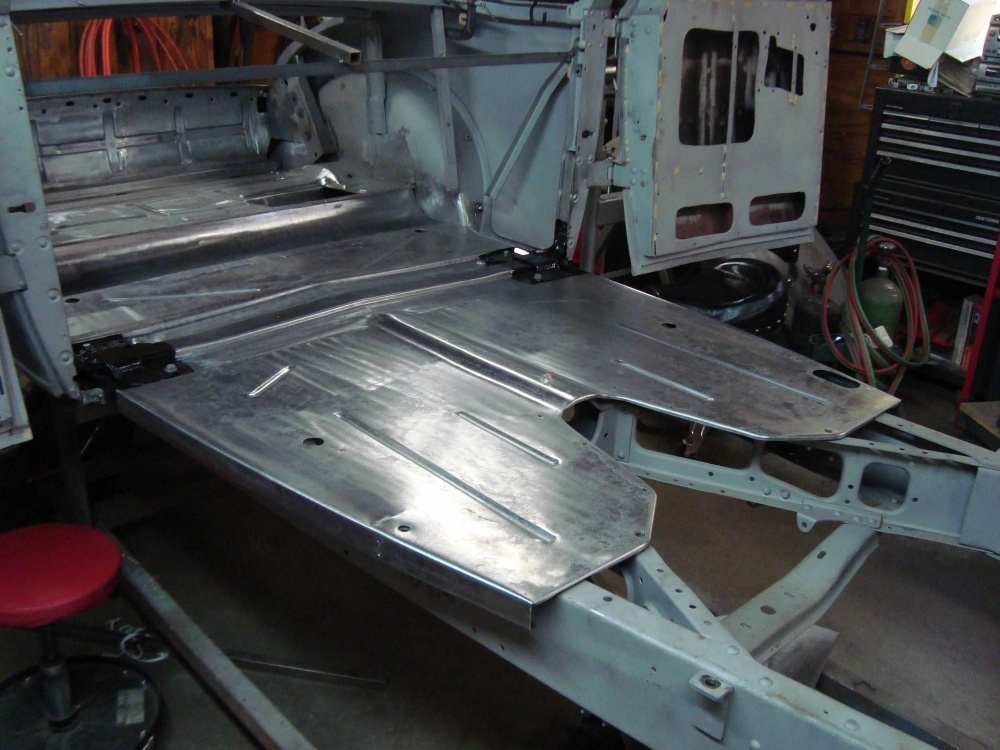
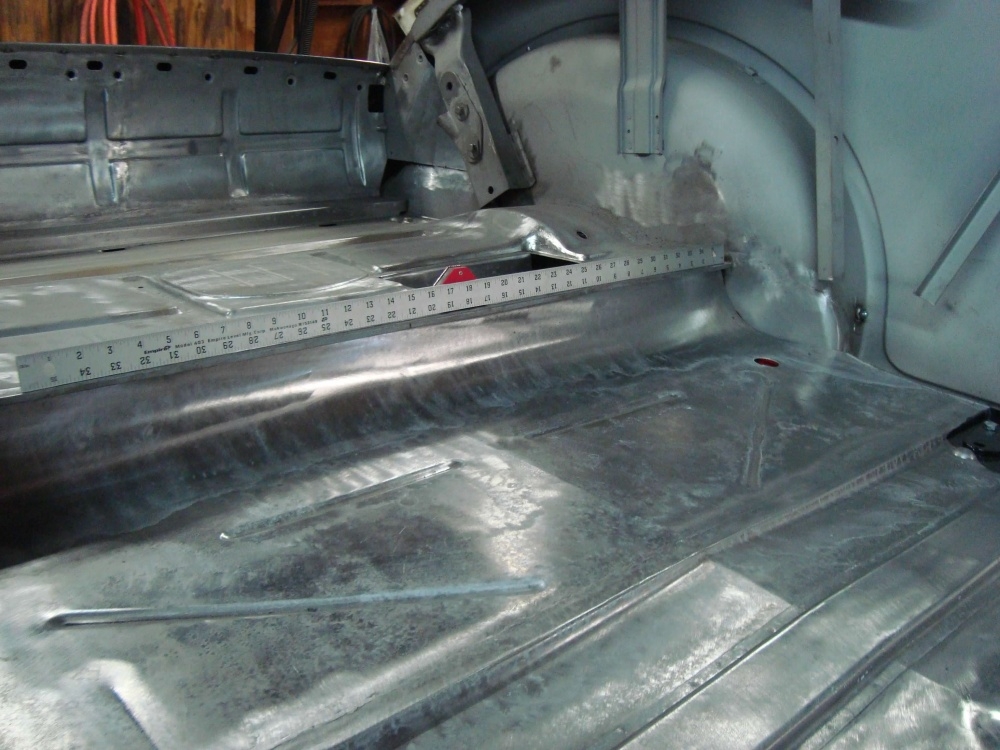
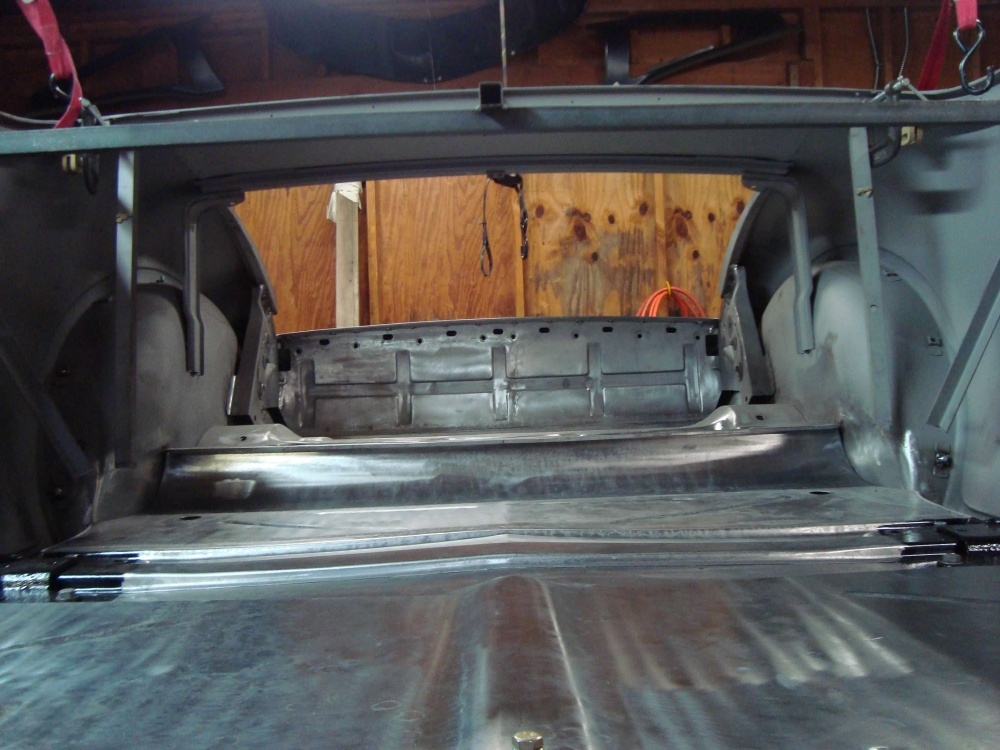
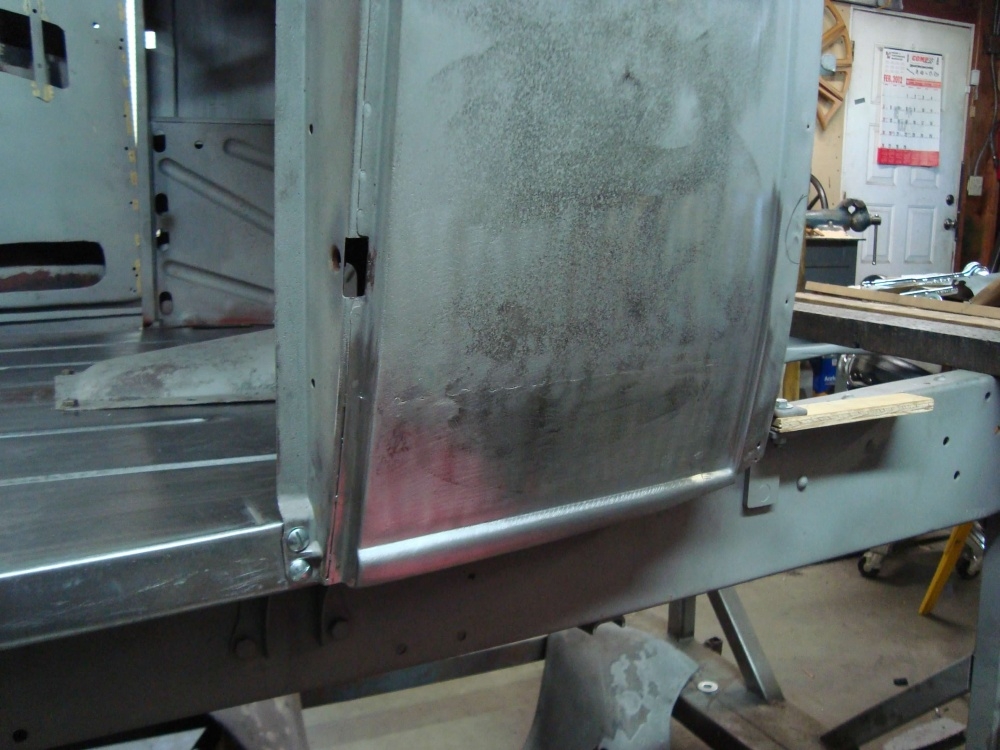
The floor under the rumble seat area is too bent up to attach the front floor to just yet.


 0
0 -
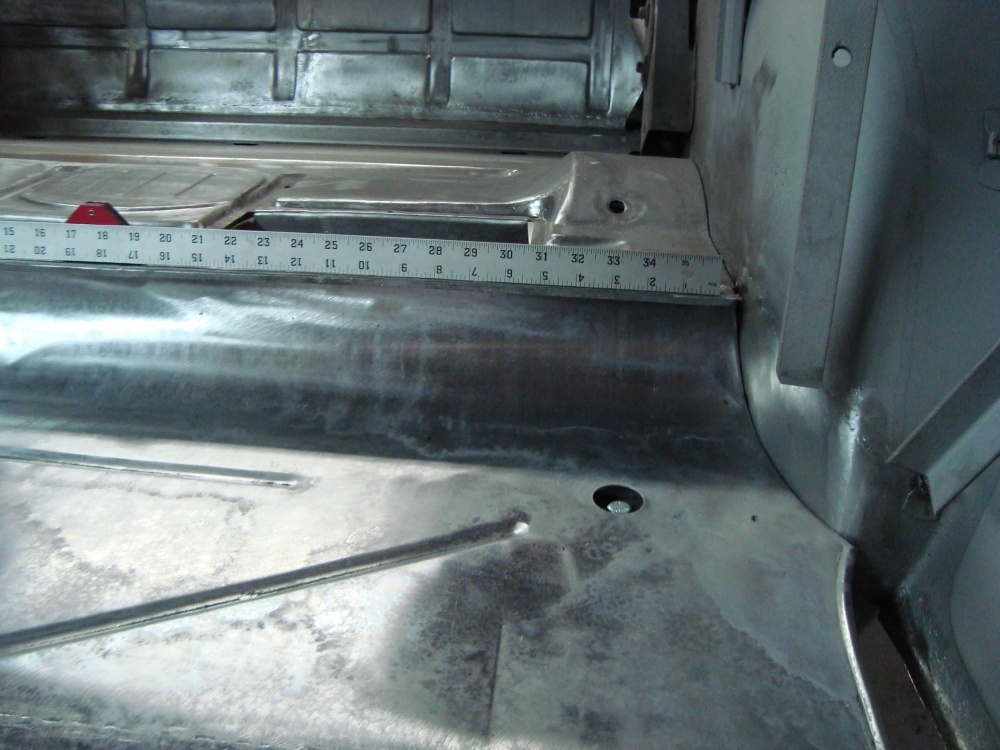
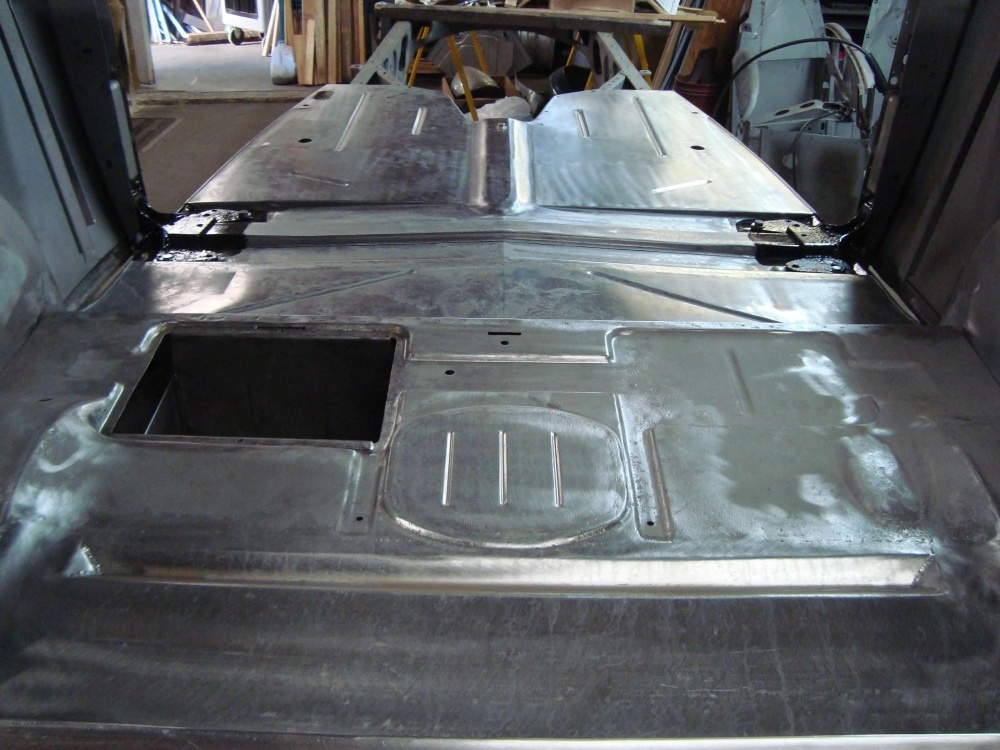
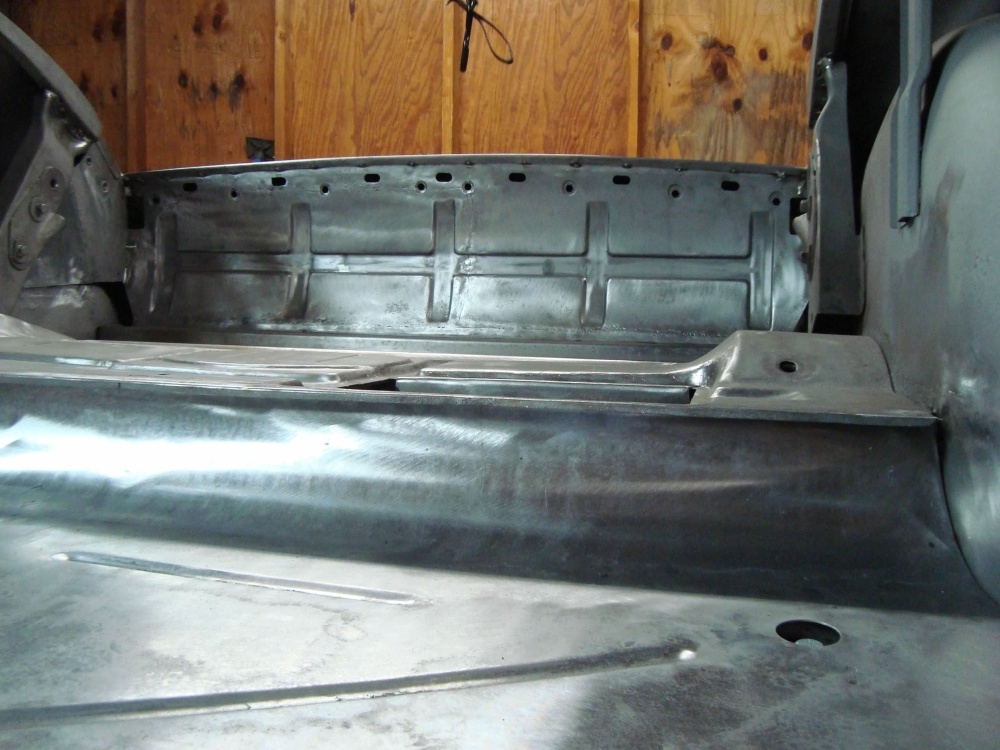
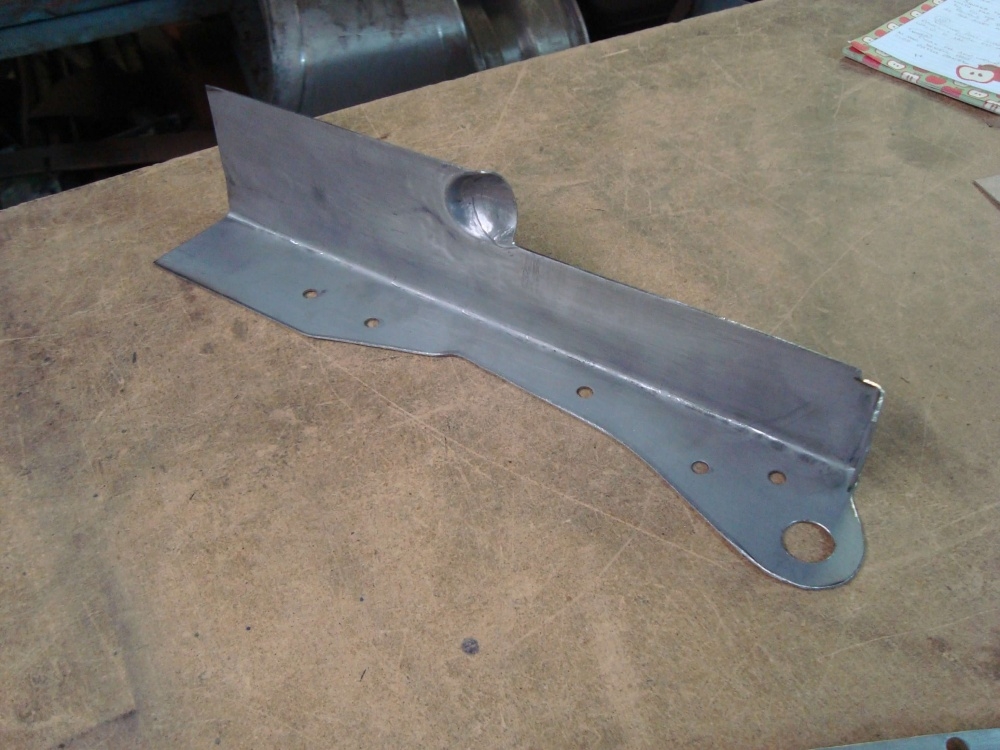
I needed to repair the floor in the rear first. A strip of original floor was saved over top of the rear end and around the battery box.

 0
0 -
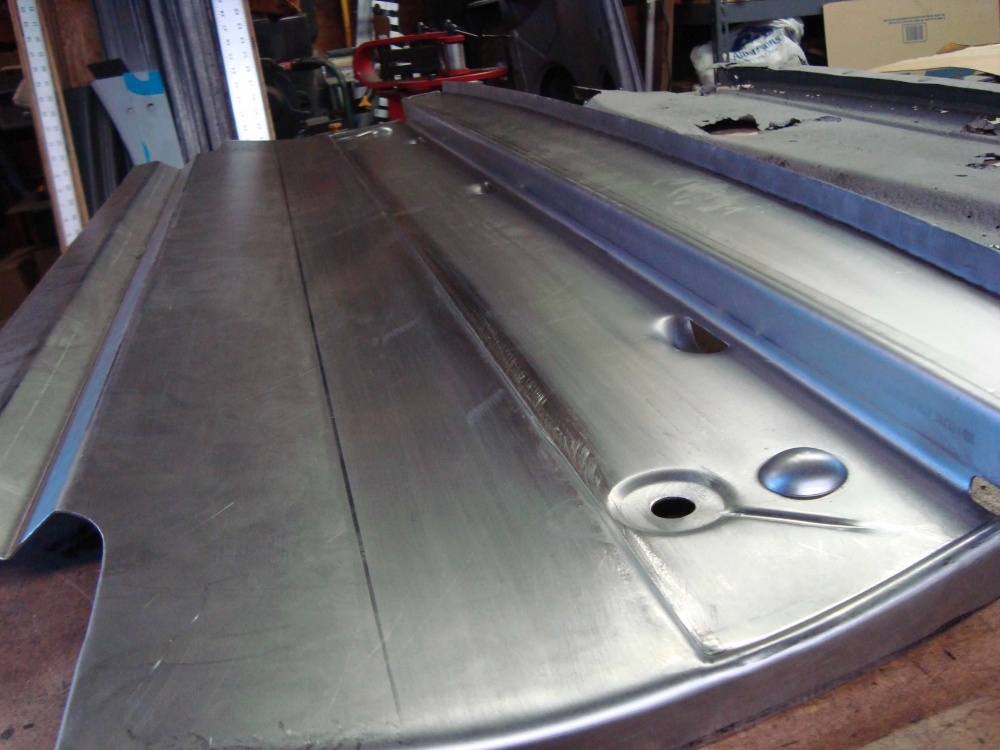
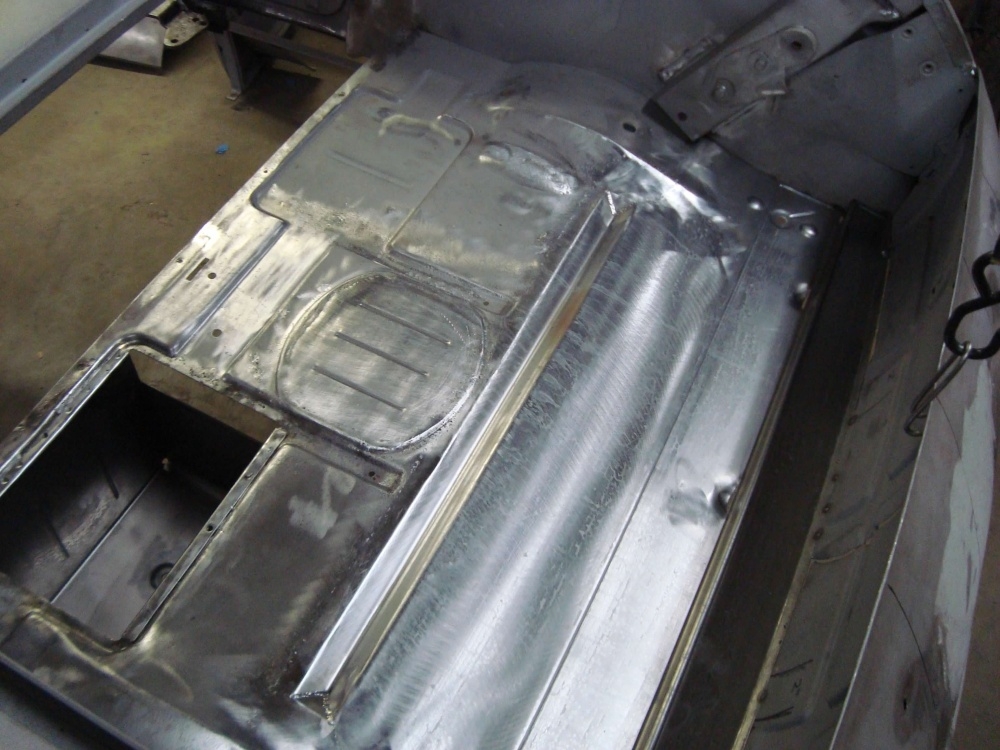
The rear floor and battery box.


 0
0 -
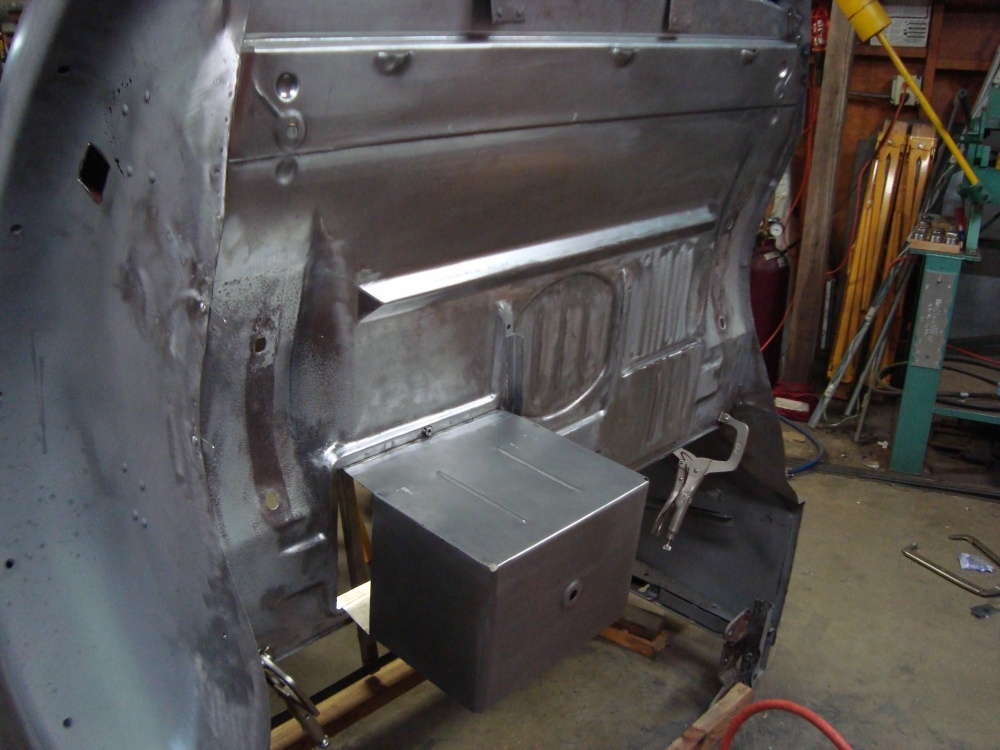
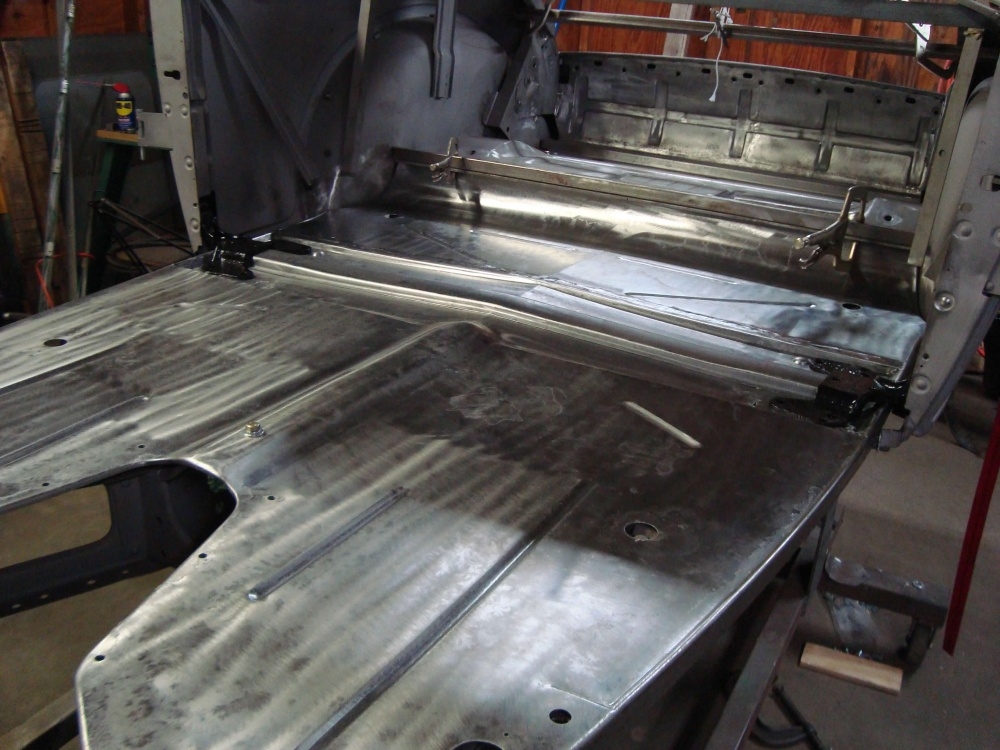
Installed in the body.
 0
0 -
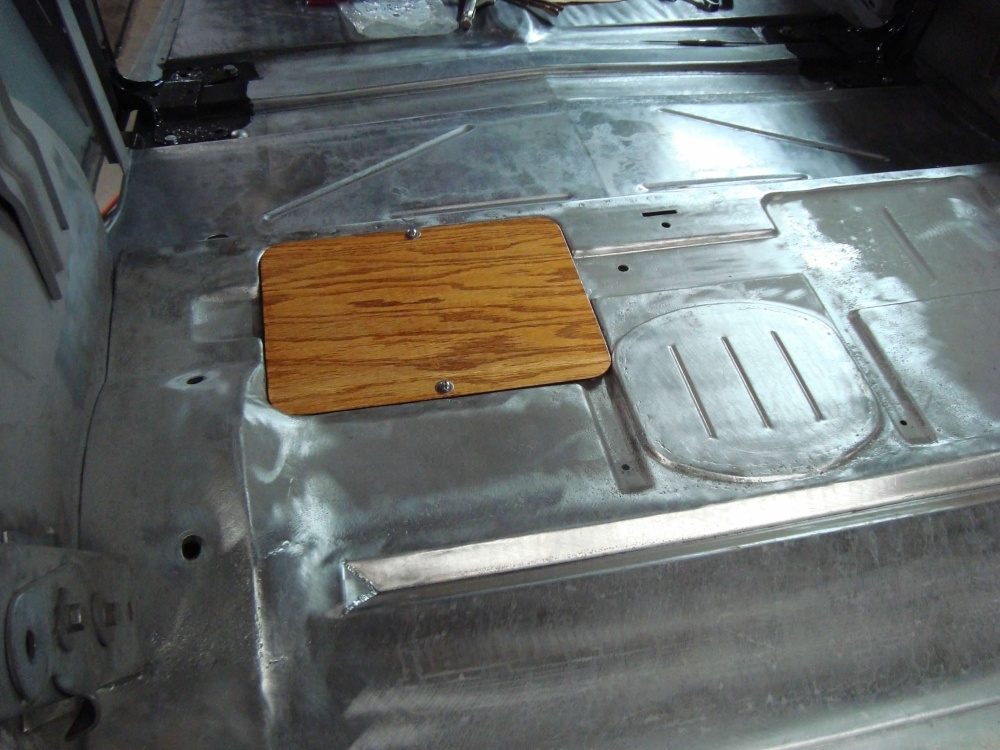
The floor being installed.
 0
0 -
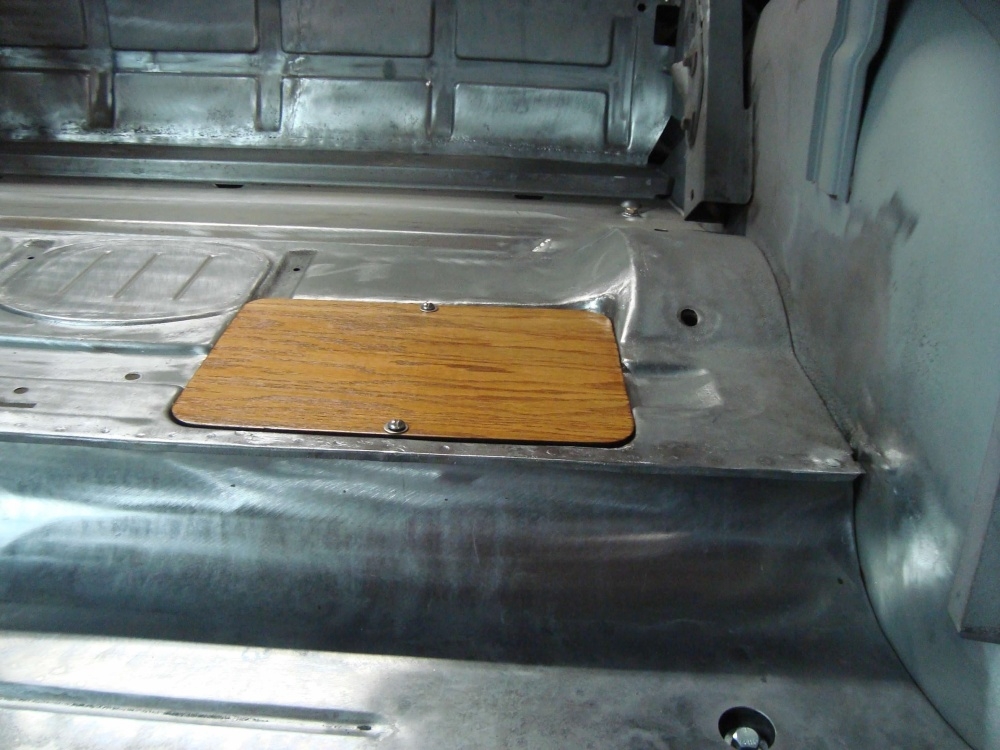
A little battery lid.


 0
0 -
The doner cowl had a nice firewall. But the bottom was rusted out and the windshield posts had been chopped off. I cut out the bad metal first and remade the bottom of the cowl.

 0
0 -
The new metal installed.
 0
0 -
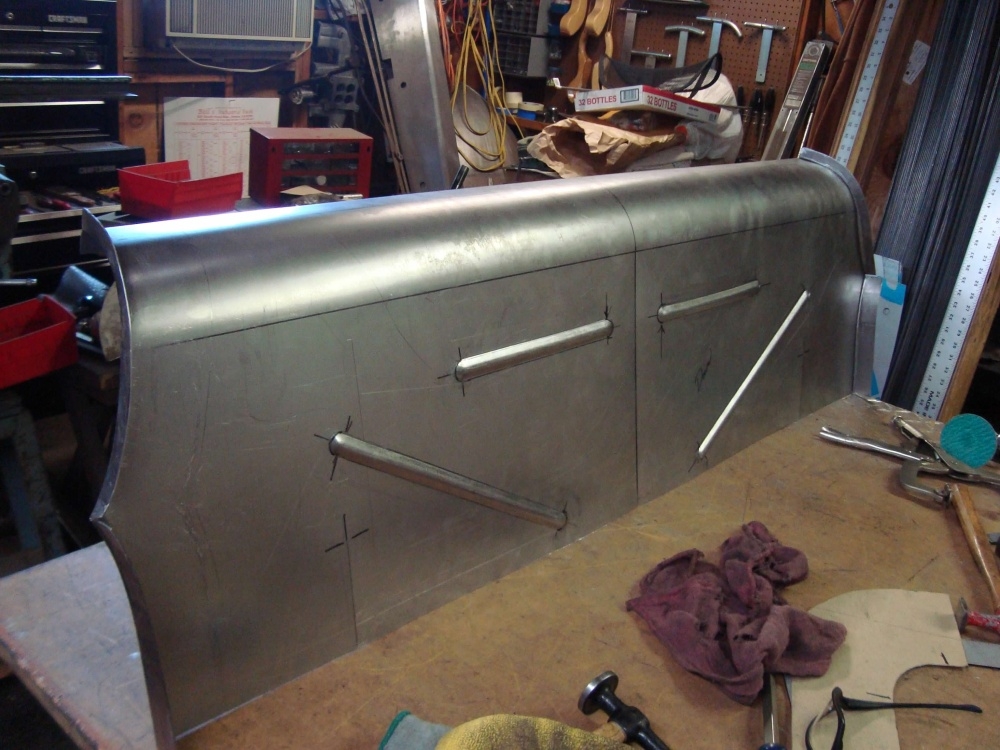
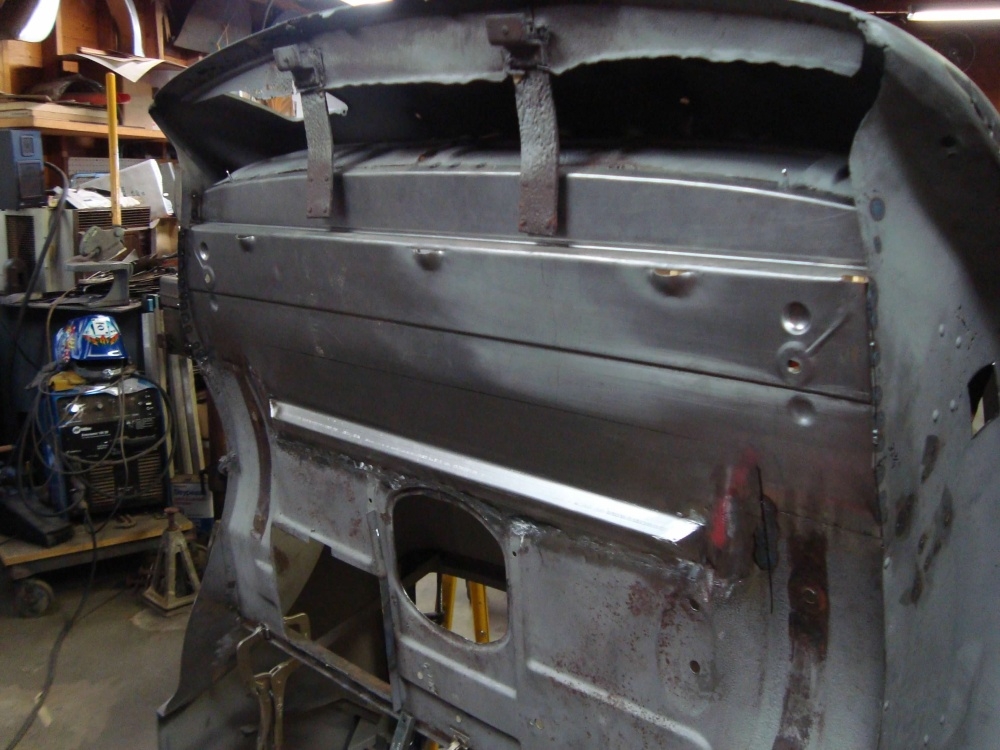
Here is the cowl. Notice the windshield posts are gone.

0 -
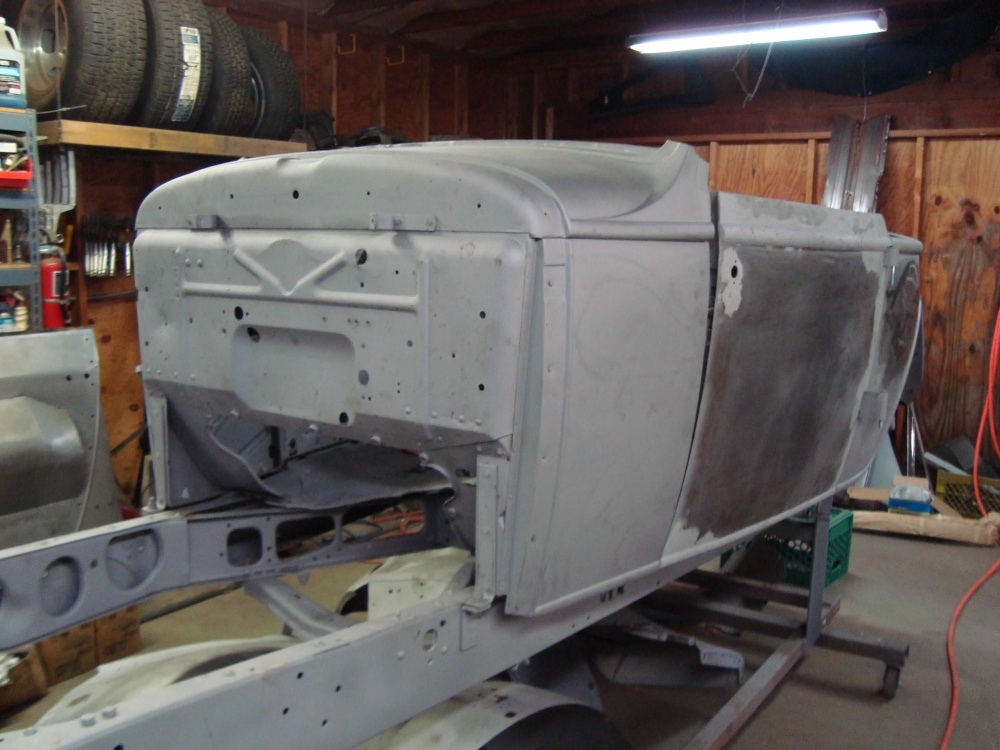
I decided to cut the top of the original cowl off at the belt line and weld it on the cowl we will be using.
 0
0 -
The cowl original cowl top was then welded on the new/doner cowl, with the good firewall.
 0
0 -
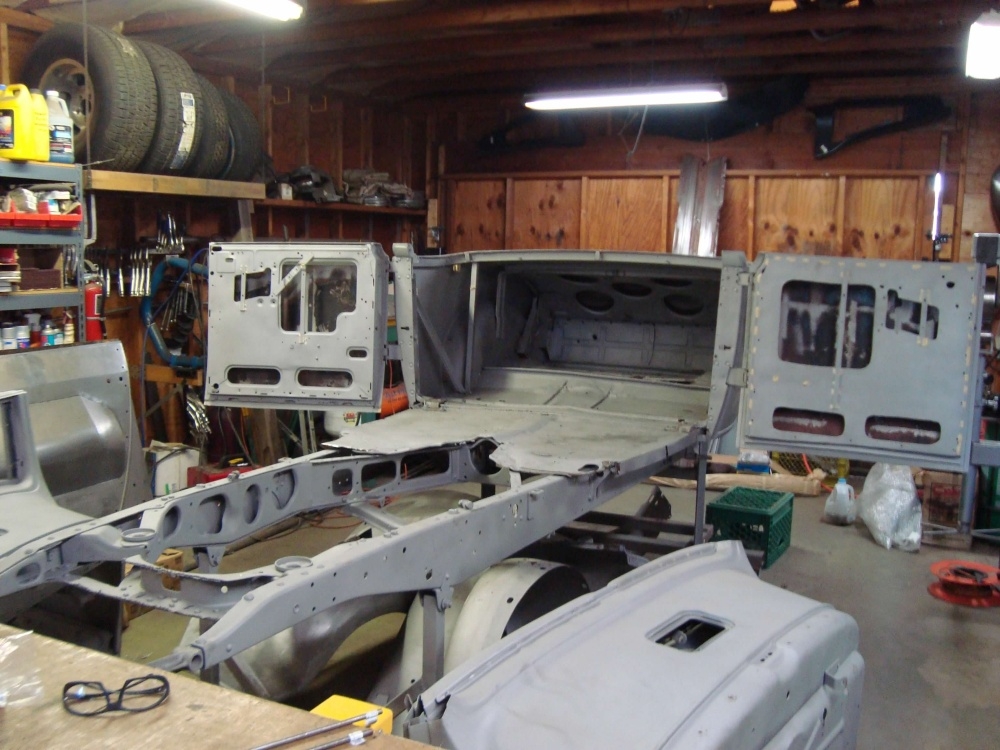
Before I welded the cowl onto the floor for the last time, I did some repairs across the bottom on the inner structure and primered in all of the spots that I thought would be hard for the painter to get to once the car is all together.
 0
0 -
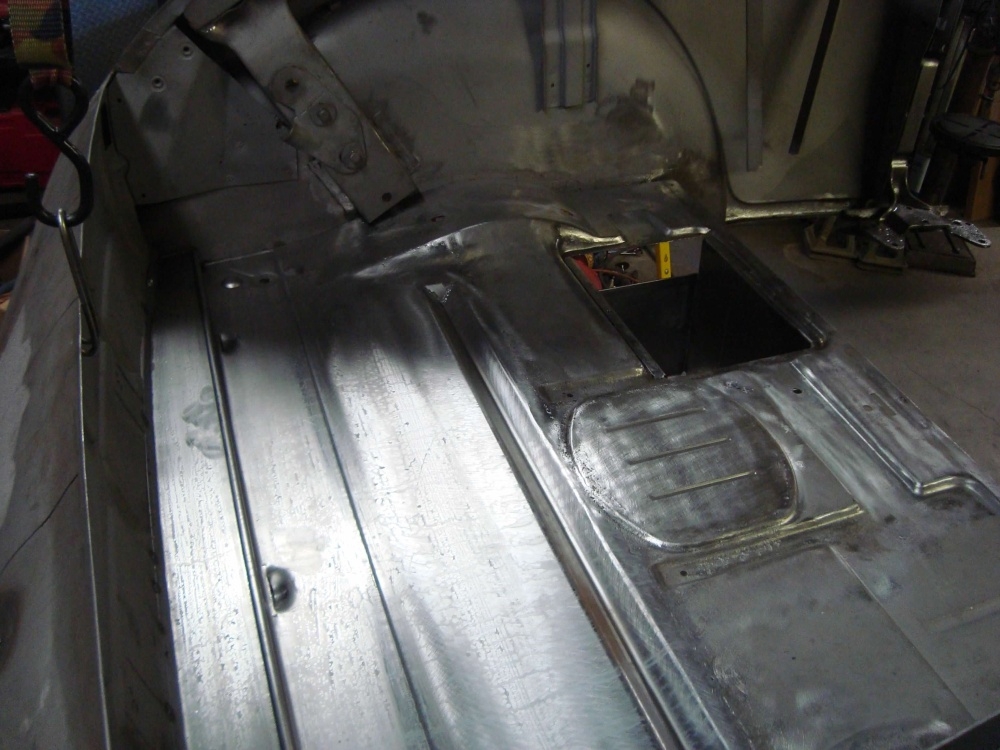
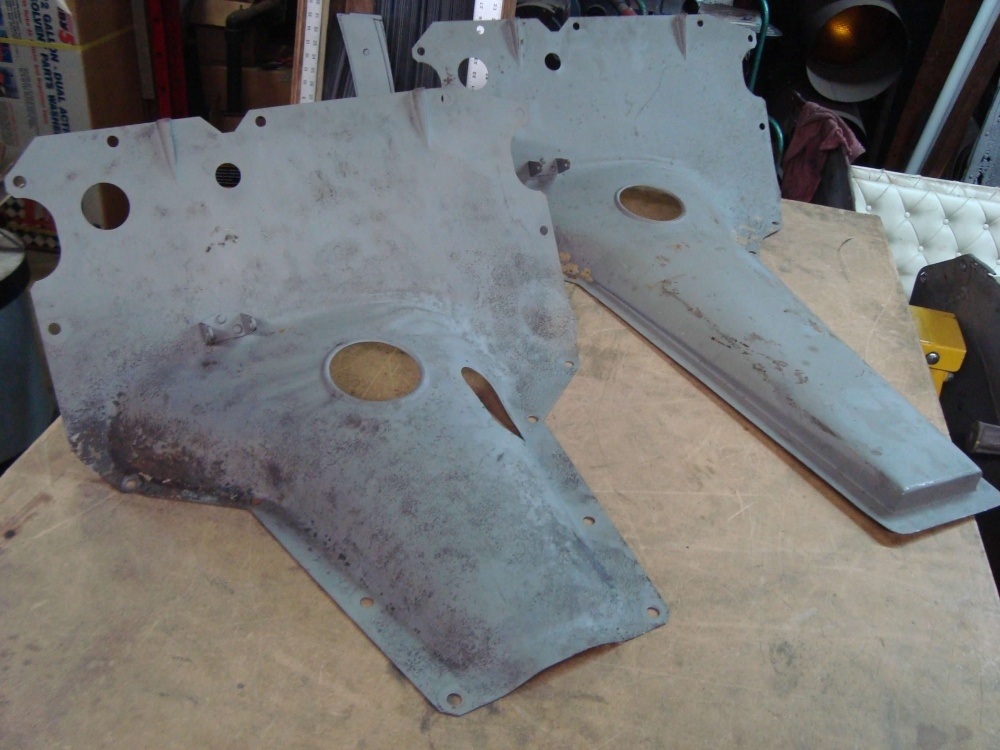
The trans cover was an altered version of a stock cover. Some pictures of what was in the car, and what I did.
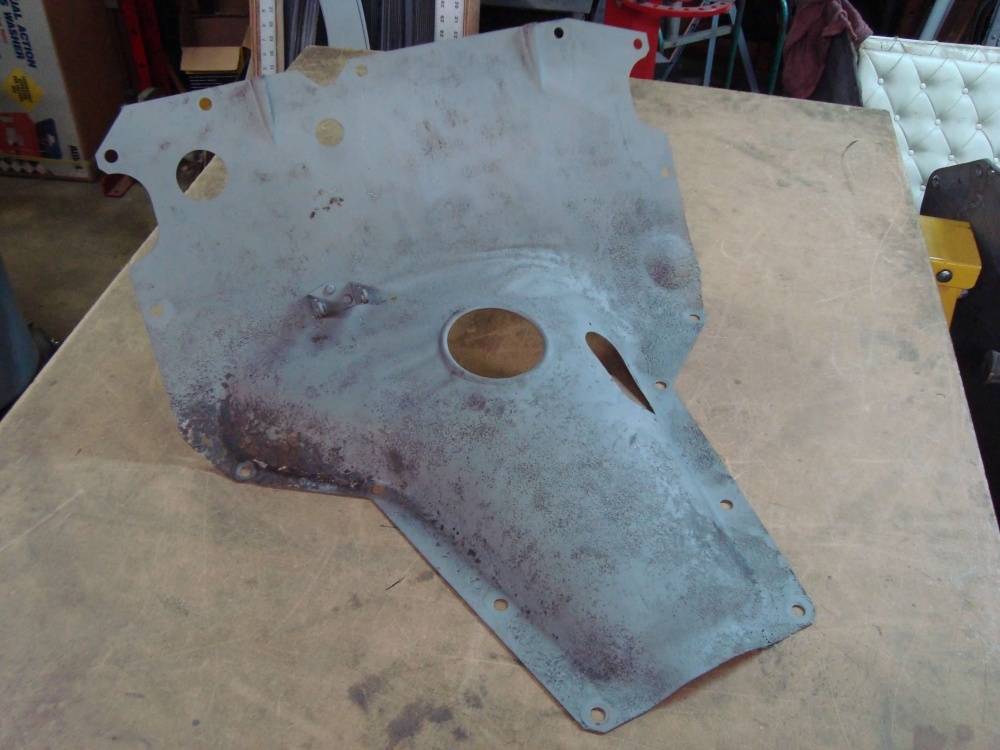
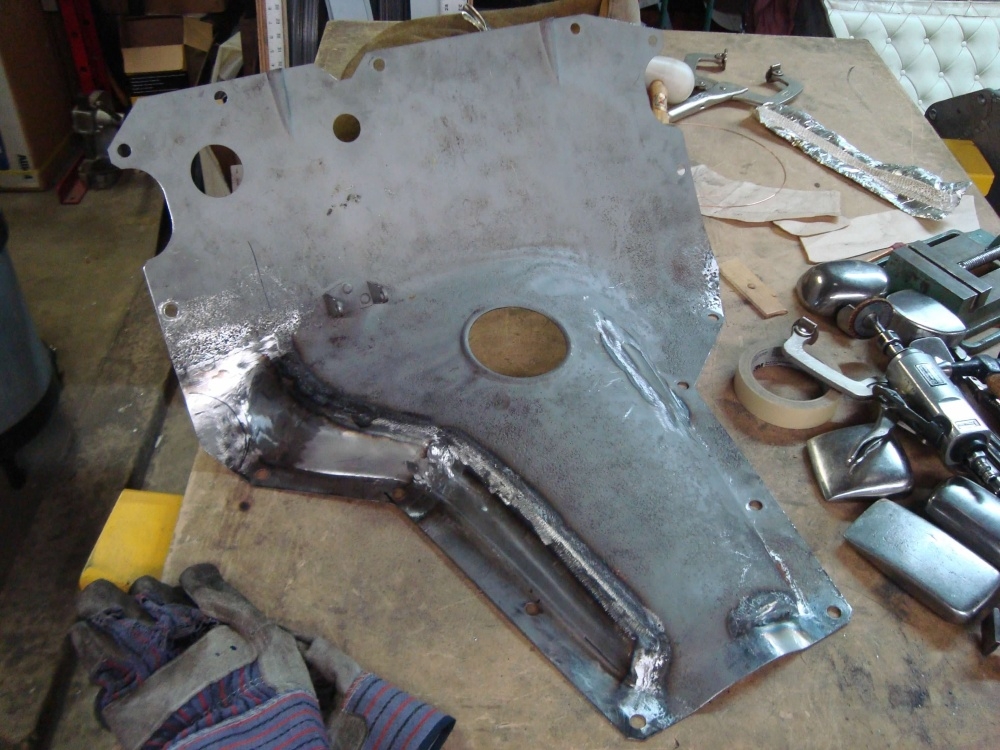
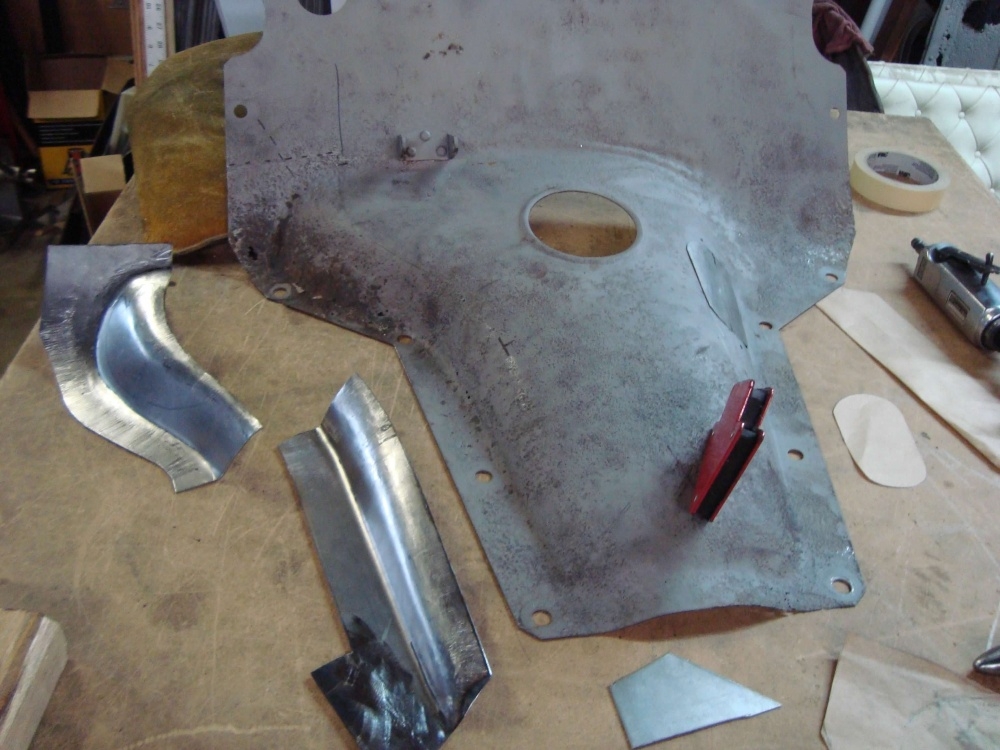 0
0 -
Trans cover installed in the car.


 0
0 -
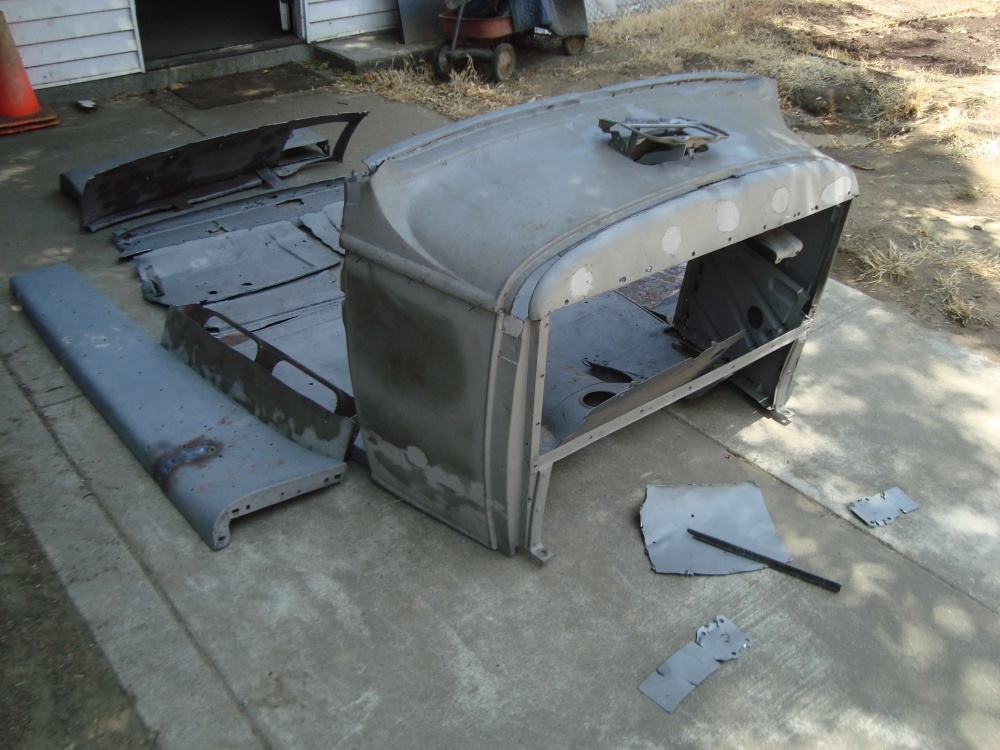
All along during this process I was cutting off pieces of the car and making new parts. The pieces I was cutting off I would just toss under the car. Worried I might need to reference some little detail in a part I had removed, I saved them all. But it got to a point where the parts were over flowing from under the car and just in the way. So I decided to clean house. Here are most, not all, of the parts I cut off of the car. ...Almost enough to start making a second body.
")

 0
0 -
Here is a picture of the car when Ivan bought it. Very cool paint job. Looks pretty solid.


 0
0 -
Thanks for posting all these photos. I had forgotten how much you had done on this car. I hope you have some of the driver’s door. This whole project was incredible to watch.0
-
Perry , as ever I'm in awe of the work you do - you are a genius with metal!
0 -
I kinda like the peaked grille shell it has as a hot rod.0
-
I second what Paul said. Fascinating0
-
Thank you gentlemen! Glad you liked it. I think that I have posted everything I did on this car now. I made several threads here and tried to break up the project into categories that people could reference should they run into a similar repair that they might need to do. I did a lot of work on that car. Fabricating new from flat sheet, the floors, one door, both rear fenders, both running boards, the rear aprons, and various patch panels. I would say I made close to 50% of the body on that job. It's a very special project in my list of cars I've worked on. I'm very happy you guys enjoy seeing the work. 0
-
You make it all look so logical and easy....but we know that's because you are so gifted at doing this work. Thank you for posting these images, it's really uplifting to see these.
0


Categories
- 36.9K All Categories
- 111 Hudson 1916 - 1929
- 20 Upcoming Events
- 92 Essex Super 6
- 28.6K HUDSON
- 569 "How To" - Skills, mechanical and other wise
- 995 Street Rods
- 151 American Motors
- 178 The Flathead Forum
- 49 Manuals, etc,.
- 78 Hudson 8
- 44 FORUM - Instructions and Tips on using the forum
- 2.8K CLASSIFIEDS
- 606 Vehicles
- 2.1K Parts & Pieces
- 77 Literature & Memorabilia
- Hudson 1916 - 1929 Yahoo Groups Archived Photos