Routine 70 year maintenance, 1929 Essex
Comments
-
You did it the hard way I just threw the old switch away and soldered a new switch to the bezel.0
-
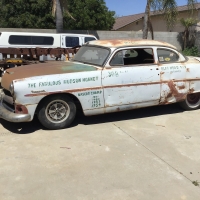
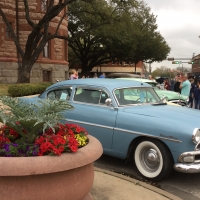
The Comet is cool with its Kennedy bumper sticker in the window
you have a great collection of old stuff and it’s very interesting to see your collection and and the progress on your car
like you I have interest in anything that is old and am obsessed with vintage vehicles and any thing mechanical
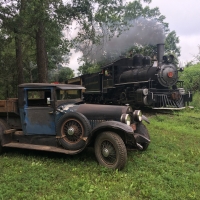
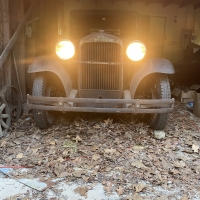
I know this is a H.E.T. Forum But I am sure that many of us have a building full of ether vehicles and cool old stuff that is seldom seen
so hear is a picture of one corner of one of my buildings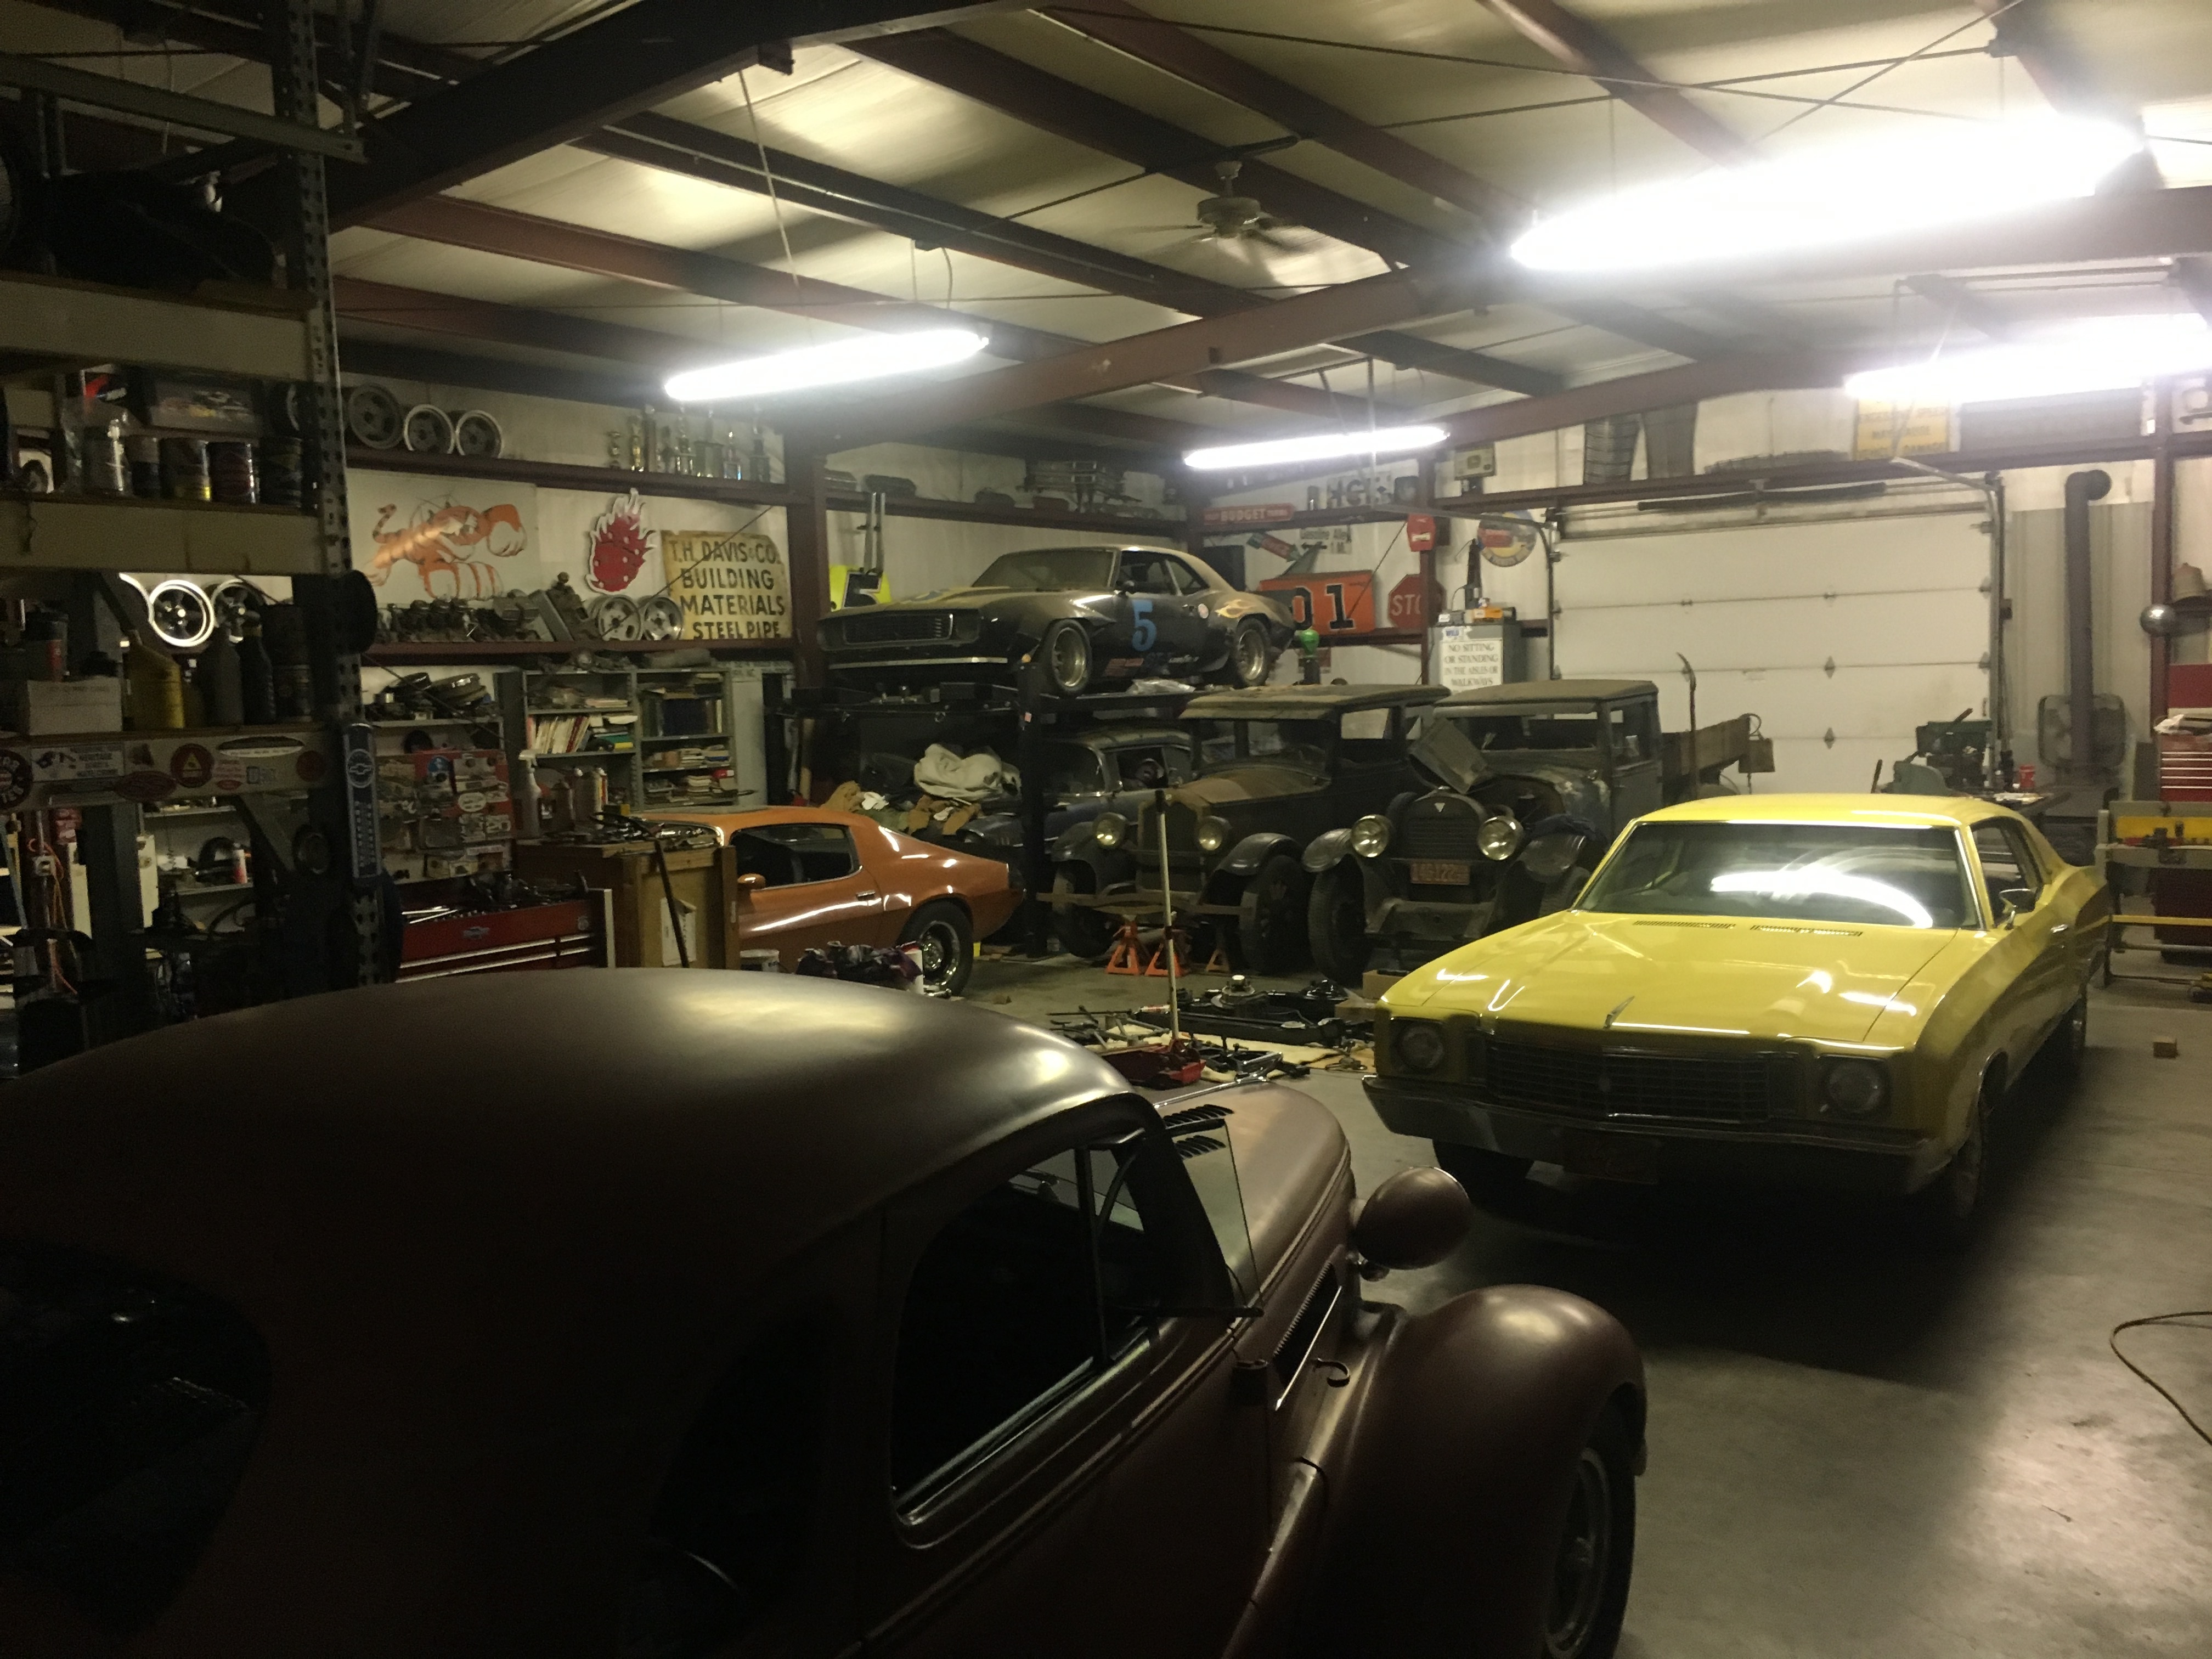
0 -
I had a white 61 Comet 2 door. I sold it about a year ago.0
-
That is the story of my life!Geoff said:You did it the hard way I just threw the old switch away and soldered a new switch to the bezel.I always find the most convoluted, difficult way!0 -
I bought it for $100 in 1991 and put a 1965 200 ci 6 cylinder in it.The brakes are currently operational and everything is ready to install I just have a little bit more welding before I can get to the business end of it and install the driveline and A/C system. Going to go with 14” and poverty dog dish hubcaps. The optional full wheel covers for the original 13” rims will walk around the rims and eventually pop off entirely or shear the valve stem.0
-
There’s a Hudson in the shot so you’re on topic.25truck said:
I know this is a H.E.T. Forum But I am sure that many of us have a building full of ether vehicles and cool old stuff that is seldom seen
so hear is a picture of one corner of one of my buildingsYou have quite the assortment of toys as well.
I see mopar, lots of Chevrolet, Buick? Hudson.
I could live in a nice building like that.Just pull in an airstream or canned ham camper!
...or maybe an appropriate SHORT BUS.When the Comet is road ready, I’m going to actually apply the bumper sticker. 0
0 -
I had a set of 15" wheels from a Rambler that I was going paint black and use chrome lug nuts with no caps and raised white letter tires, or a set of Moon full disc hubcaps. I let the wheels go with the car, and kept the caps. They may find their way on to my 54.rusty_apache said:0 -
I’m going with reproduction Firestone whitewall bias tires. Period correct is 1” but I like 2” or more!
Skinny bias tires are like adding powered steering once you get used to radials.0 -
The mat is out.
 It has more splits than I realized but hopefully it will work out okay. It needs to sit in full sun tomorrow before it will lay flat enough to make a plywood floor mat sammich.
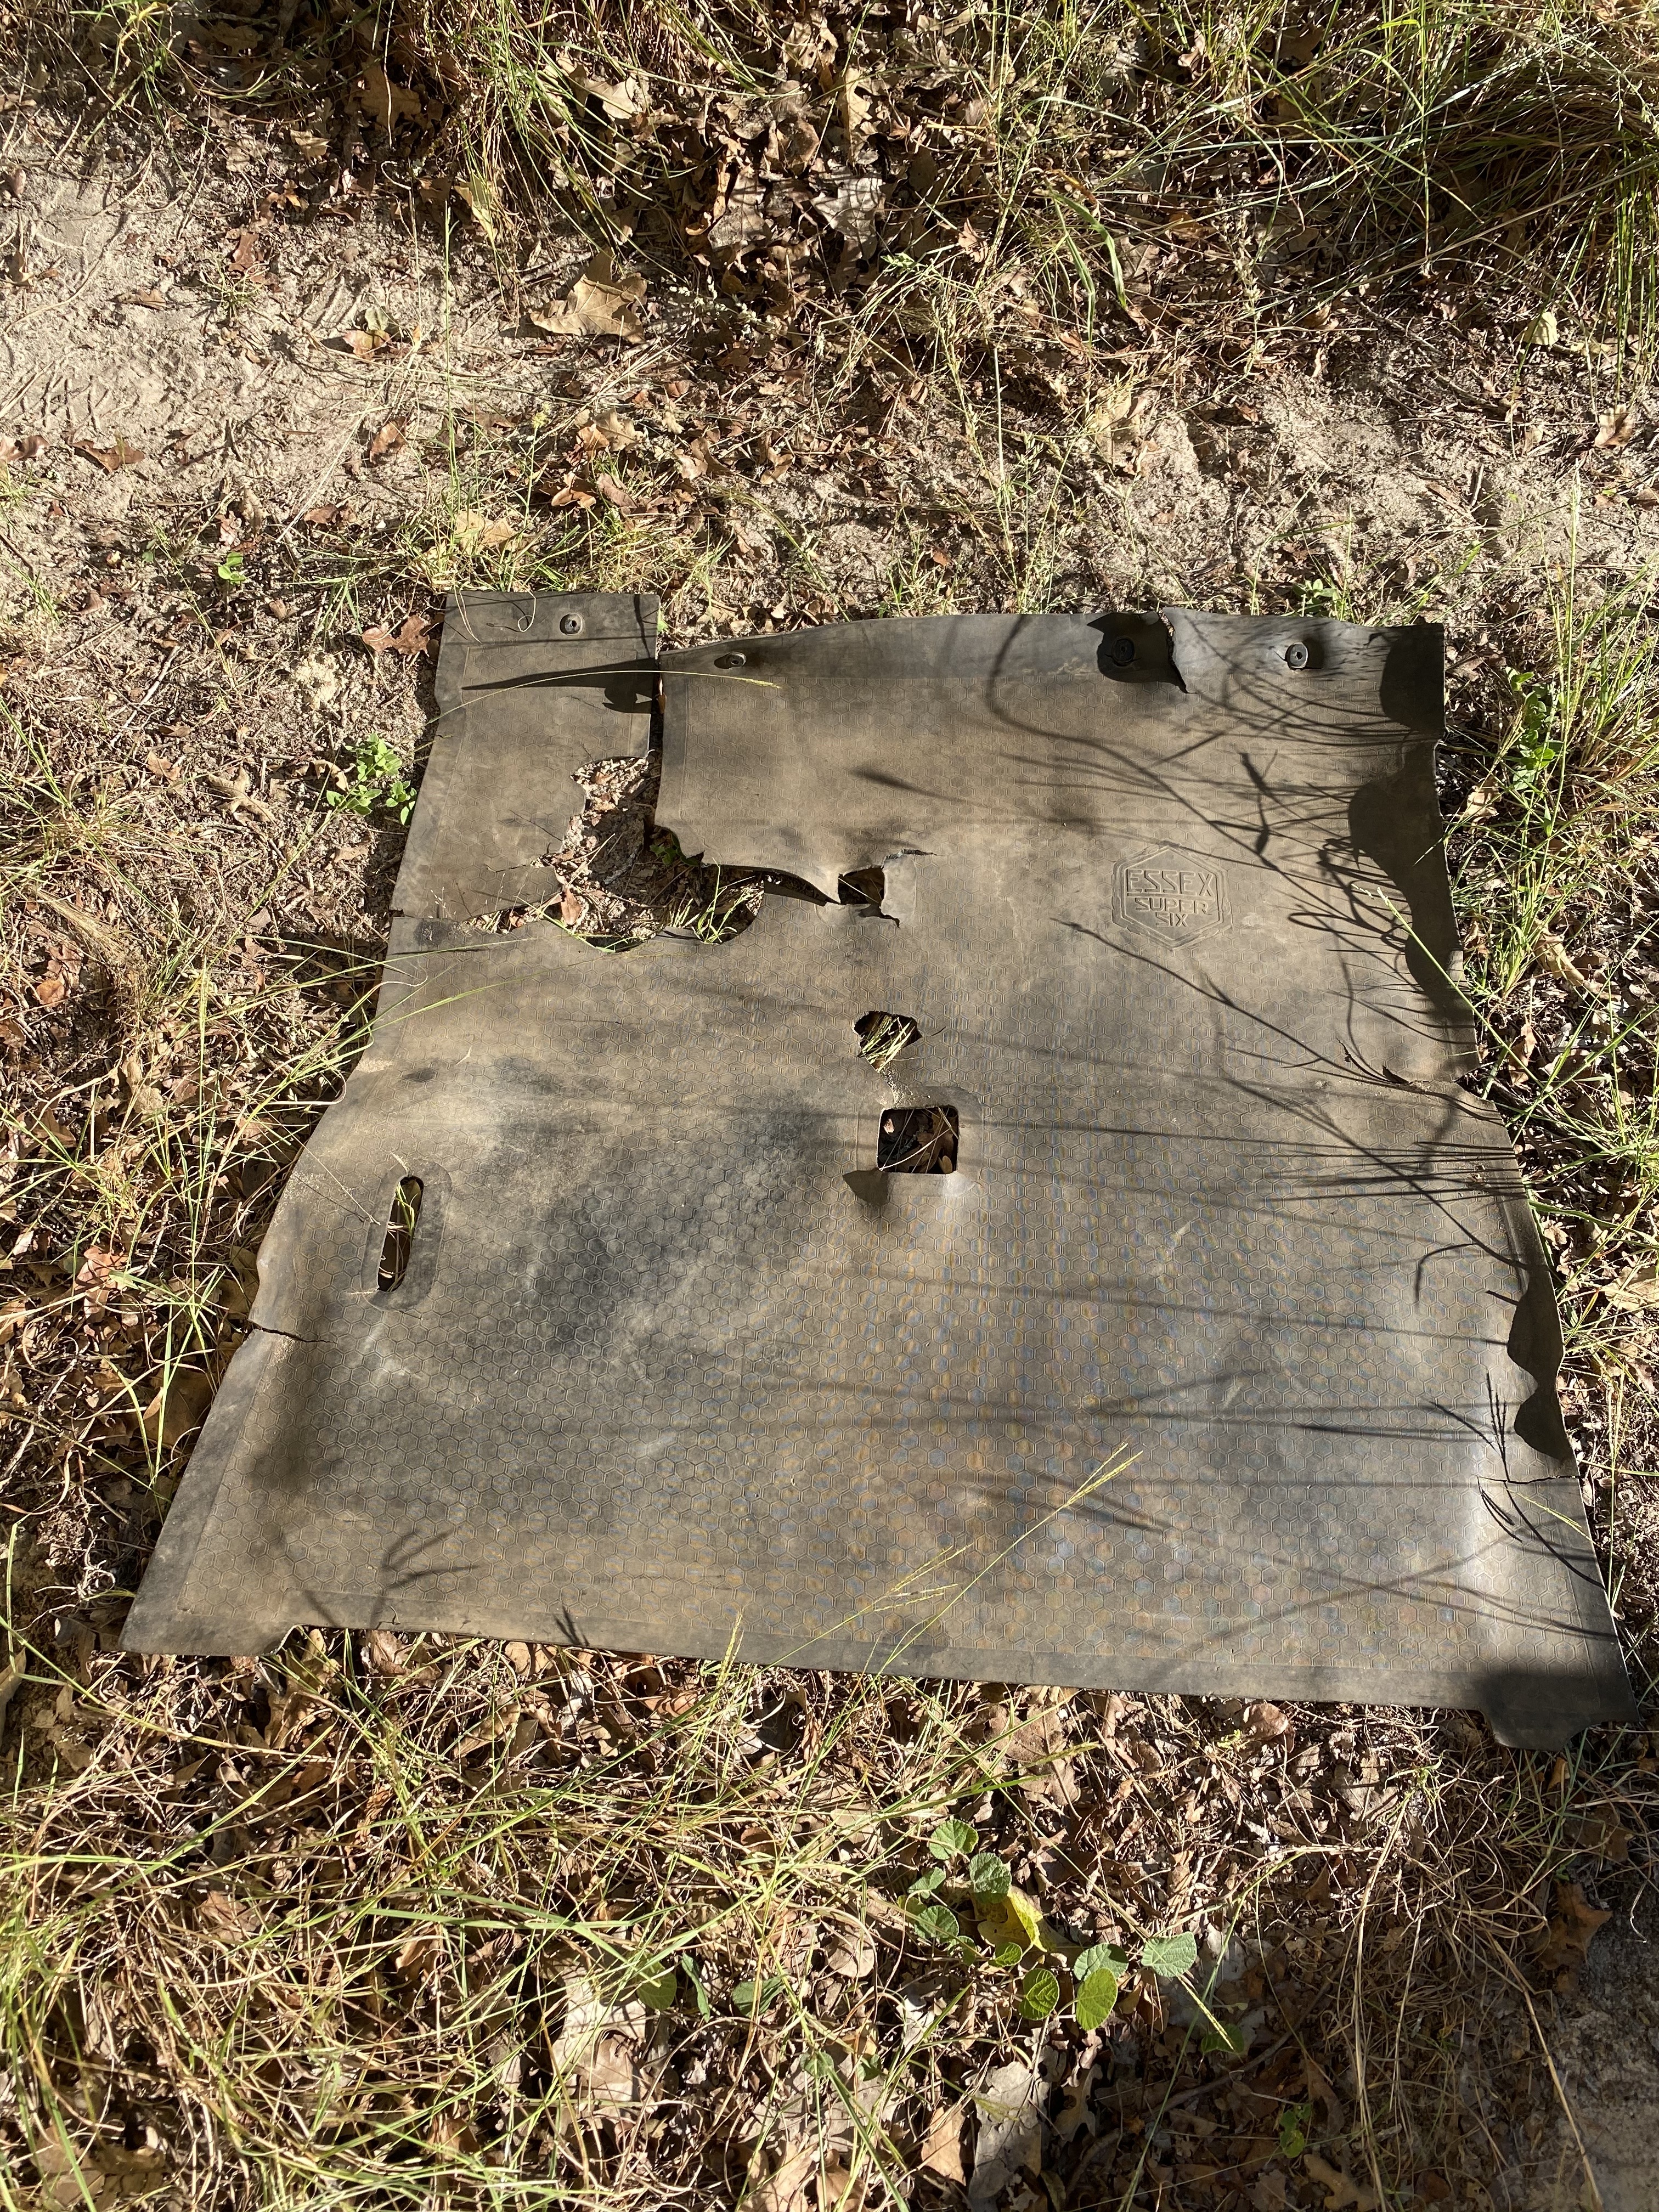 0
0 -
Geoff said:You did it the hard way I just threw the old switch away and soldered a new switch to the bezel.It’s a sick obsession!I went to the trouble of rebuilding some pedal screws for the 1891 Columbia Expert, out of some round stock a few years ago. It took a special order tap and die to do it because it’s something like a 24 medium pitch 1/4 Thread. I TIG welded the newly threaded rods about a 1/4” below the original filister heads, but I left the best bolt intact for anyone that may take them apart after another 130 years.
I just can’t help myself...heheh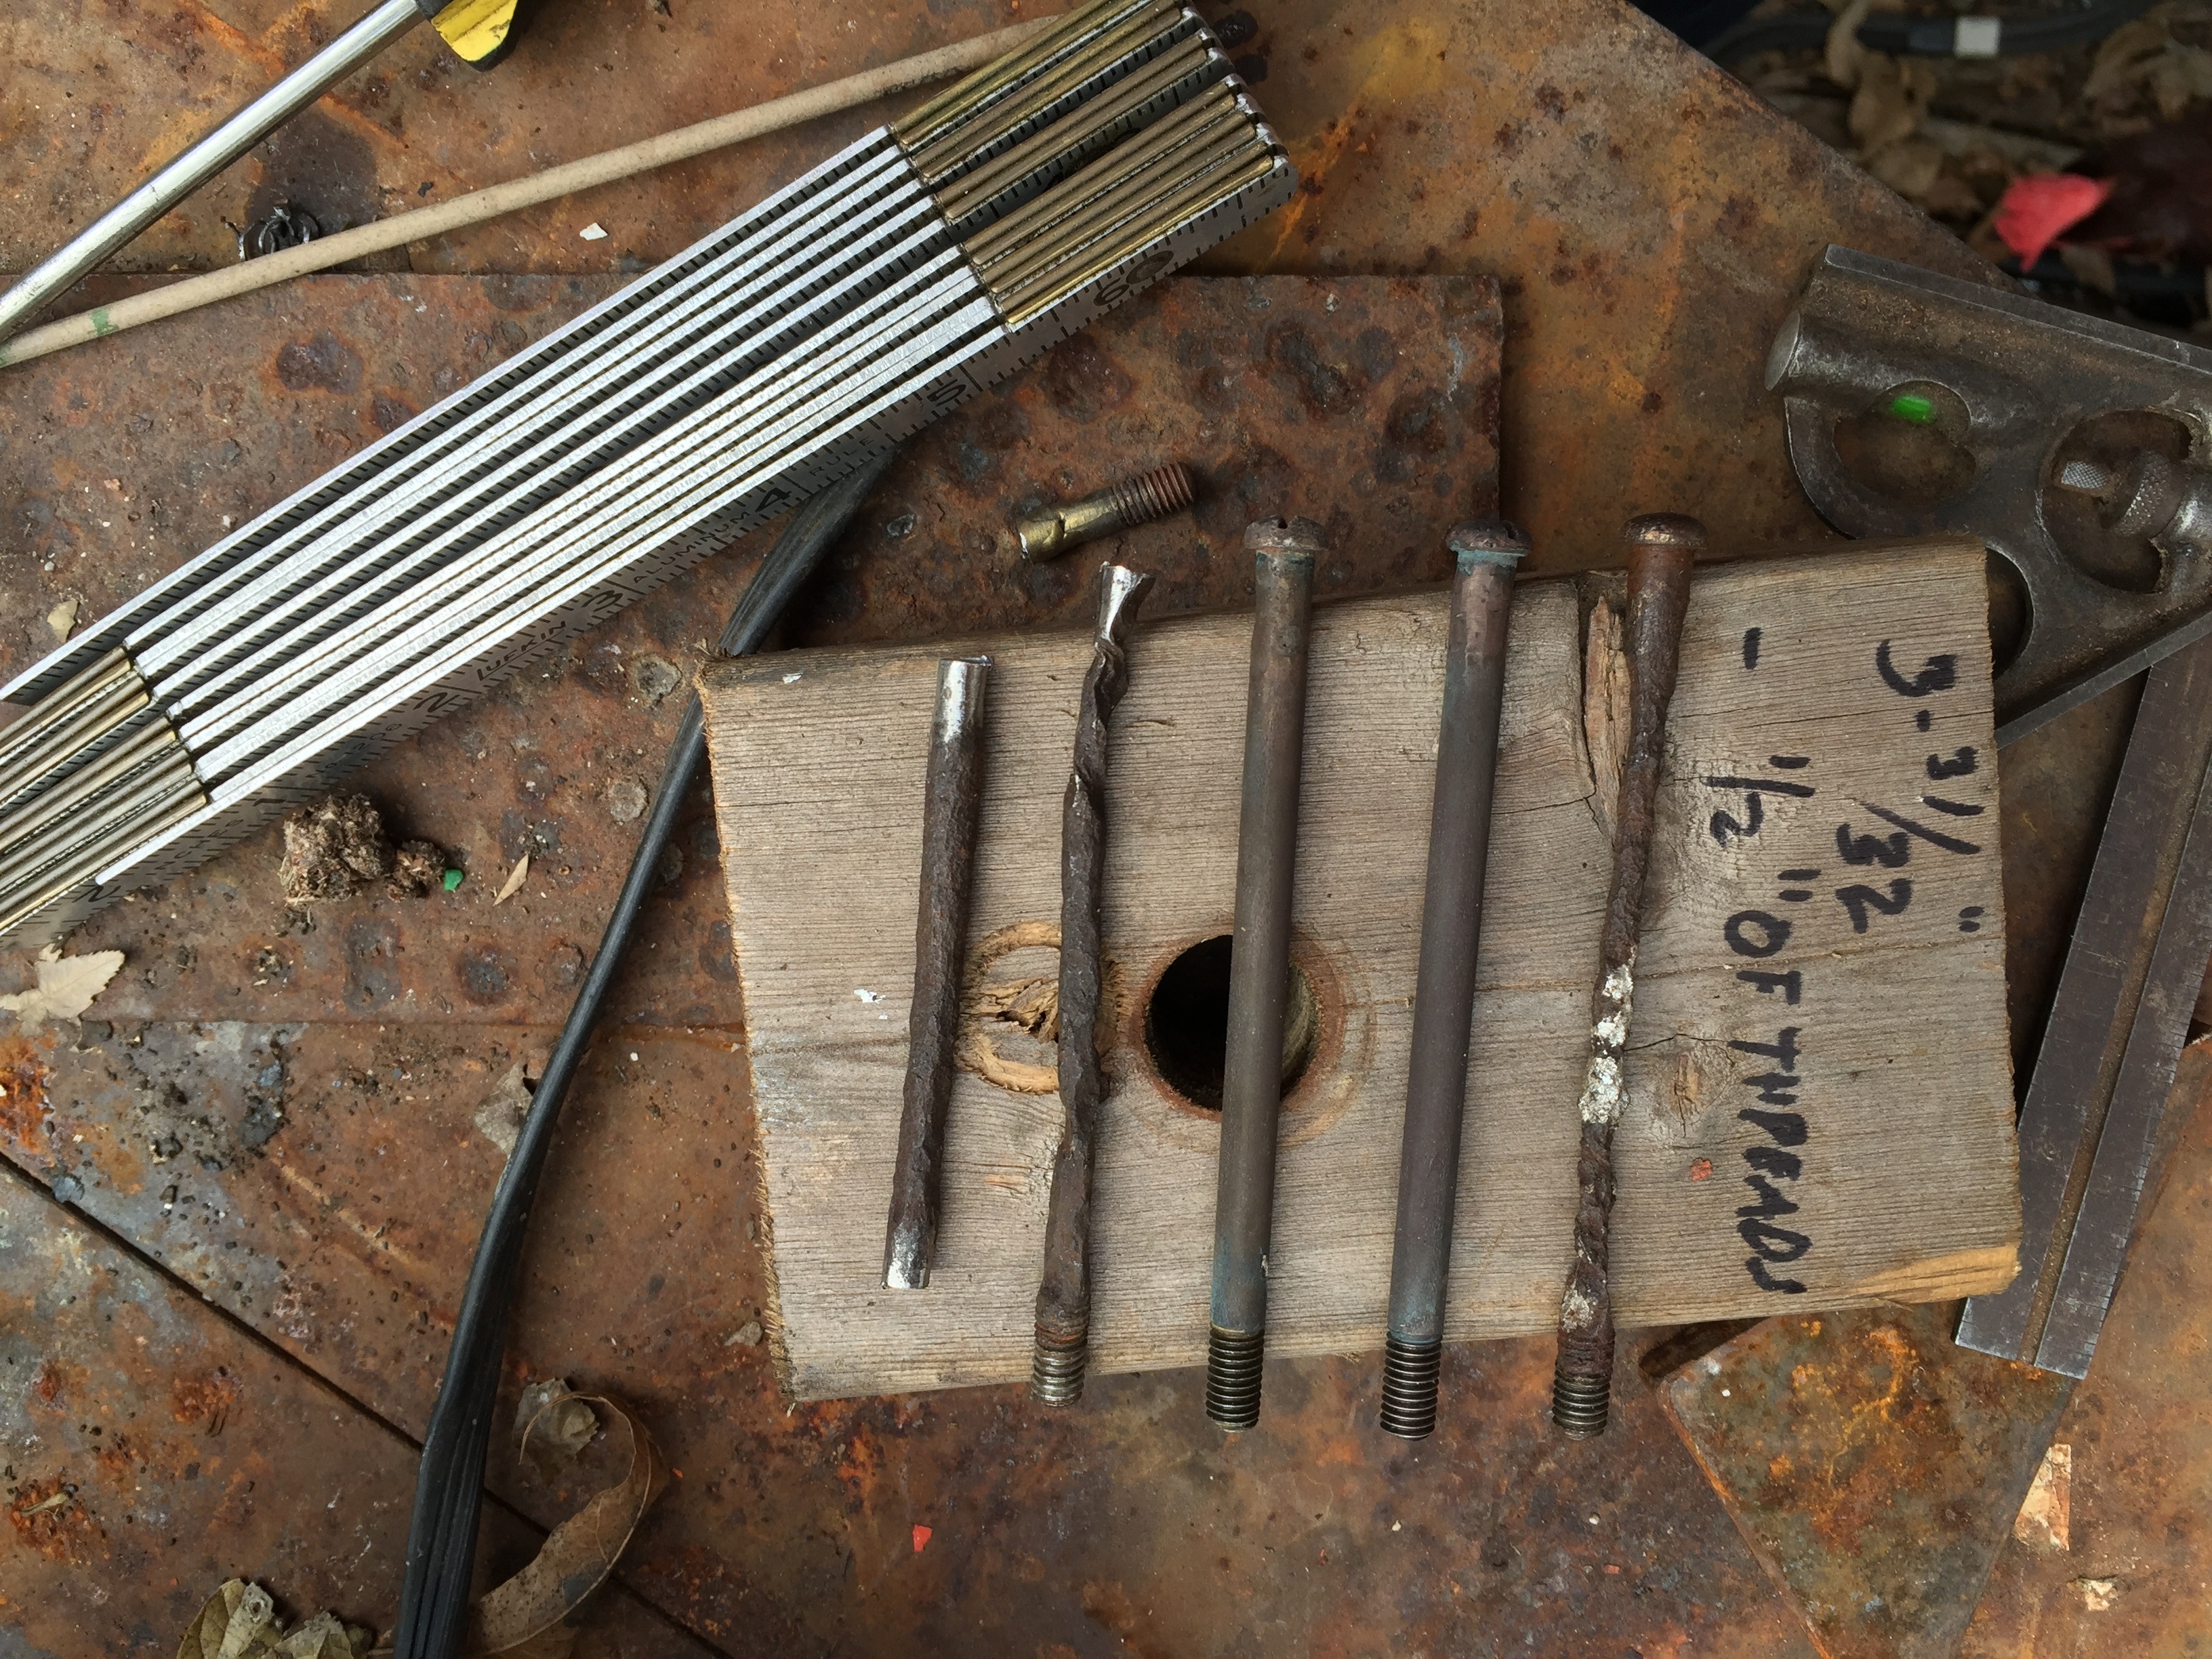 The rubber pedal block looks much better nowadays since it sat for a few years in the Tx Transportation museum, they are a nicer looking beige now...
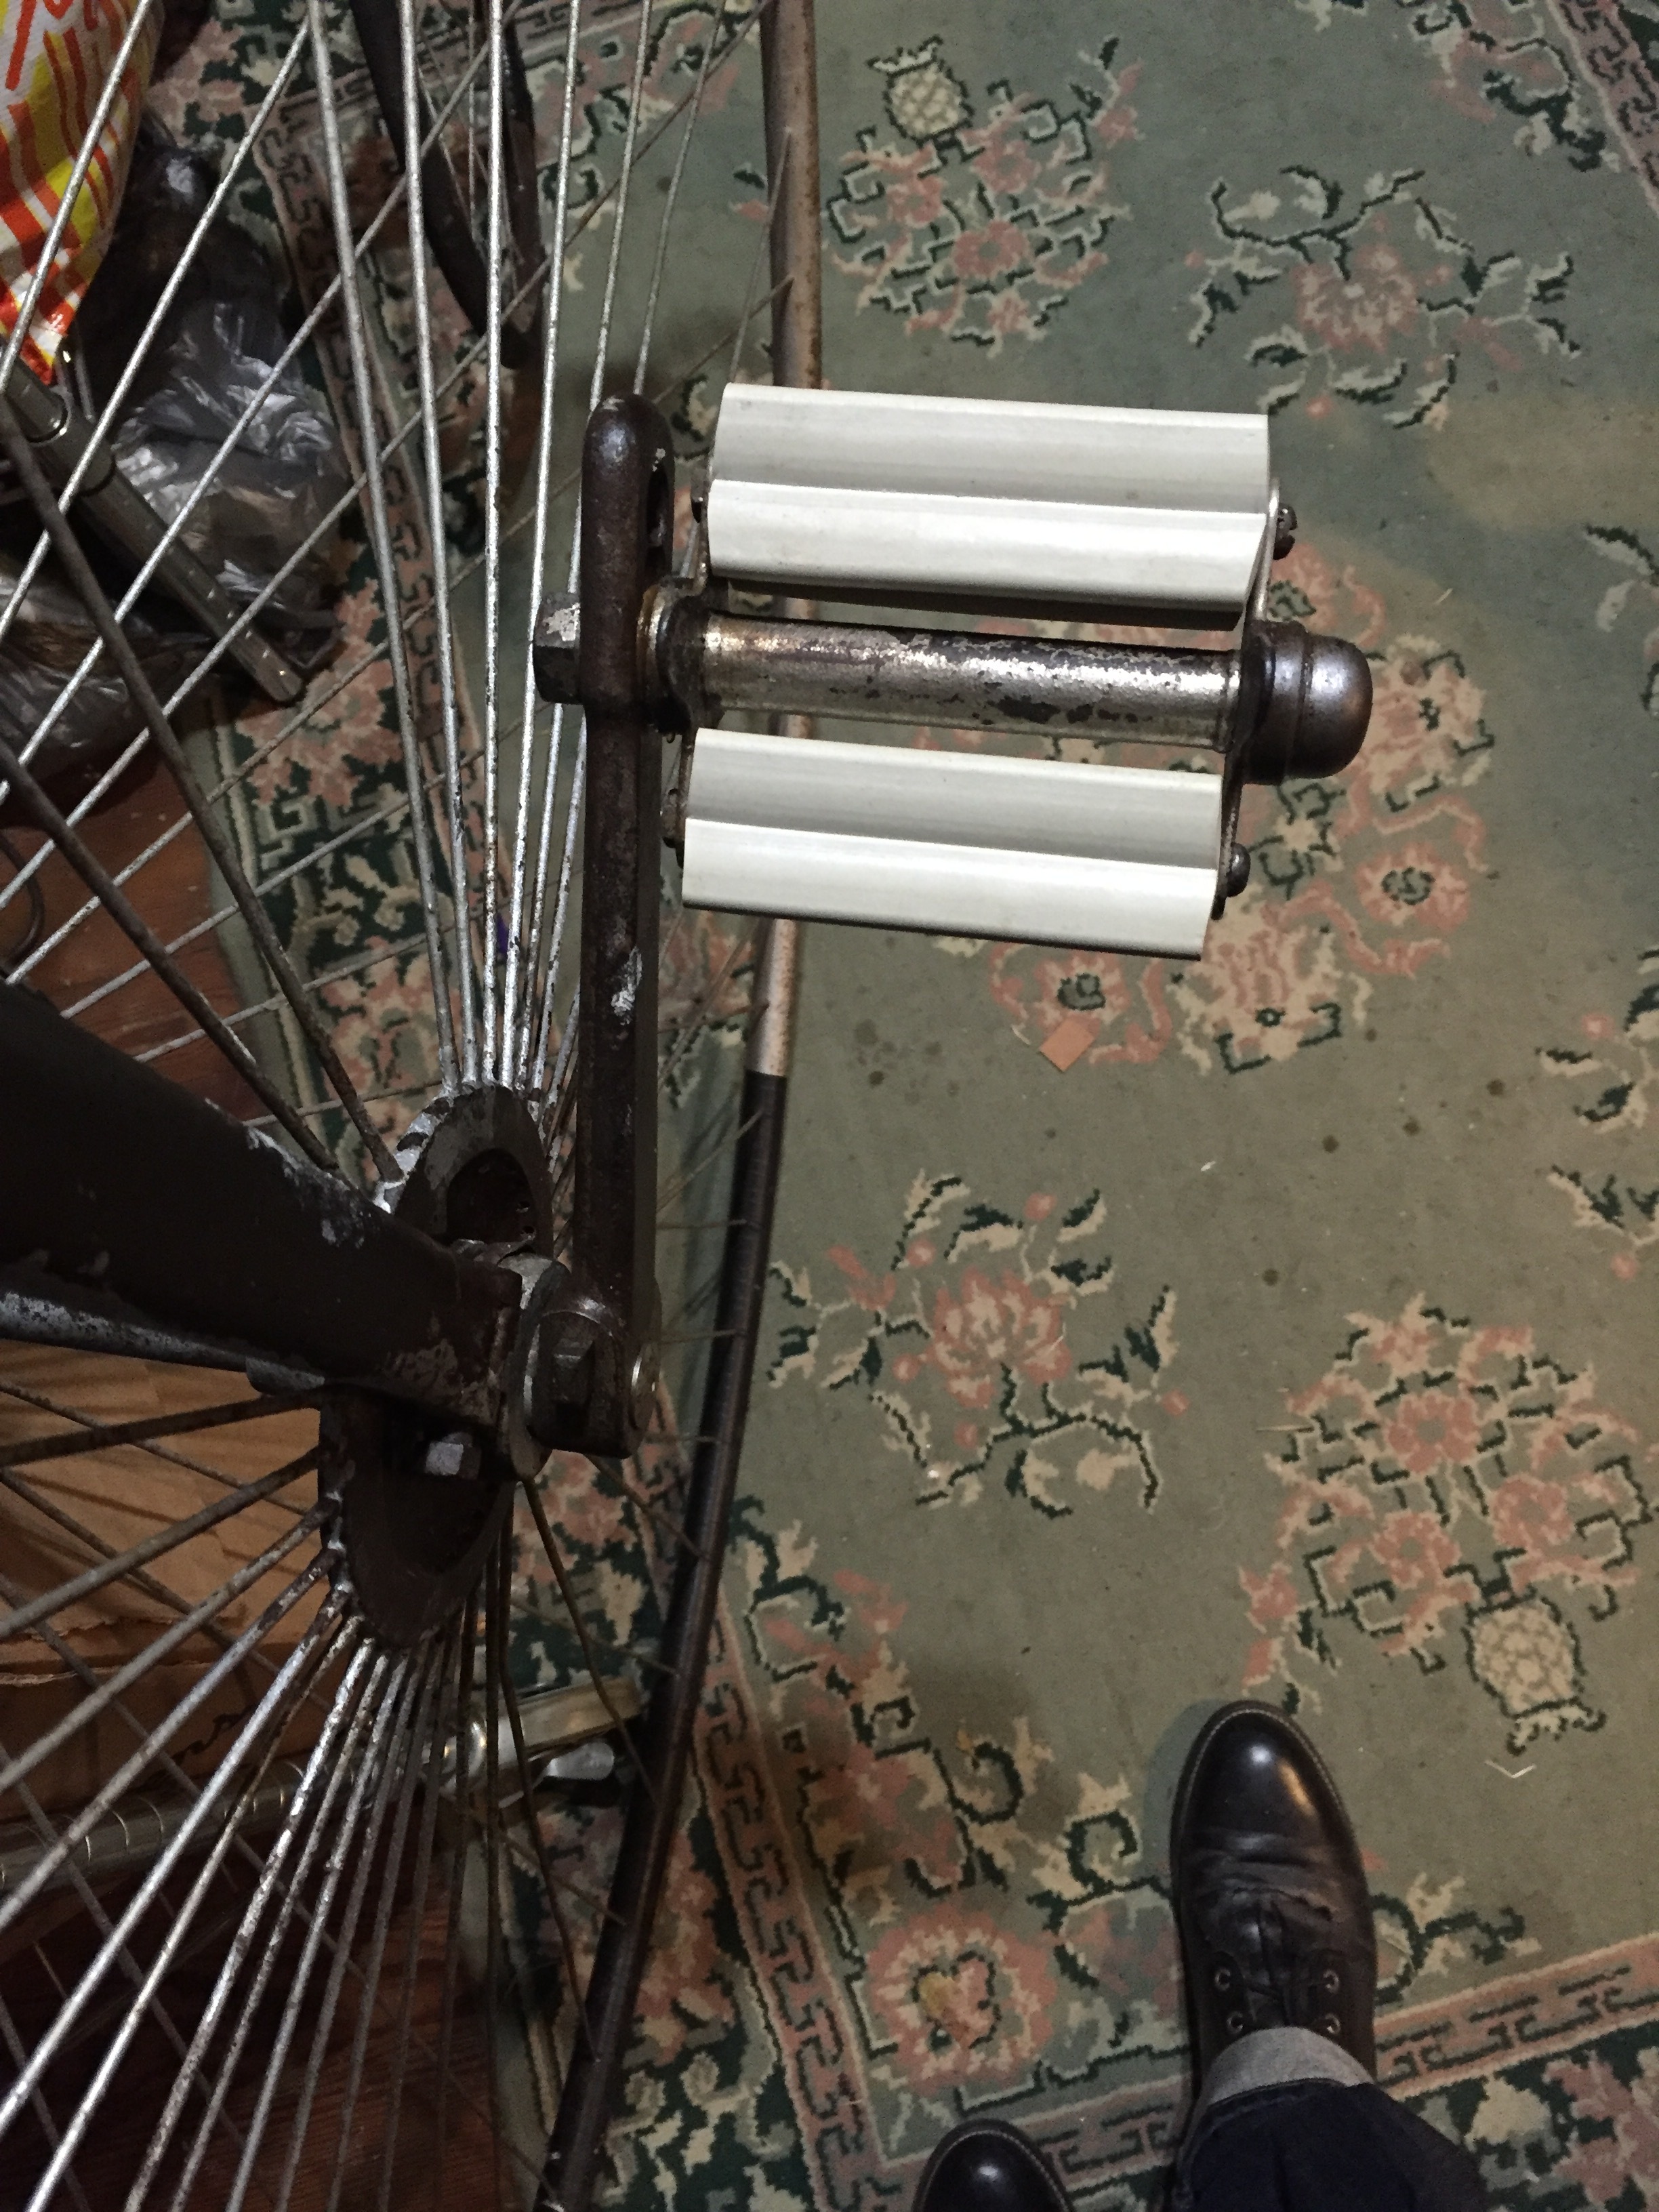 Actually it’s right in the other room...
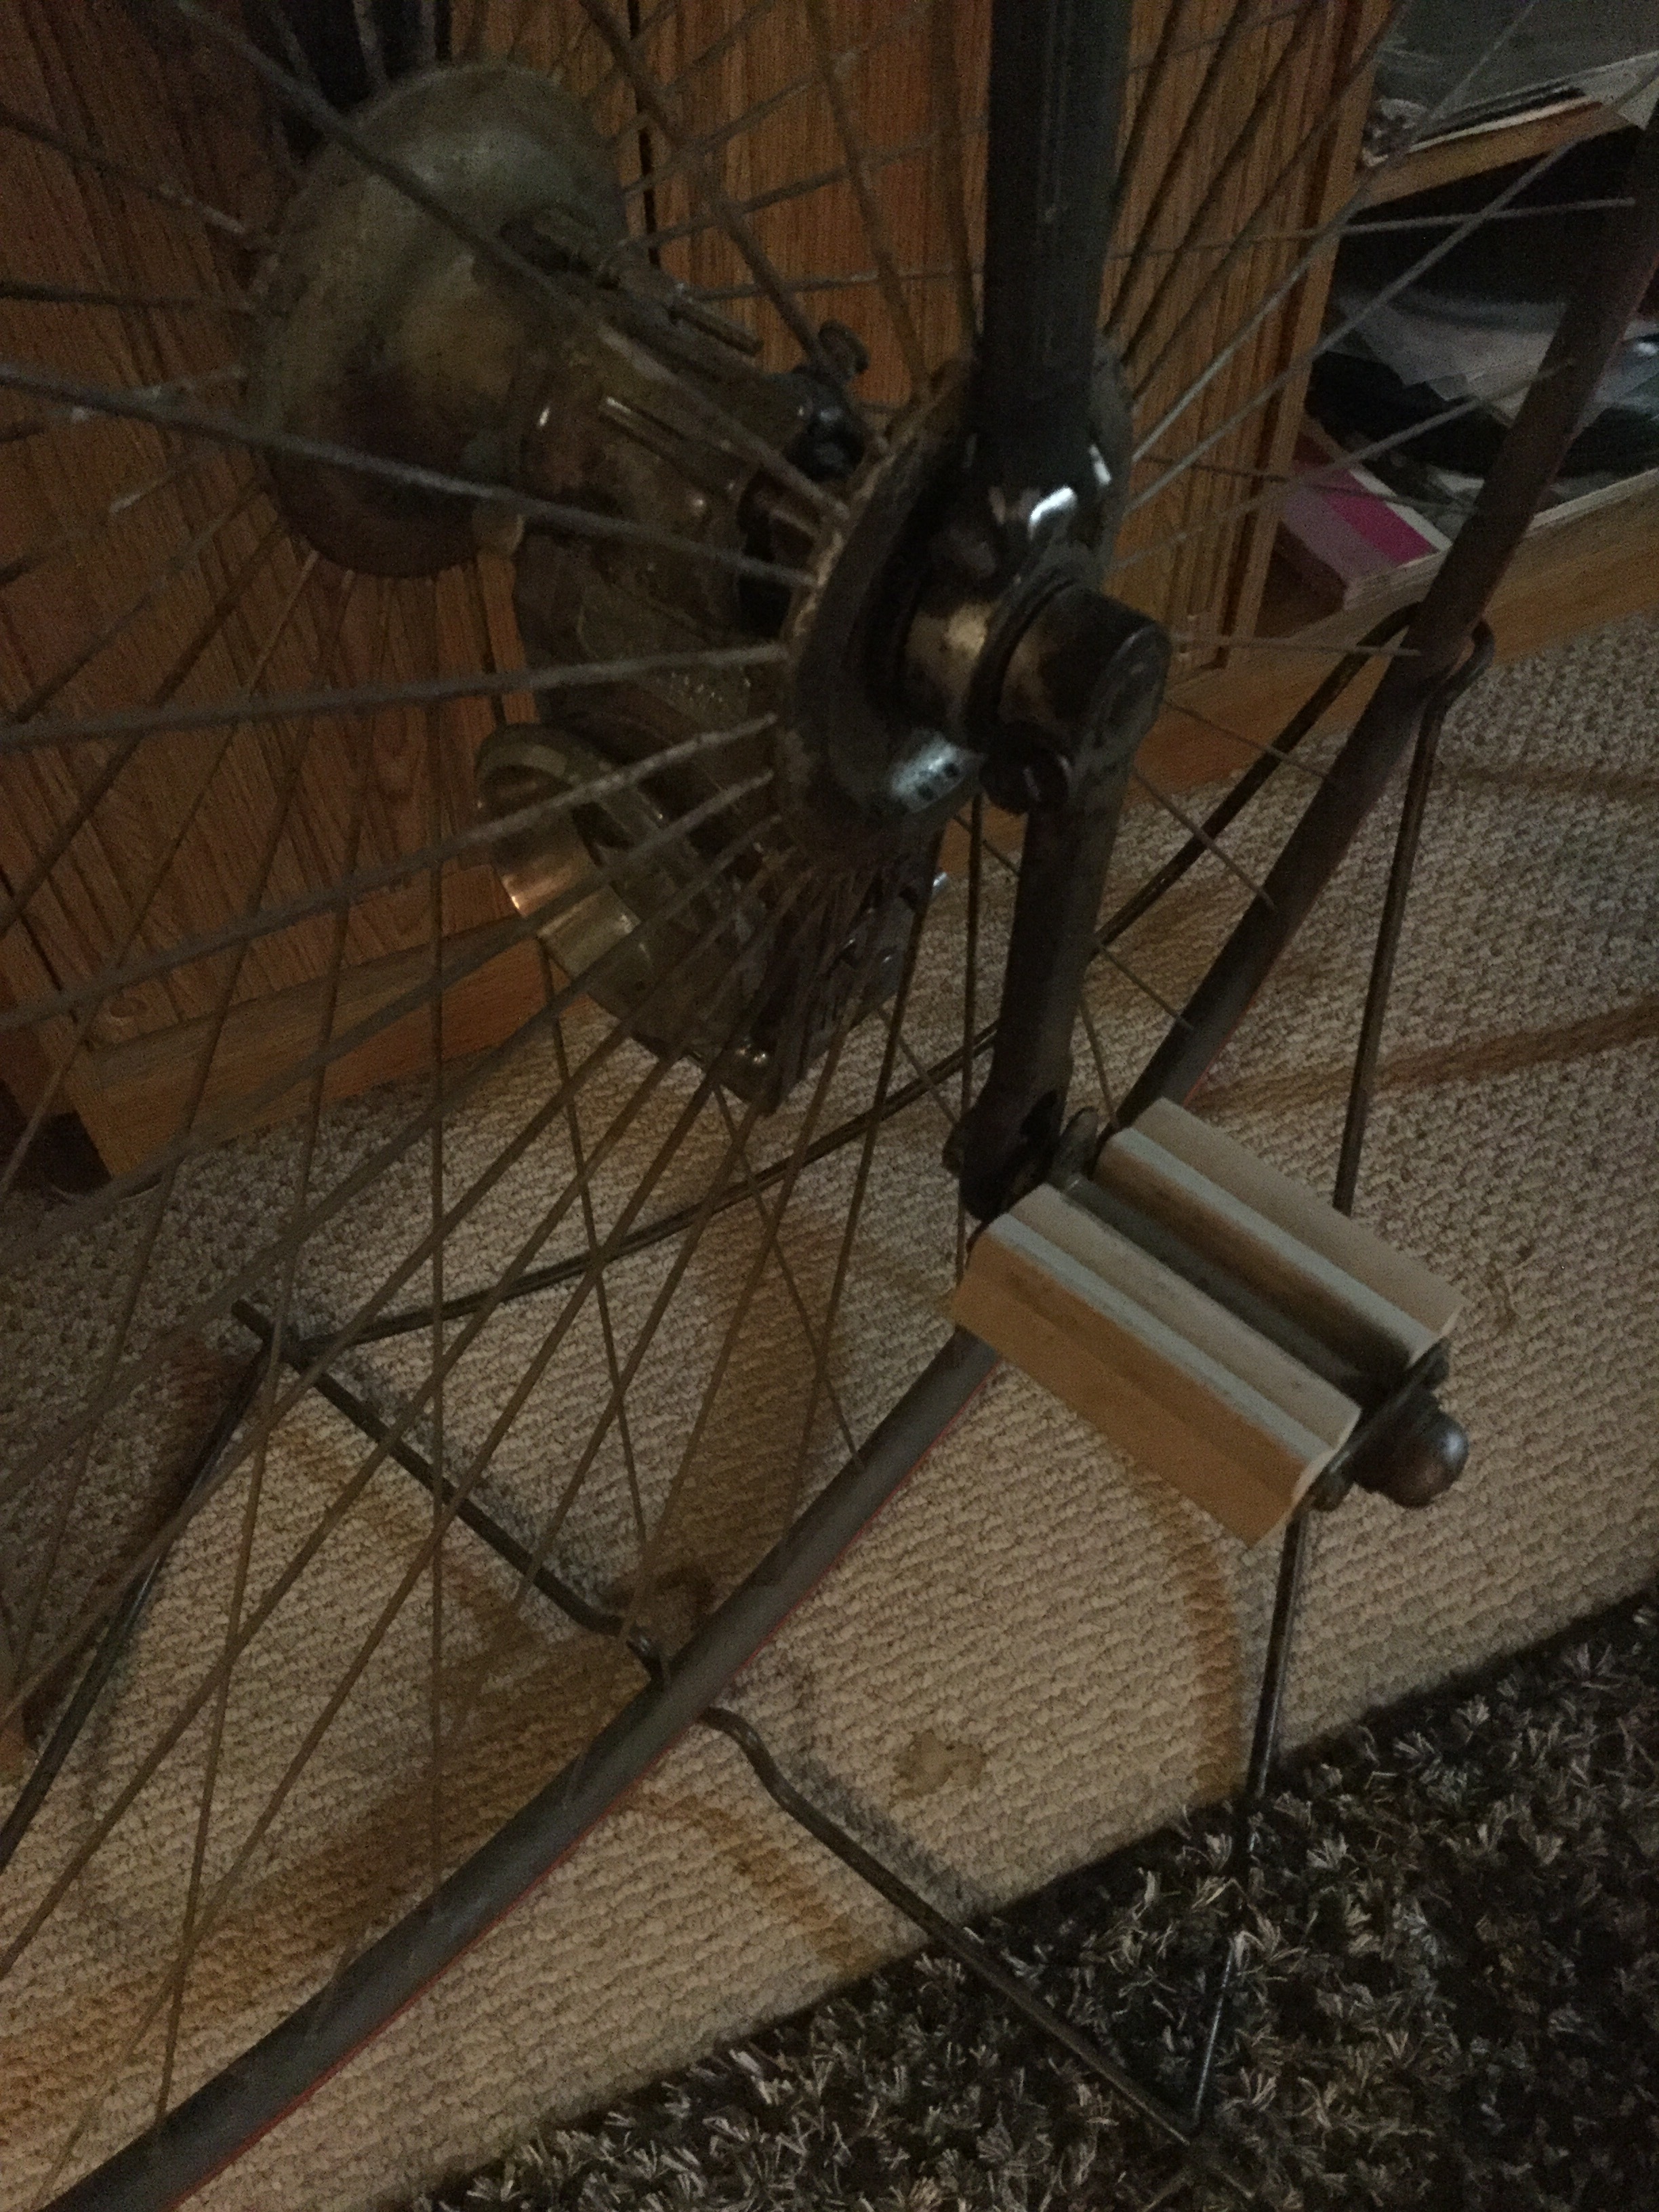 0
0 -
 Gave it a good scrub down with dish soap and water in a spray bottle. Then A good coat of my home brew waxoyl.Now it is baking in the sun with an assortment of tools holding it flat. It’s almost ready to ship to Mr. Lynch who is having it reproduced for the first time ever for Essex owners everywhere!0
 -
Good for you and Gary, KD!0
-
Thanks, it’s very fulfilling, just being a part of making some unobtanium possible. Mr. Lynch is going to have them extend the border slightly so that it will also fit all the 28,29 models.
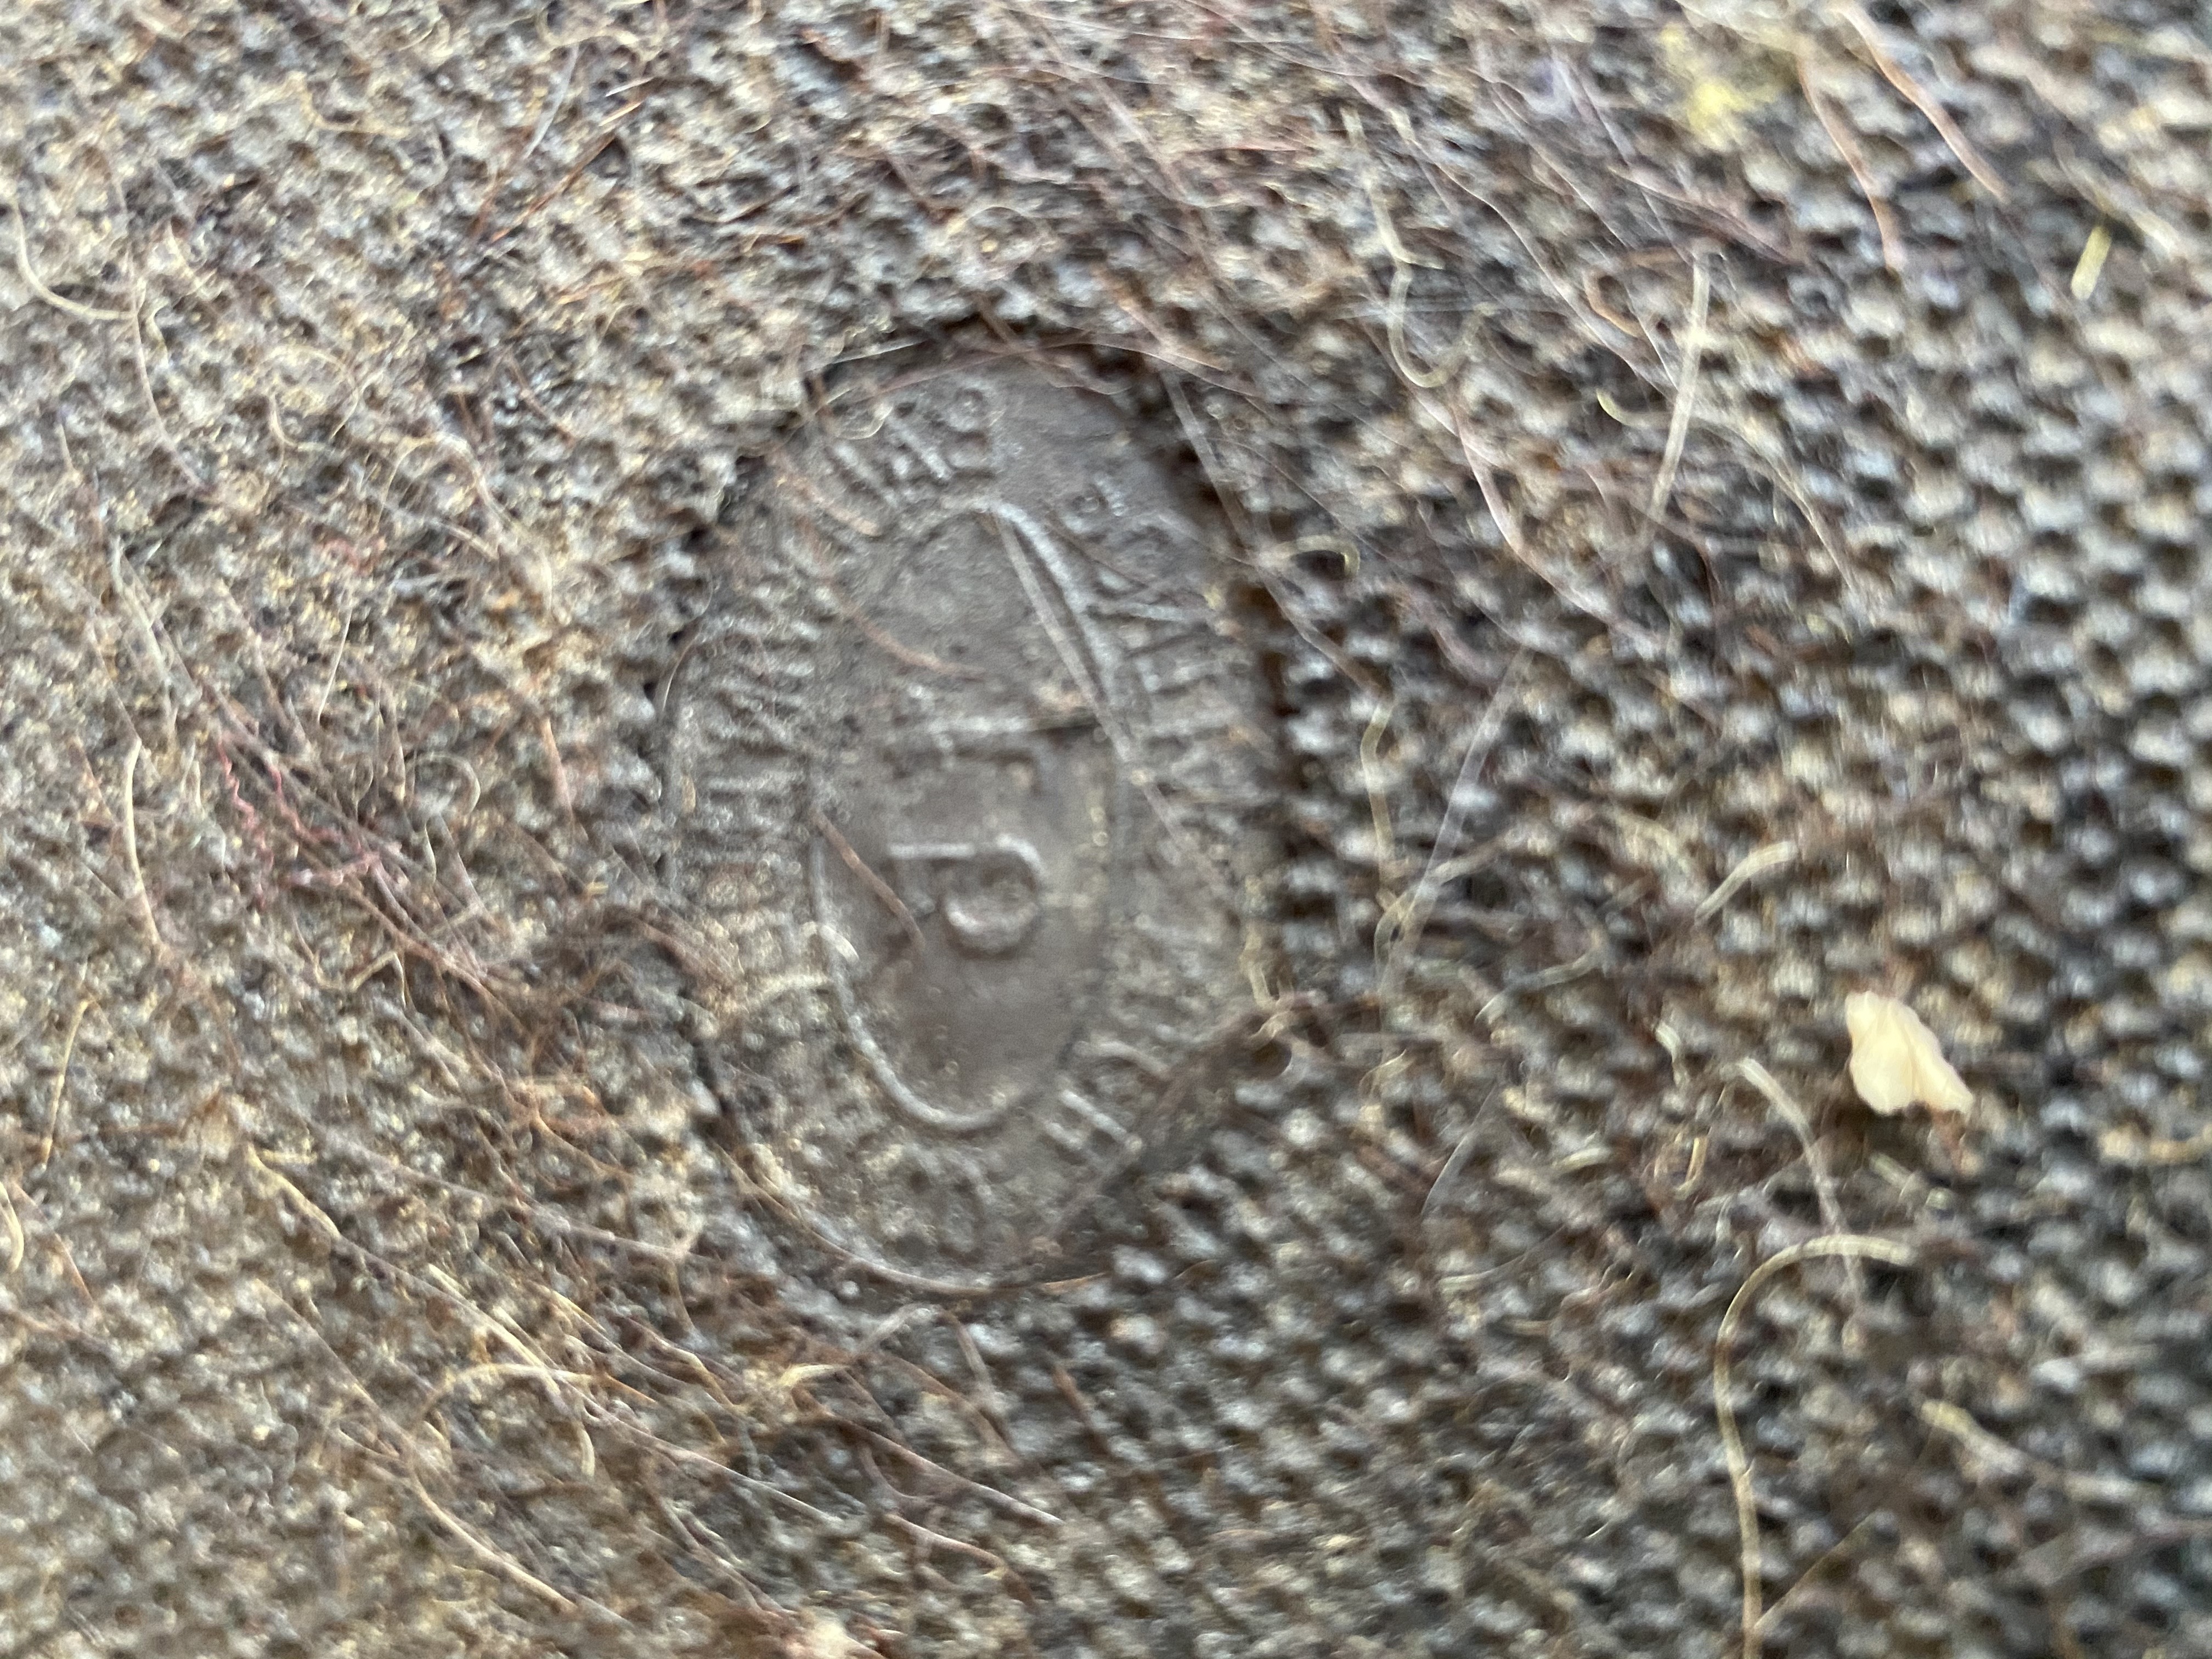
Interesting stamp found on back of the mat, probably from the mold, so being obsessed, I took a shot of it. 15 Bauman rubber co. Pontiac Michigan.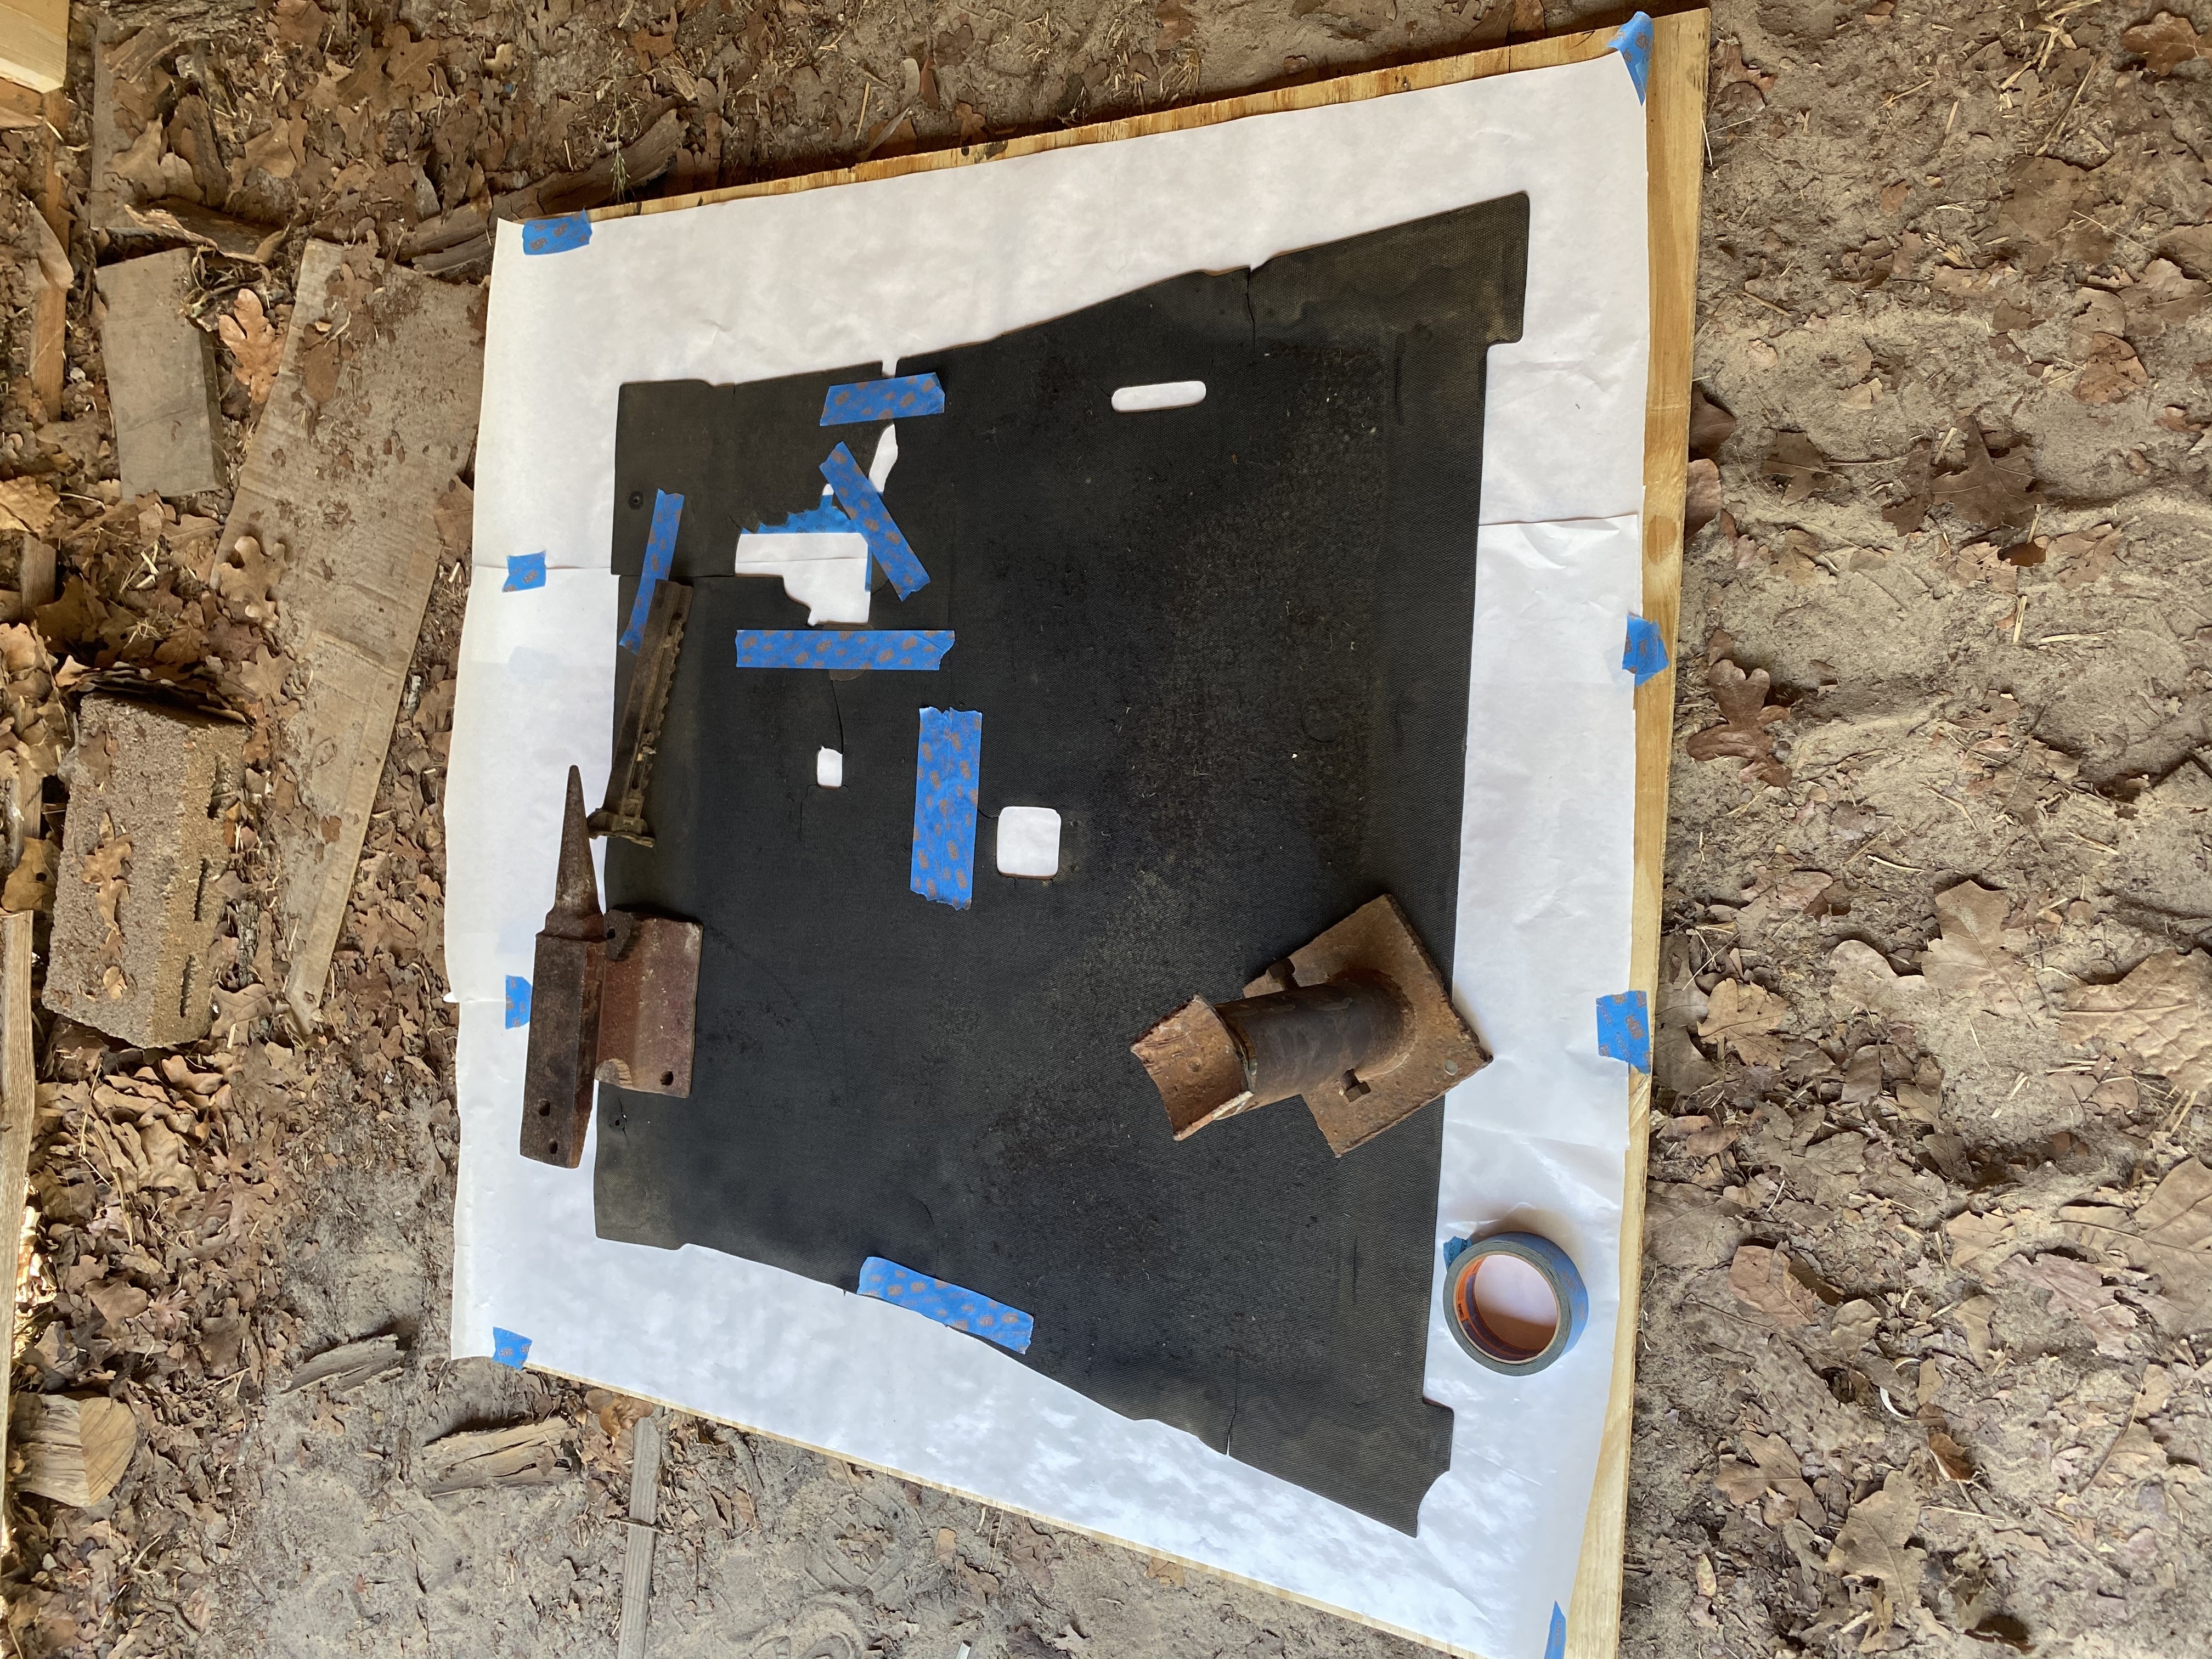
Here it is, pieced together, cooling down, and about to be shipped.0 -
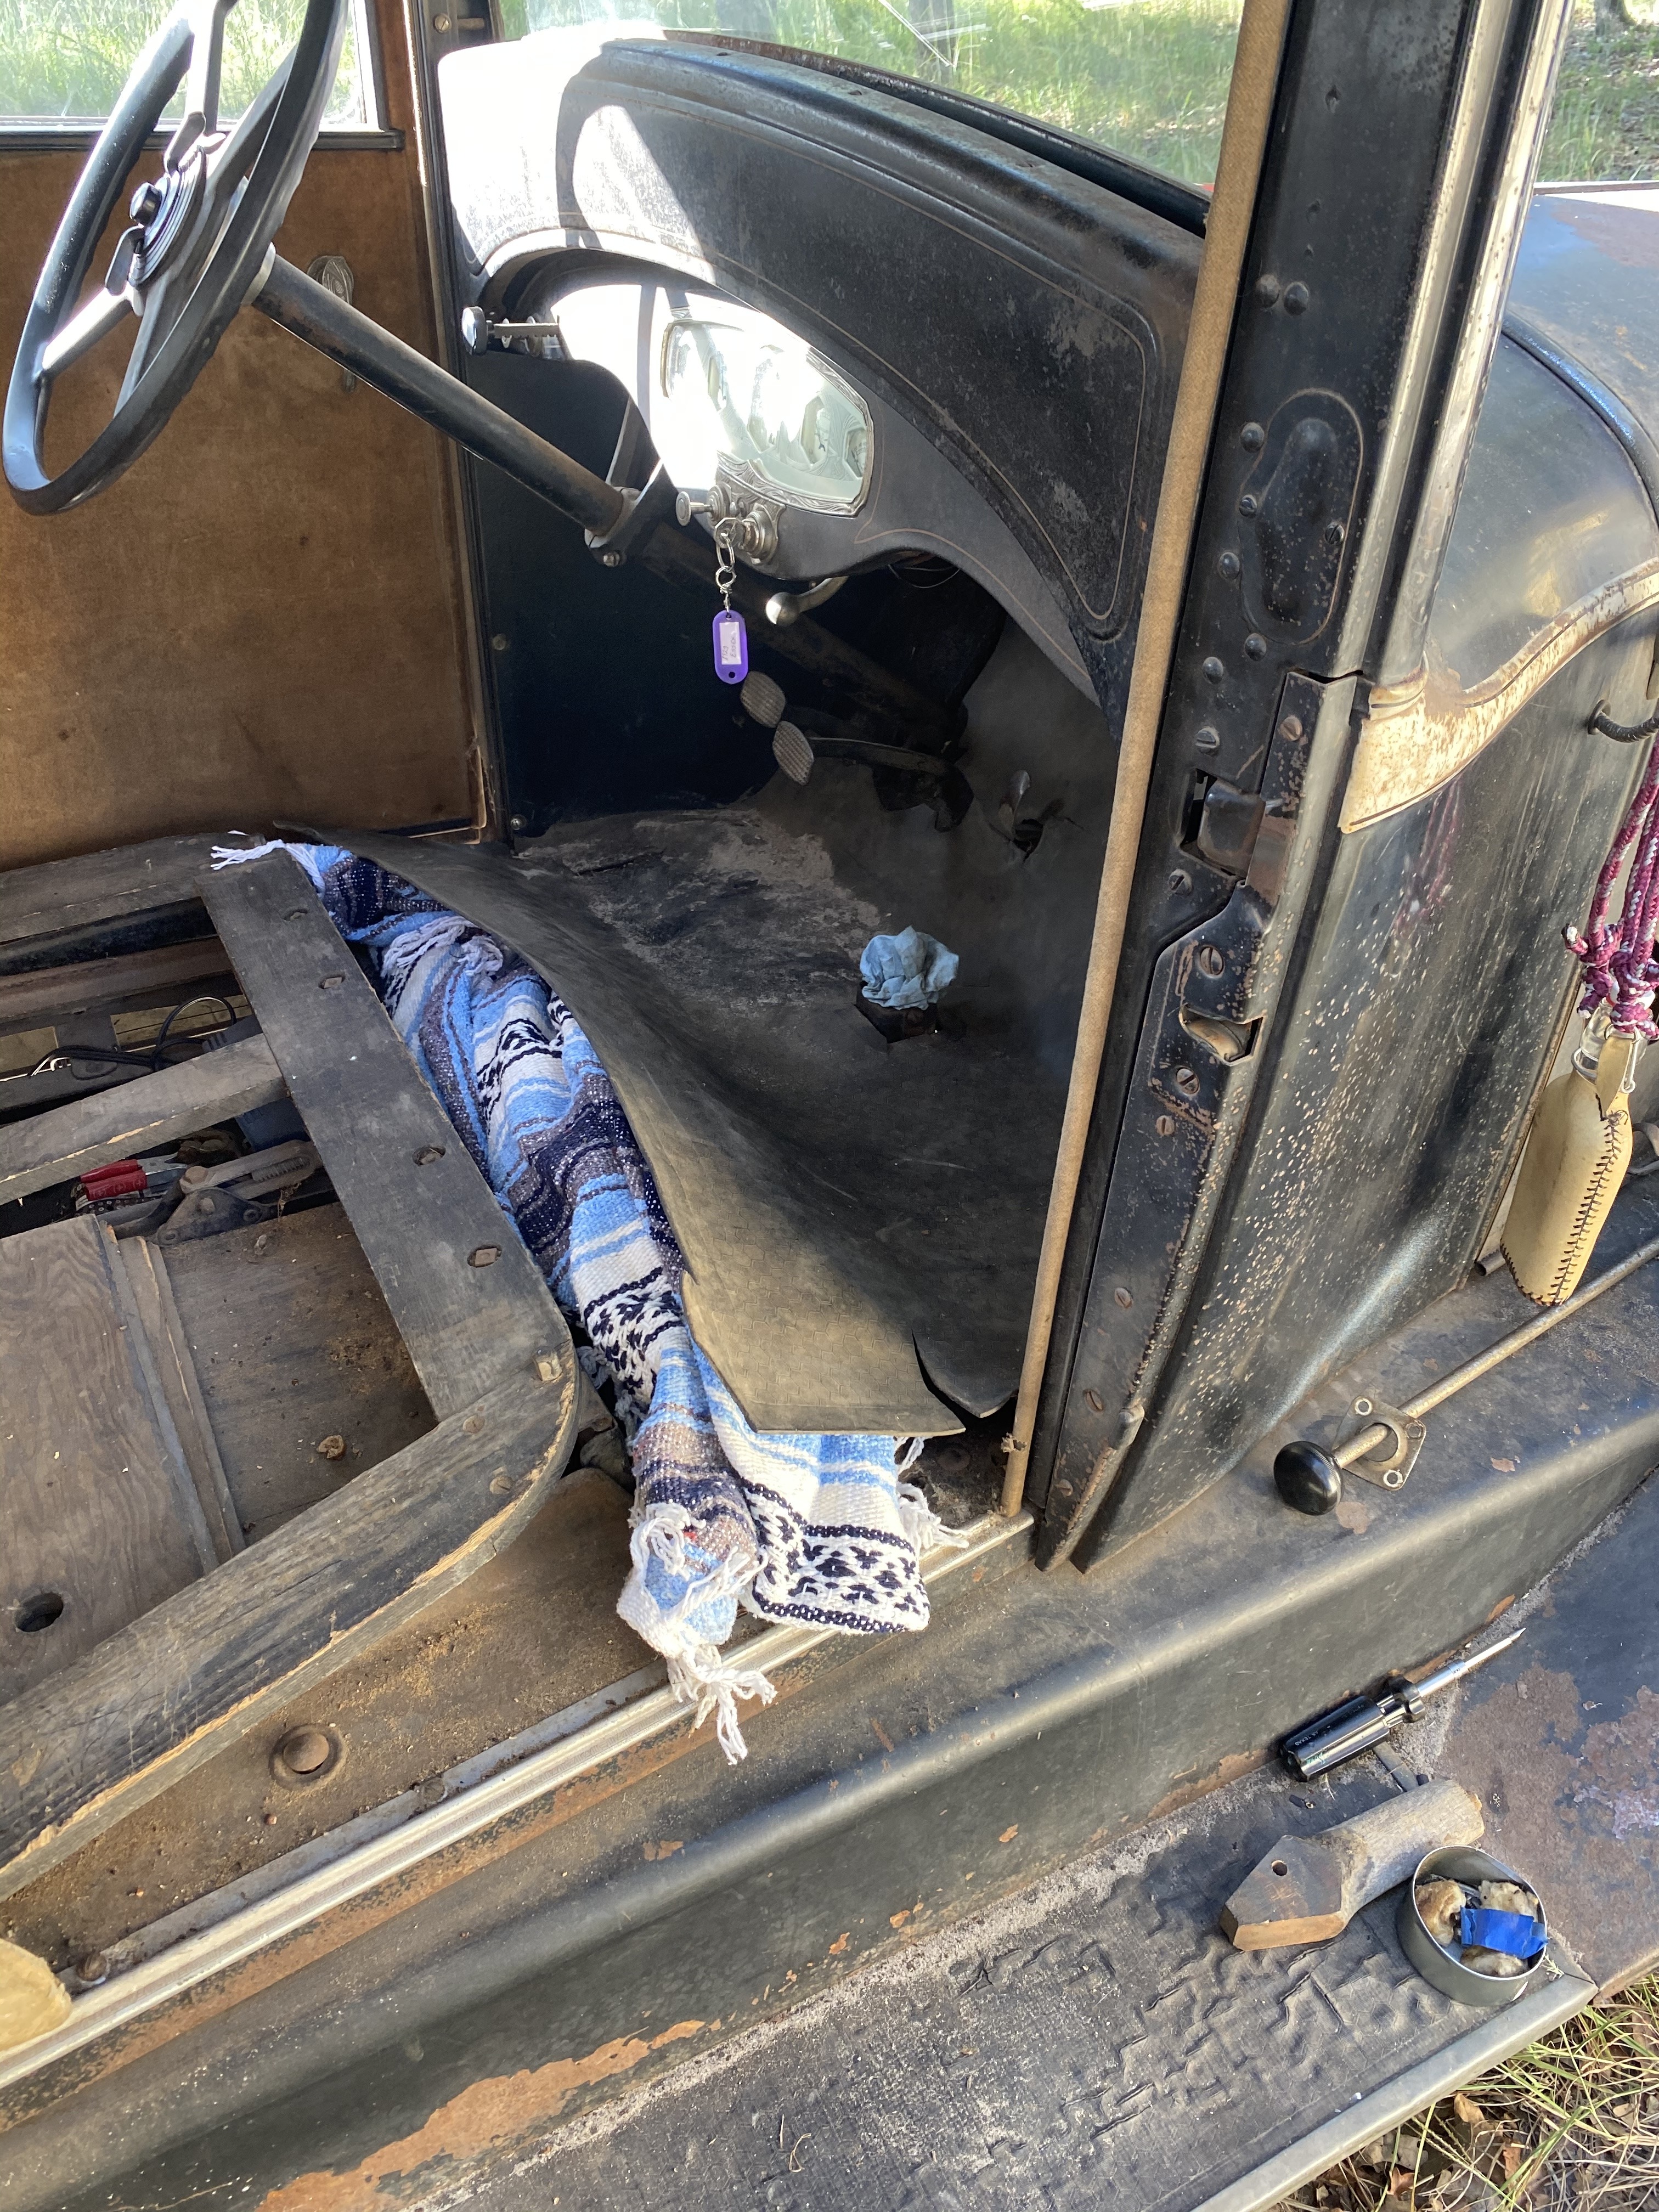
Today was a beauty day. I have been mainly ignoring appearance issues and the galling sounds the driver’s door handle has been making every time that I opened it from the inside handle. Typically reaching out the window and using the outside handle instead.Well I did lubricate the door handle mechanism and locate the door check strap laying inside the door cavity. So there was some actual maintenance going on.Nice and tidy!
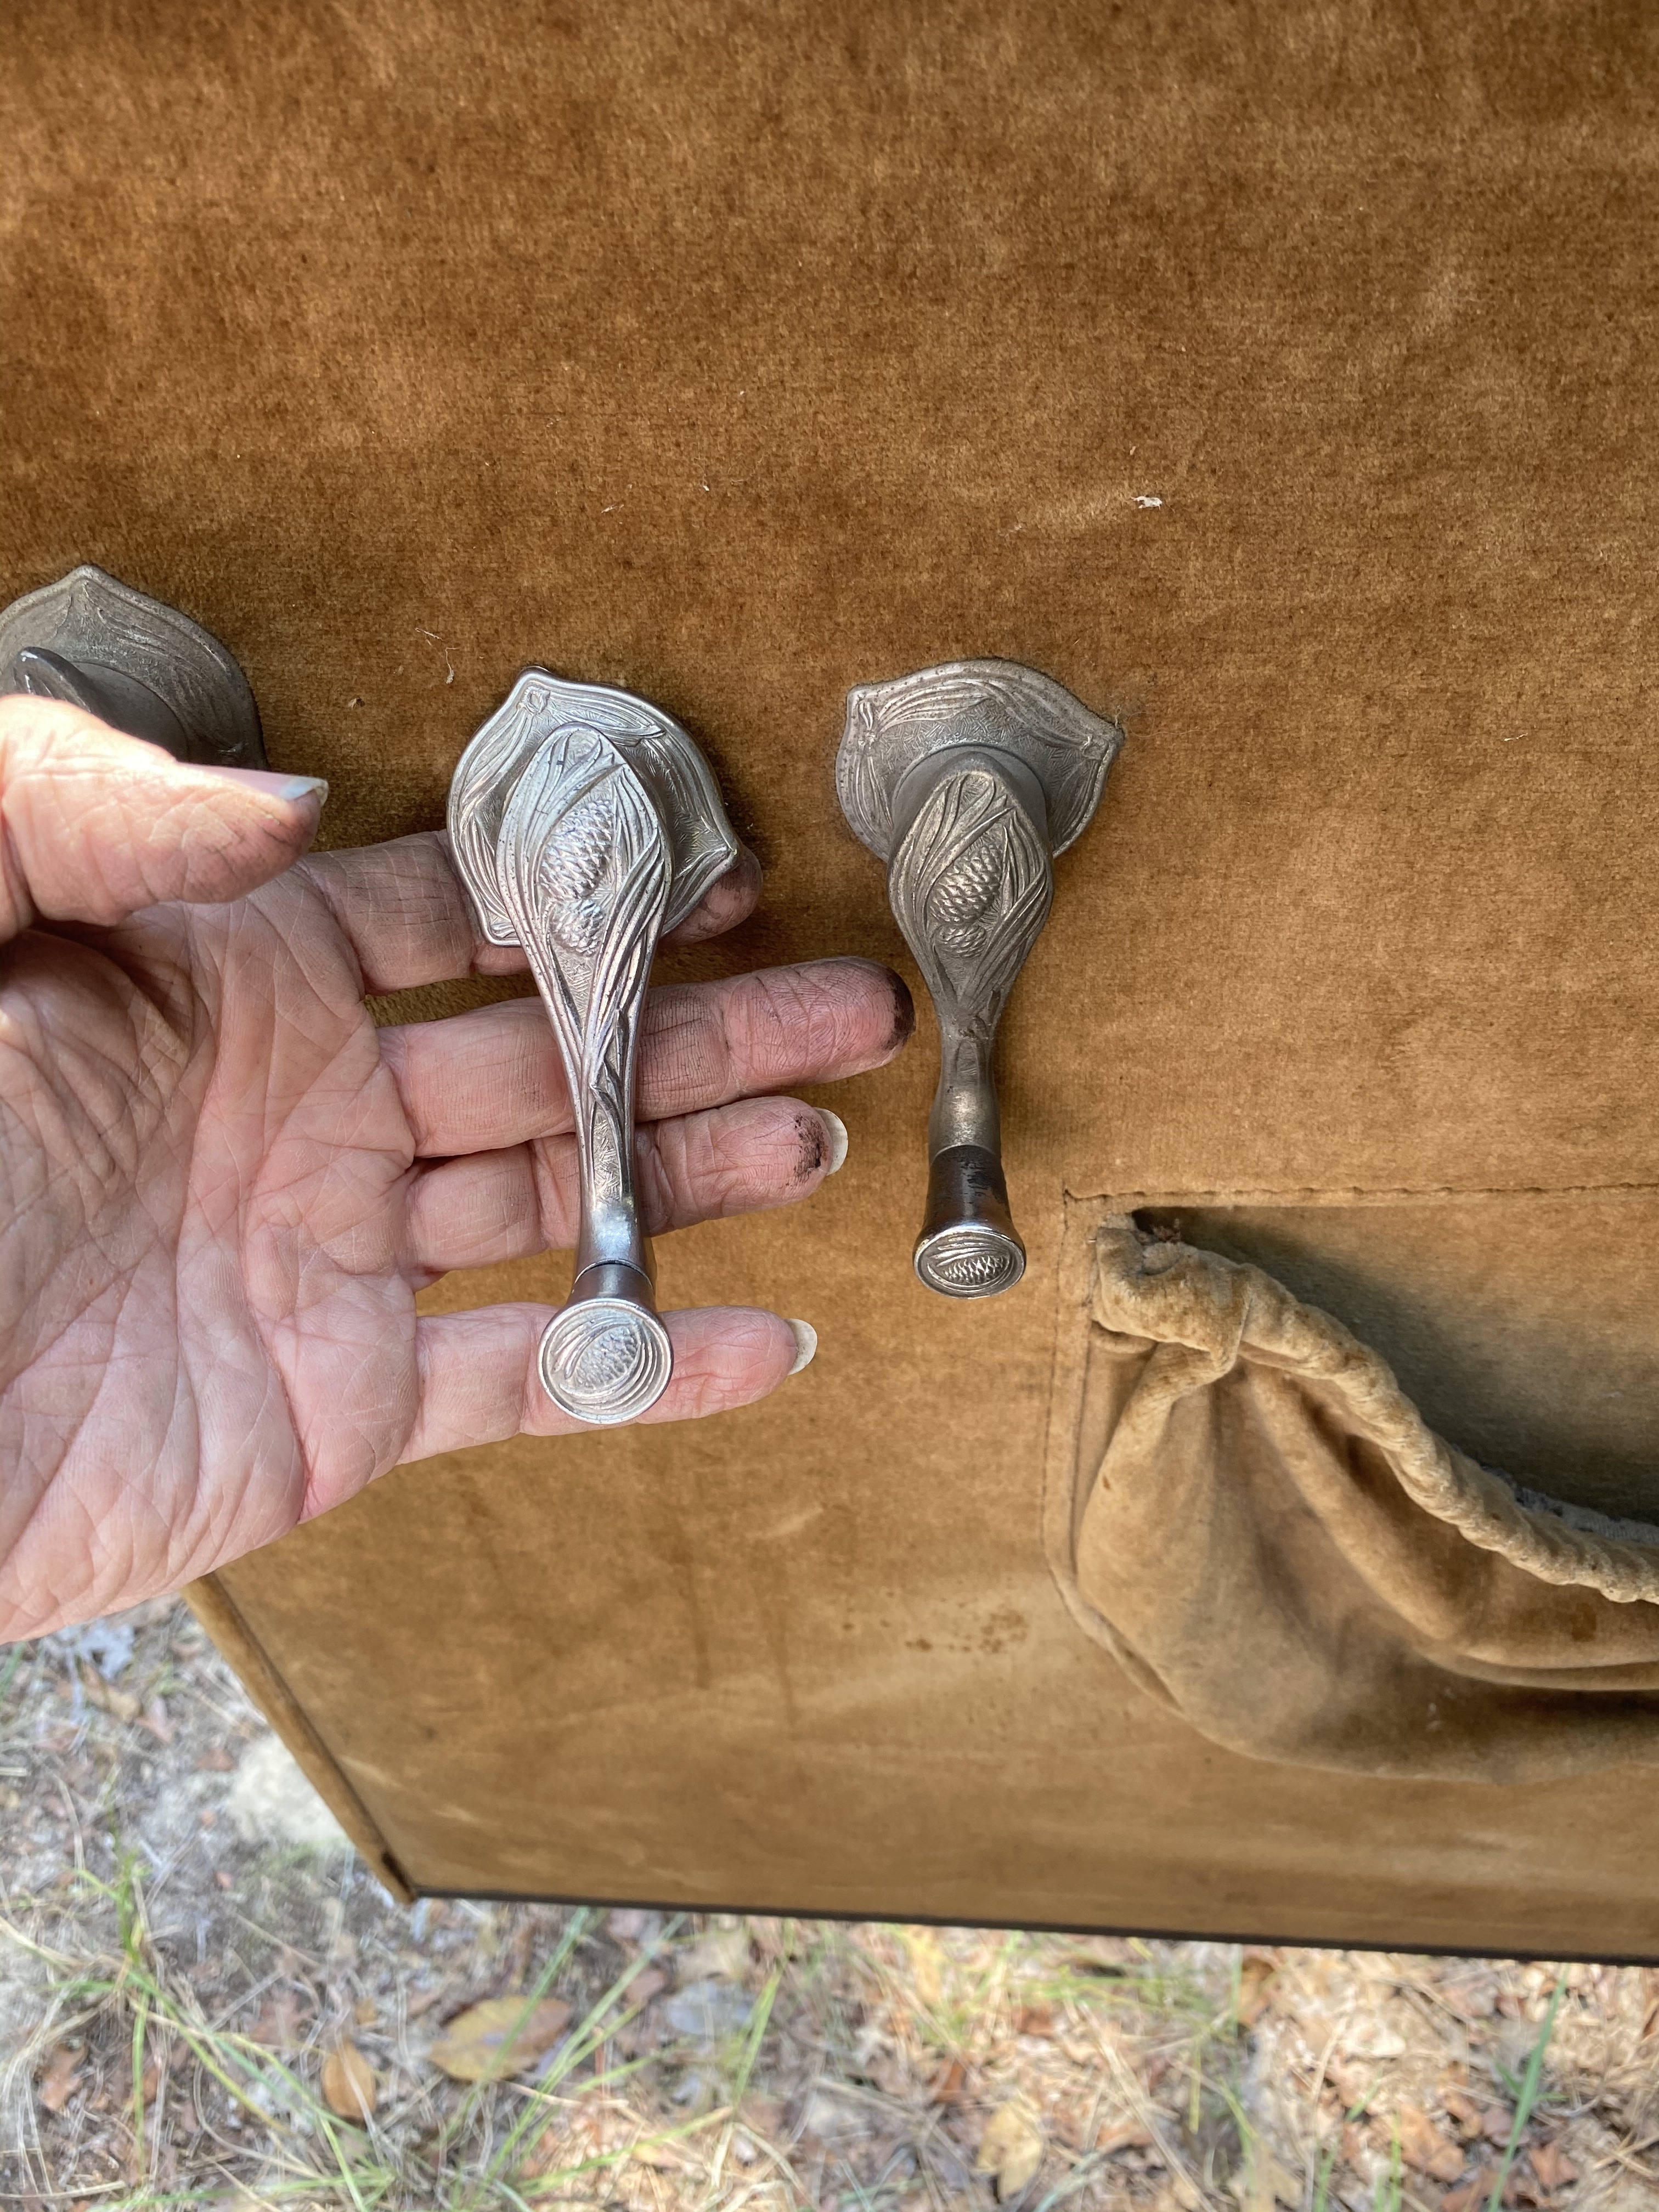 The upholstery on the door panel came unglued long ago and was sagging across the middle where you see the tan line where the upholstery was still grey. So I reglued the entire perimeter, correcting most of the sag, removing and regluing each edge individually.Passenger side, yet to be done...
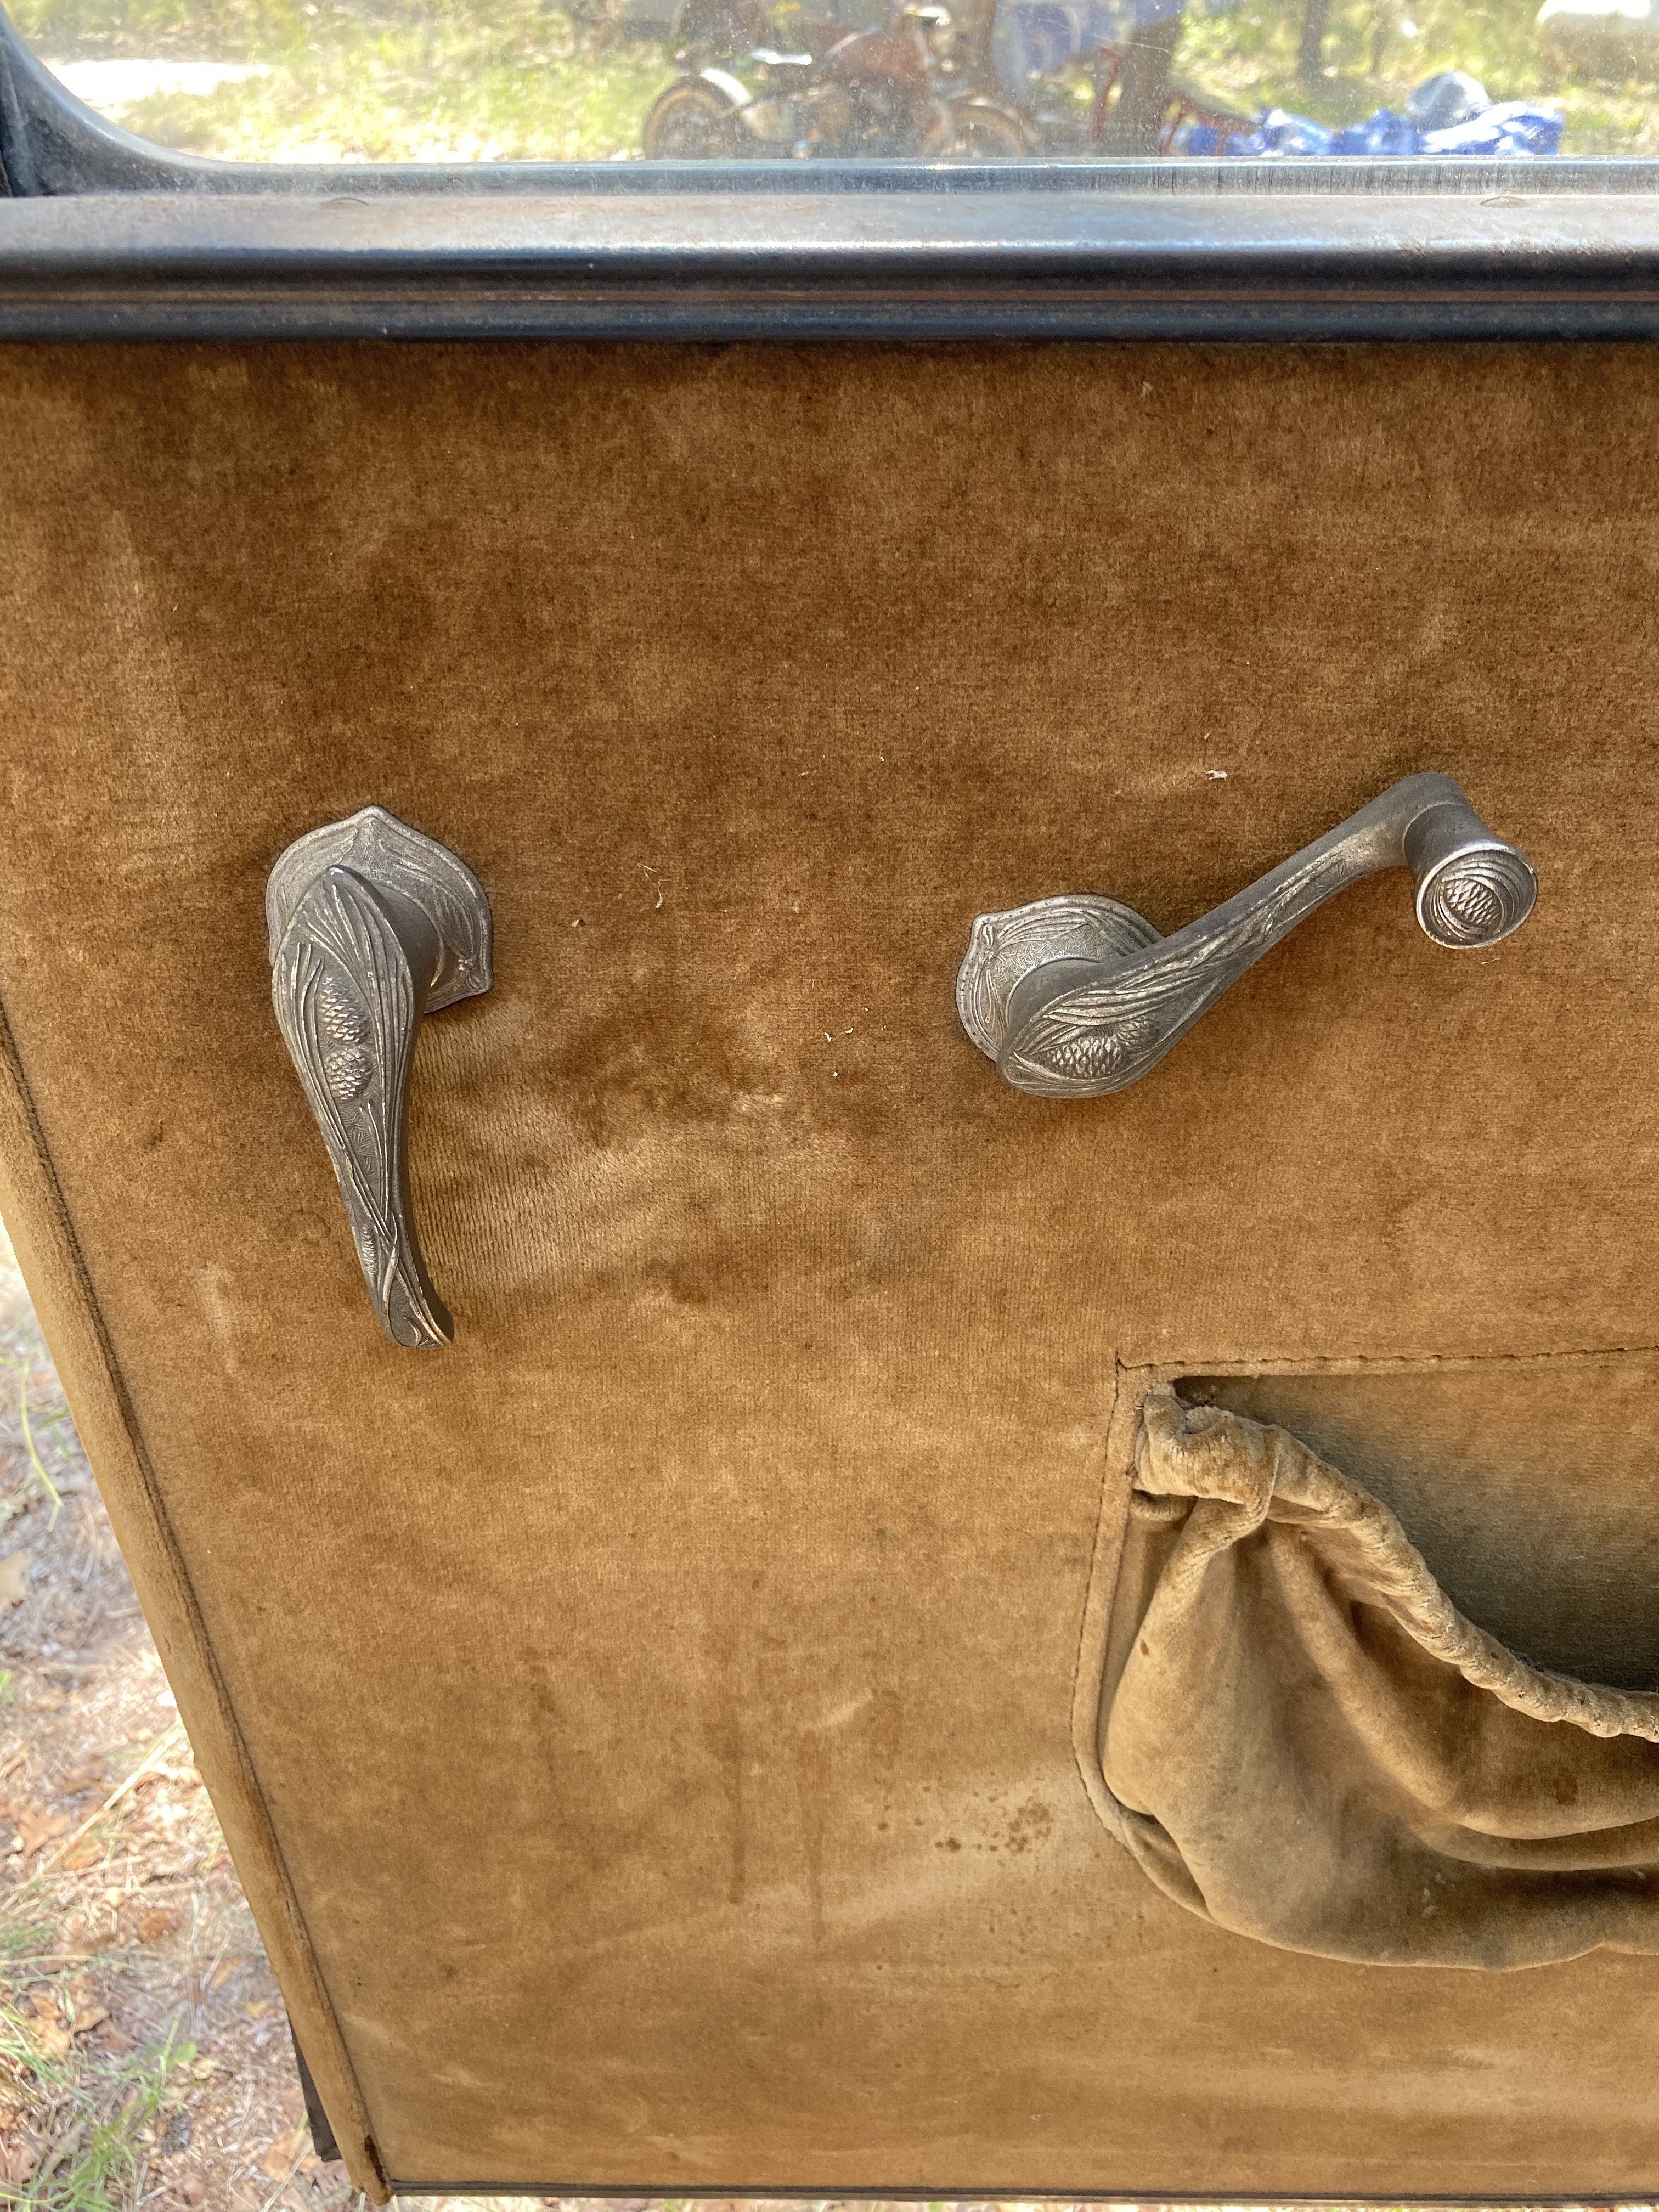 Driver’s side
 I dipped the door hardware in 9% vinegar for a few minutes, then gently scrubbed them with a paste made of bar keepers friend. Then I let the paste sit and dry, cycling through the pieces at least two or three times. Never scrubbing hard, just giving the Oxalic acid time do it’s work.I cleaned the window frame with 409 cleaner, then a little polishing compound. Followed by a coat of waxoyl. When I replace the crusty door check strap, I will give the window frame a more thorough cleaning and polishing.The retrieved strap.
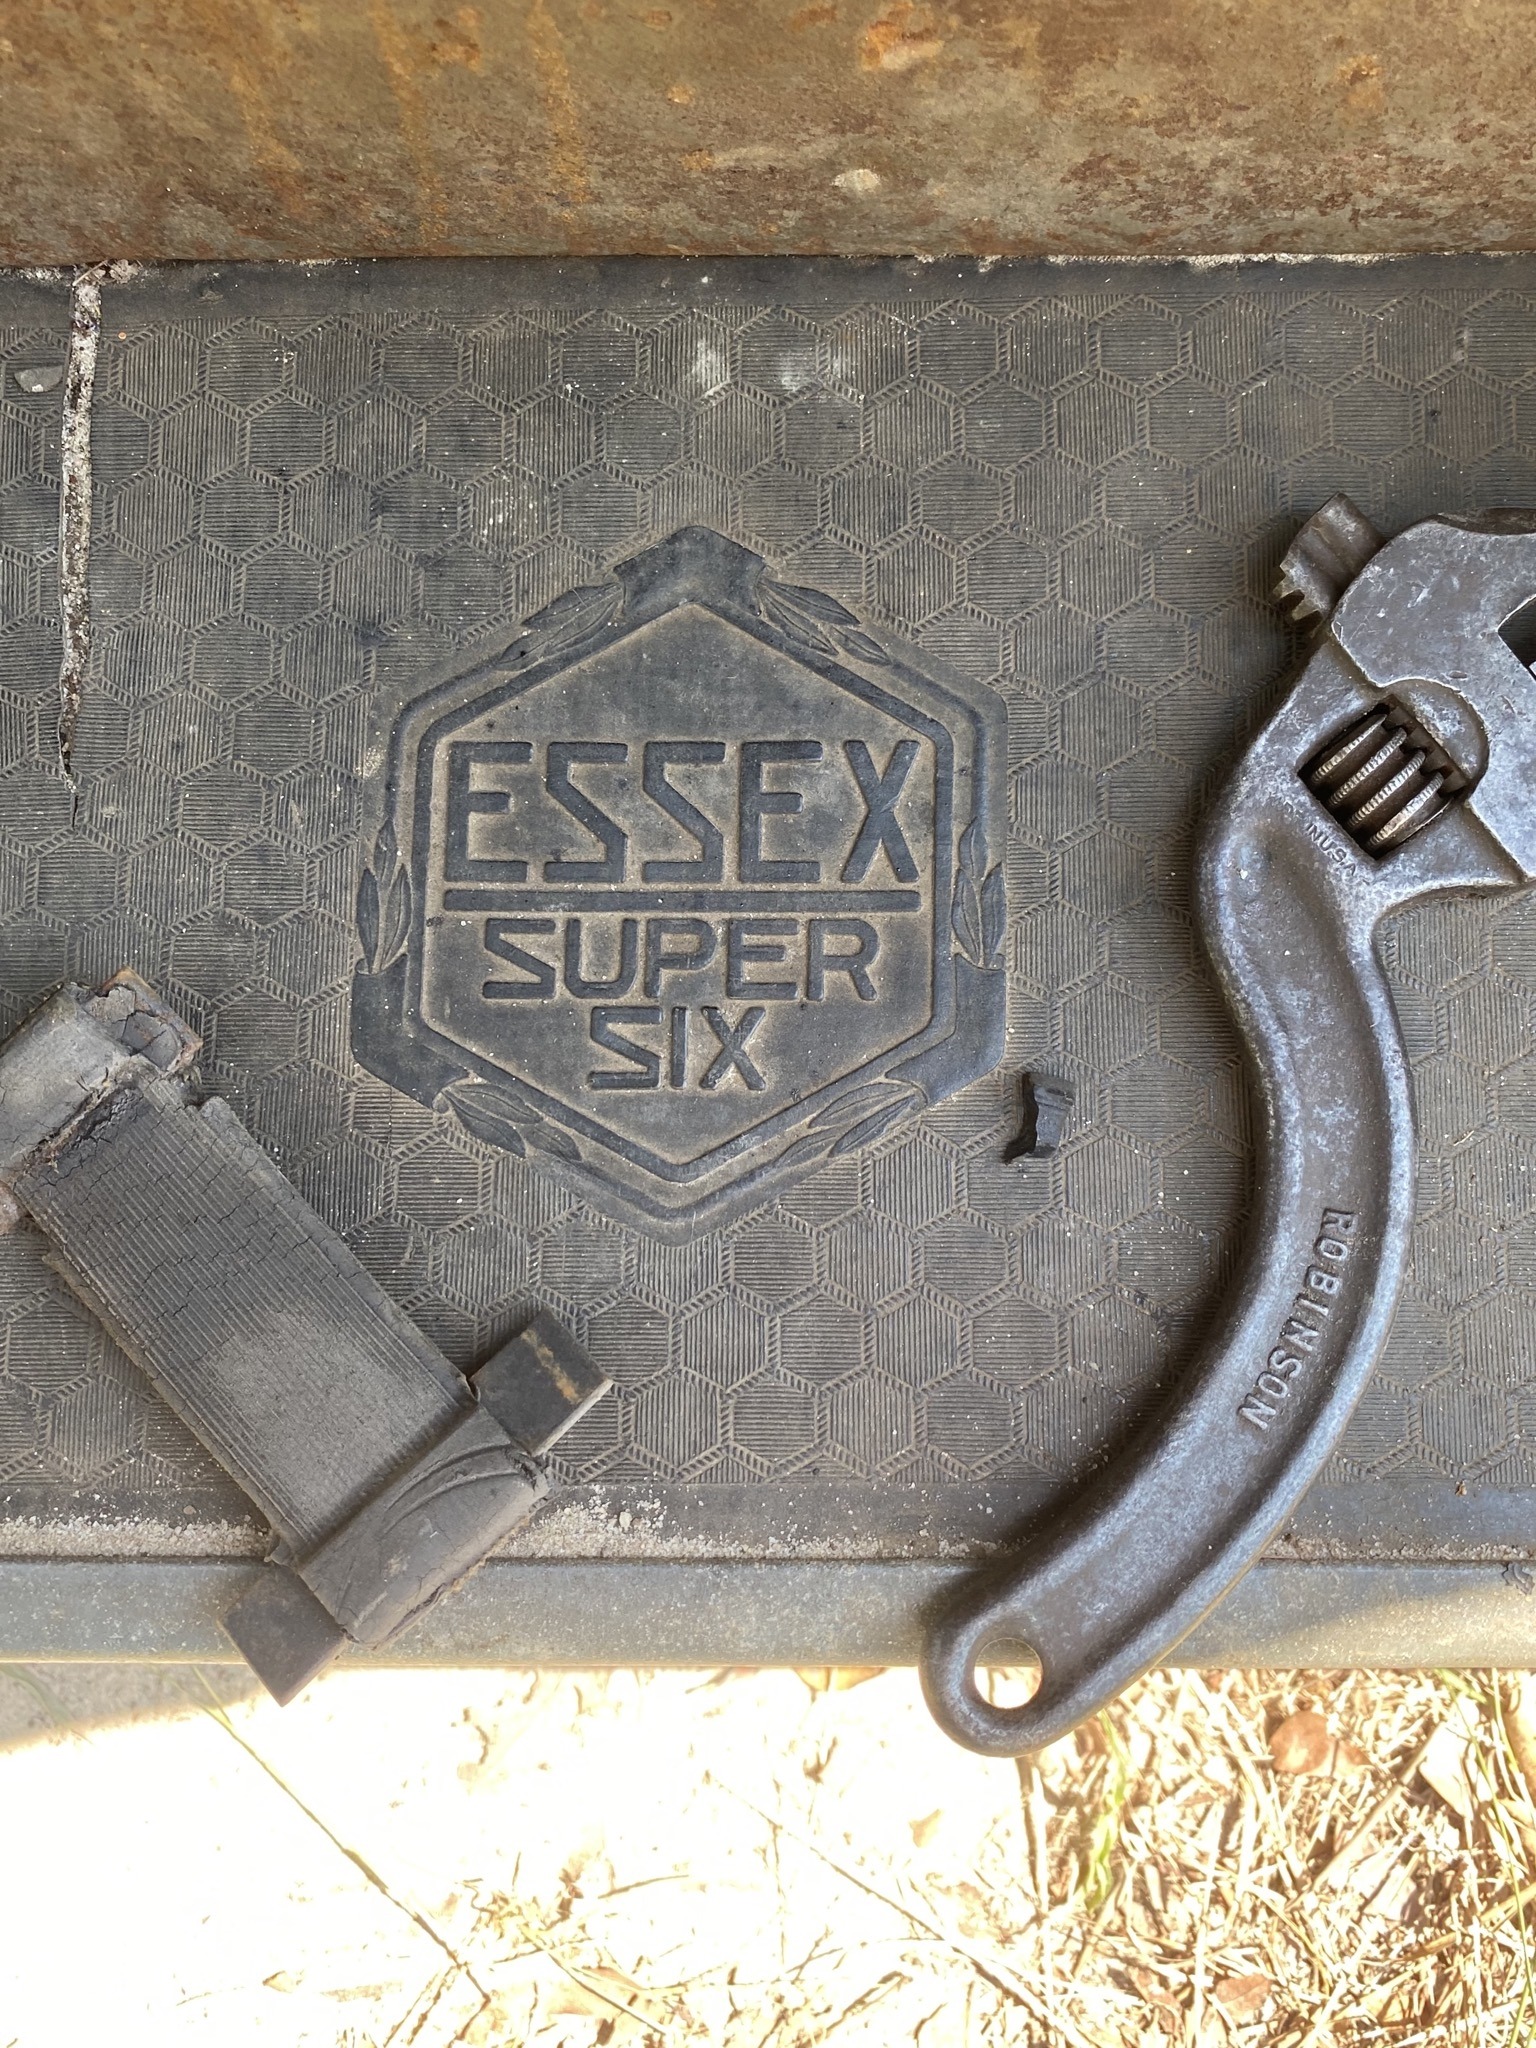 0
0 -
I love what you have been doing. Thanks for sharing the progress. I sent you a private message.0
-
Can you say AAHHH-OOOOGG-AAAHHHH?
Mr. Lynch sent a pictorial exploded view of the horn button contact and at that point it dawned on me that I already had all of it! I should have figured it out sooner!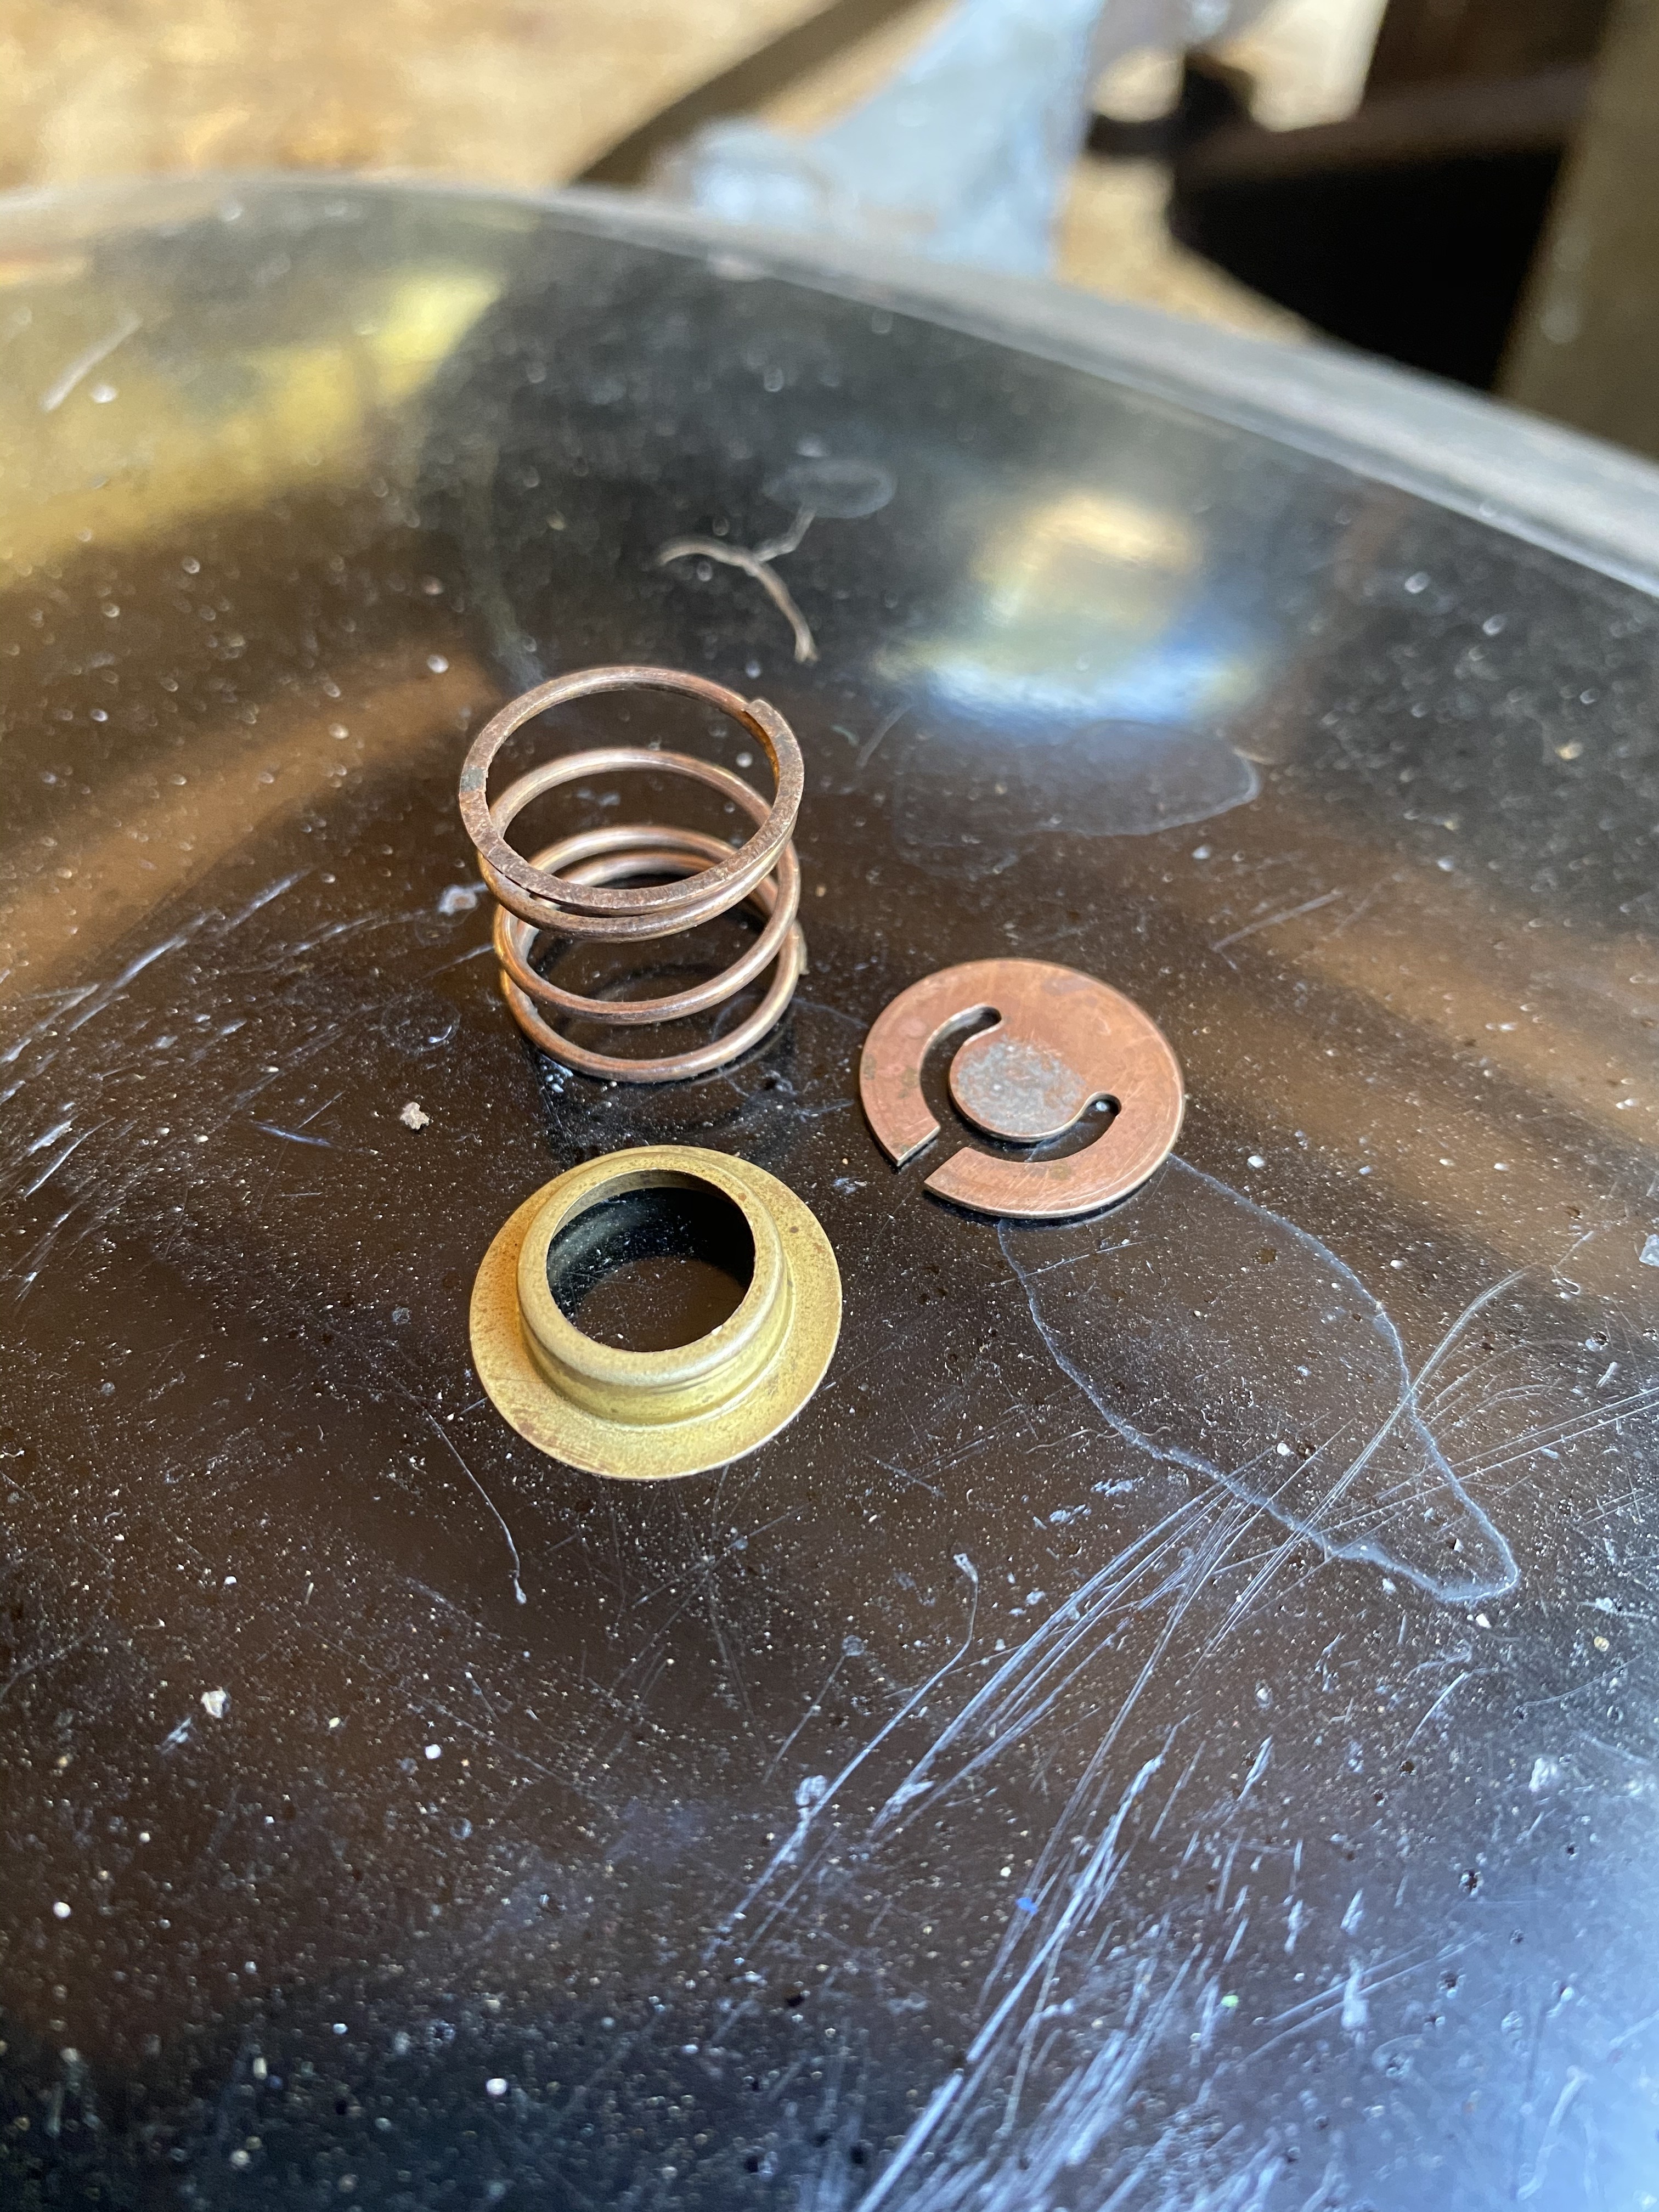 Here they are cleaned in 9% Vinegar for about 15 minutes. I smeared on some high tech dielectric compound (AKA Vaseline) to keep down the oxidation over time.0
 -
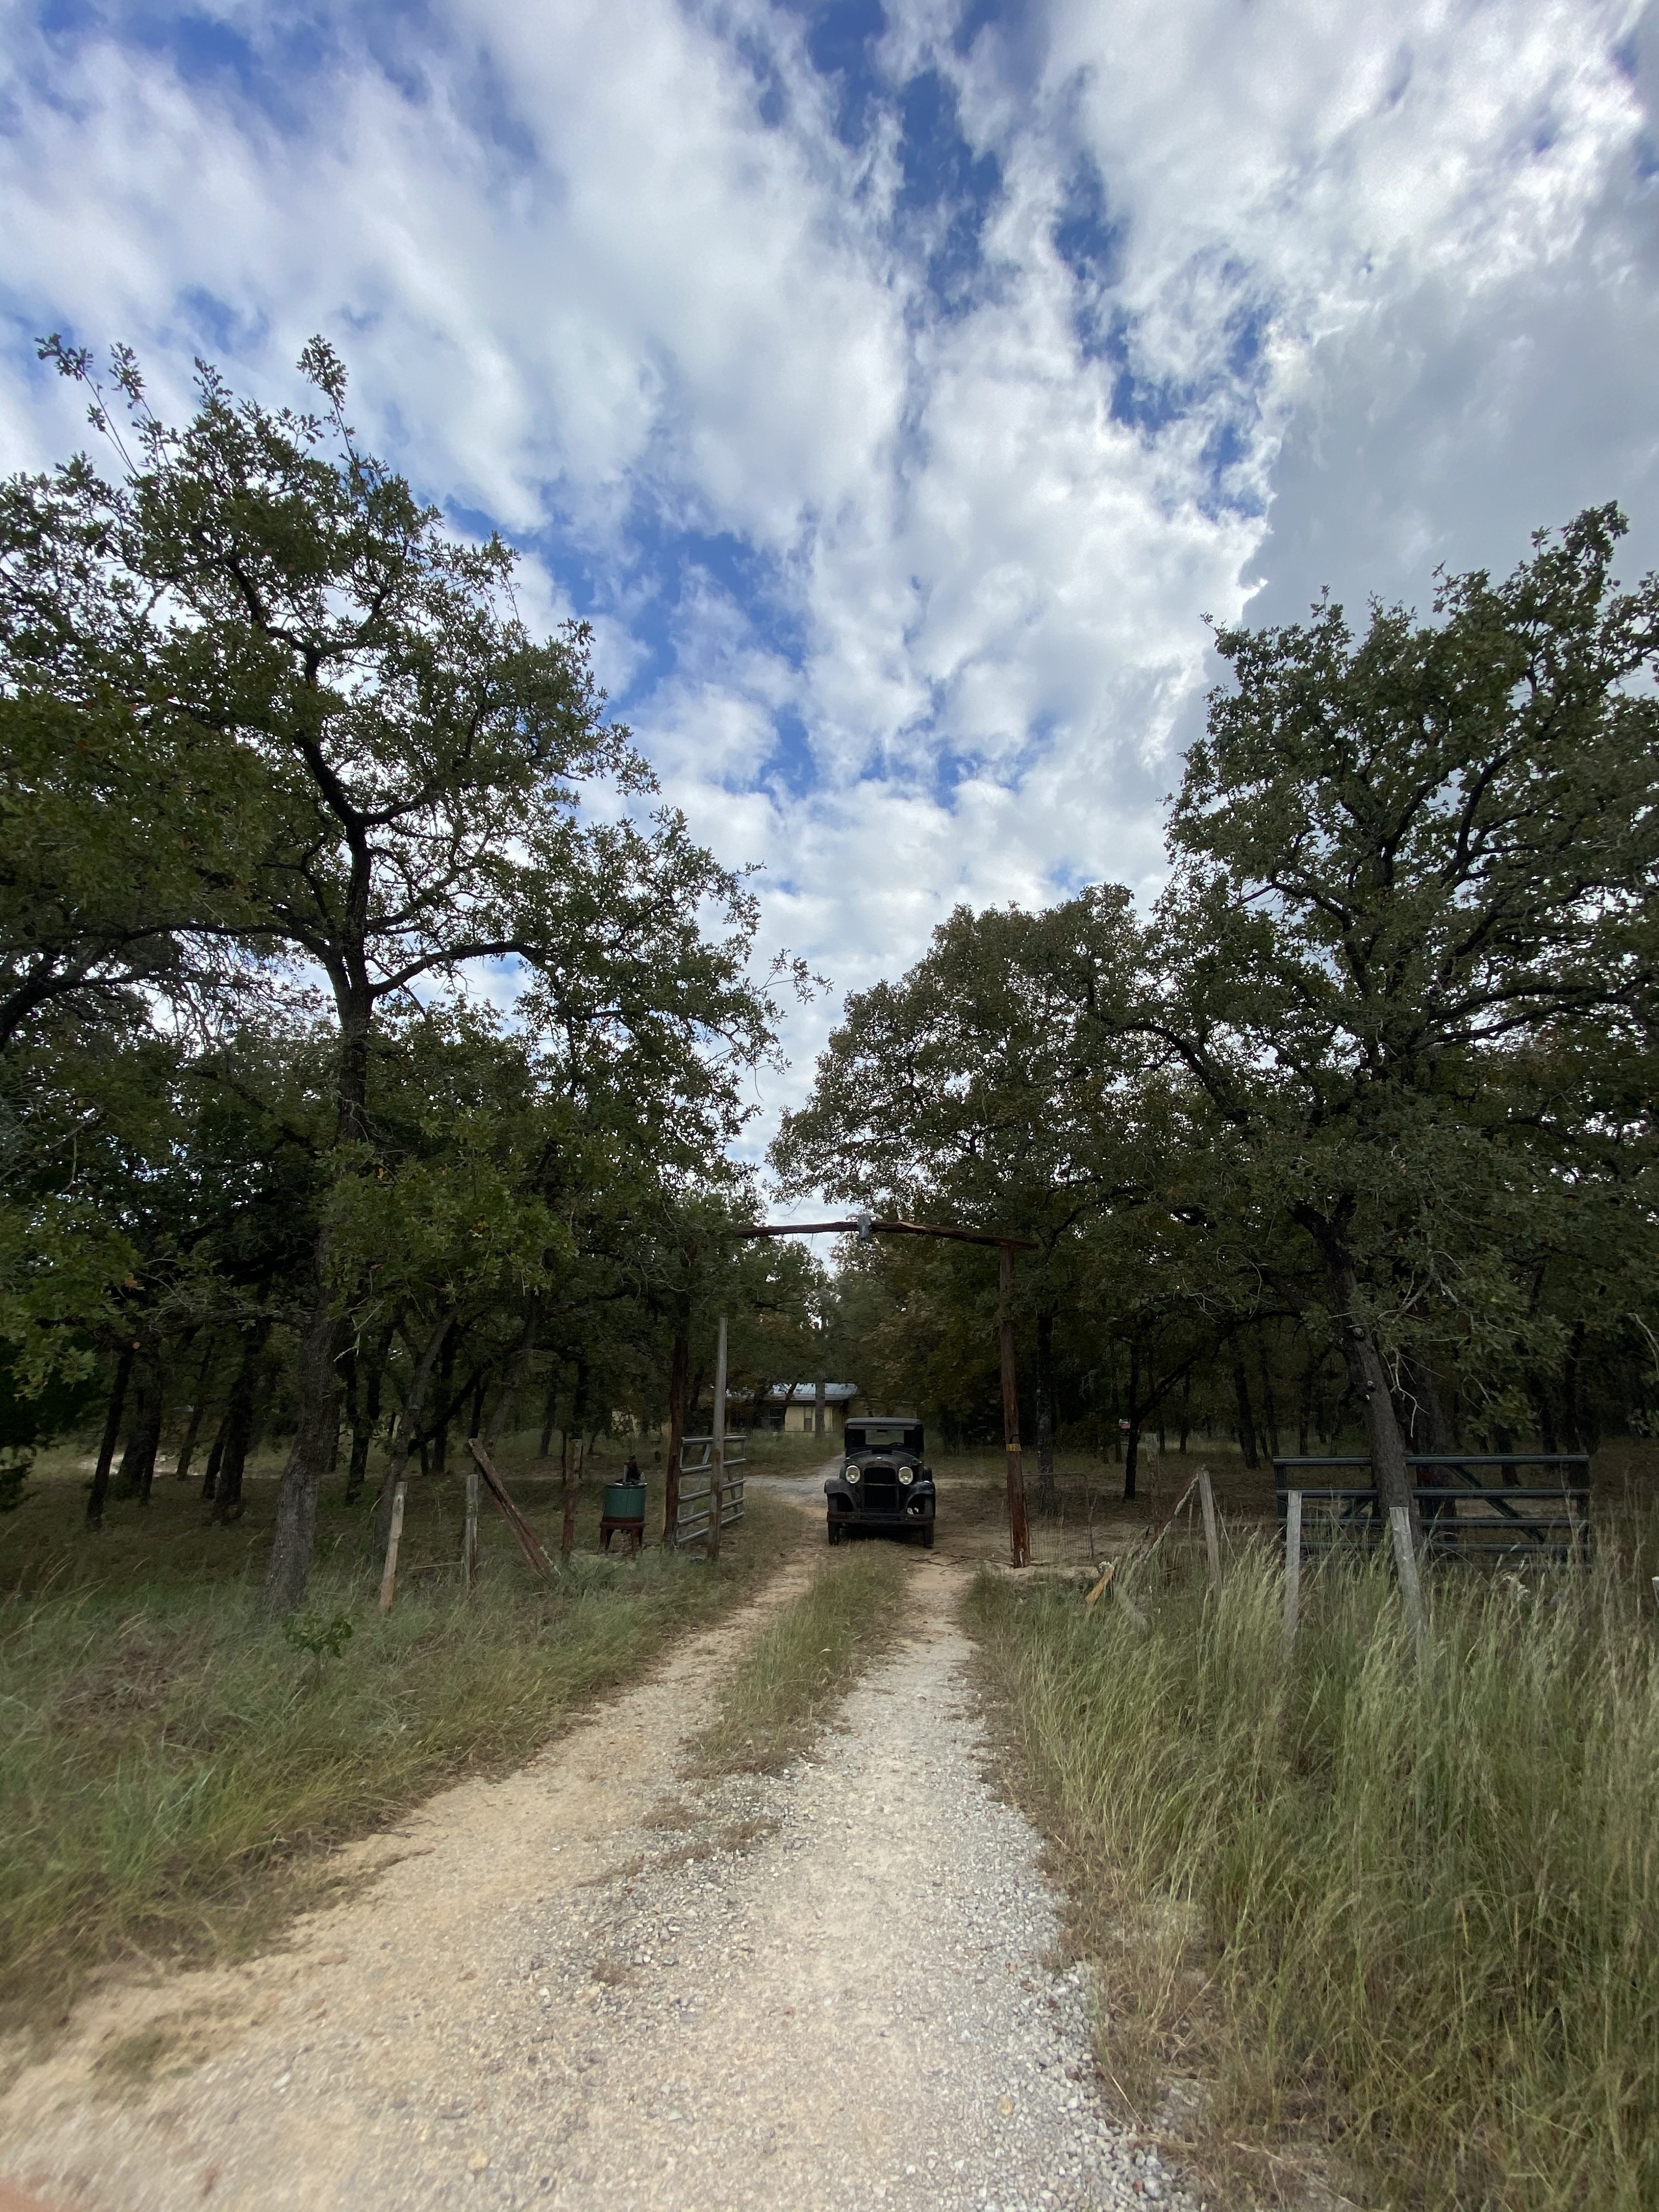
Took a few days to install a wider gate, posts and added a header.
 The new running board mats came in today!
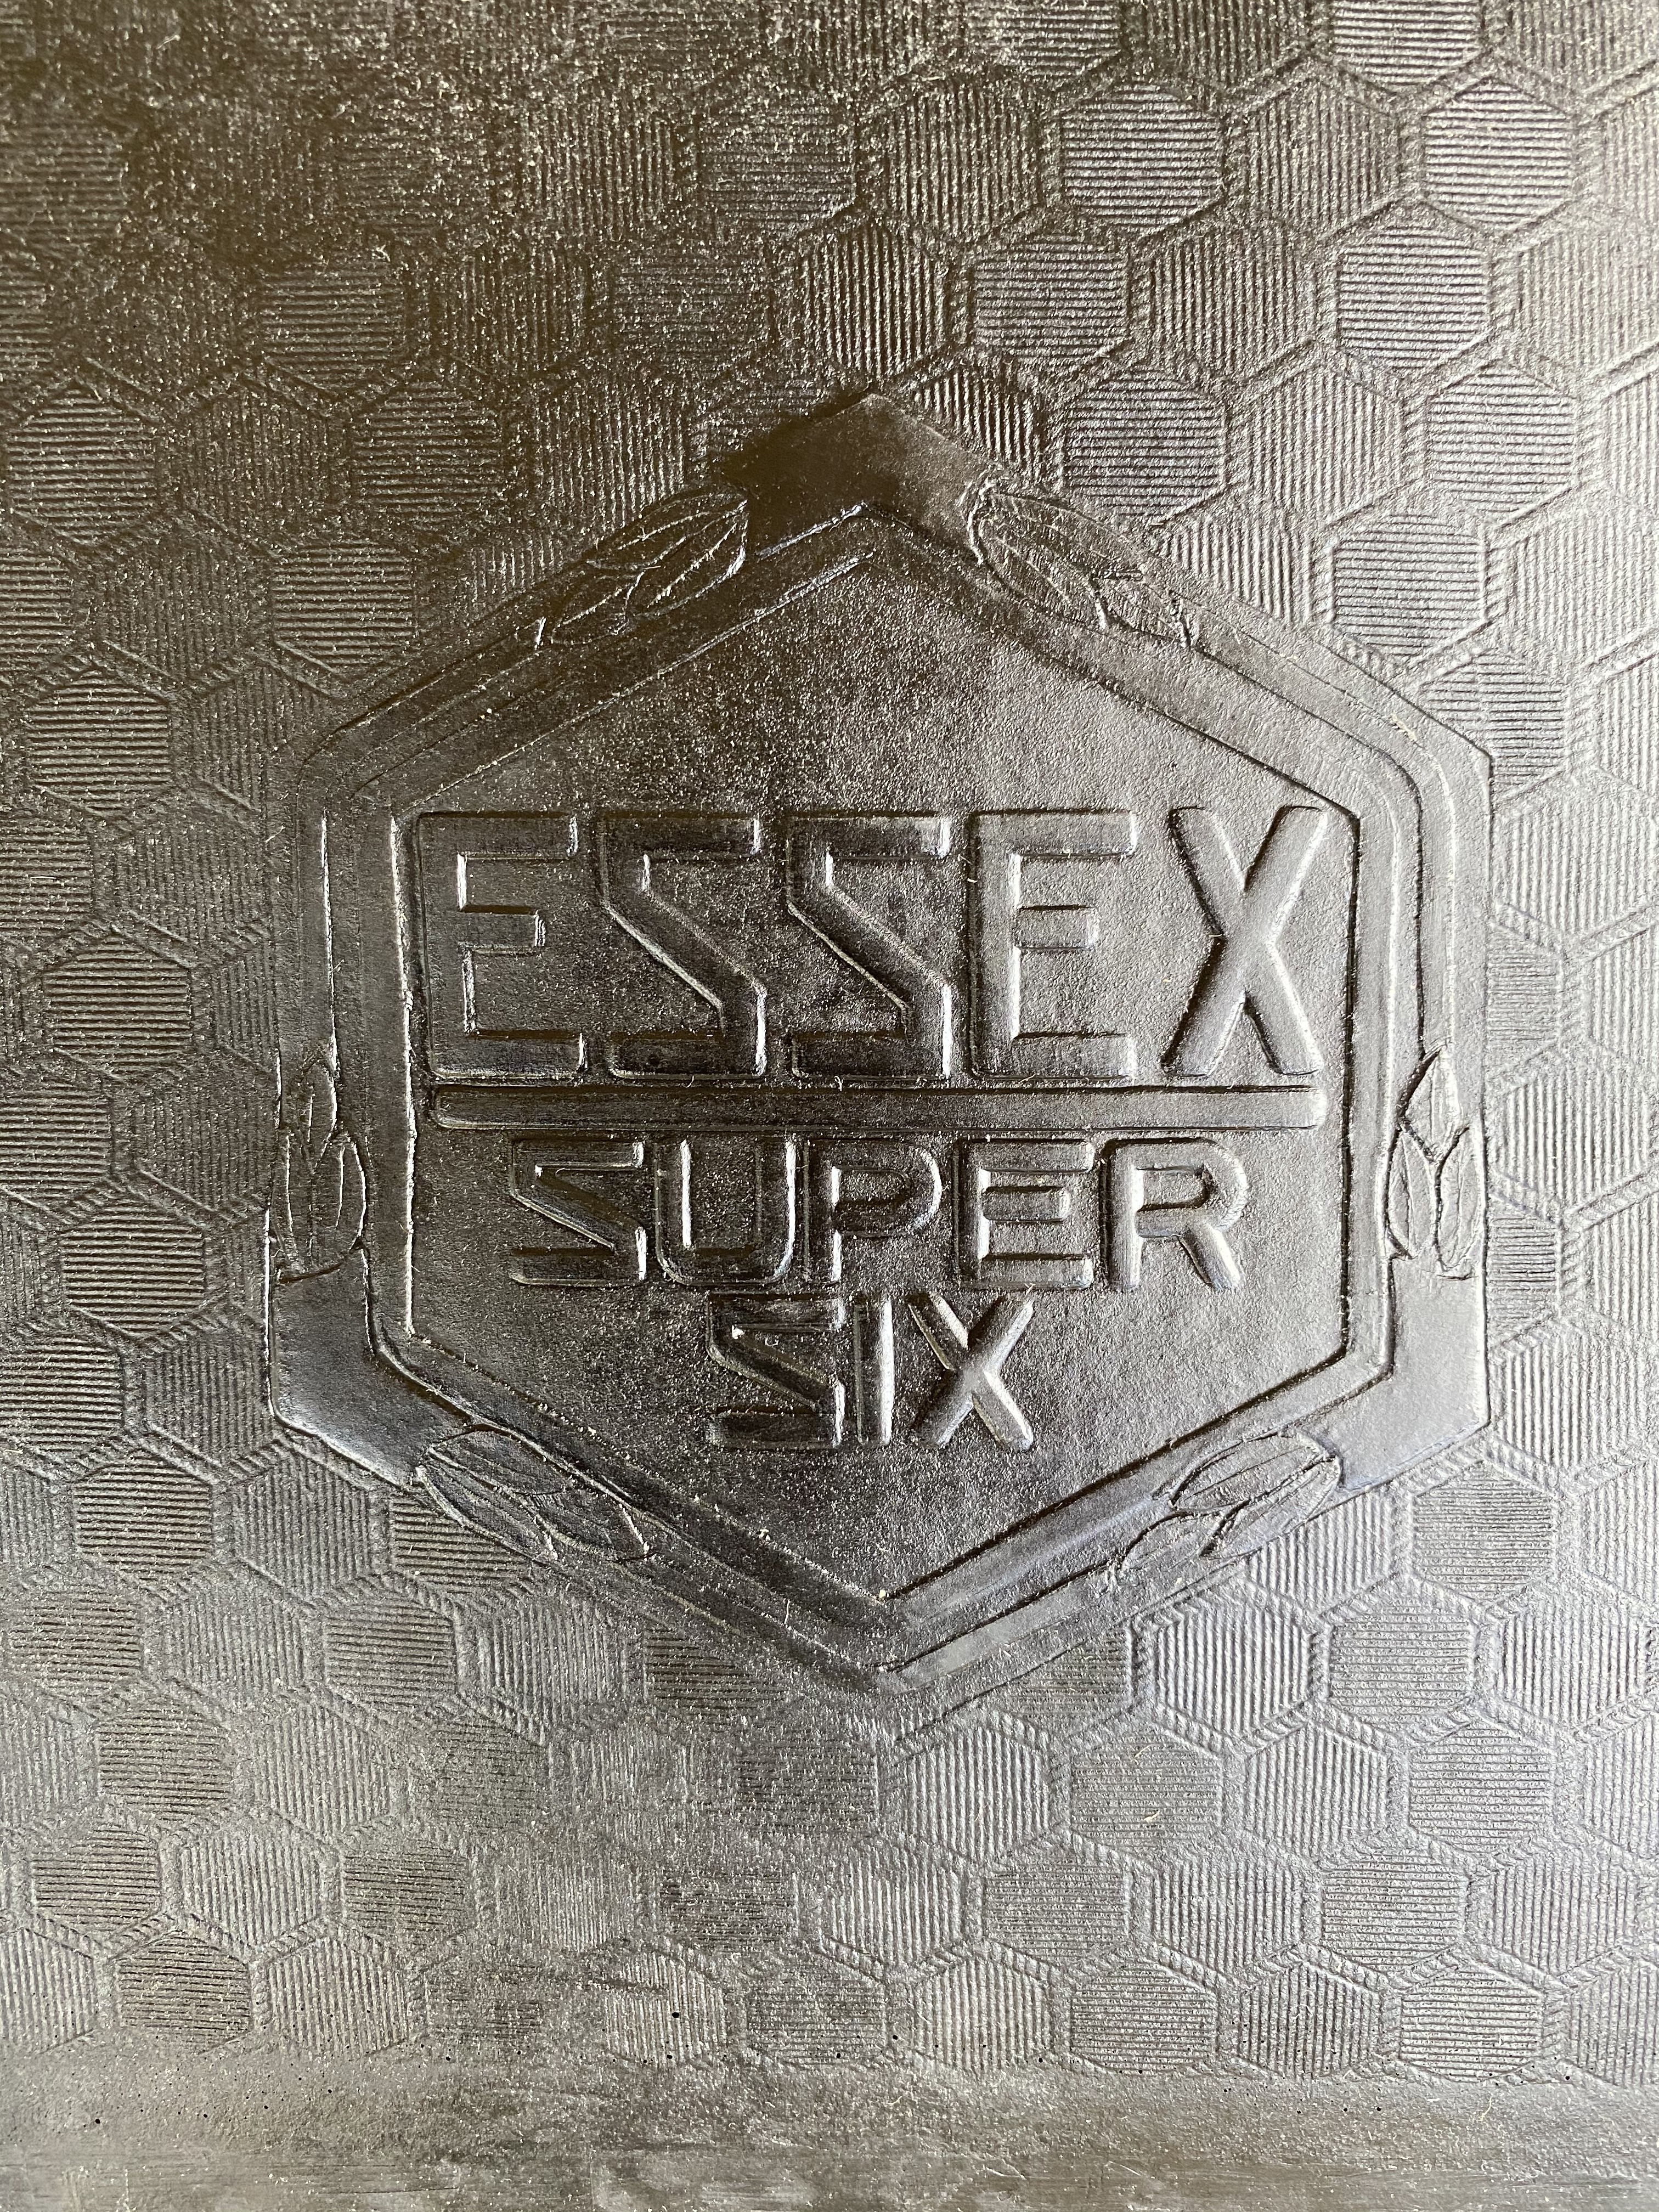 Not having a 1” deep socket, a slightly loose spark plug was causing a slight backfire upon deceleration so I made two round trips to the cul de sac making a few stops for the mail and a photo opportunity. Upon returning to the garage she was boiling over a little.Time to fix the temperature gauge and search for causes when there’s no water pump or thermostat to go wrong!0
 -
Now that I think about it, I was doing some spirited driving up and down the road, now that most everything is lubricated and adjusted. I got it up to 30MPH and noticed a vibration in the headlight. I’m going to thoroughly check the fender for loose or missing bolts.Until now it has only done a lot of idling and leisurely putting around the property. So that seems like a little spirited driving is a good clue as to why it would boil over now.Early on I had taken note of the slight oil leak at the very front head gasket near the radiator.I now suspect that the head gasket needs replacing.
It would also be nice to check out the inside of the water jacket while the head is off.Anyone know of a source for head gaskets?0 -
Olson's Gaskets, or Dale Cooper.0
-
Thanks much!Geoff said:Olson's Gaskets, or Dale Cooper.
I checked the anti freeze level and noticed that the radiator is leaking and I removed some organic materials from tank of the radiator.
Looks like insects or maybe the remains of a birds nest.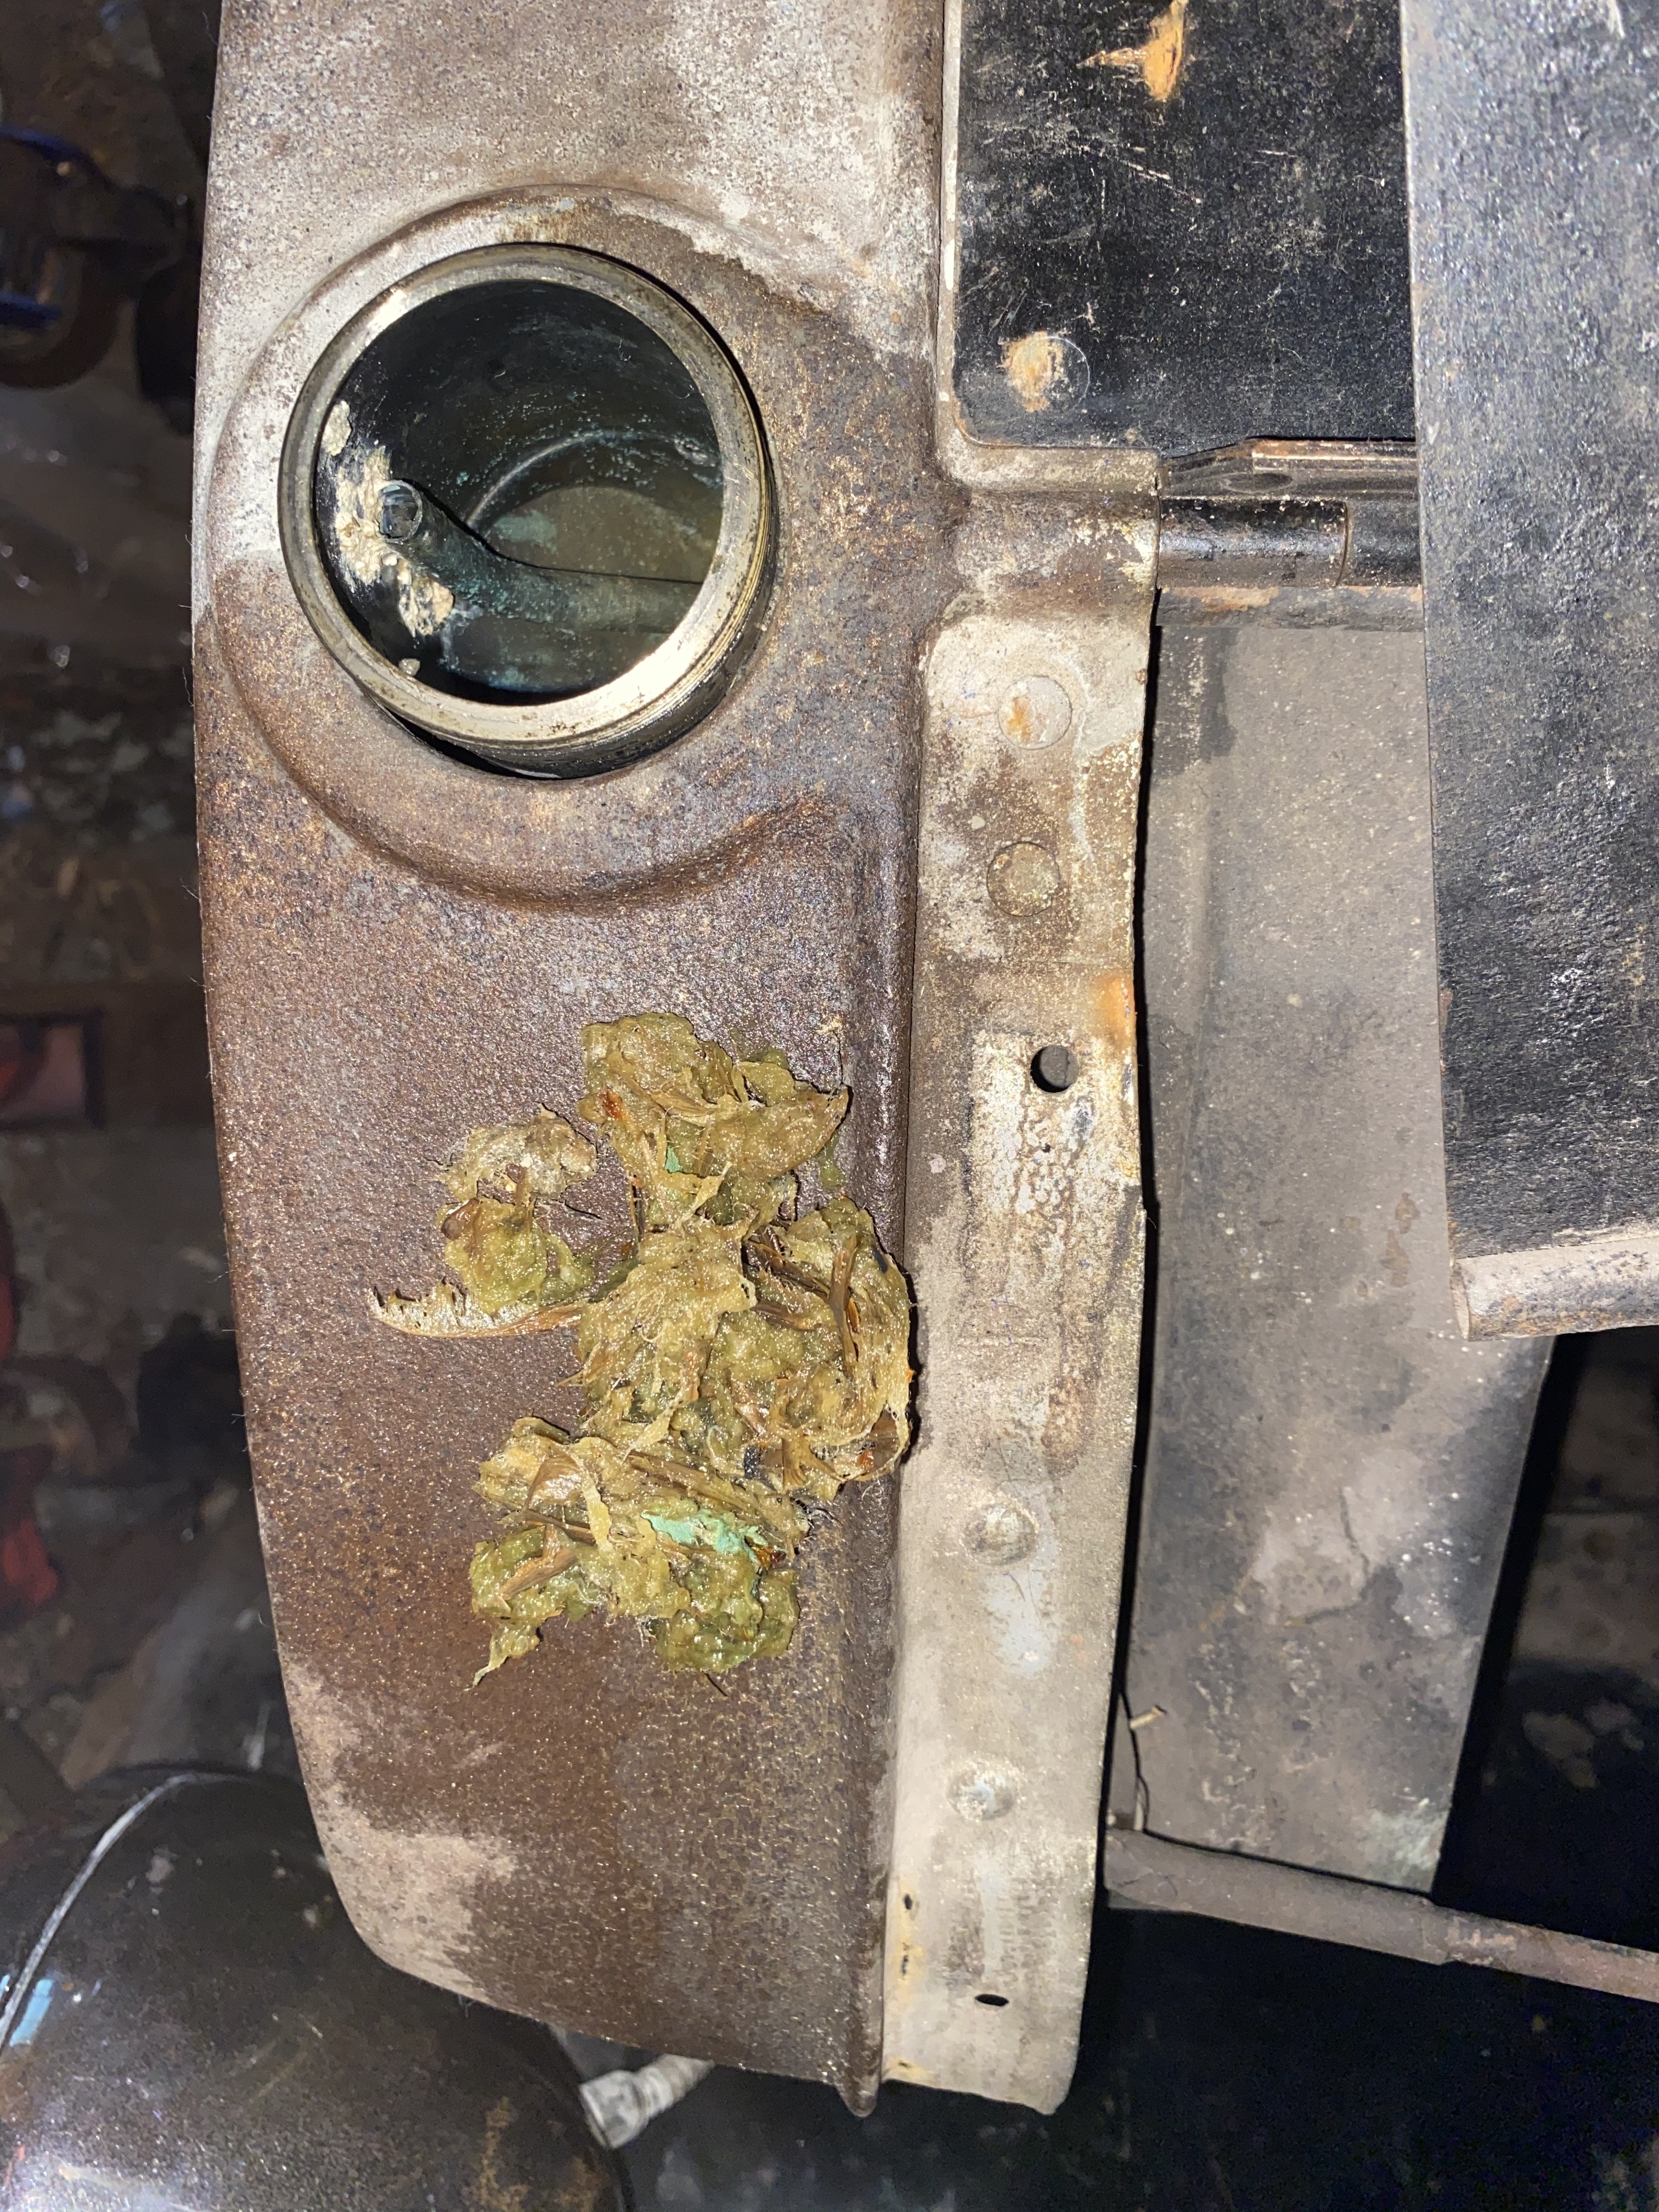
I will repair it and see if that solves the issue.
Also it’s time to repair the temperature gauge.
0 -
When I first got my Hudson running after sitting for 60-70 years it had no water flow
I had to disassemble the water pump and flush out the pump, block and radiator
I found the bottom of the block and pump was Full of crud and was all but stopping any water flow
now it runs cool even when it’s 80-90 degrees outside0 -
I’m going to do another compression check. #3 was at 60# while all others were 90-110#.It has run so well that I never checked it again after running the engine quite a bit.I could possibly have a trifecta of radiator leak, crud buildup and a blown head gasket.Once it’s sorted out it should do fine.0
-
I was beautiful outside today so decided to flush the cooling system.Sure enough, I got out another handful of nasty muck that looks like a mouse nest with a lot of insect parts mixed in. I believe that it was lodged in the water jacket driving around was enough to finally dislodge it.The grass seeds on the honeycomb core on the left are from driving around the property.
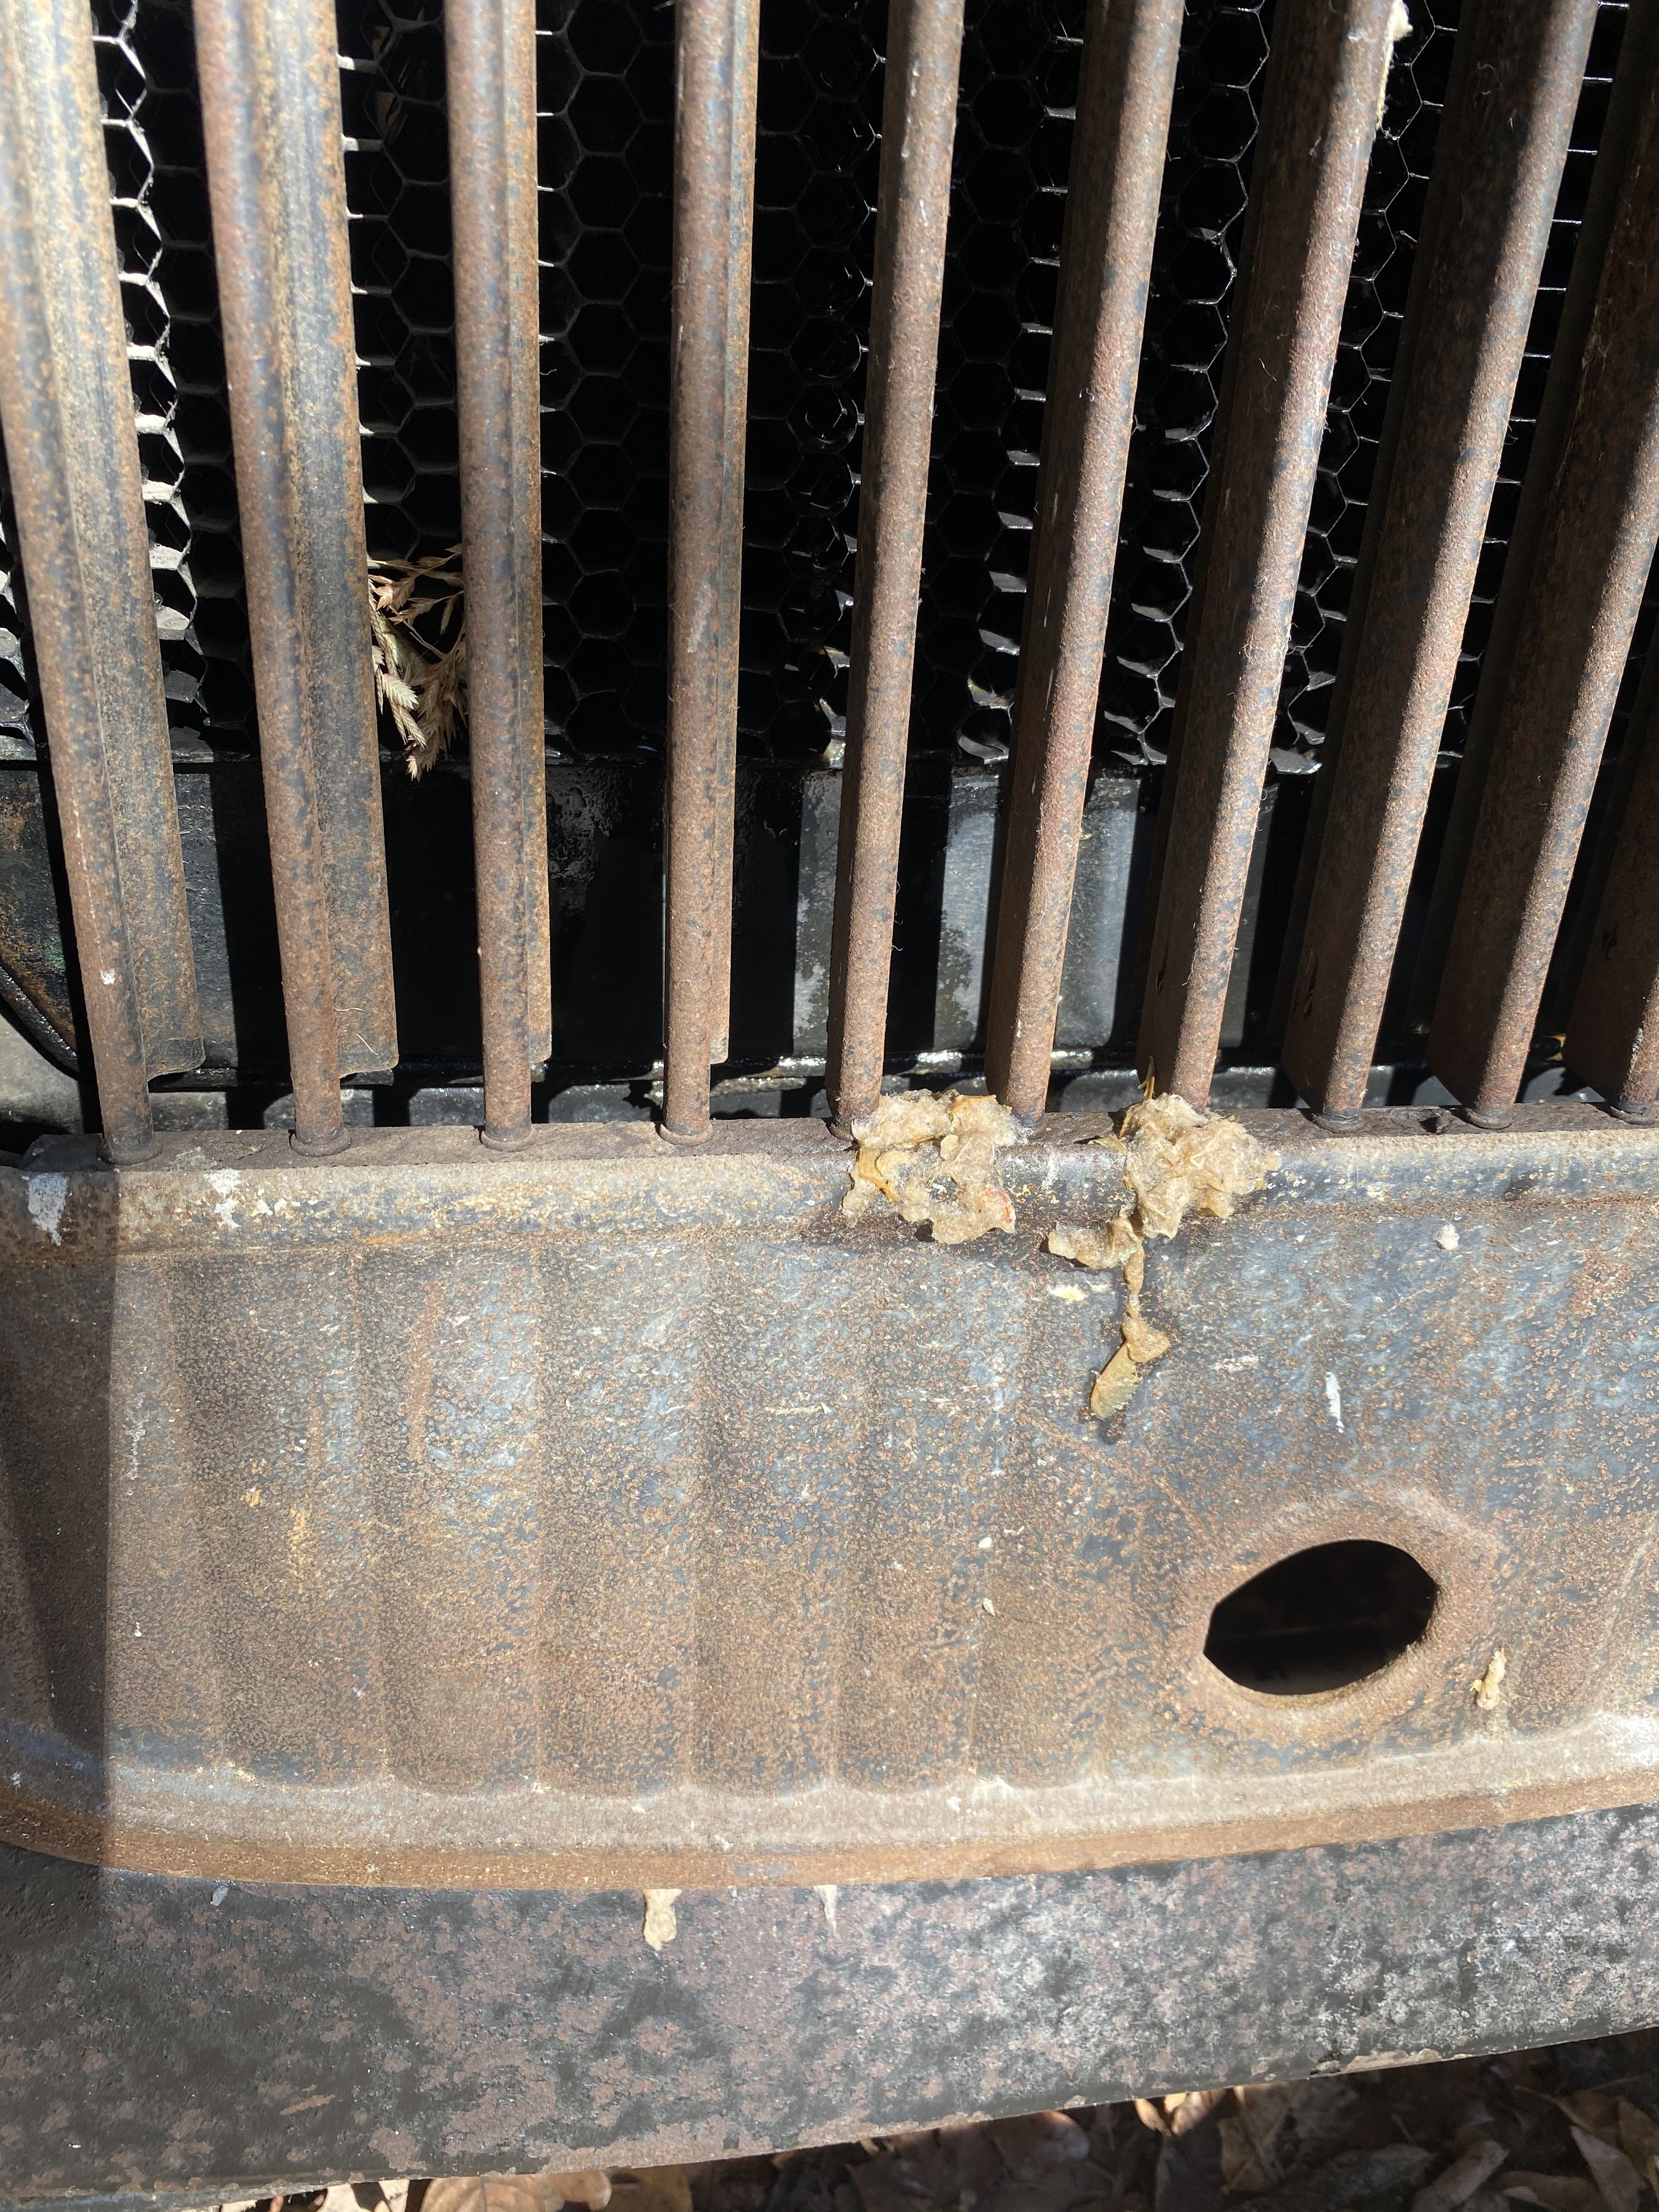 It is now all piled up across the down tubes in the top tank of the radiator. Back flushing it isn’t getting all of it out so I will pull the radiator, which needed to be done anyway to fix the leak.
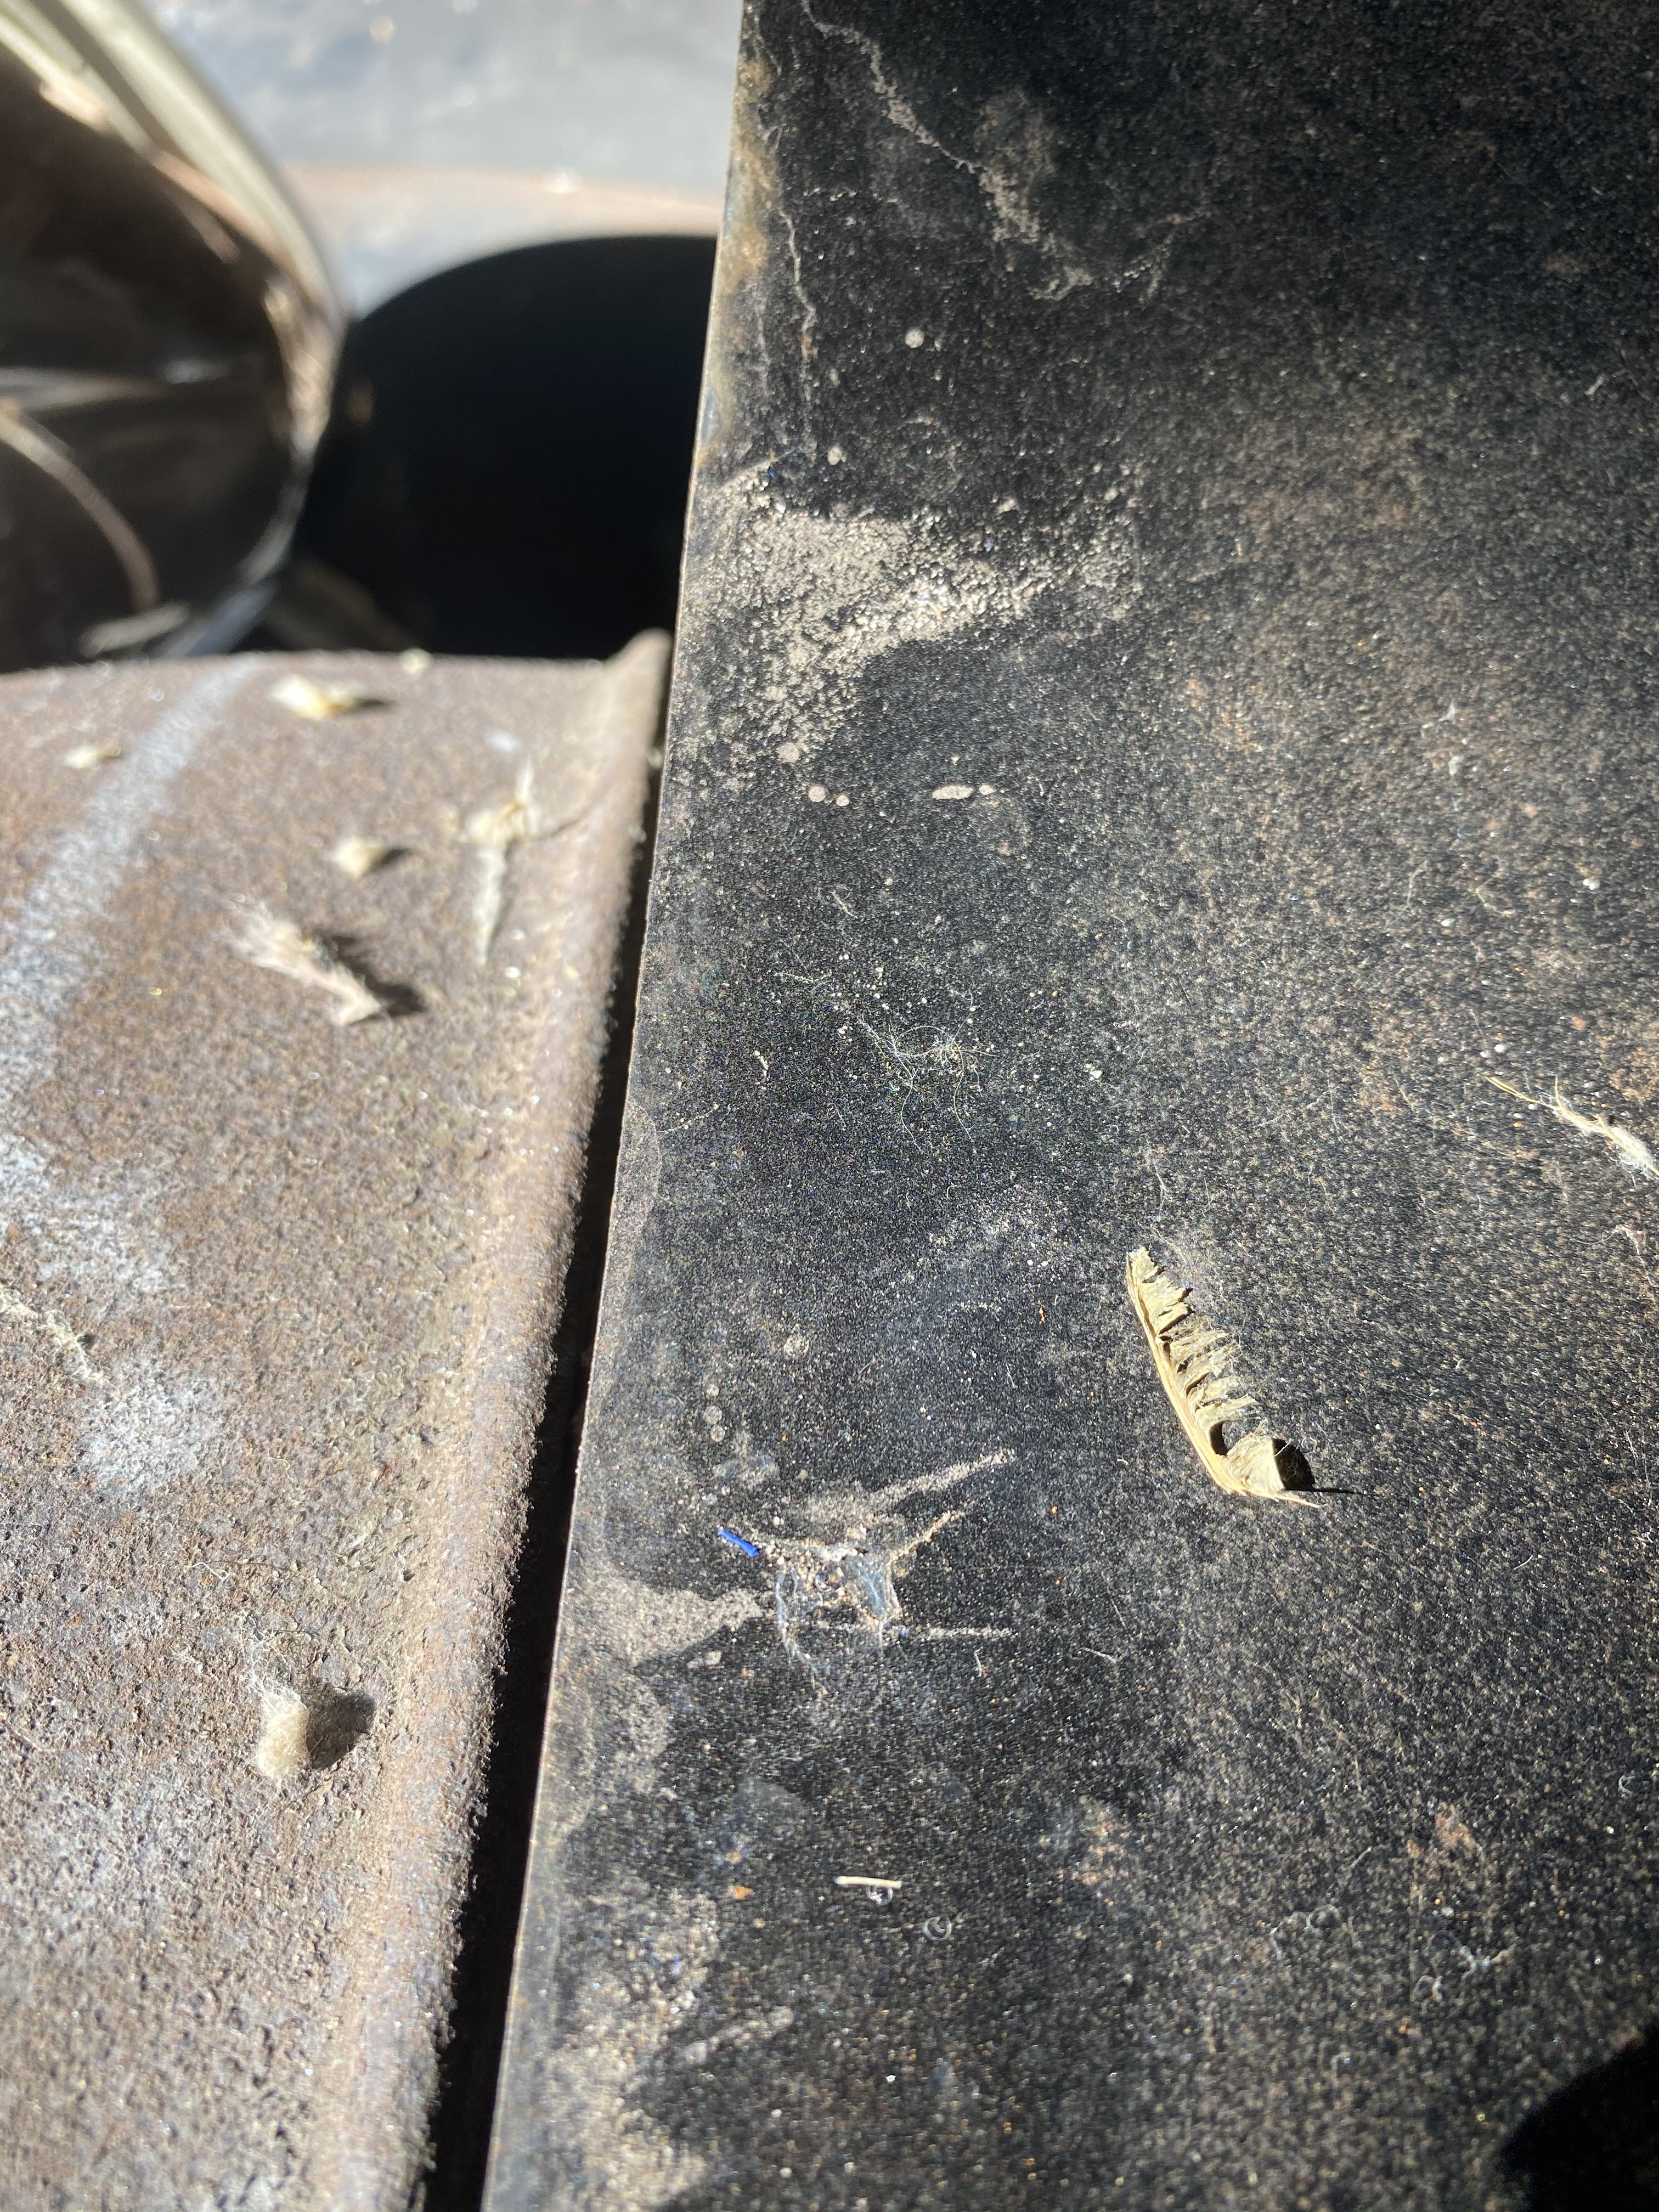 They almost look like baby bird feathers rather than insect wings.
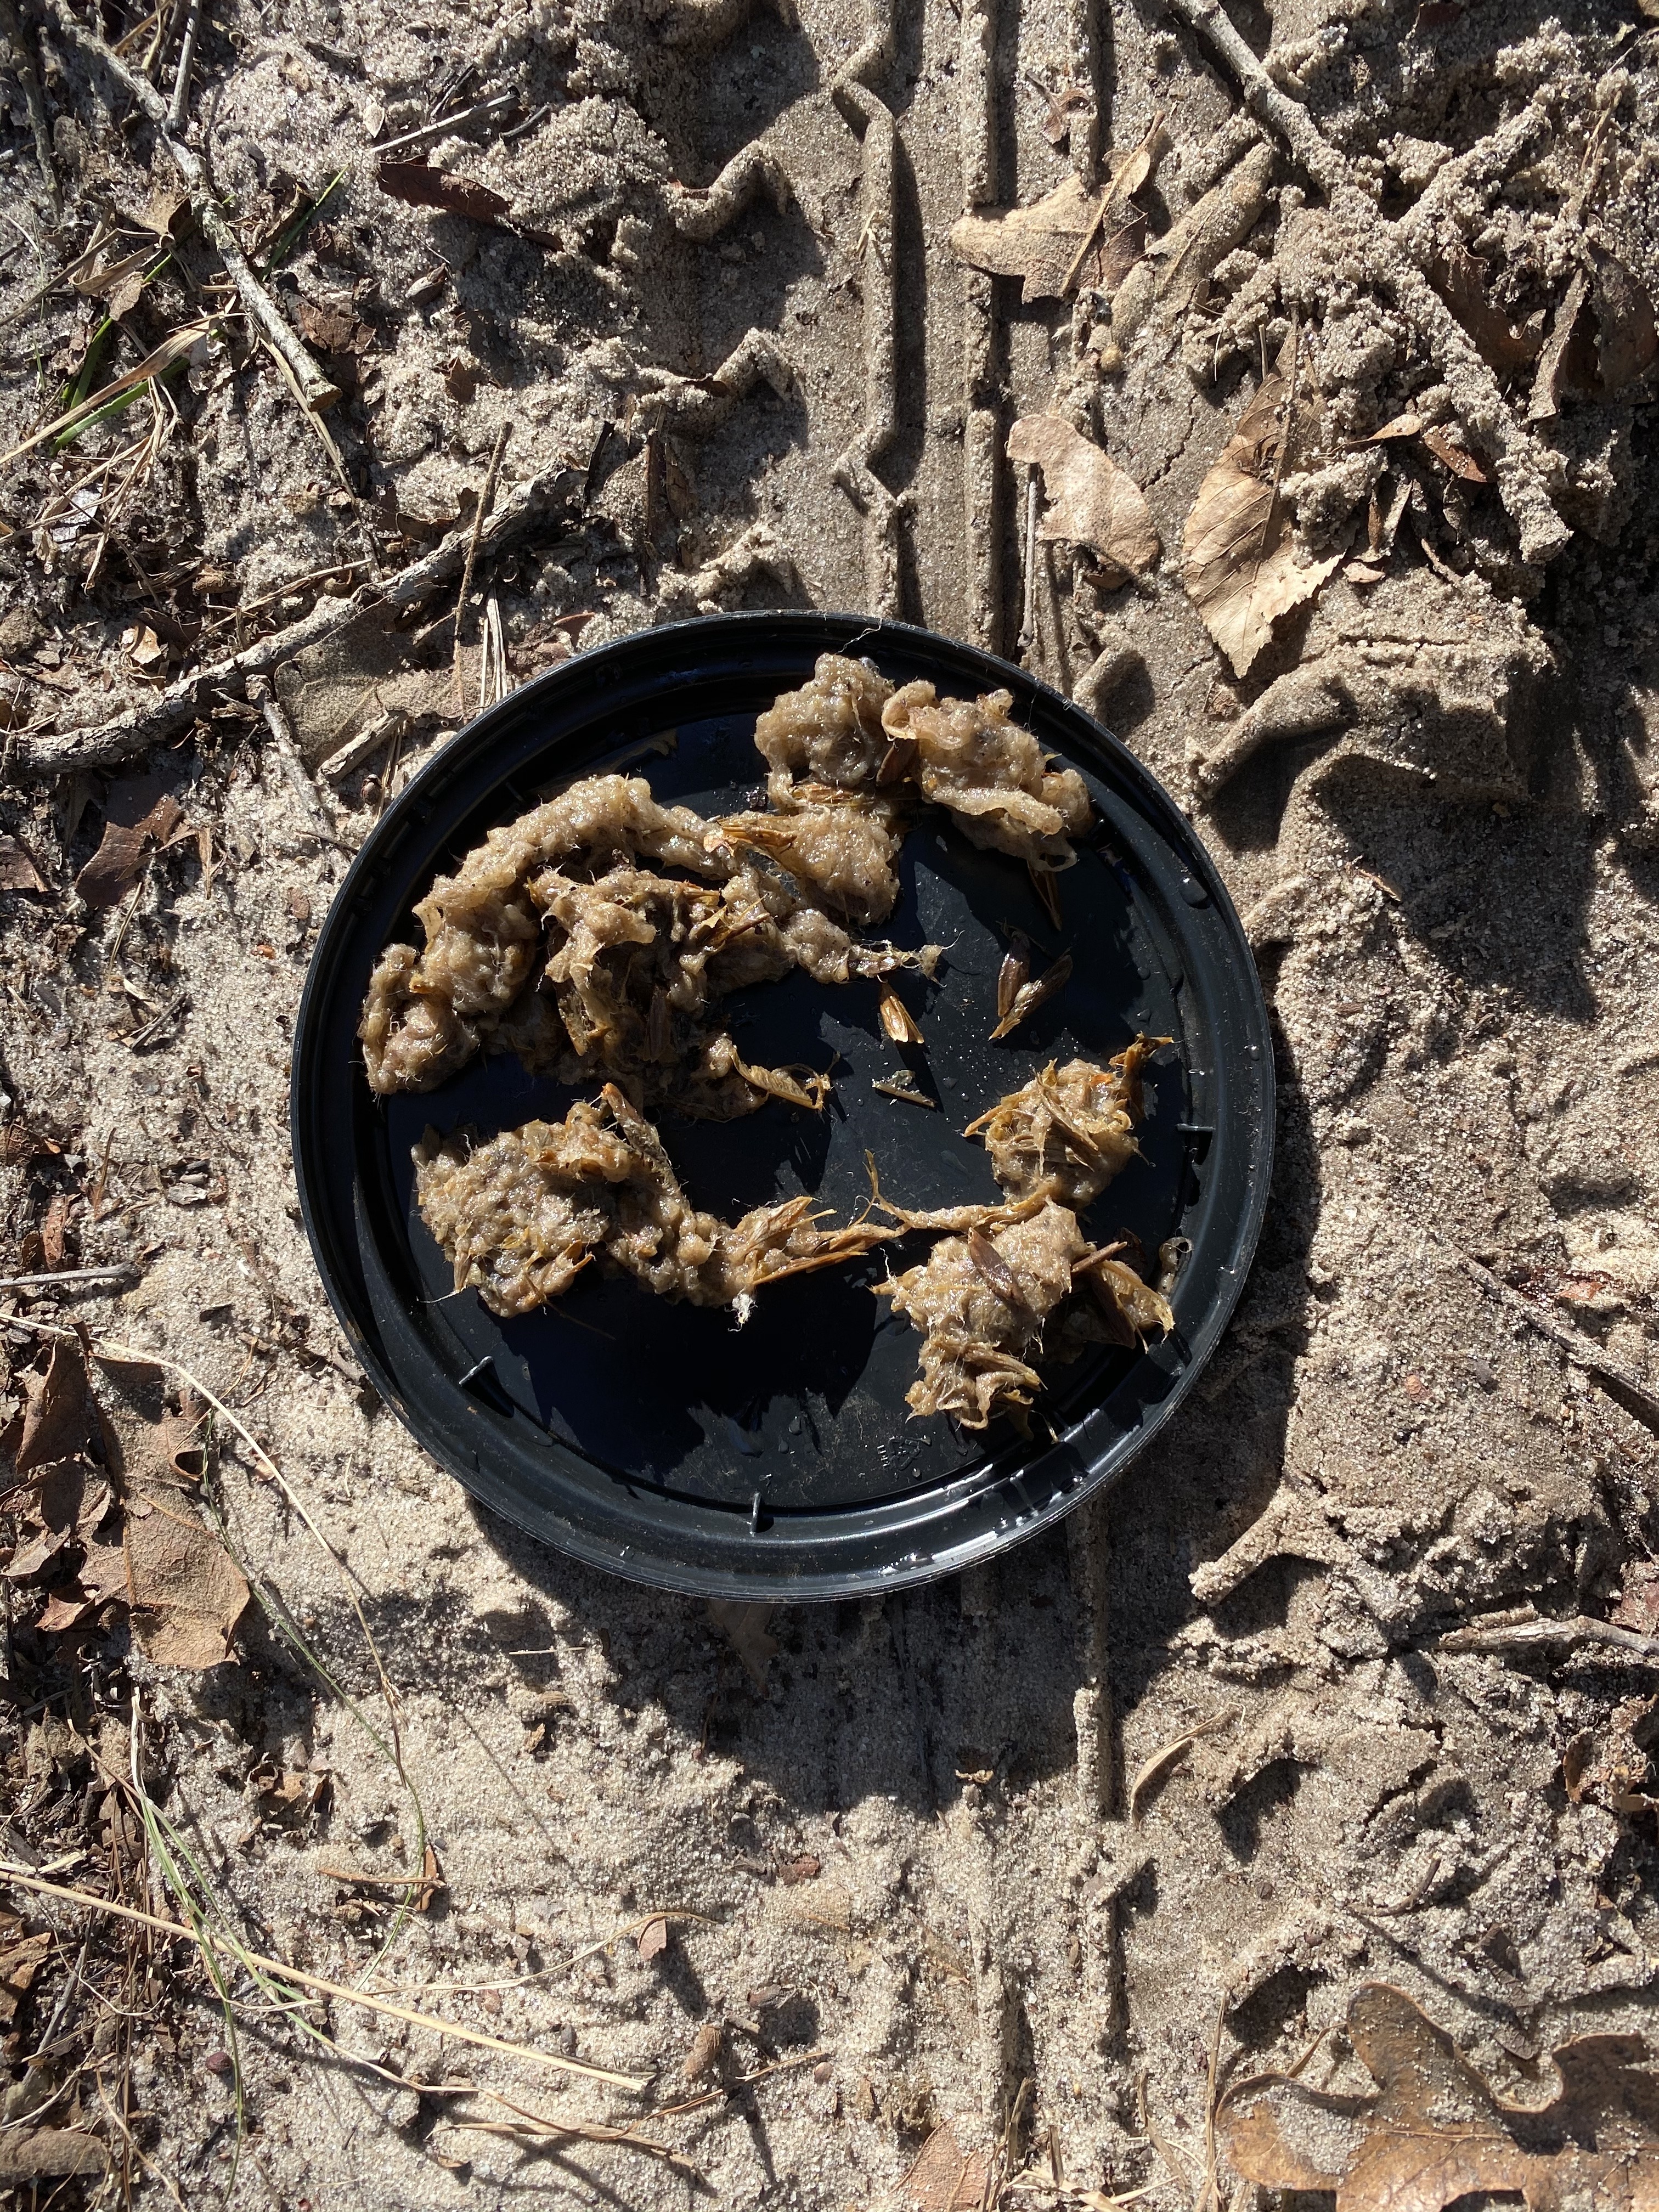 Some of what burped out while I was back flushing the radiator. This is probably 1/10th of what was in there.So.If I remove the engine side plates on the driver’s side, will it gain me enough access to clean around the cylinders? I would also like to run white vinegar in it but it could also cause questionable freeze plugs to leak. Assuming there are any?0
 -
Yes, you can do that but be prepared for broken bolts after 91 years. I fit a copper plate between the original steel ones and the block, as these tend to rot out as well. I would replace the freeze plugs with brass ones. I have done an article on this in the W.T.N. not too long ago.0
-
Thanks Geoff!The cover plates were replaced recently and so far, I have not encountered any gorilla tight fasteners, or any seized ones. Yet! The bolt hole behind the elbow connection of the lower radiator hose is vacant. I thought possibly it was left out due to inaccessibility but it may be busted off in there and may need to be extracted.Of course Mr. King presciently retained the rusted out original Cover plates so I may spend an inordinate amount of time repairing them for re installation.
By the way, I am temporarily impoverished by the tax man (And months of spending like a sailor on the Essex and it’s parts) this month and hope to order the technical topics set and flying man in November.0 -
Being a little ADD, instead of pursuing the cooling system issues, I spent the day reproducing one of the steering arm gaiters. Lots of fun fooling with the 1911 Davis built vertical feed treadle machine!Thankfully these pieces were stored away for untold decades and can be used to make new ones out of genuine leather. These look similar to the roof material.
 Here the seams are ripped allowing me to pattern the pieces.
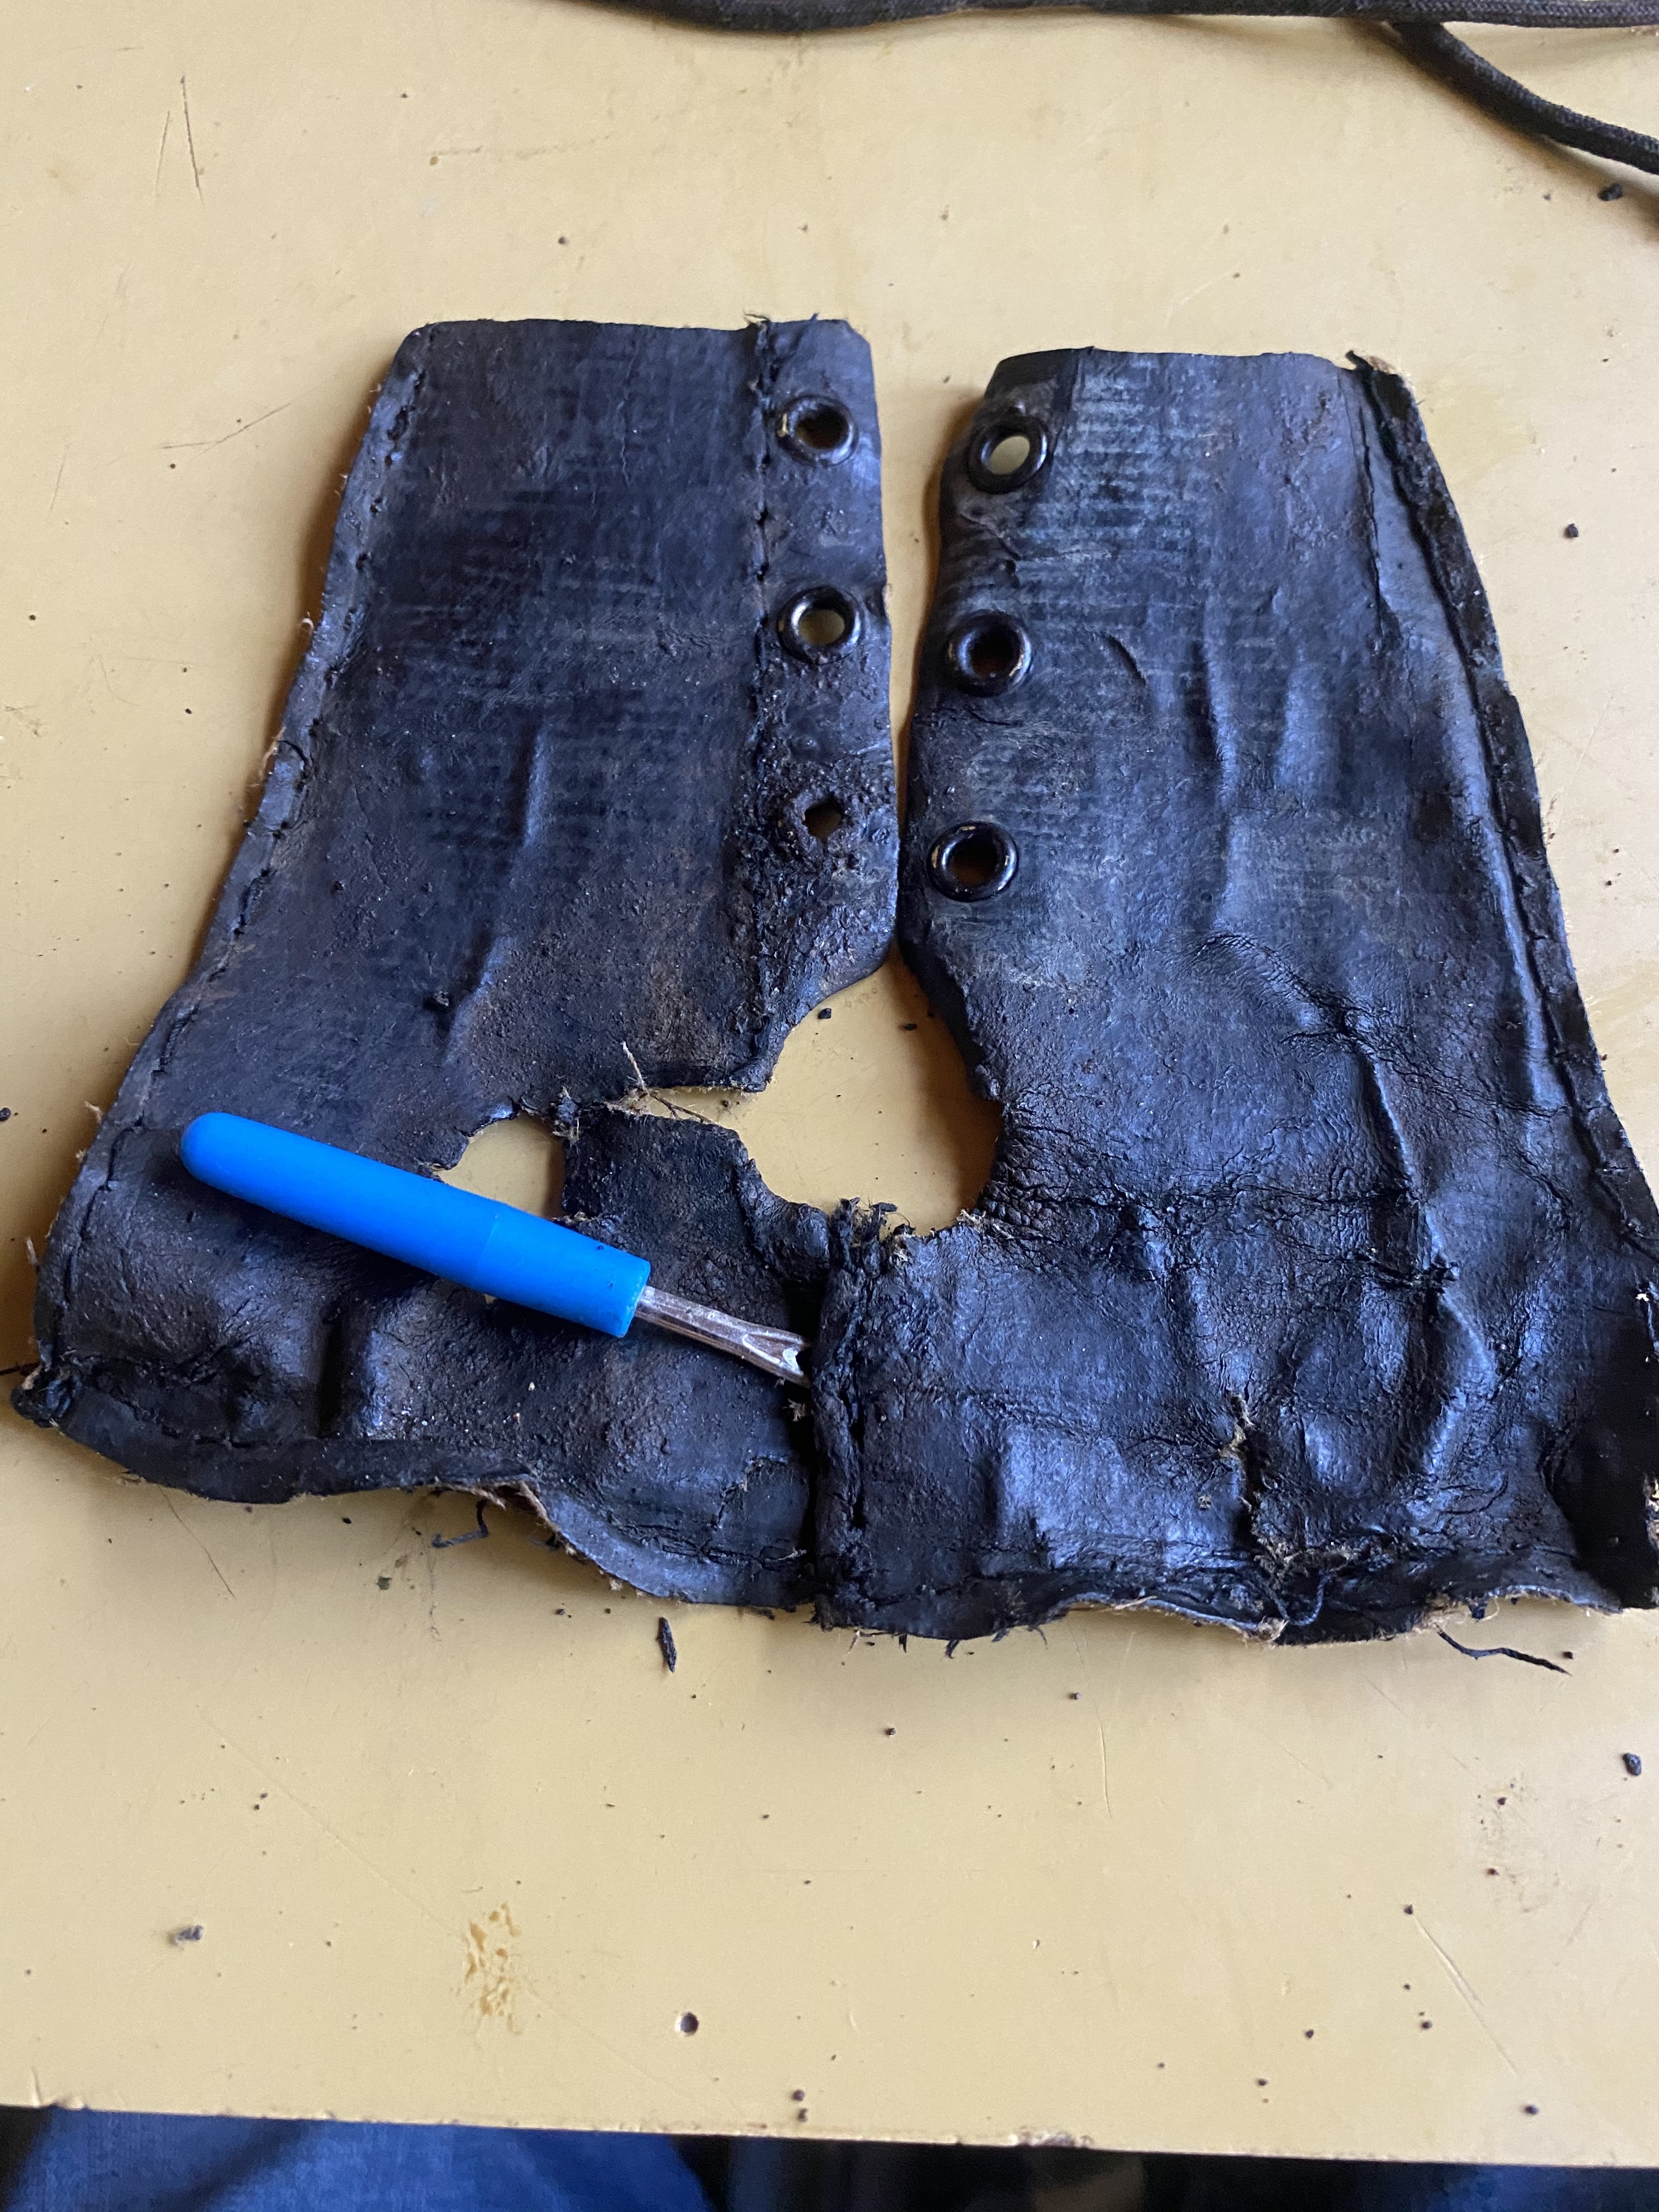
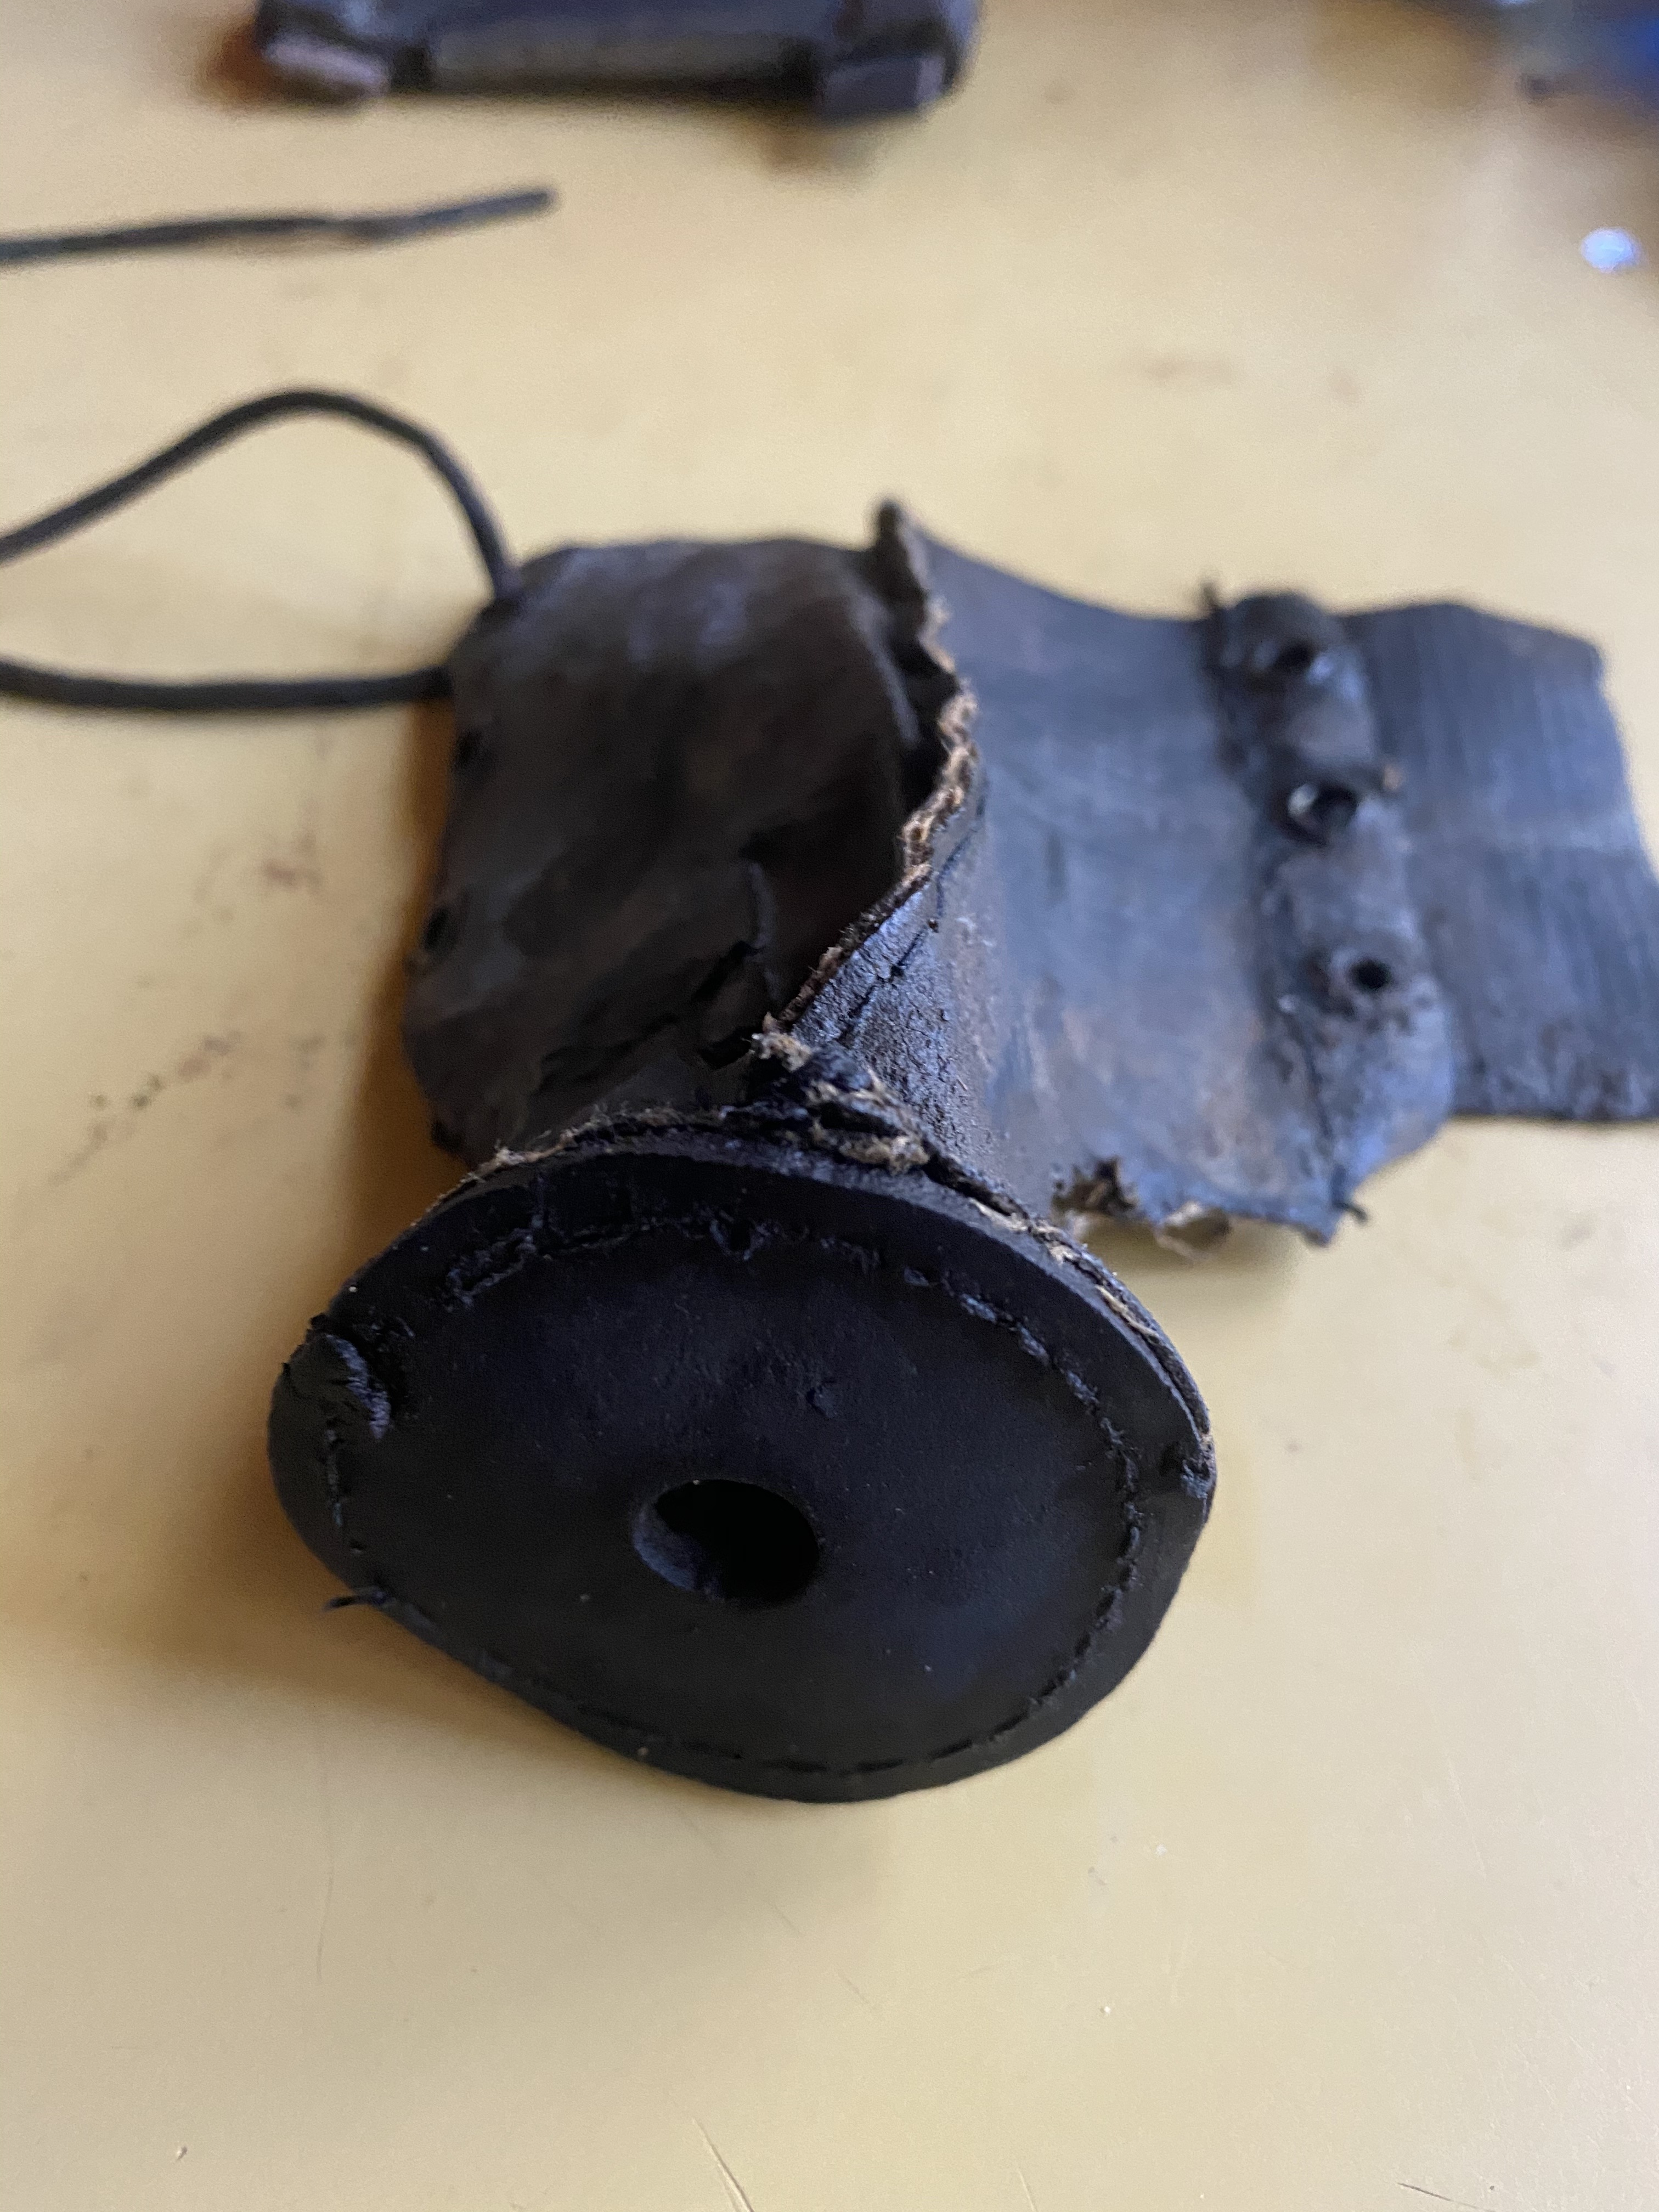
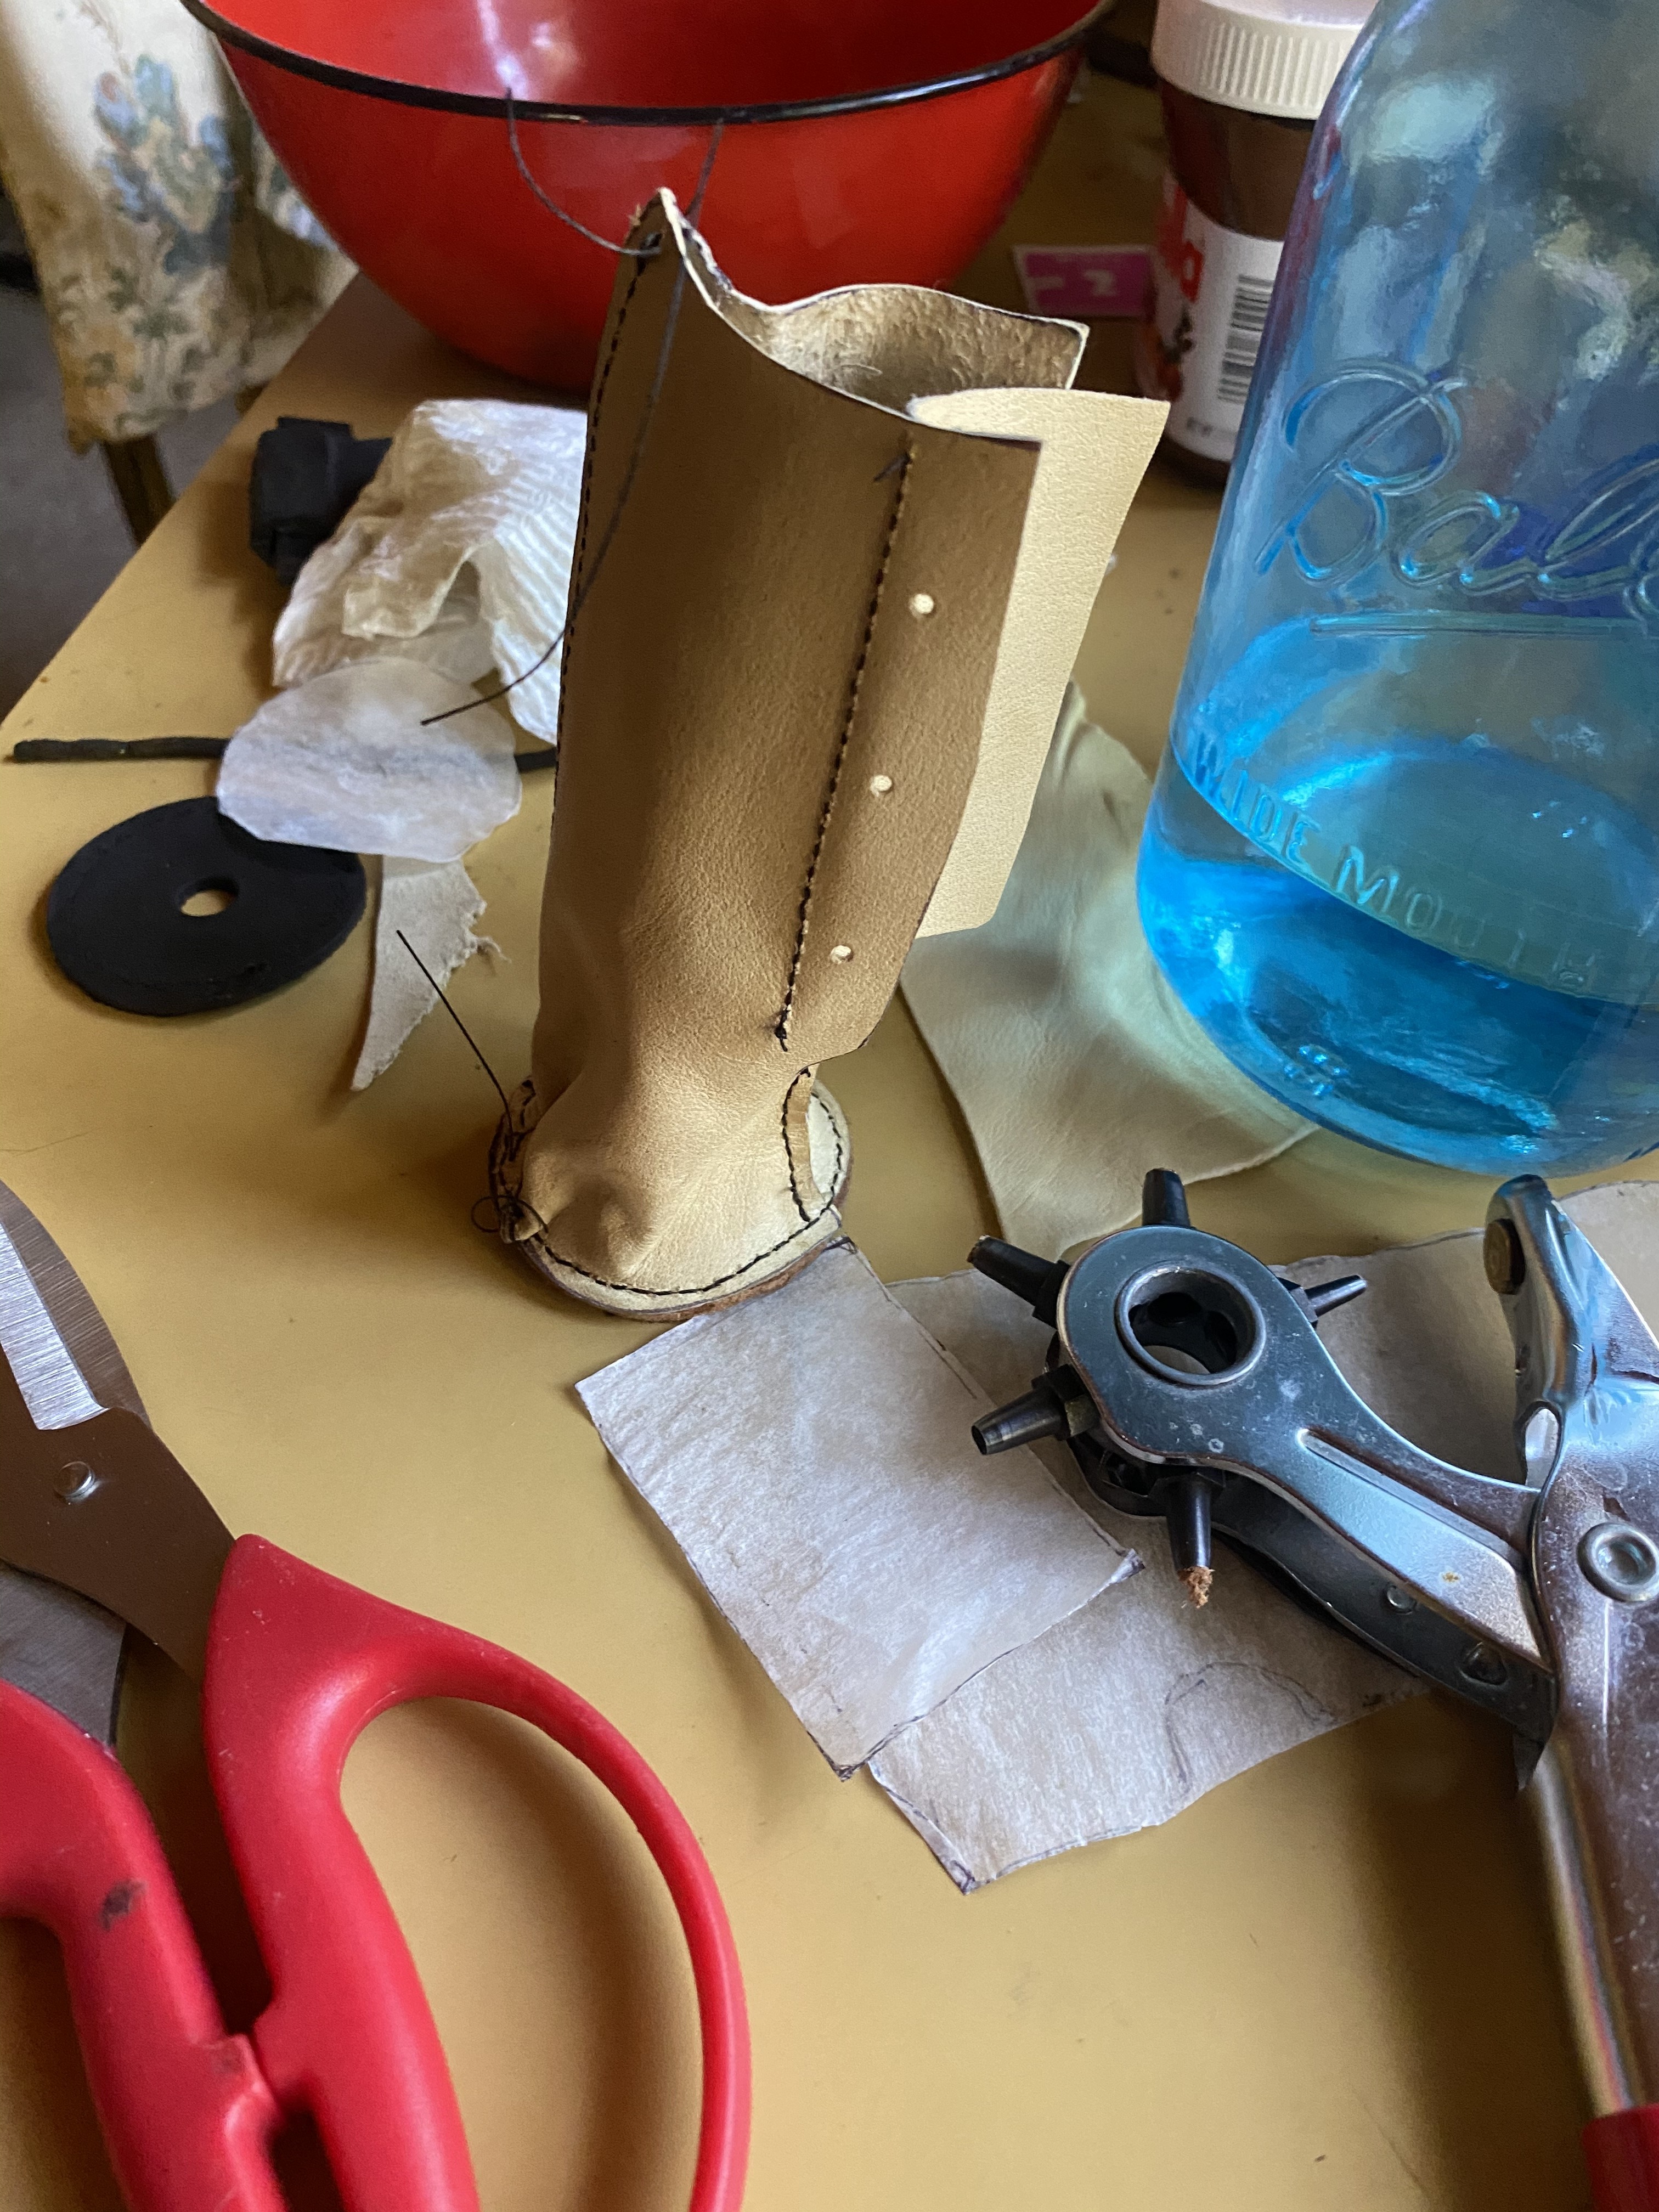 Here it is, stitched together. I don’t have the brass eyelets so I punched a small hole for now. At some point I will acquire some and dye the leather.
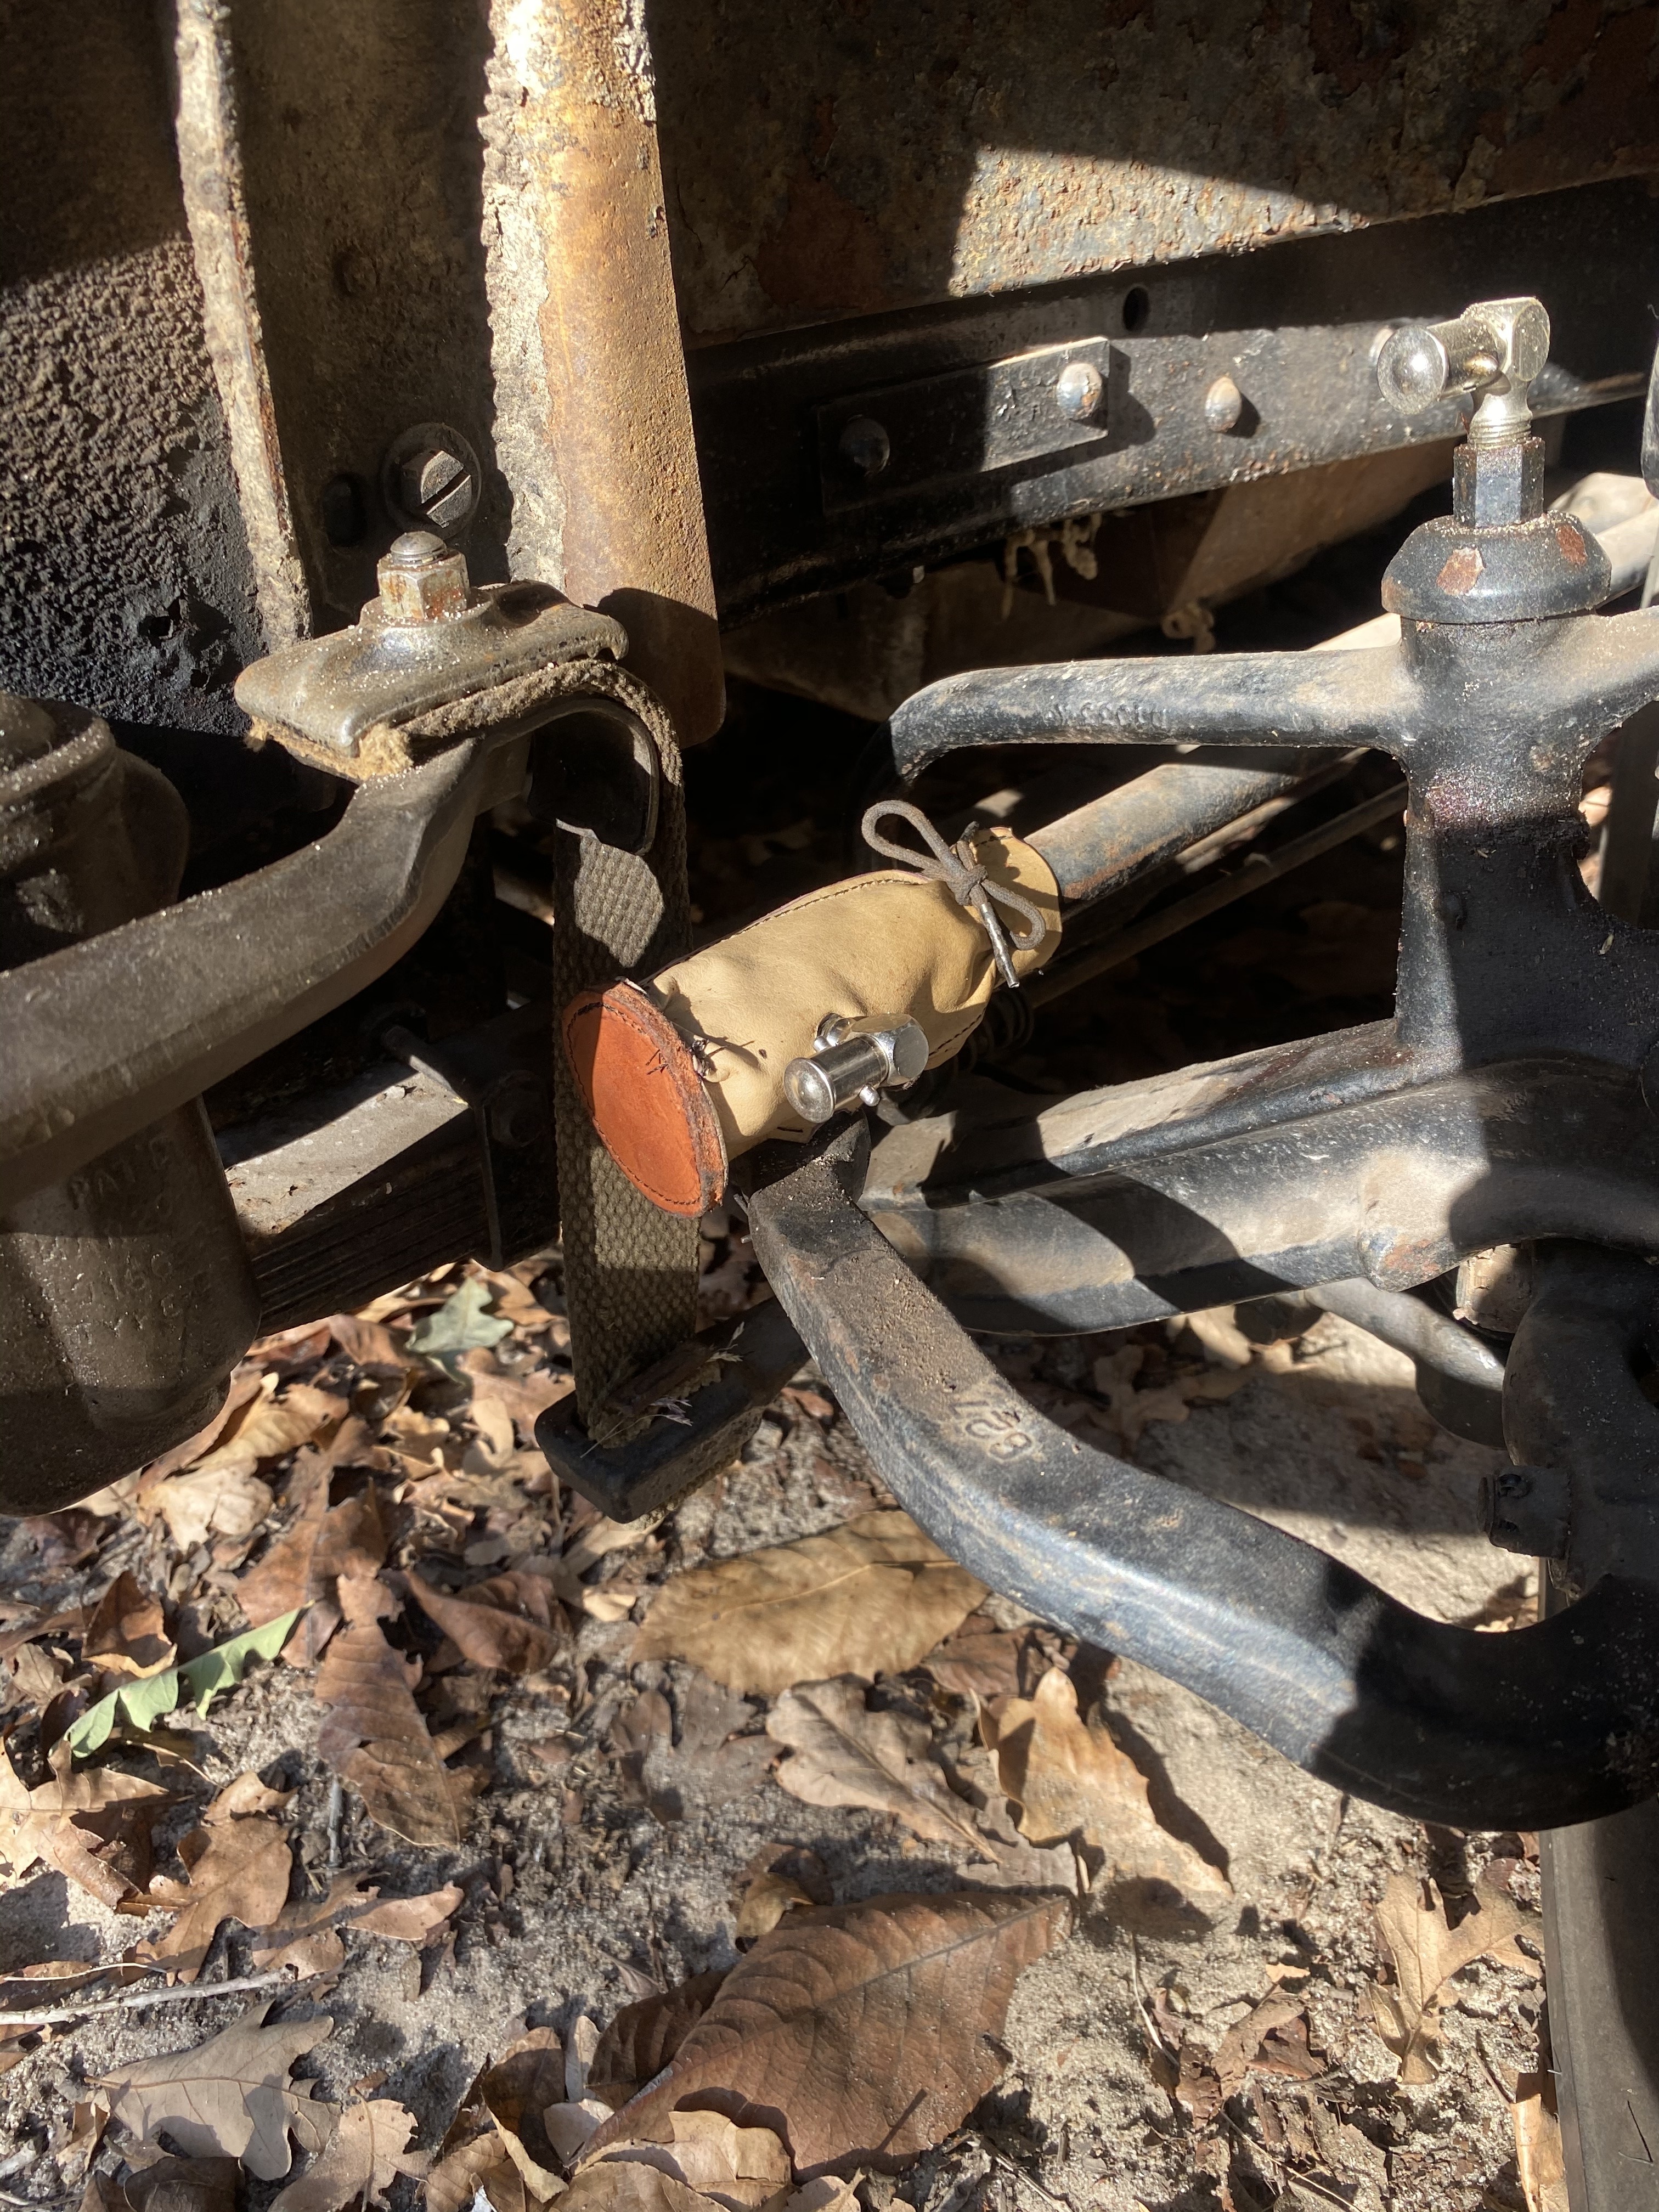 The original lace is still amazingly strong and greasy but I used it anyway. I didn’t know the purpose of the central hole in the end piece so I left it out for now.The rear gaiter is more complex so I saved it for last. Of course I will hang on to the patterns for posterity and if anyone wants to make some.0
 -
Got in the carburetor kit from the Carburetor shop LLC in Eldon Missouri yesterday.$307.00 but still cheaper than a set of brake pads for my brother’s modern Camaro!
Still pretty impressive even at that price.
Its tough to spot in the wrapper but it includes the fiddly little special air valve spring!
Anybody need a replacement float? I have an extra now.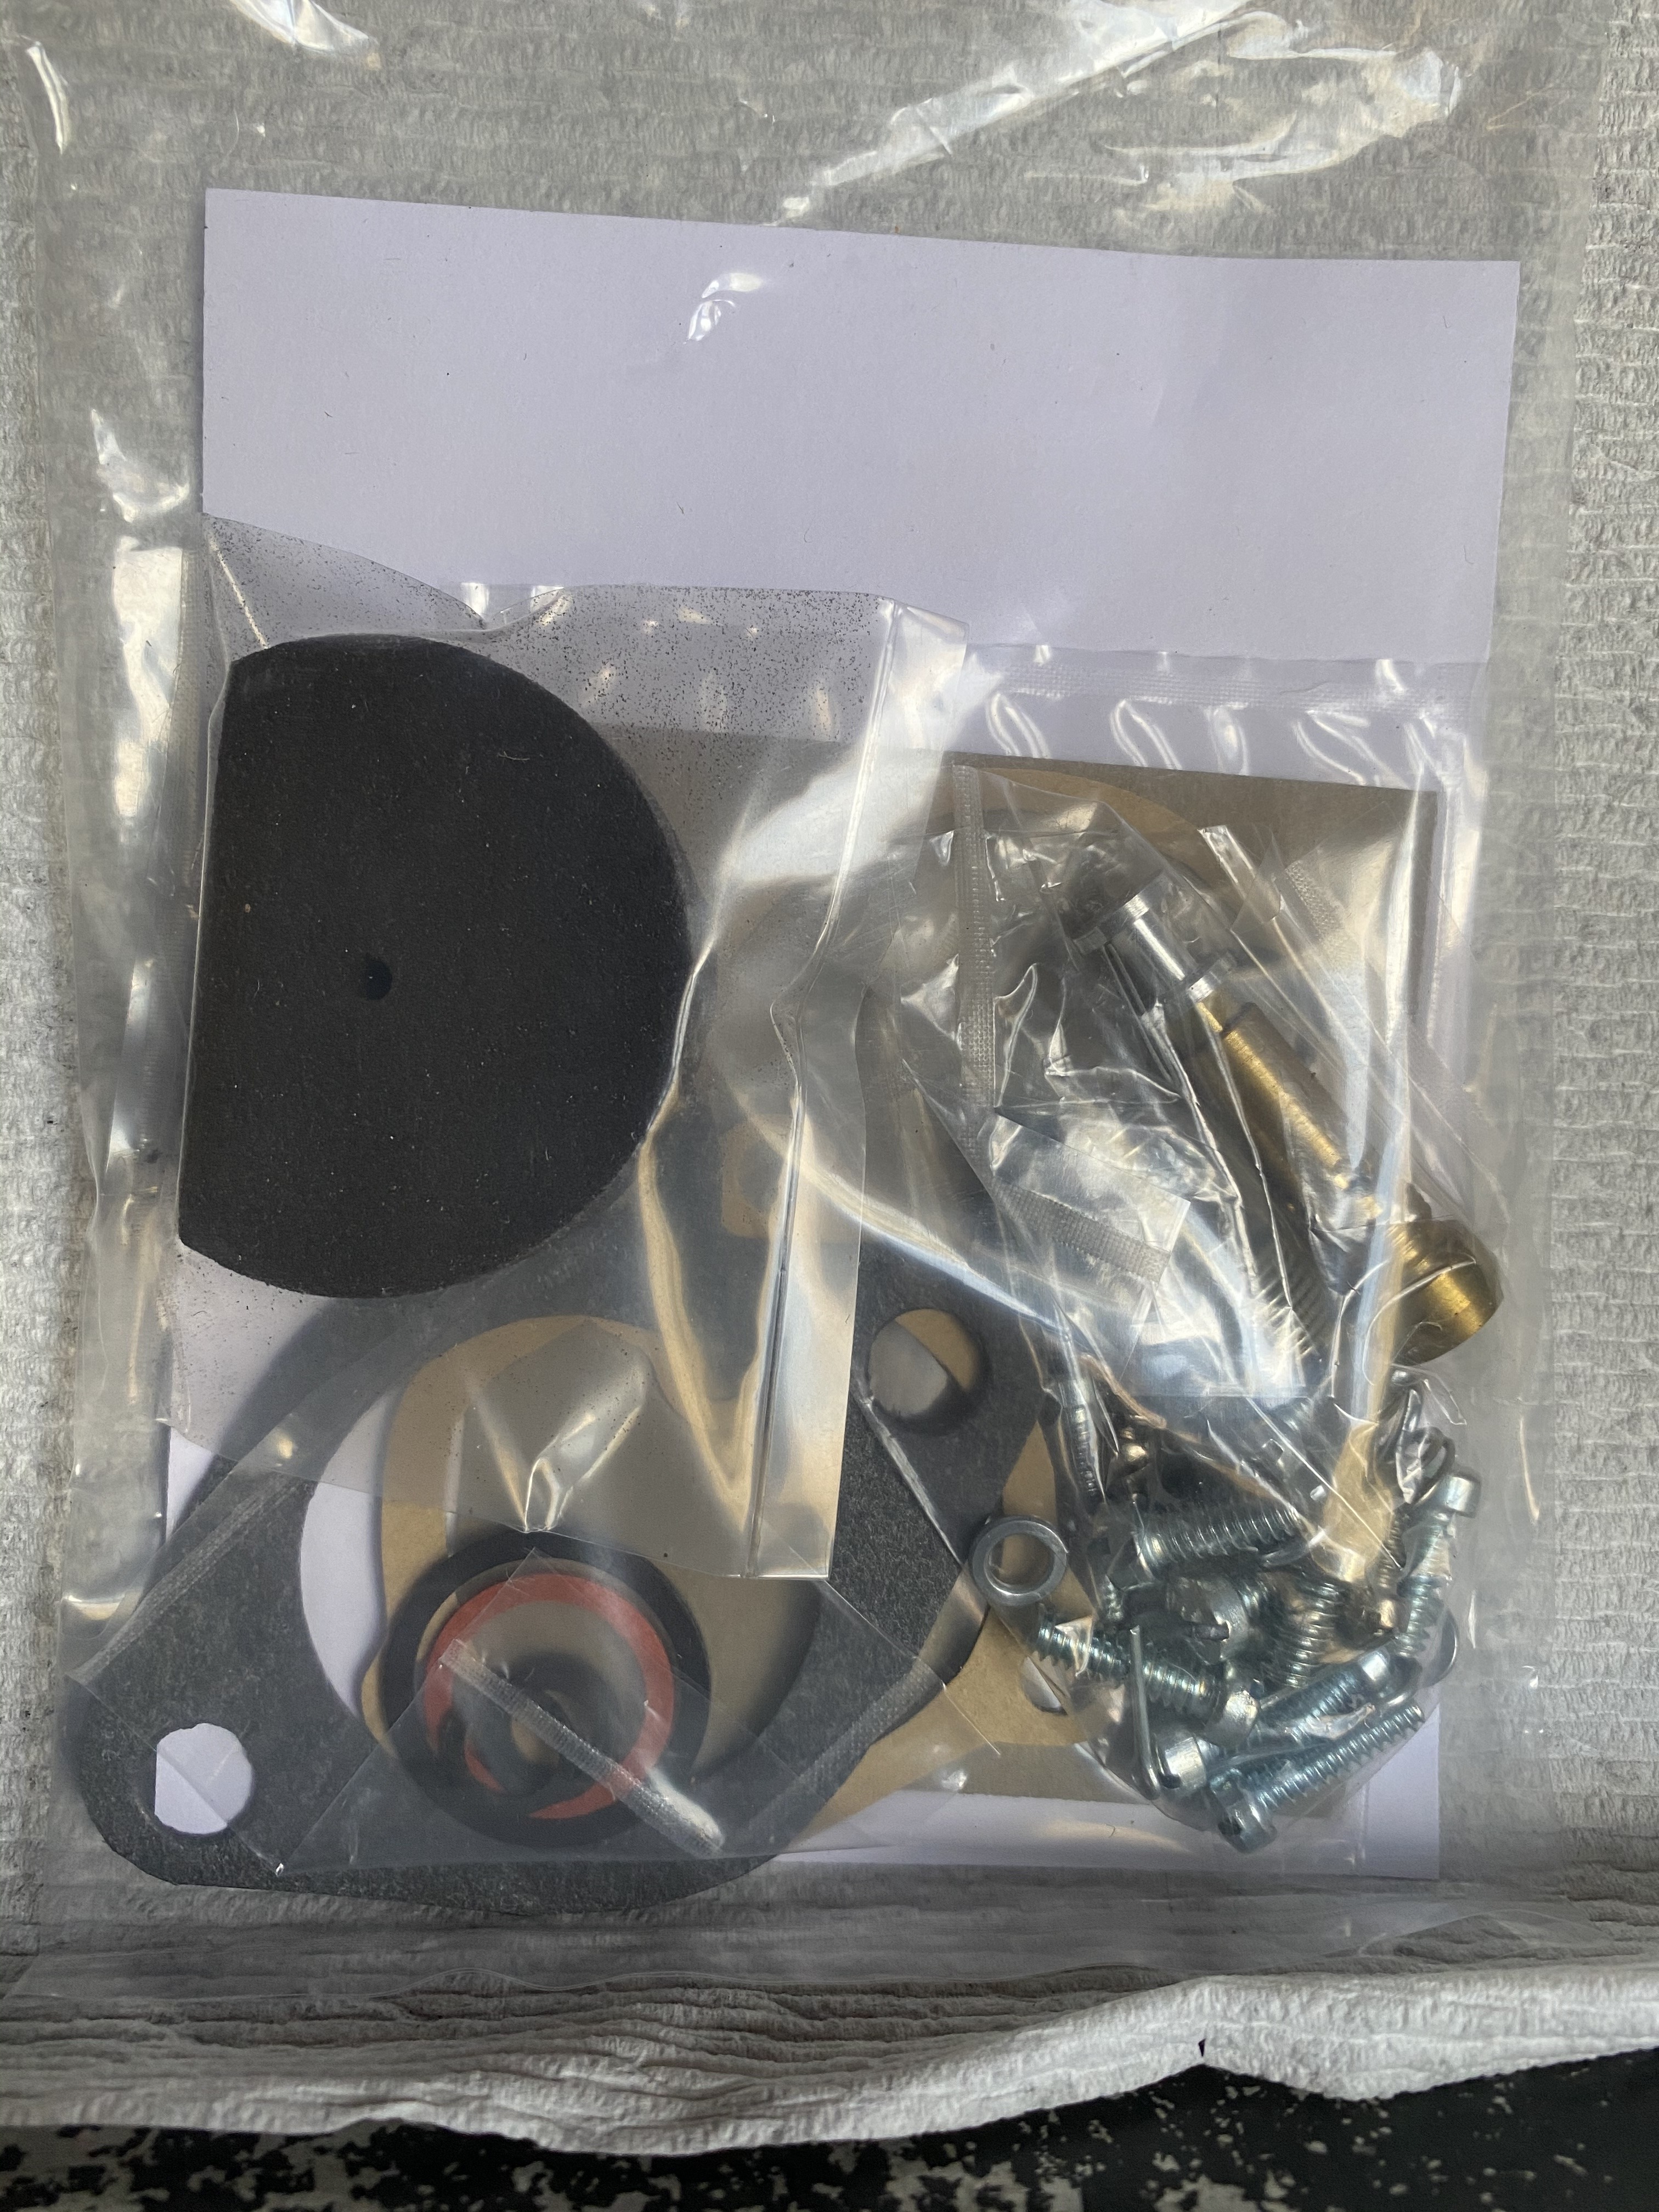 Hopefully now it will stop dumping all the fuel out of the fuel feed canister overnight, and the fuel tap I added will only need to be used to empty the bowl of fuel.0
 -
Did it come with meter jets? A float lever? What is the float made of? Looks like SS fillister head screws? Thanks. Think I will order up...a bag of parts has to be better than no spare parts!0
-
No jets, no float lever.
the float is a Mystery synthetic material.0 -
Still avoiding cleaning out the cooling system so I went to work reproducing the rubber door check strap out of leather.
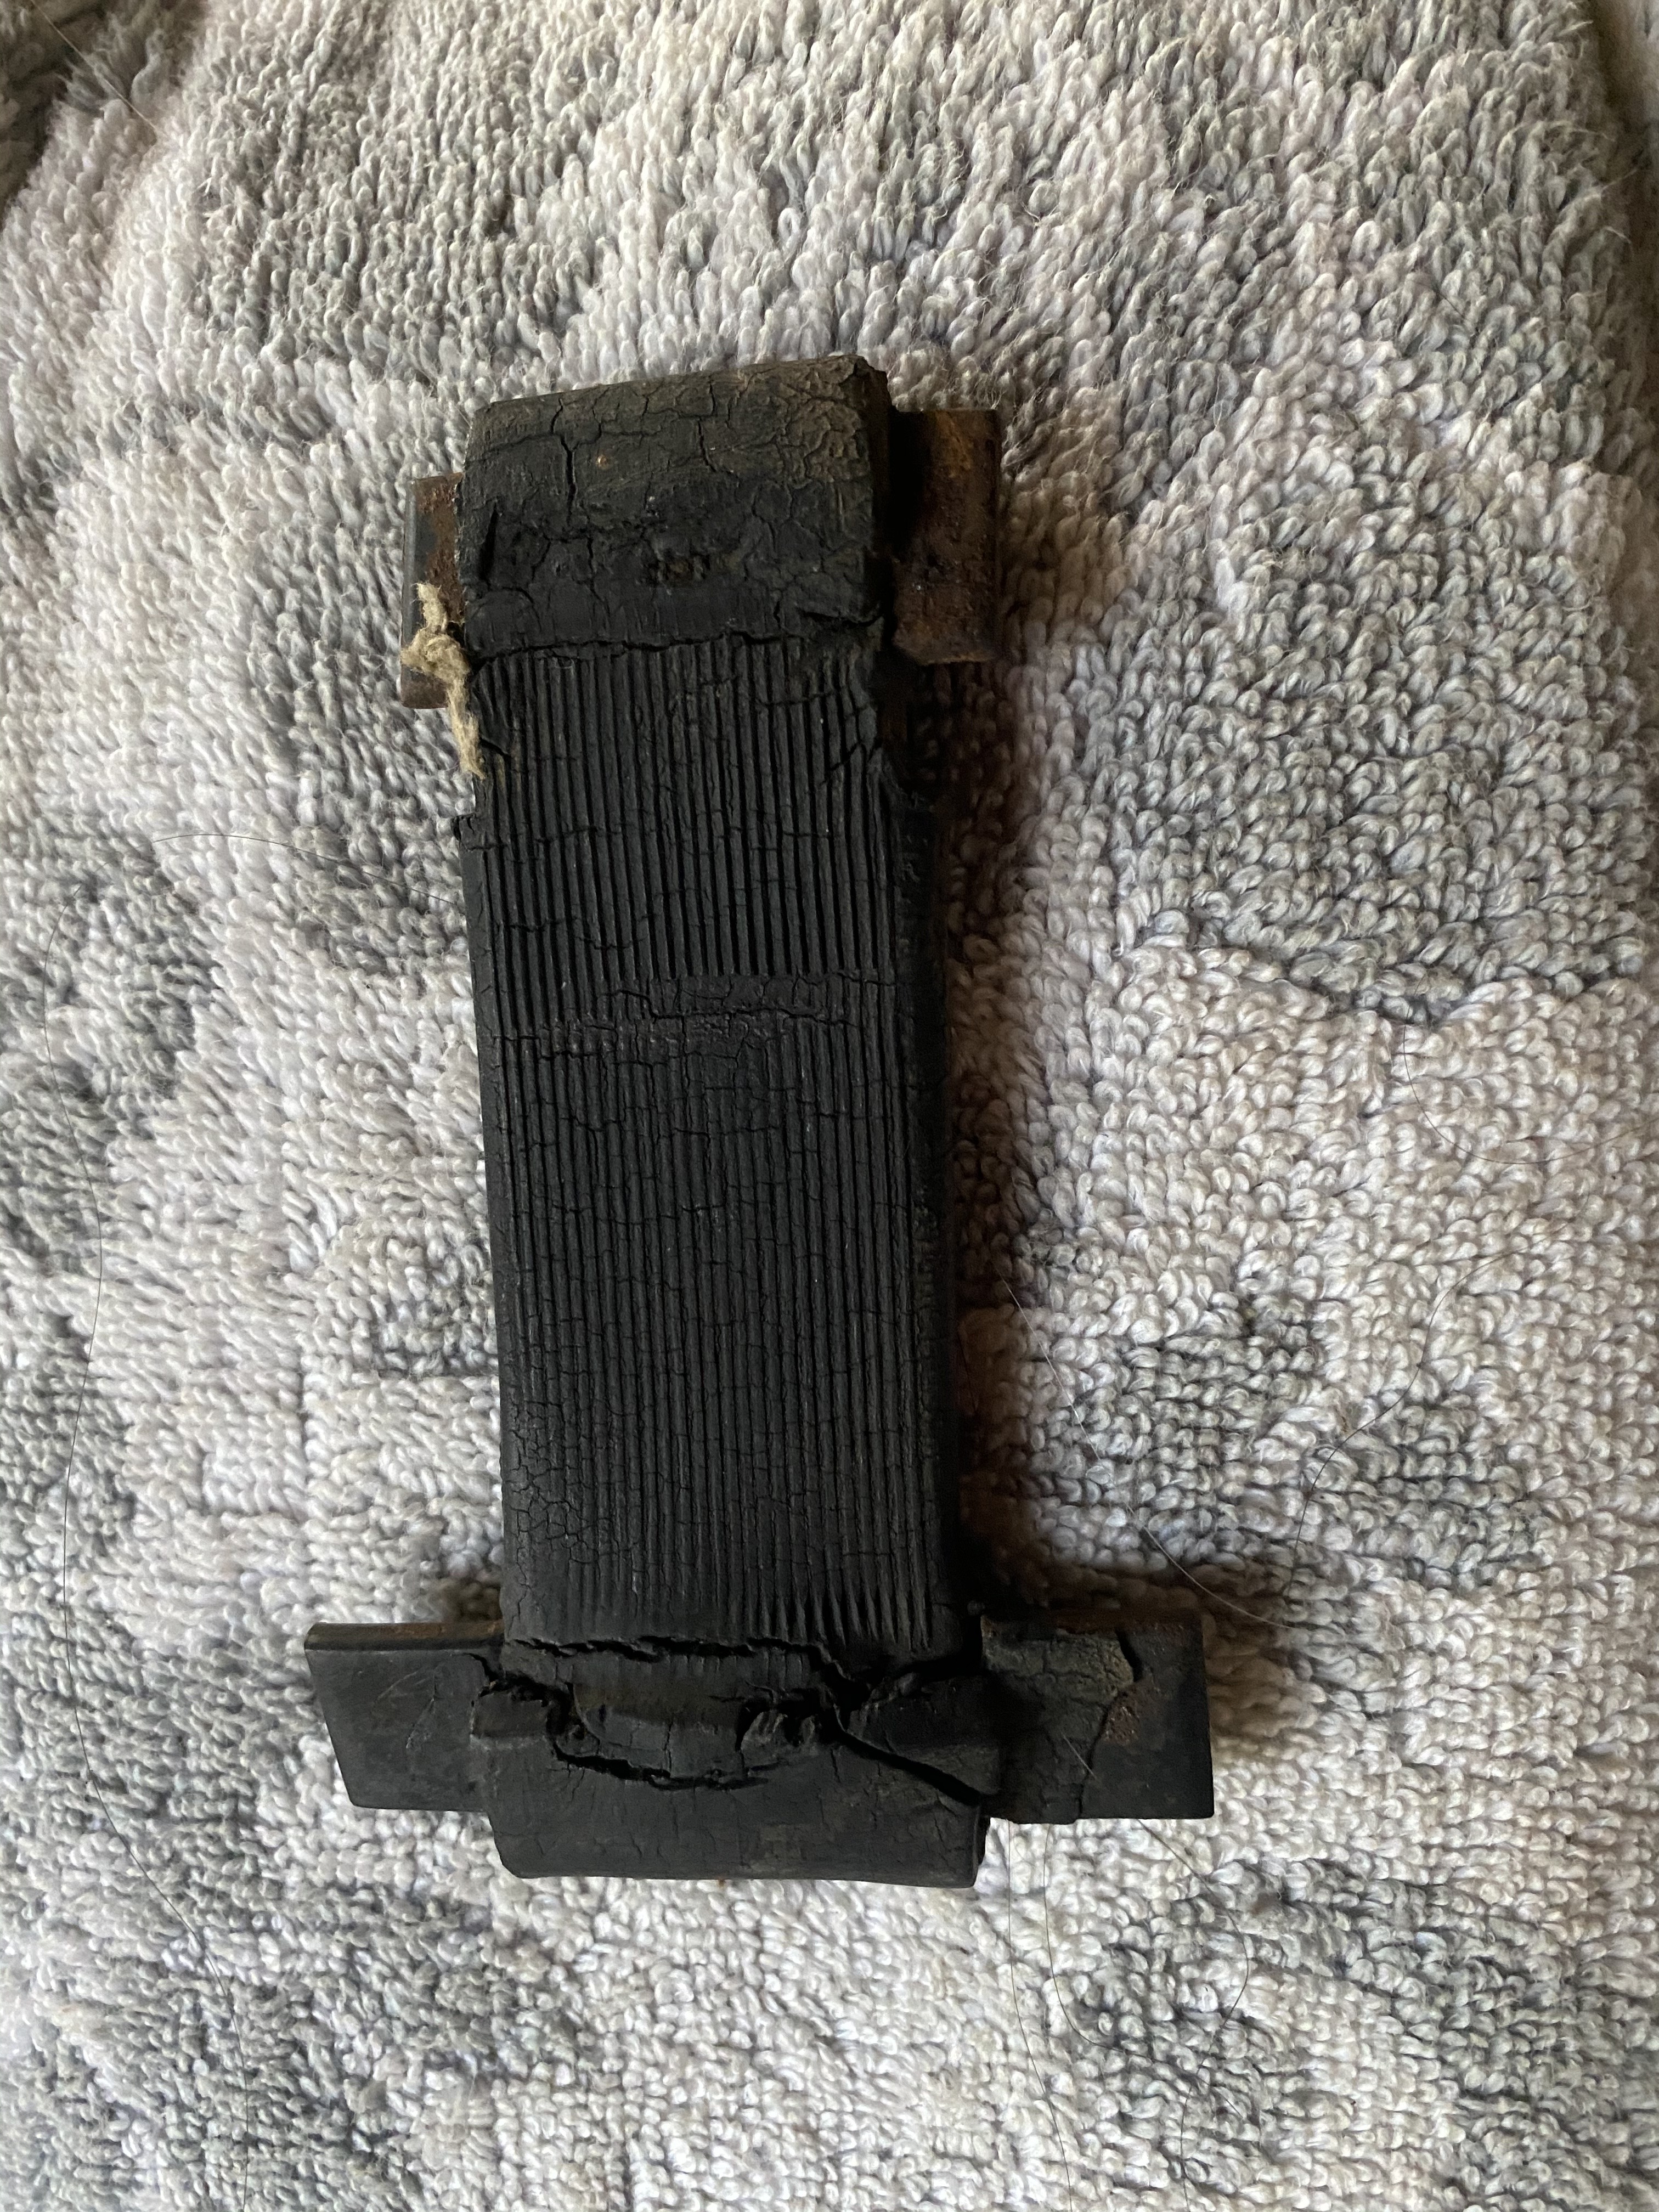 Upon dissection, I realized that the rubber strap was heavily reinforced with internal cords vulcanized in place and in spite of some cracking and separation from the end plates it probably could have served for another 90 years.Basic shape, notched on the door frame end.
 The 1908 Singer “patcher” and I were both a bit rusty but I managed to stitch it together.
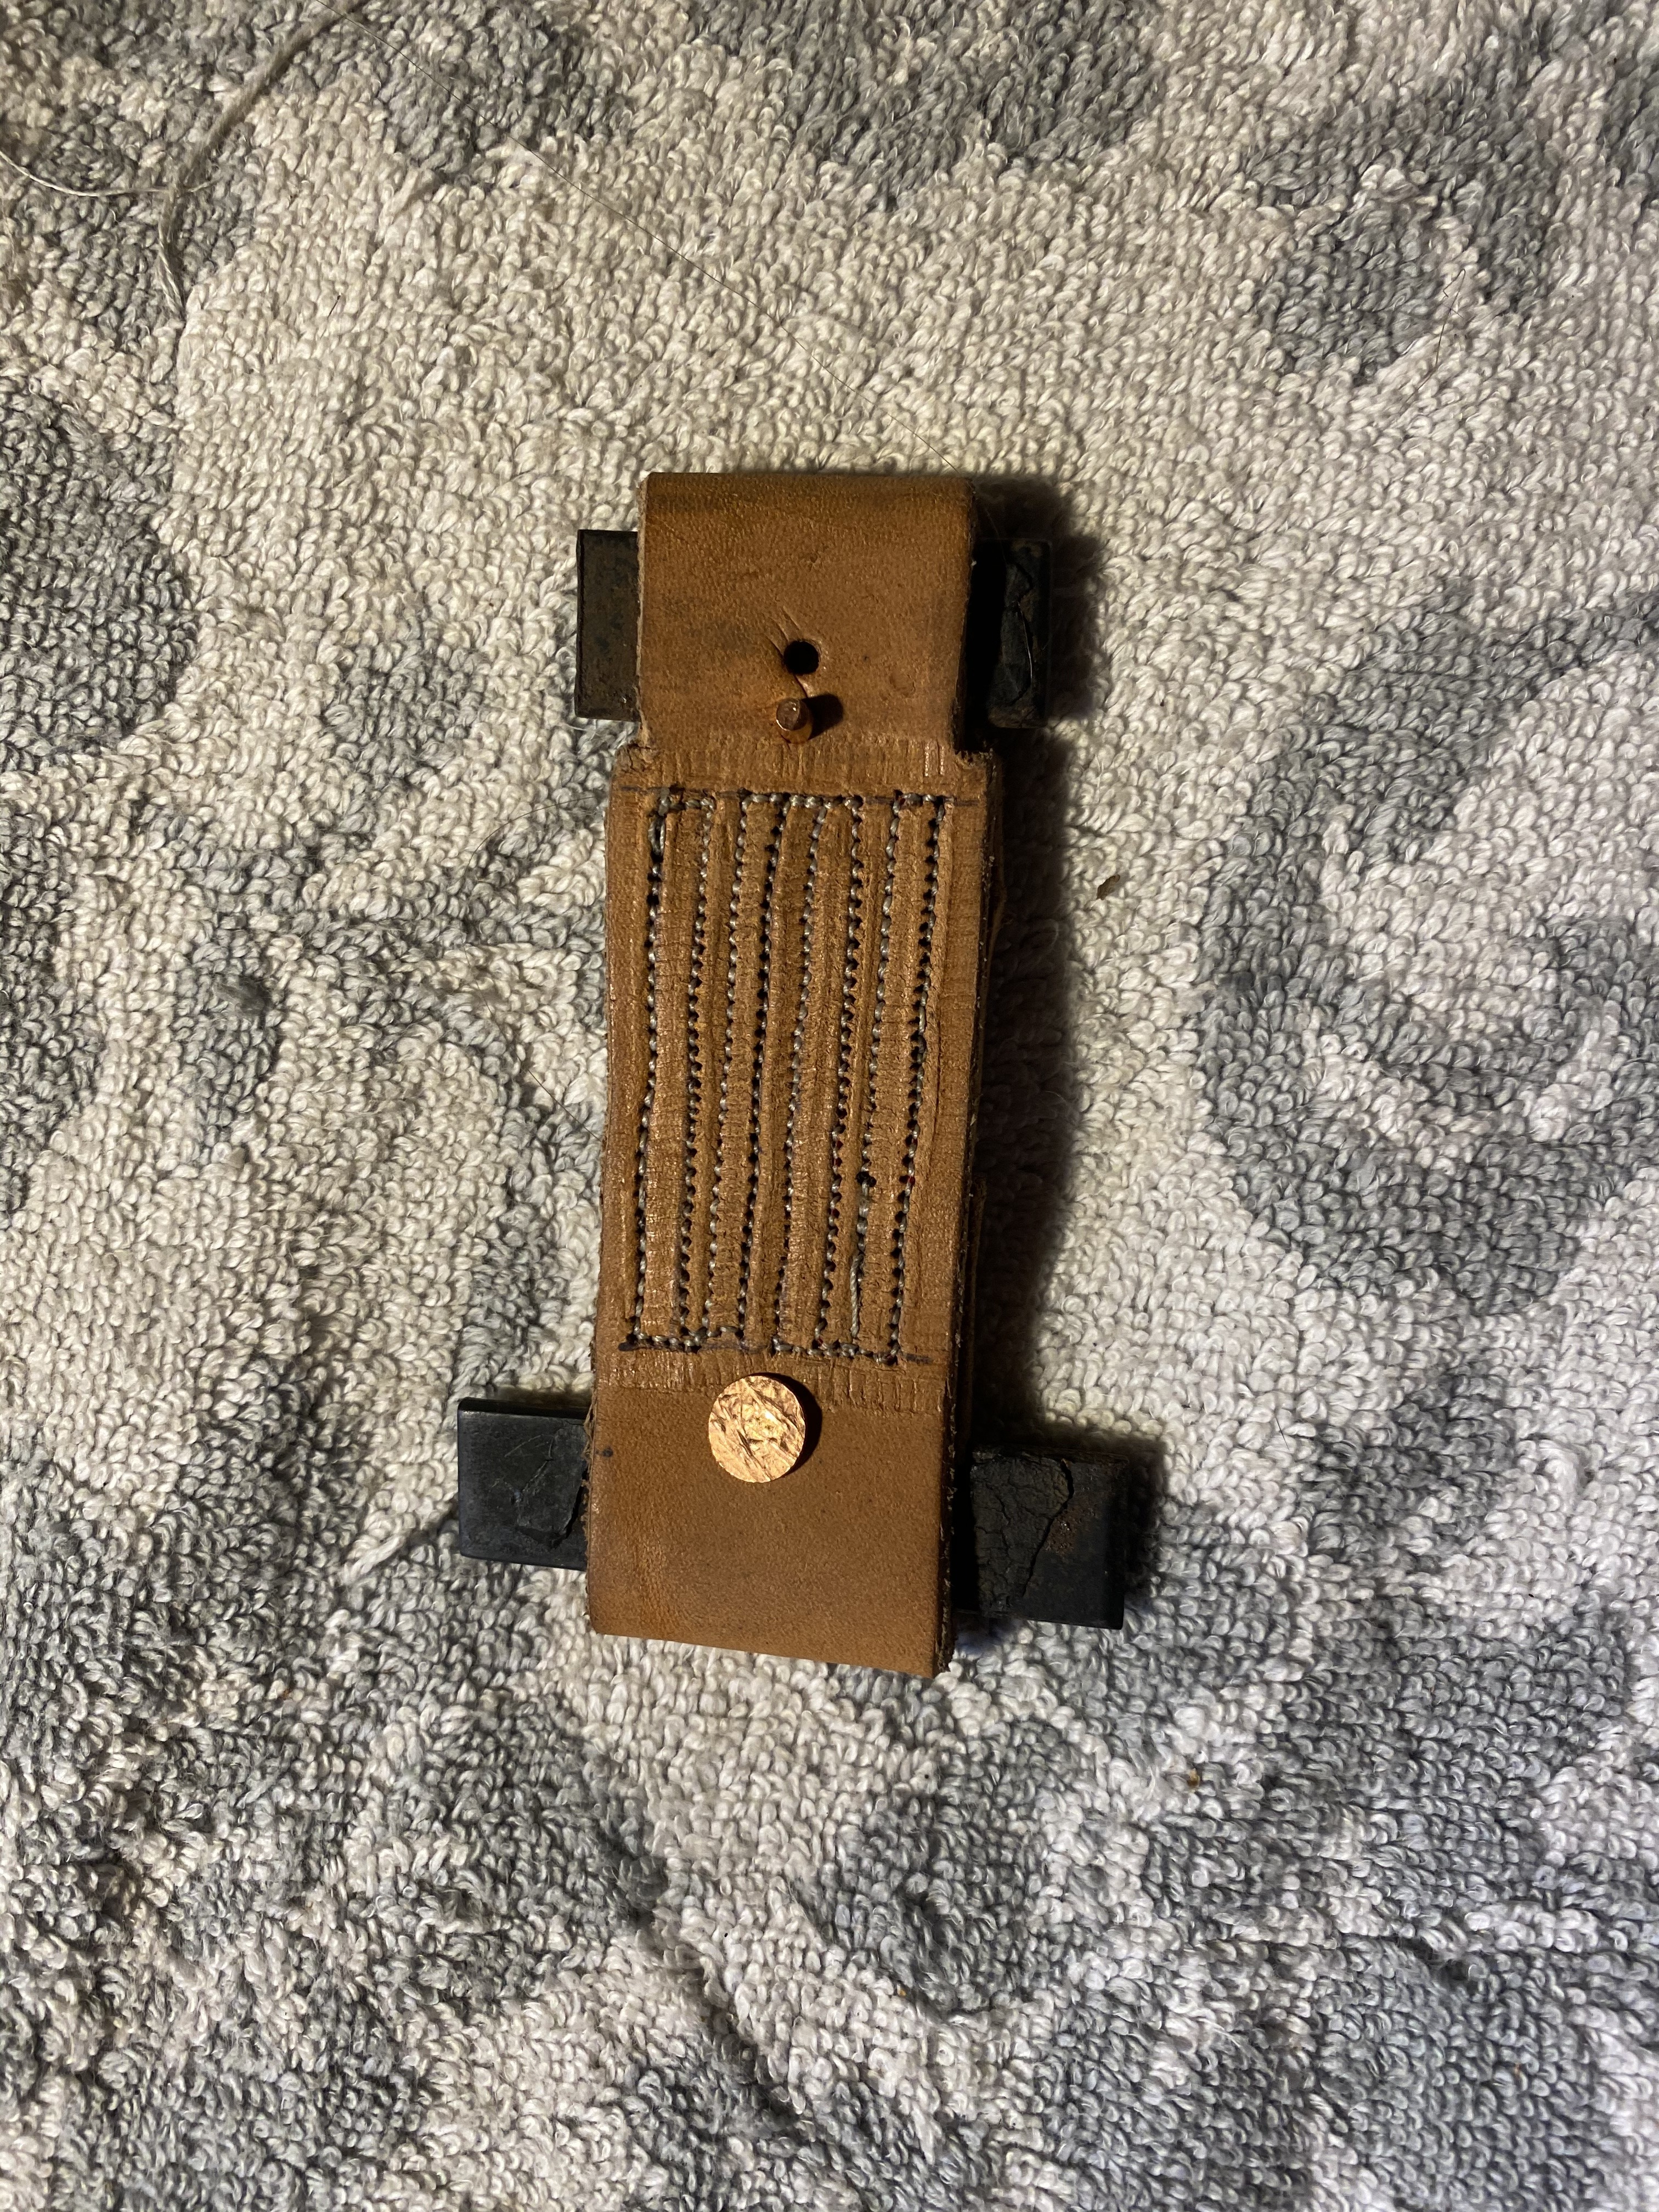 I already had the copper rivets on hand from a few Bicycle saddle restorations so they are what retains the plates, preventing them from dropping down or slipping out entirely.Here it is, dyed..
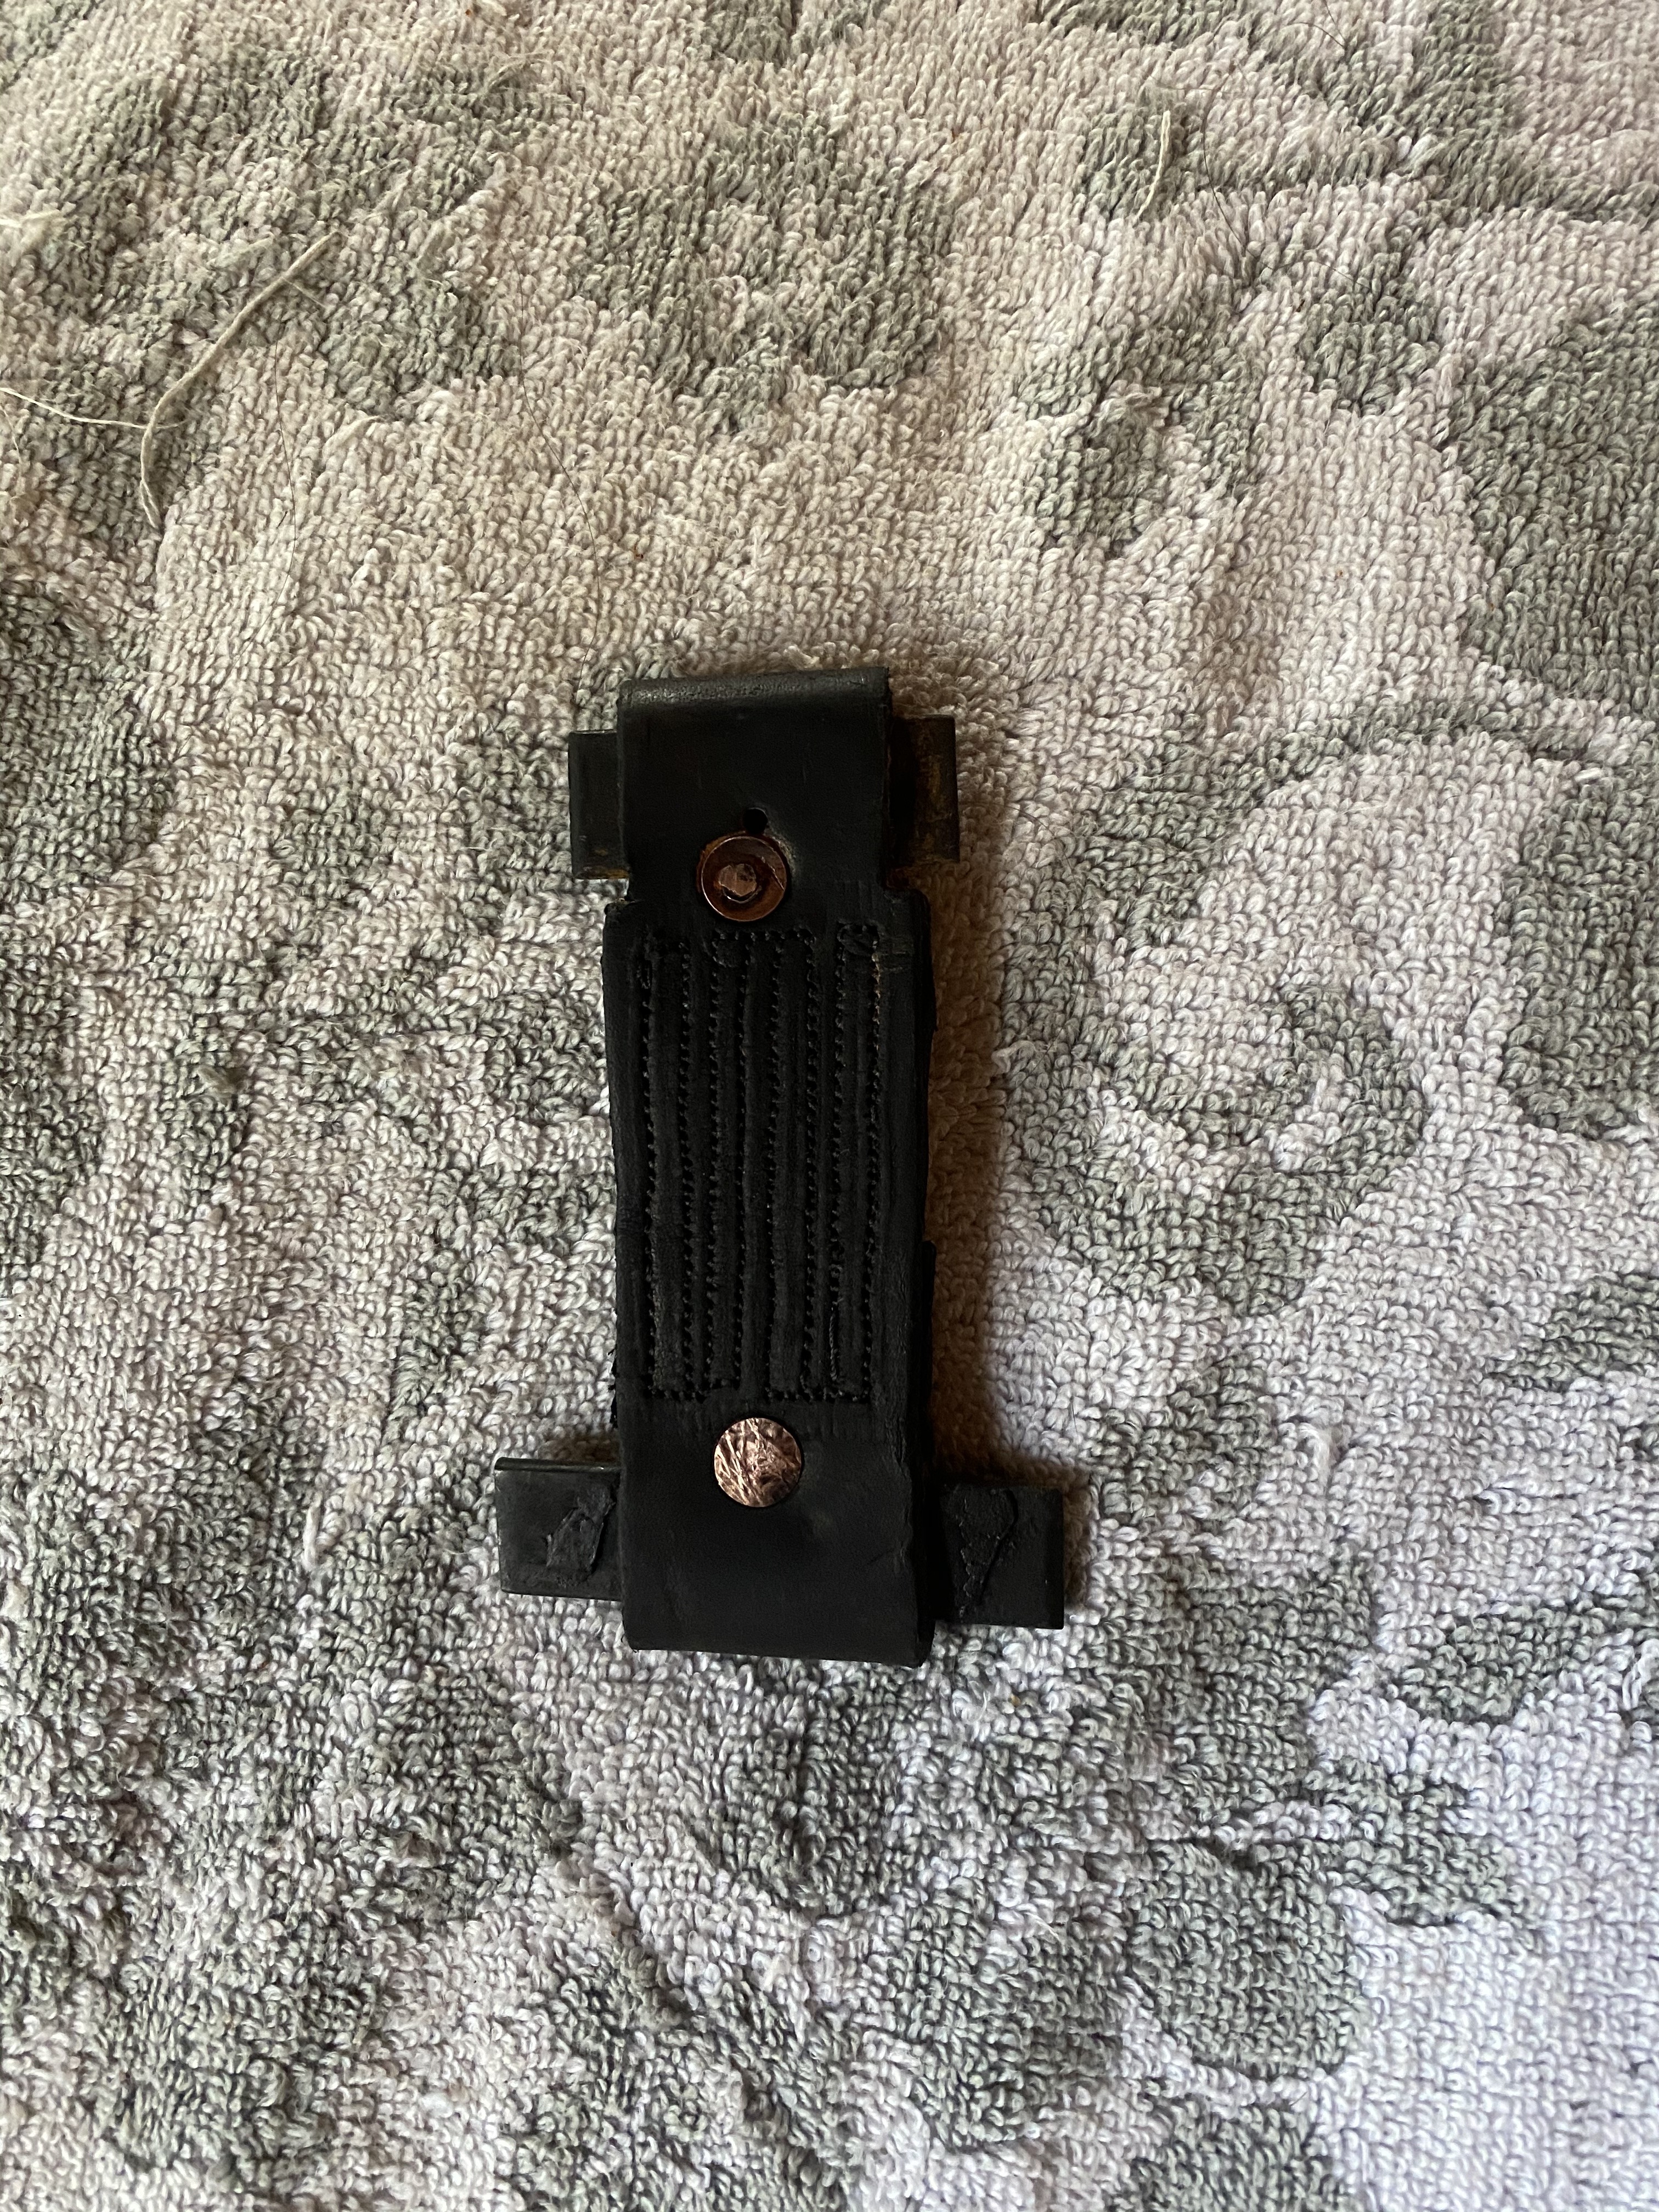 And installed...
 I have yet to acquire the proper counter sunk bolts for the cover plate.
By sliding the door end plate down slightly within the strap loop, I was able to insert it into the door and then raise it up into position again with needle nose pliers. So it was installed without dismantling the door panel.
However I am debating whether to just install the other strap if it is in comparable condition to the one that I reconstructed.Leather is nice, but I think Hudson actually made the better strap!0

Categories
- 36.9K All Categories
- 102 Hudson 1916 - 1929
- 17 Upcoming Events
- 90 Essex Super 6
- 28.5K HUDSON
- 556 "How To" - Skills, mechanical and other wise
- 992 Street Rods
- 150 American Motors
- 172 The Flathead Forum
- 49 Manuals, etc,.
- 74 Hudson 8
- 43 FORUM - Instructions and Tips on using the forum
- 2.8K CLASSIFIEDS
- 597 Vehicles
- 2.1K Parts & Pieces
- 77 Literature & Memorabilia
- Hudson 1916 - 1929 Yahoo Groups Archived Photos