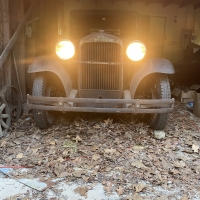
Routine 70 year maintenance, 1929 Essex
The Stewart Warner vacuum fuel feed is now piped up and operational. It is now drawing off of a gas can placed in the rumble seat floorboard and connected to the fuel line at the tank connection.
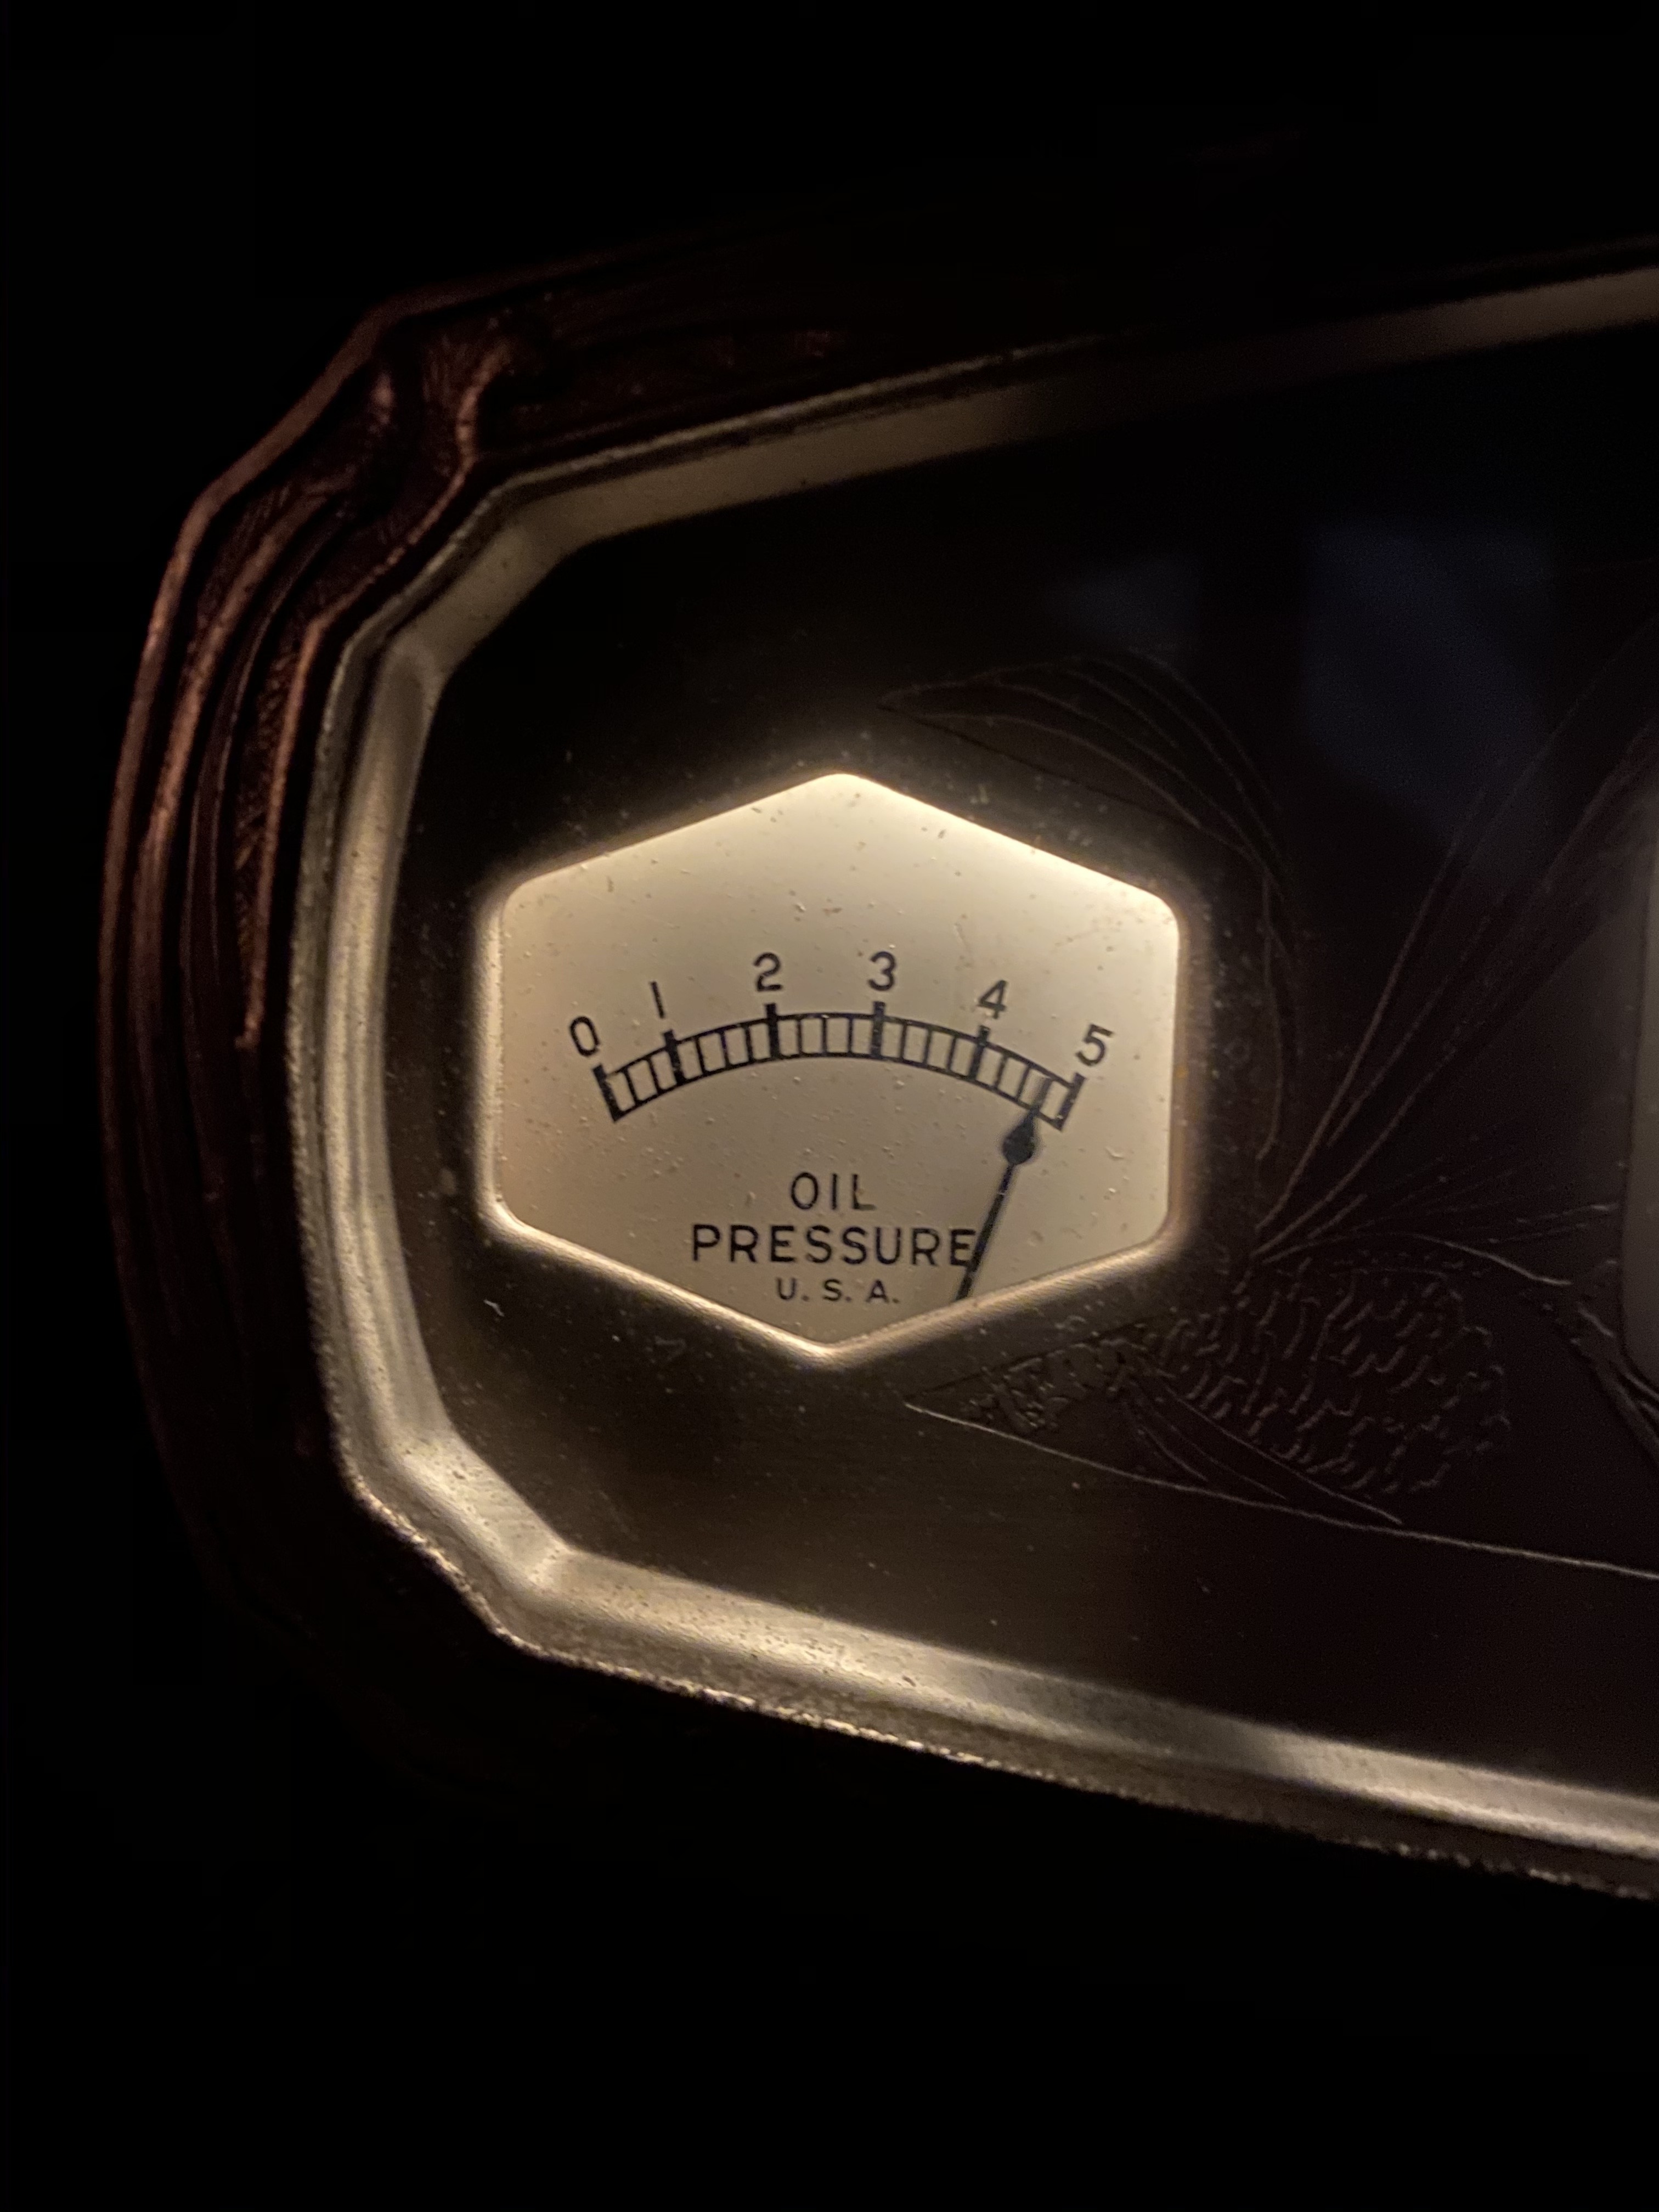
It was a pleasant surprise to find the gauge itself was fine, and the lack of tubing was the only issue.
With the exception of a teensy cotter pin, the Alemite bayonet grease gun is scoured, overhauled and ready to fill with the same red lithium grease that goes in my 1940 9N tractor and 1948 Ferguson cordwood saw.
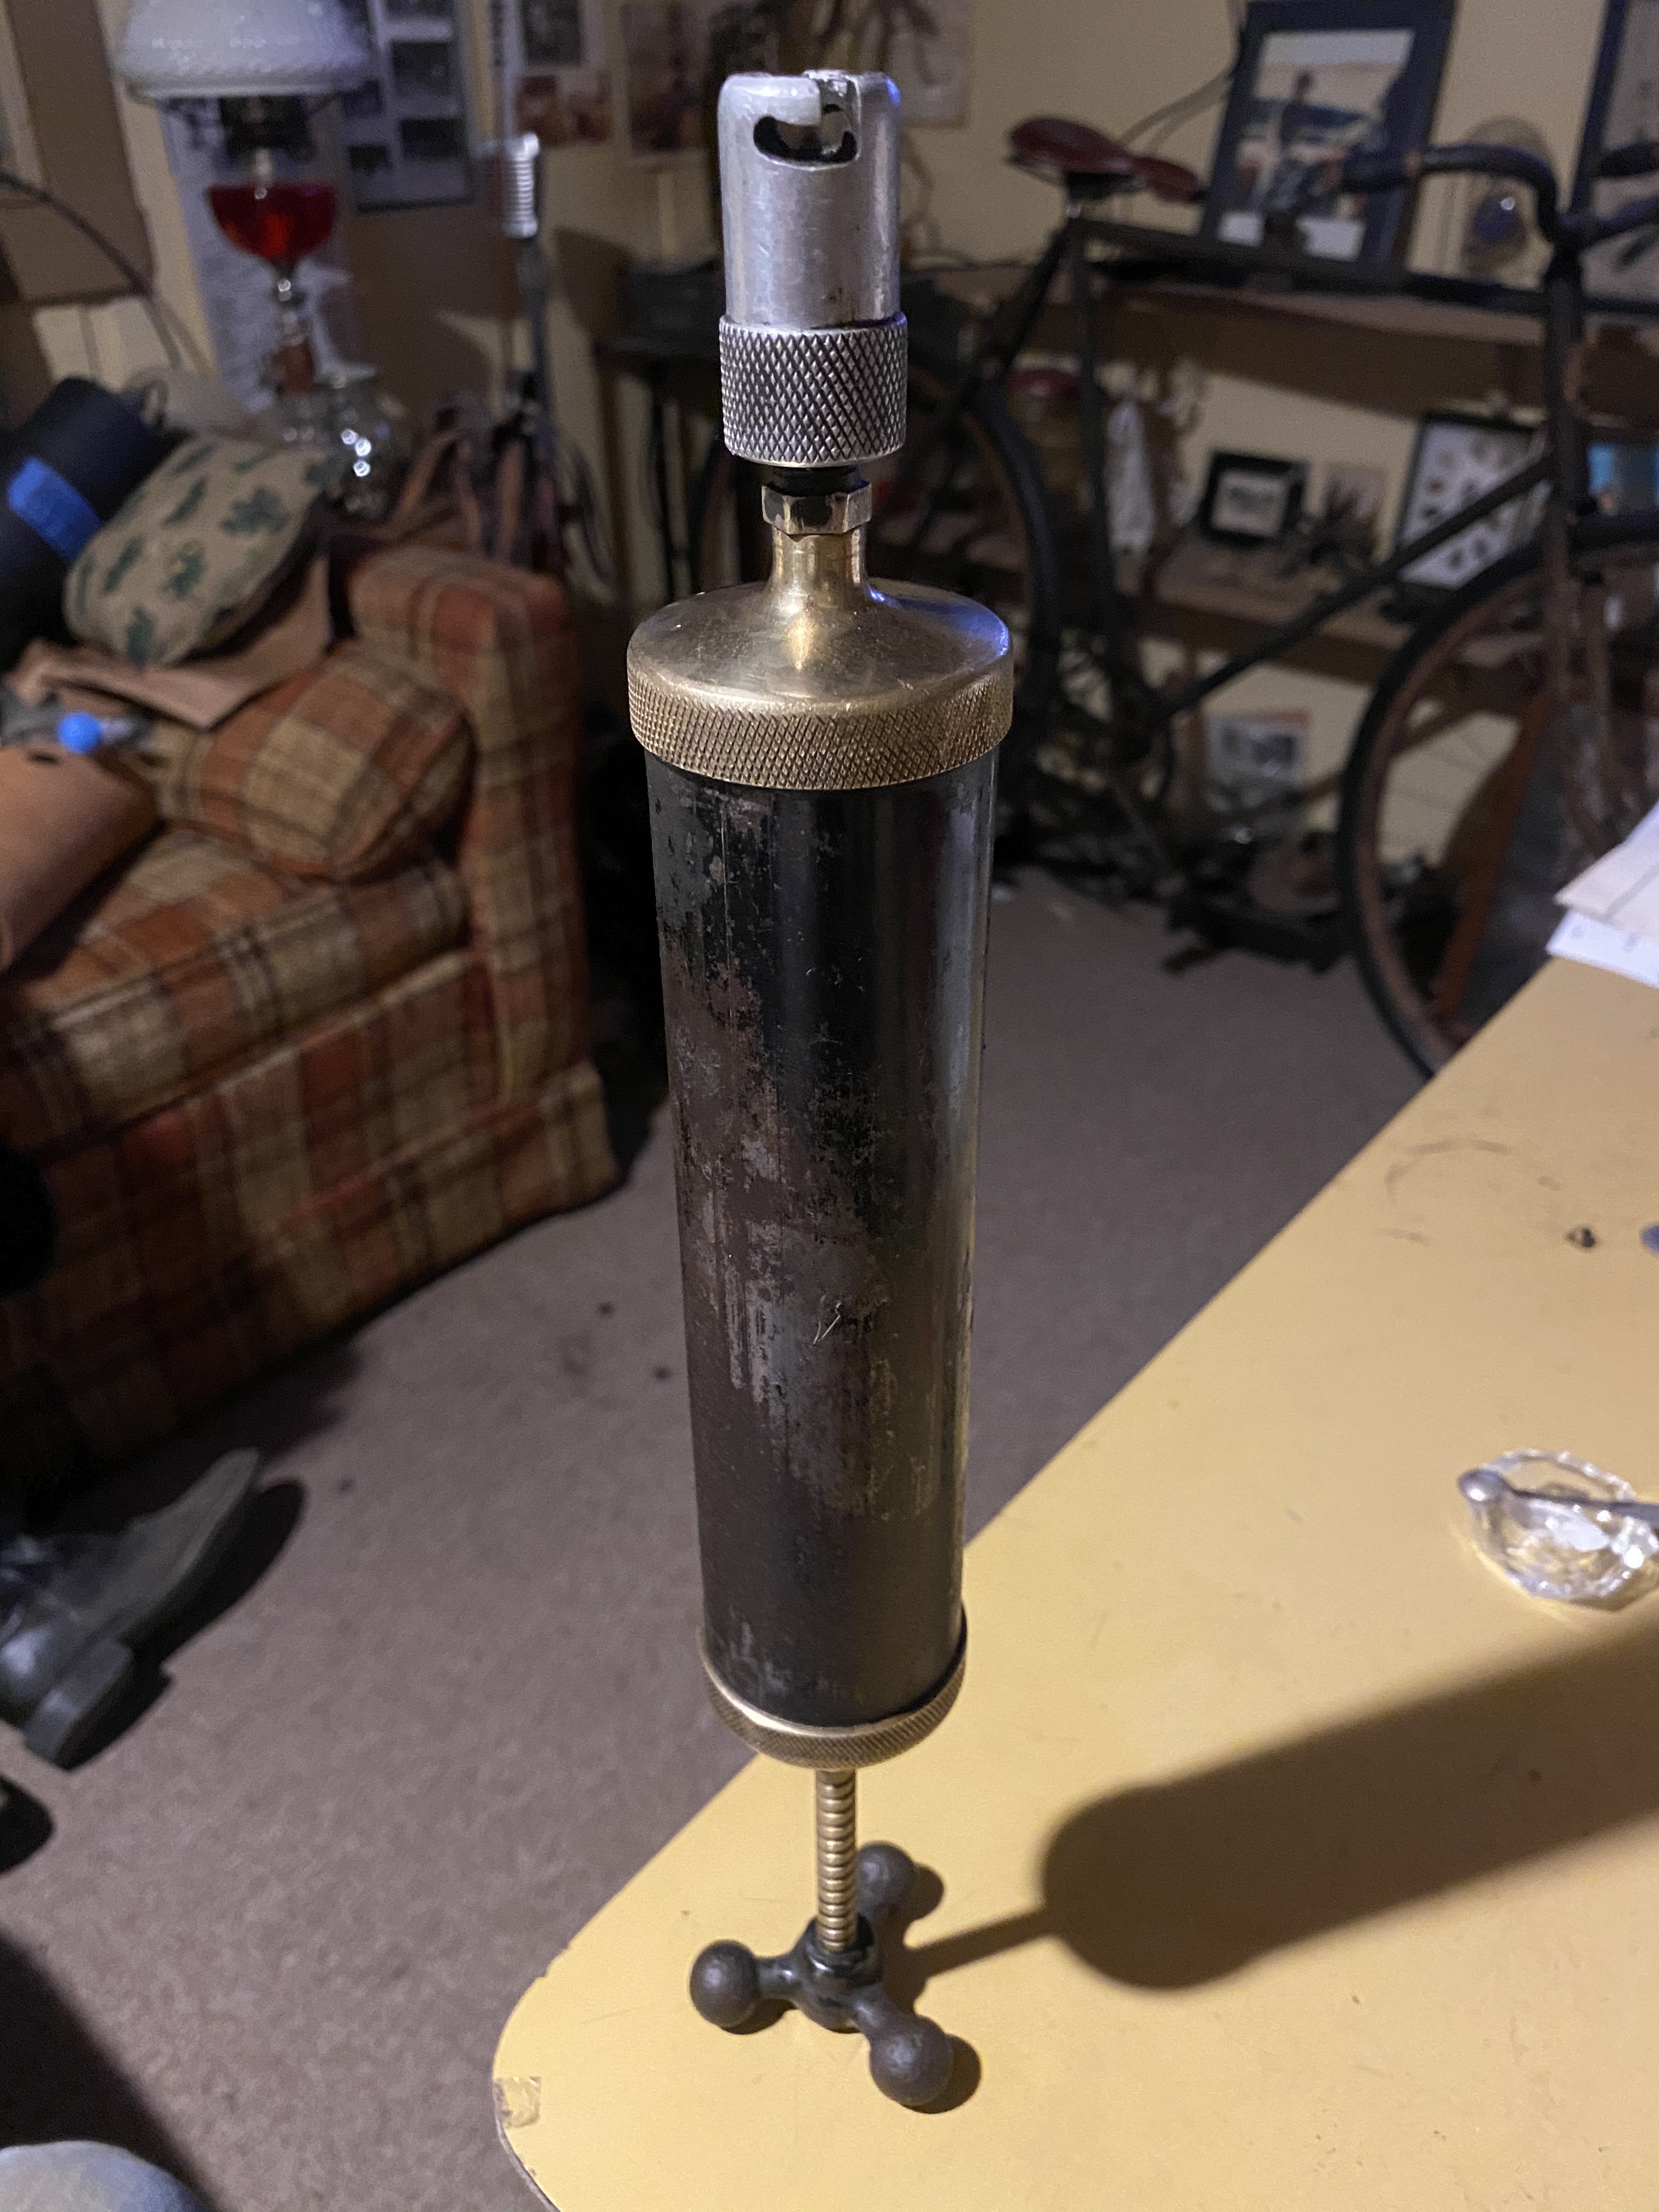
The crank handle was askew because the end plate was bent slightly. I held my breath and gave it a few firm raps with a rawhide mallet, truing it up at risk of creating a stress crack in the brass.
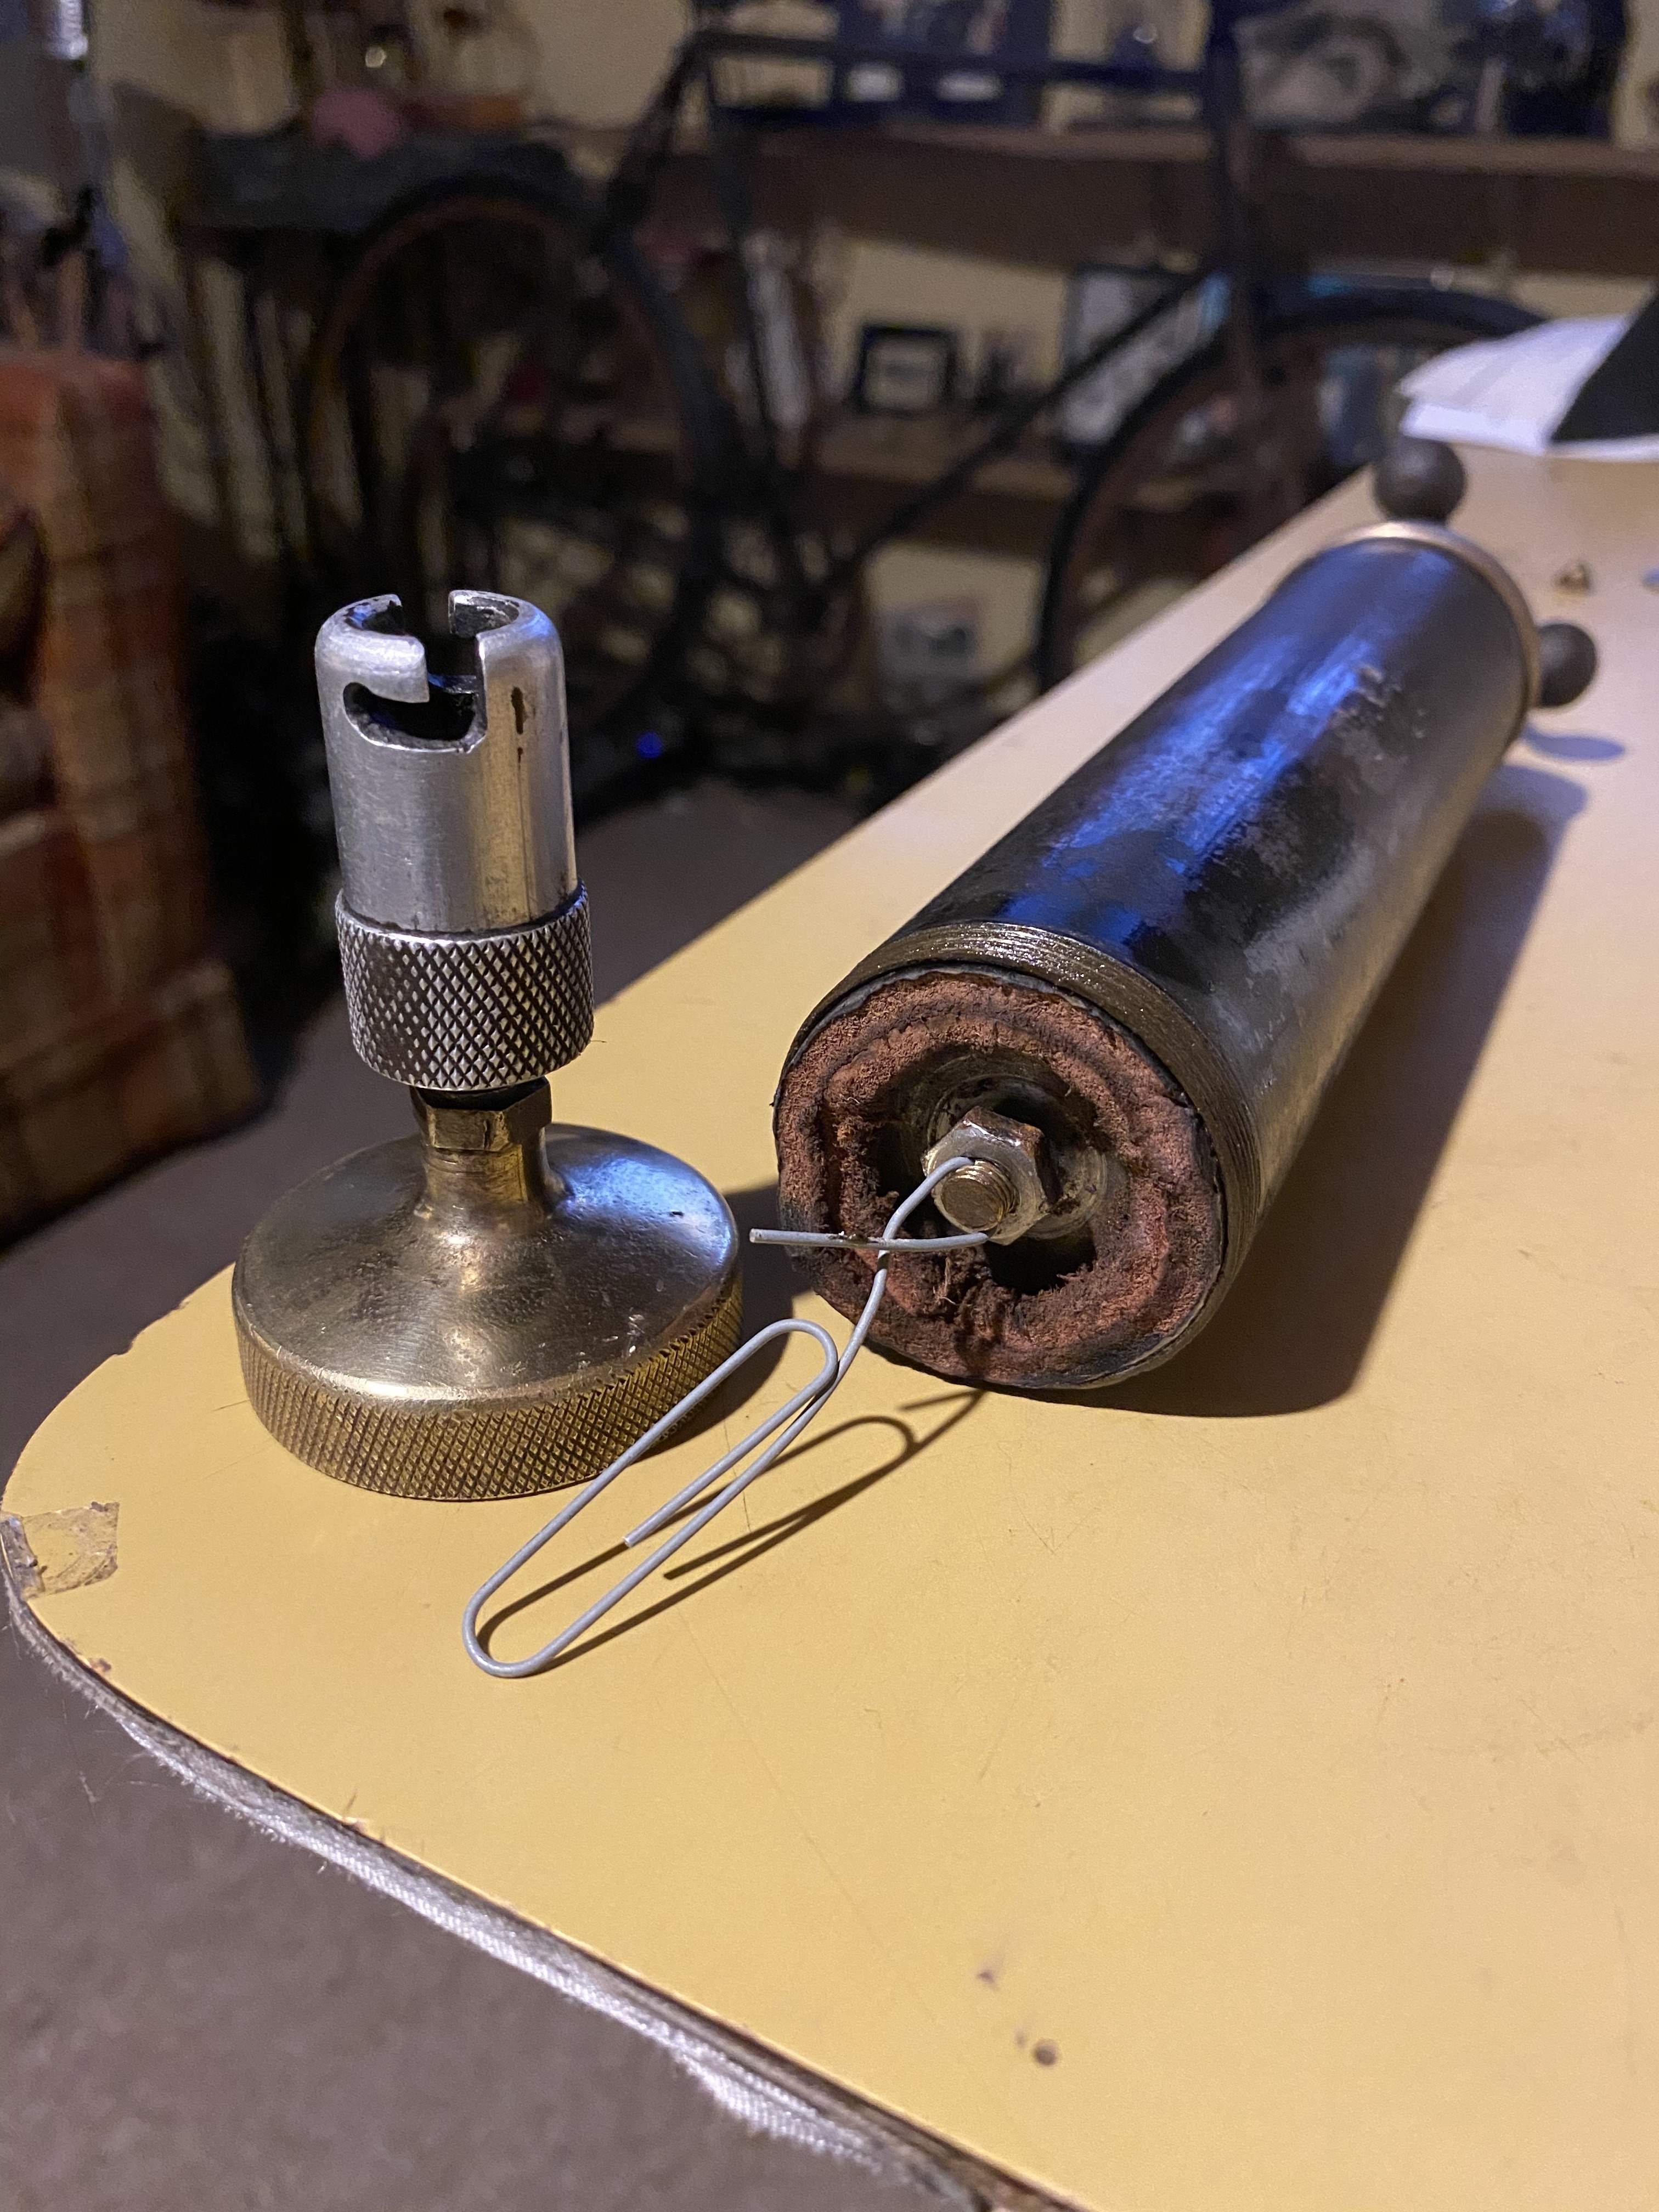
Here’s the replacement leather seals I made for the grease gun.

Turns out I needed a few more fittings so I ordered some nice covers to keep the grit out. Since we are in a sandy area I have successfully fought the urge to drive around the property with open grease ports. Now all the ports have been meticulously excavated wIth toothpicks, and have clean bayonet fittings in place.
I don’t think I have ever been so excited to do a chassis lubrication, ever! After that comes the clutch, transmission, steering box and differential fluid changes.
0
Comments
-
We will look forward to receiving the next instalment in 20900
-
The current one could possibly last until 2021!0
-
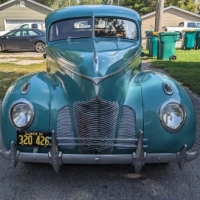
 Yesterday I clear coated the fuel tank, cut some strips of tar paper and glued it to the tank straps and under the frame where the tank secures. I dropped the tailpipe bracket and secured the passenger side strap. Then I hooked up the fuel sending unit wire and 1/4” flare nut for the fuel line.The fuel feed vacuum tank was already drawing fuel from the rear end of the fuel line through a gas can so within seconds it was drawing fuel from the original fuel tank once again.The 104 degree lasted long enough to flash dry everything I have been working on. Now that the weather has turned to rainstorms, the sand is too wet to blow around so I went for a spin, UPHILL of course!Notice how well the front driver’s fender polished out!
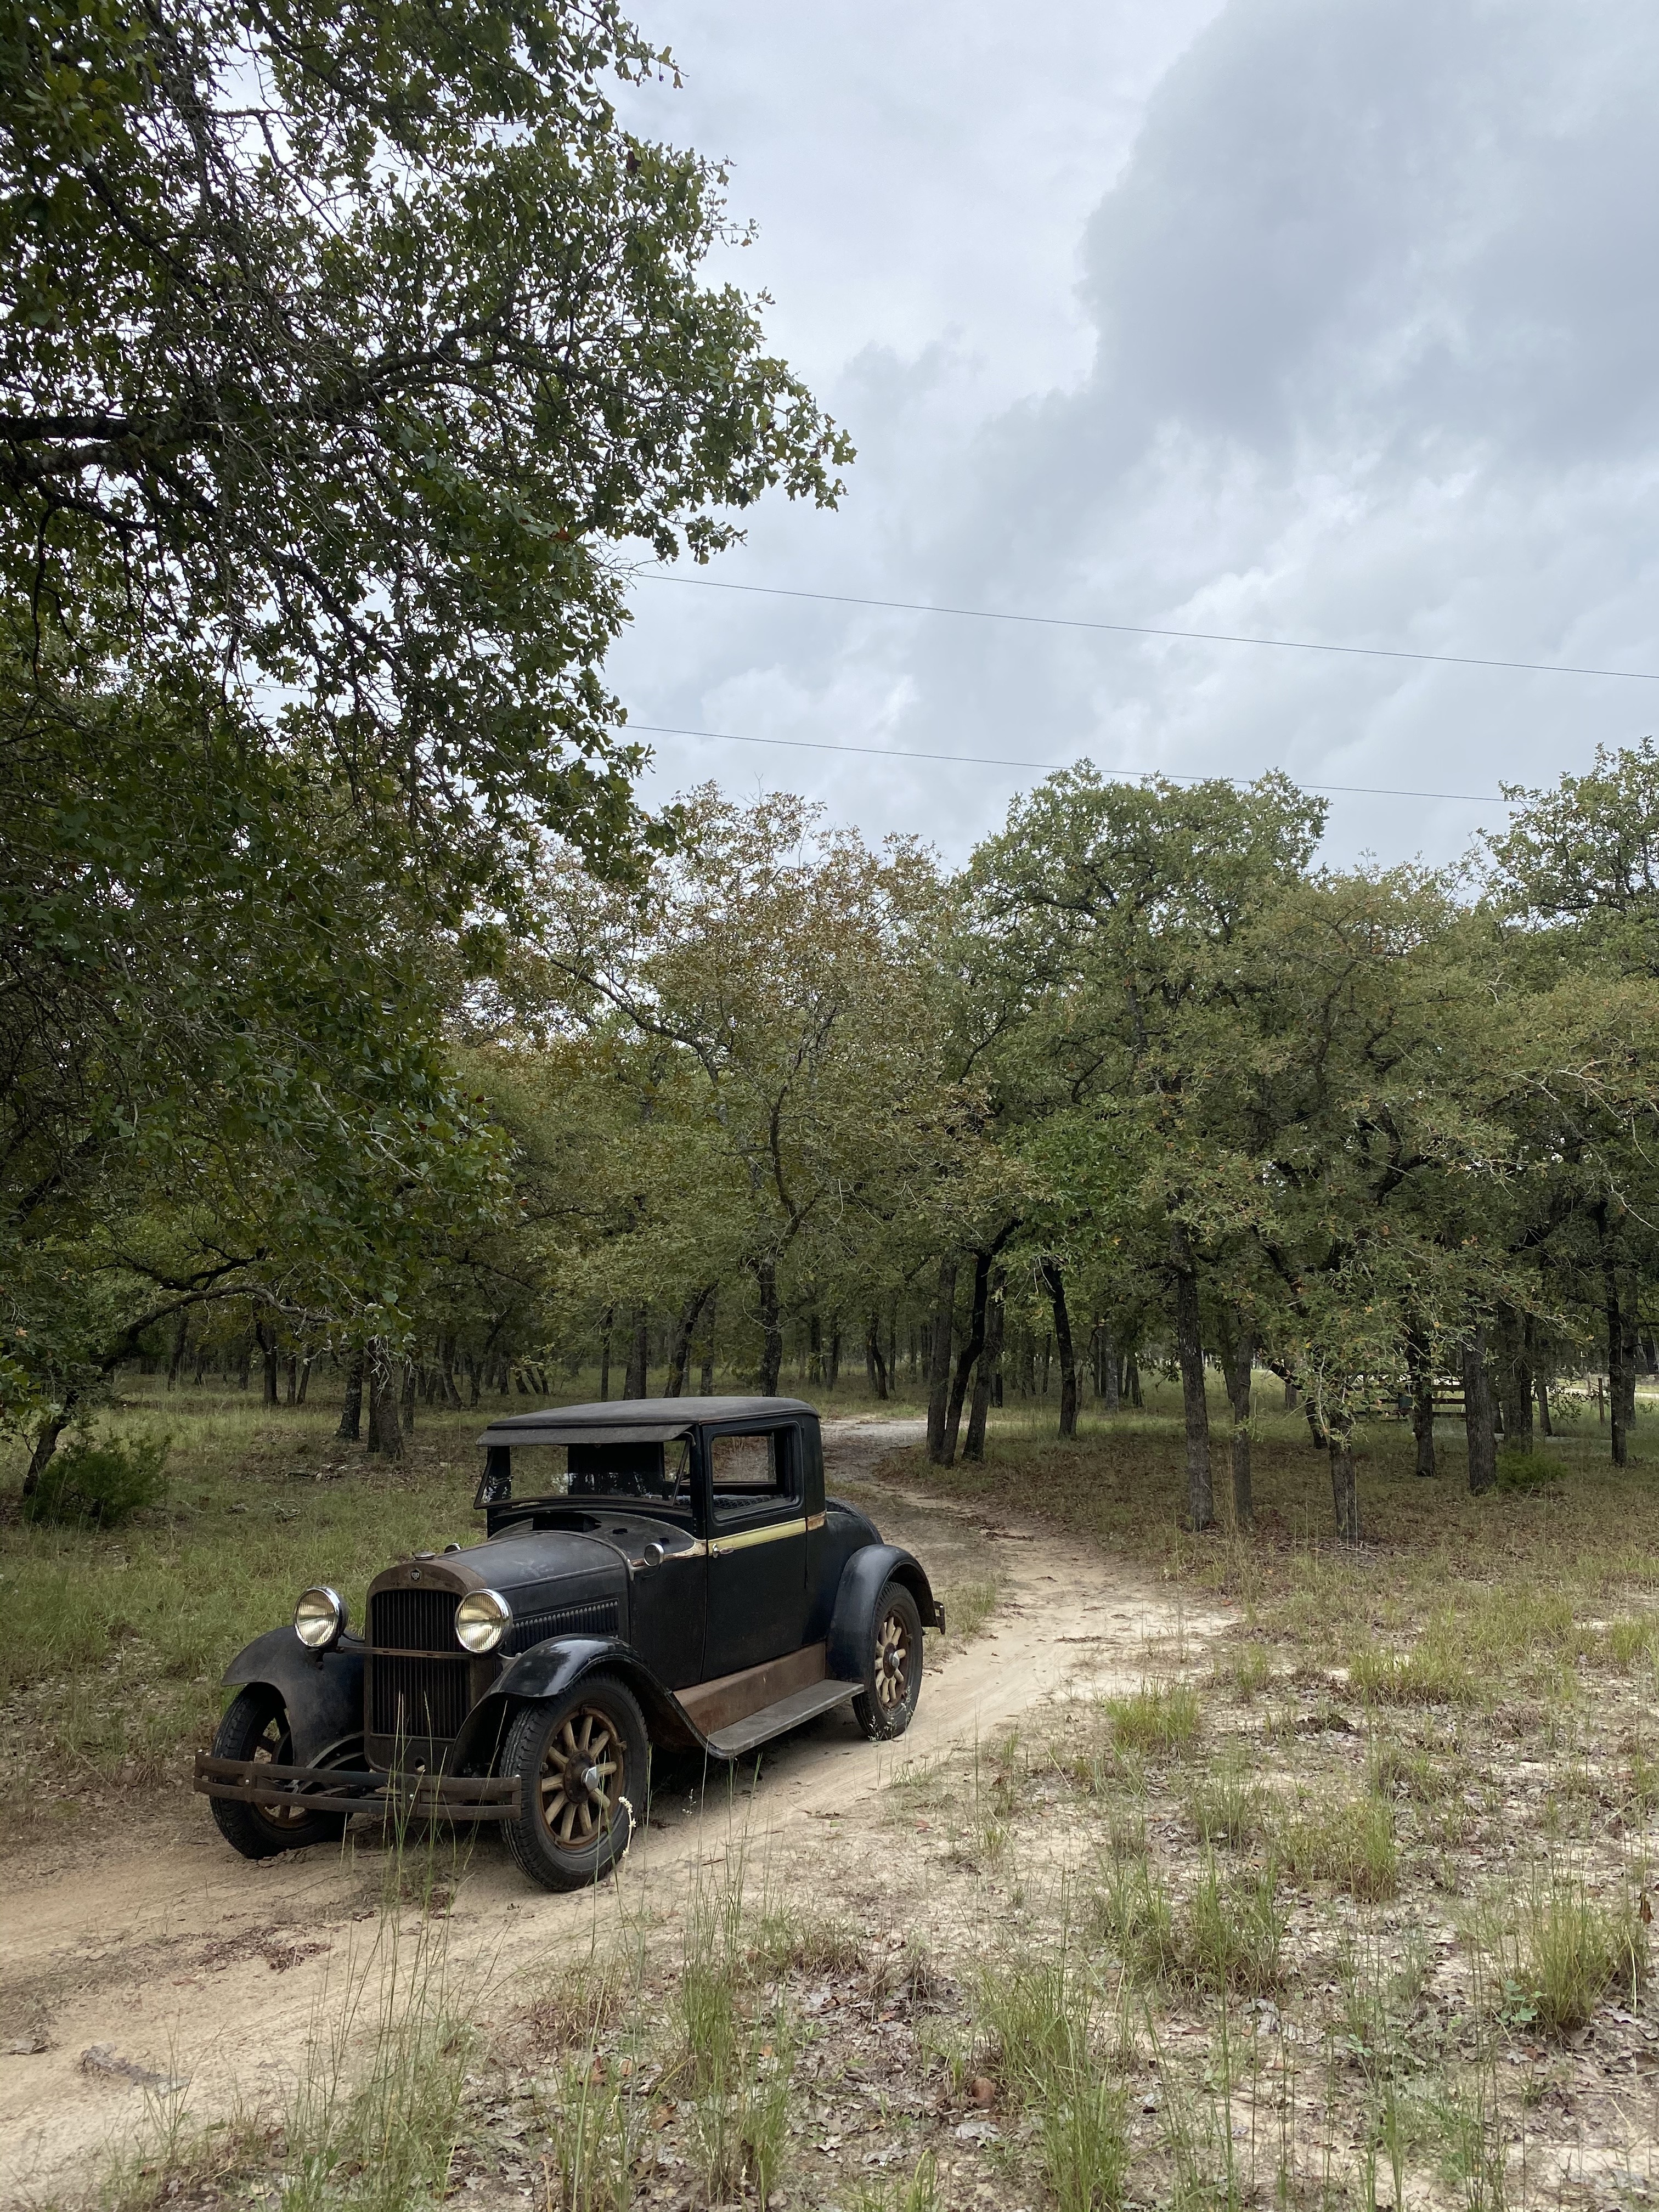 The brakes pull to the right a bit but it’s to be expected and I look forward to playing with mechanical brake system!Only two of the grease fittings are taking grease so I intend to acquire the percussion tool designed for a more forceful way to free them up.They work with the modern Alemite fittings so I will have to temporarily switch them to get them unstuck.It’s nice to have it moving but there’s still much more work to be done!0
 -
Great to see your progress! Well done.0
-
Nice looking car!!0
-
Thanks guys!It’s a joy playing with this time capsule. I credit generations of caretakers and hope to do them all justice.
I have identified a few parts on my wish list, already in my possession!
Its like Christmas in September now.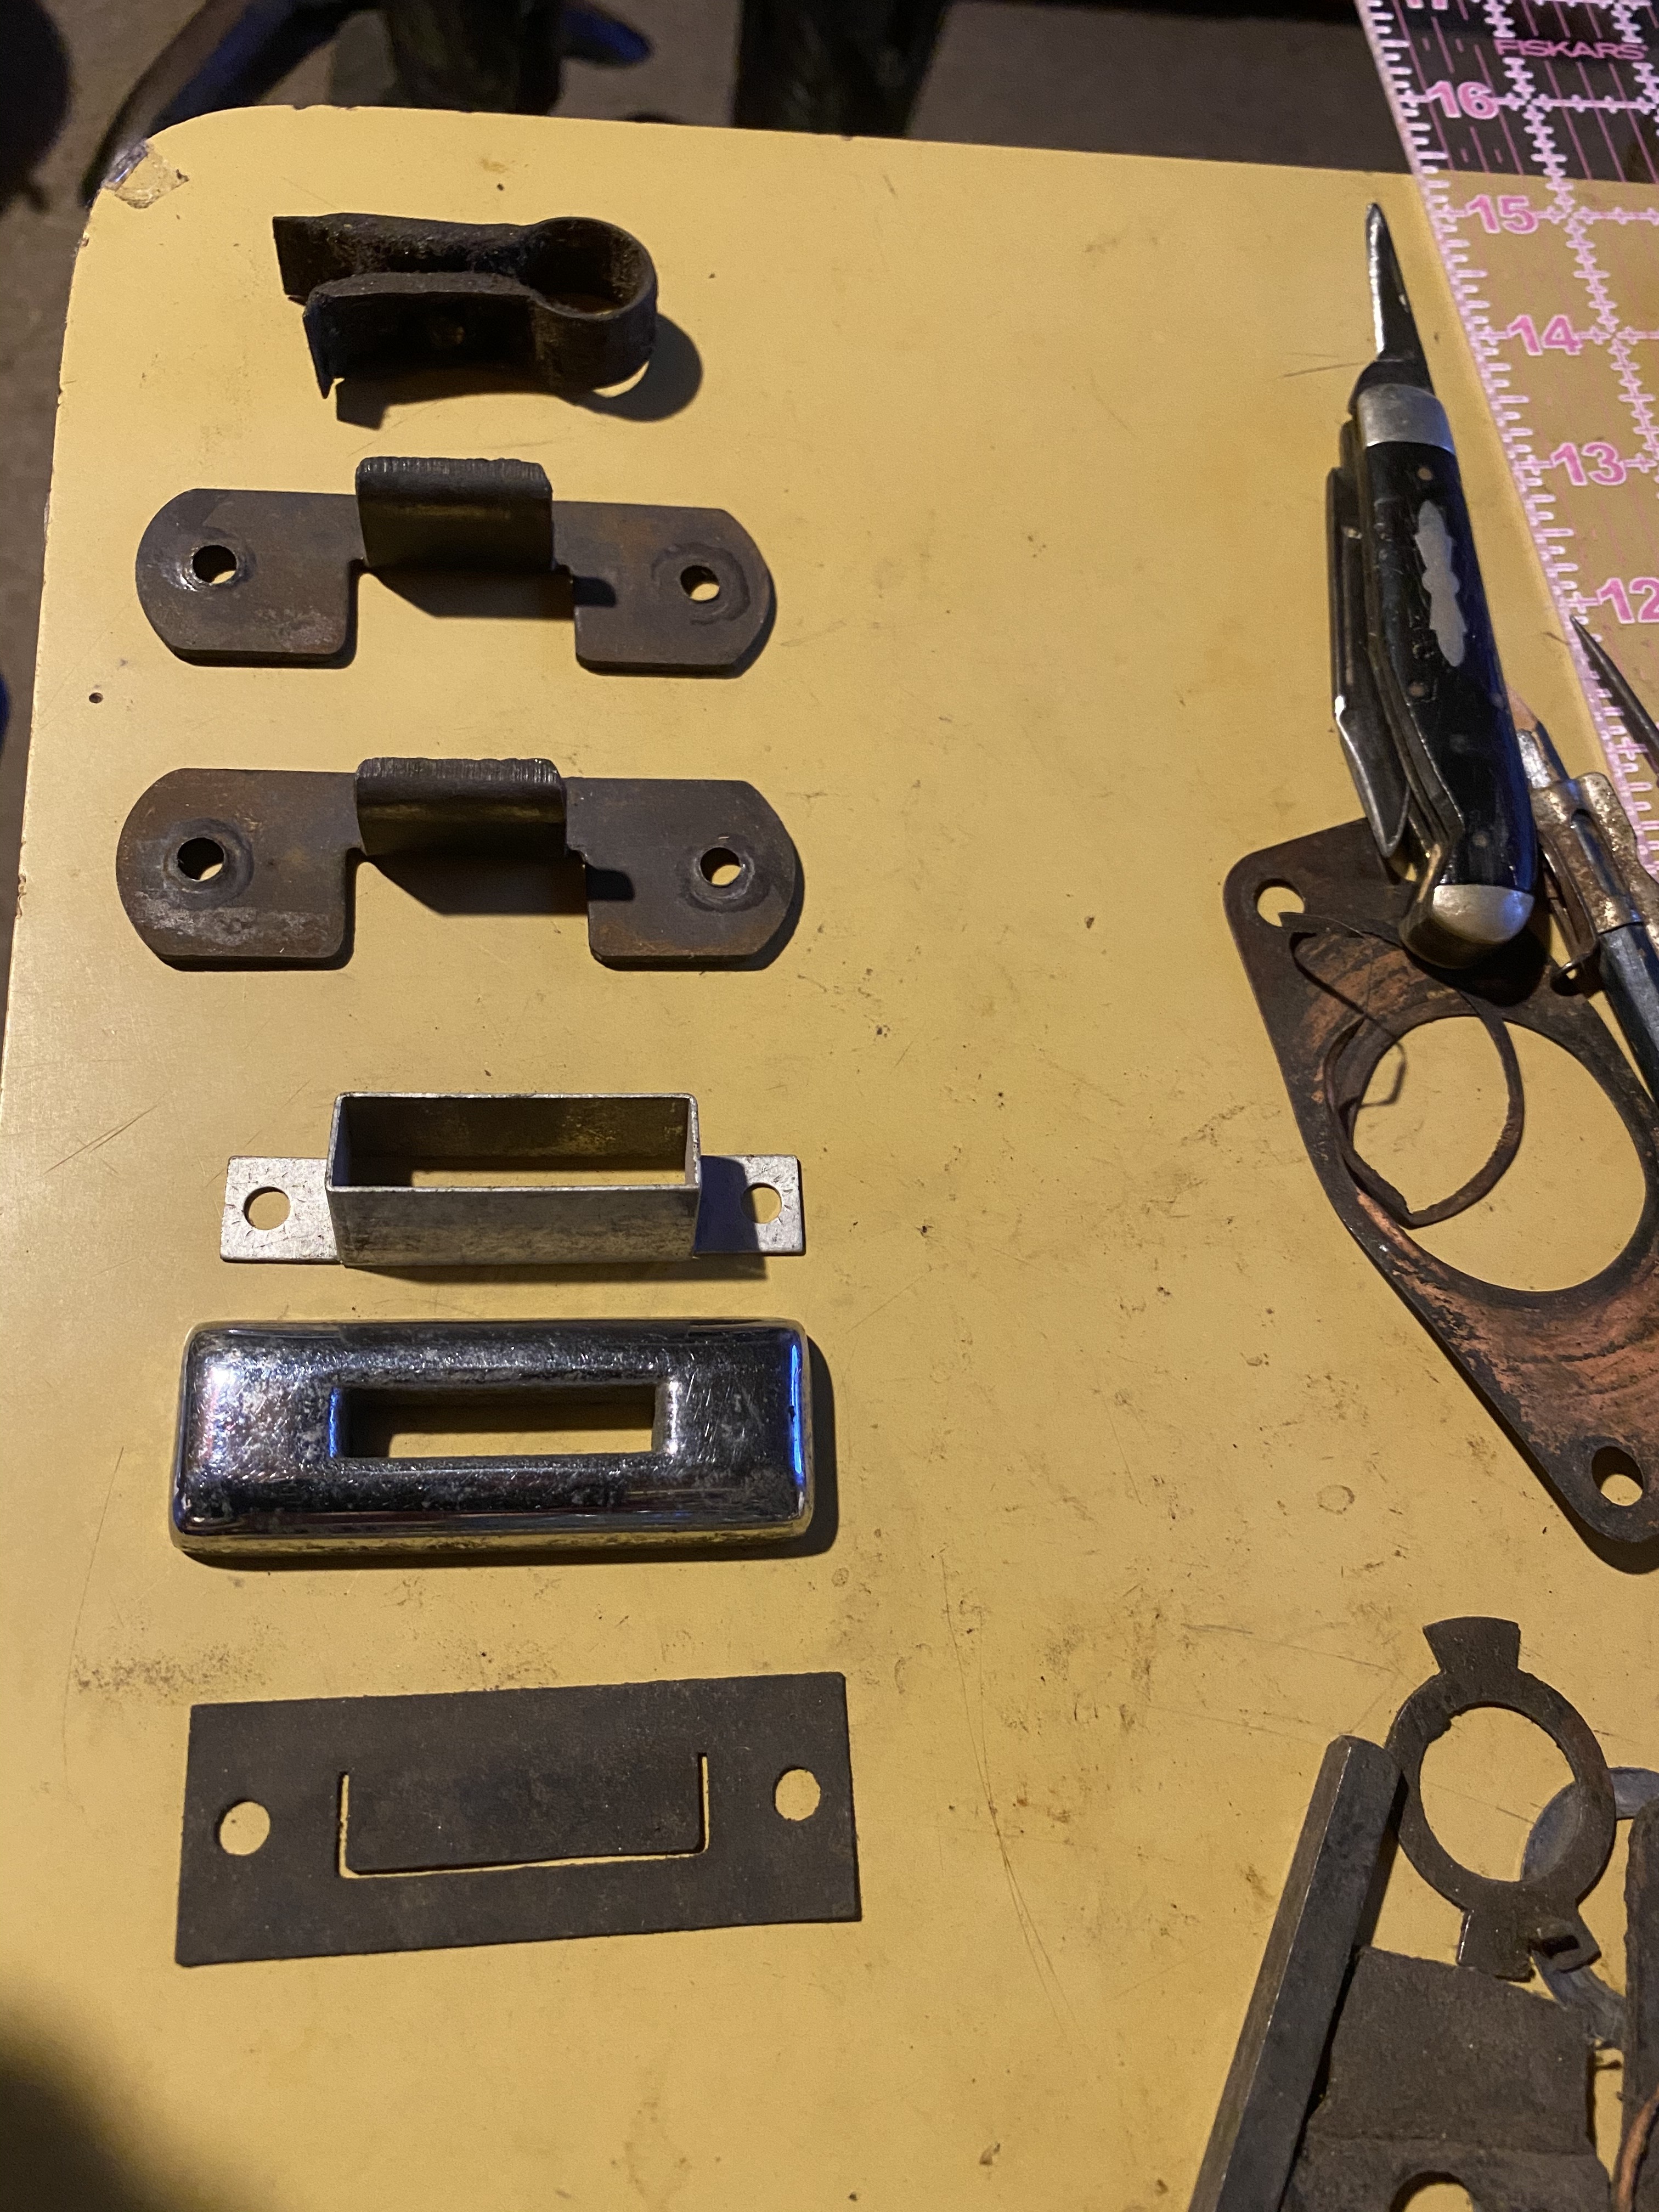 The top piece is the friction band for the throttle and the two plates below it are for the door check straps at the door jamb but I have yet to figure how how they are secured to the door and what materials they were made of.I’m not sure if the lower three belong with the car at all but dimensionally, they belong together.
 These look to be body gaskets of some sort.There is also a rectangular piece of webbing, similar to that of the Monroe single action shocks.Speaking of which, I noticed no difference between the driver’s side which has the straps installed and the passenger side which hasn’t. I think the suspension is so sturdy that they don’t make a lot of difference.0
 -
The friction band is brass which straightens easily!
Now the throttle setting will stay put!
One less hens tooth to dig up!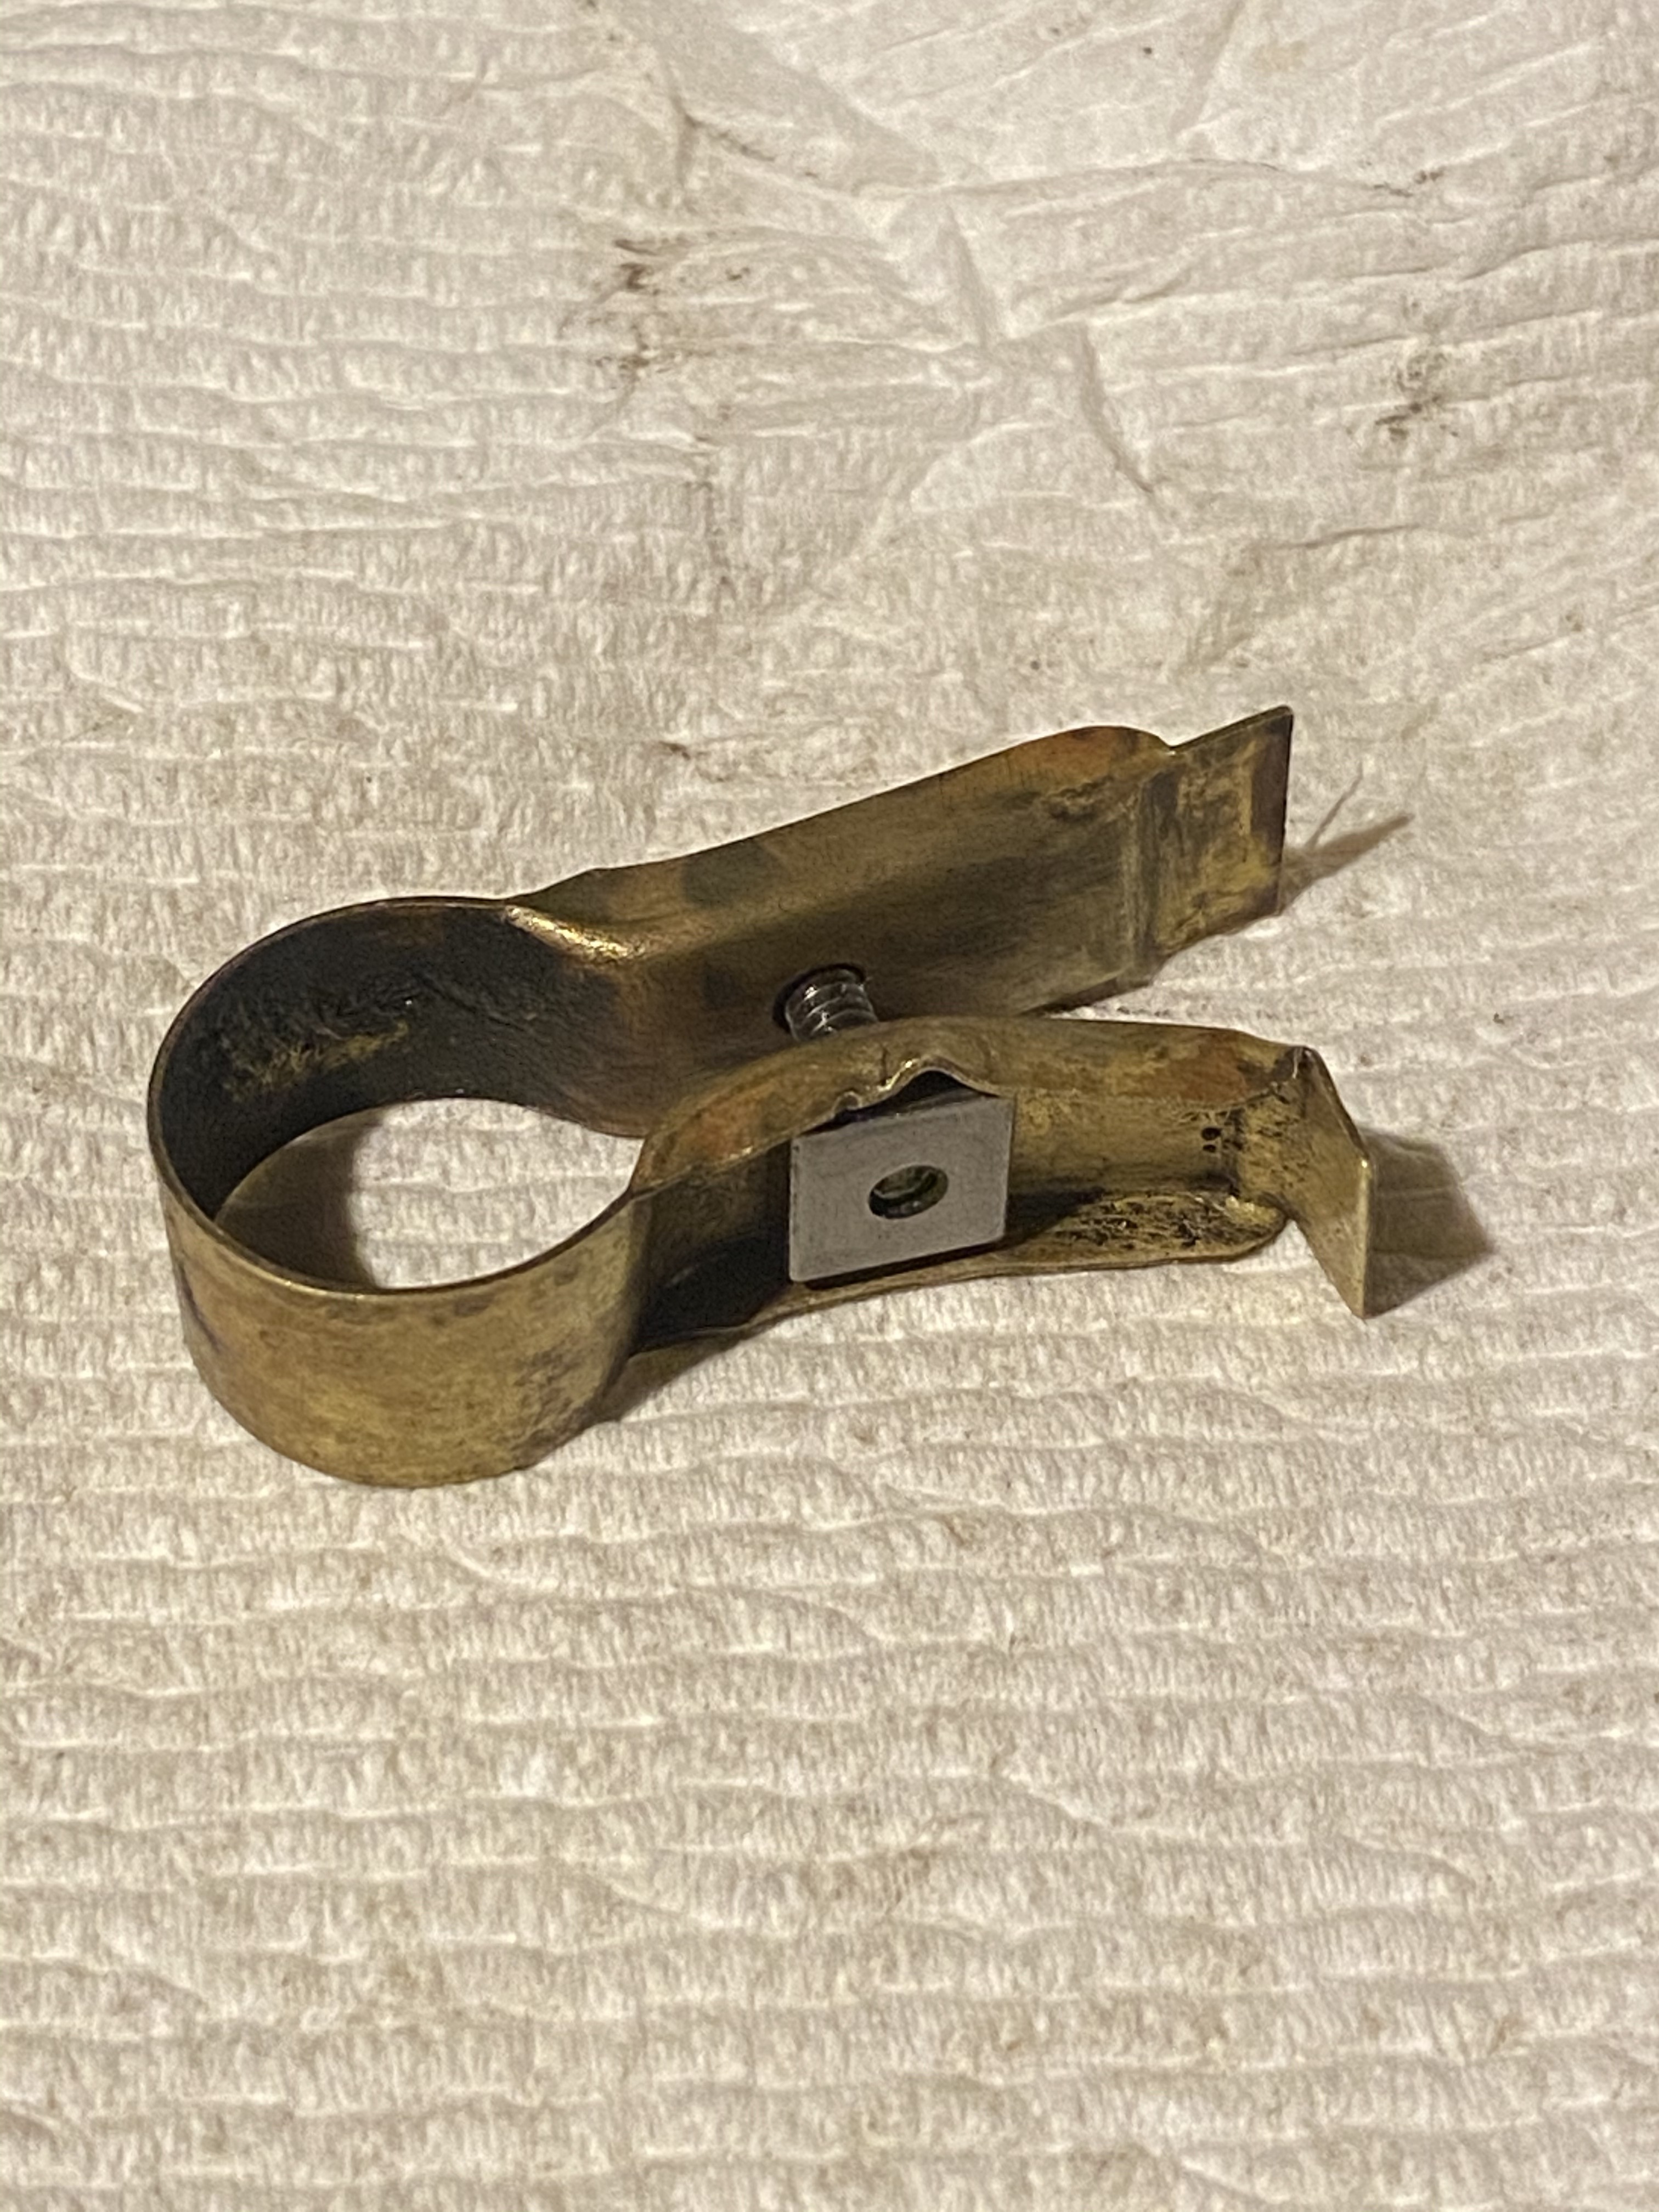
0 -
I’m going to need to remove the headlight switch to install the friction band.I am hesitant to attempt to loosen the nut because there’s no way to get a backup wrench on the shaft. I don’t want to hear that switch go crunch inside.0
-
Scratch that, I just found a photograph of a disassembled Clum switch. It is quite robust so I just loosened the gland nut with little effort. It’s all back together but now I have the levers upside down and the headlight lever should be at 10:00
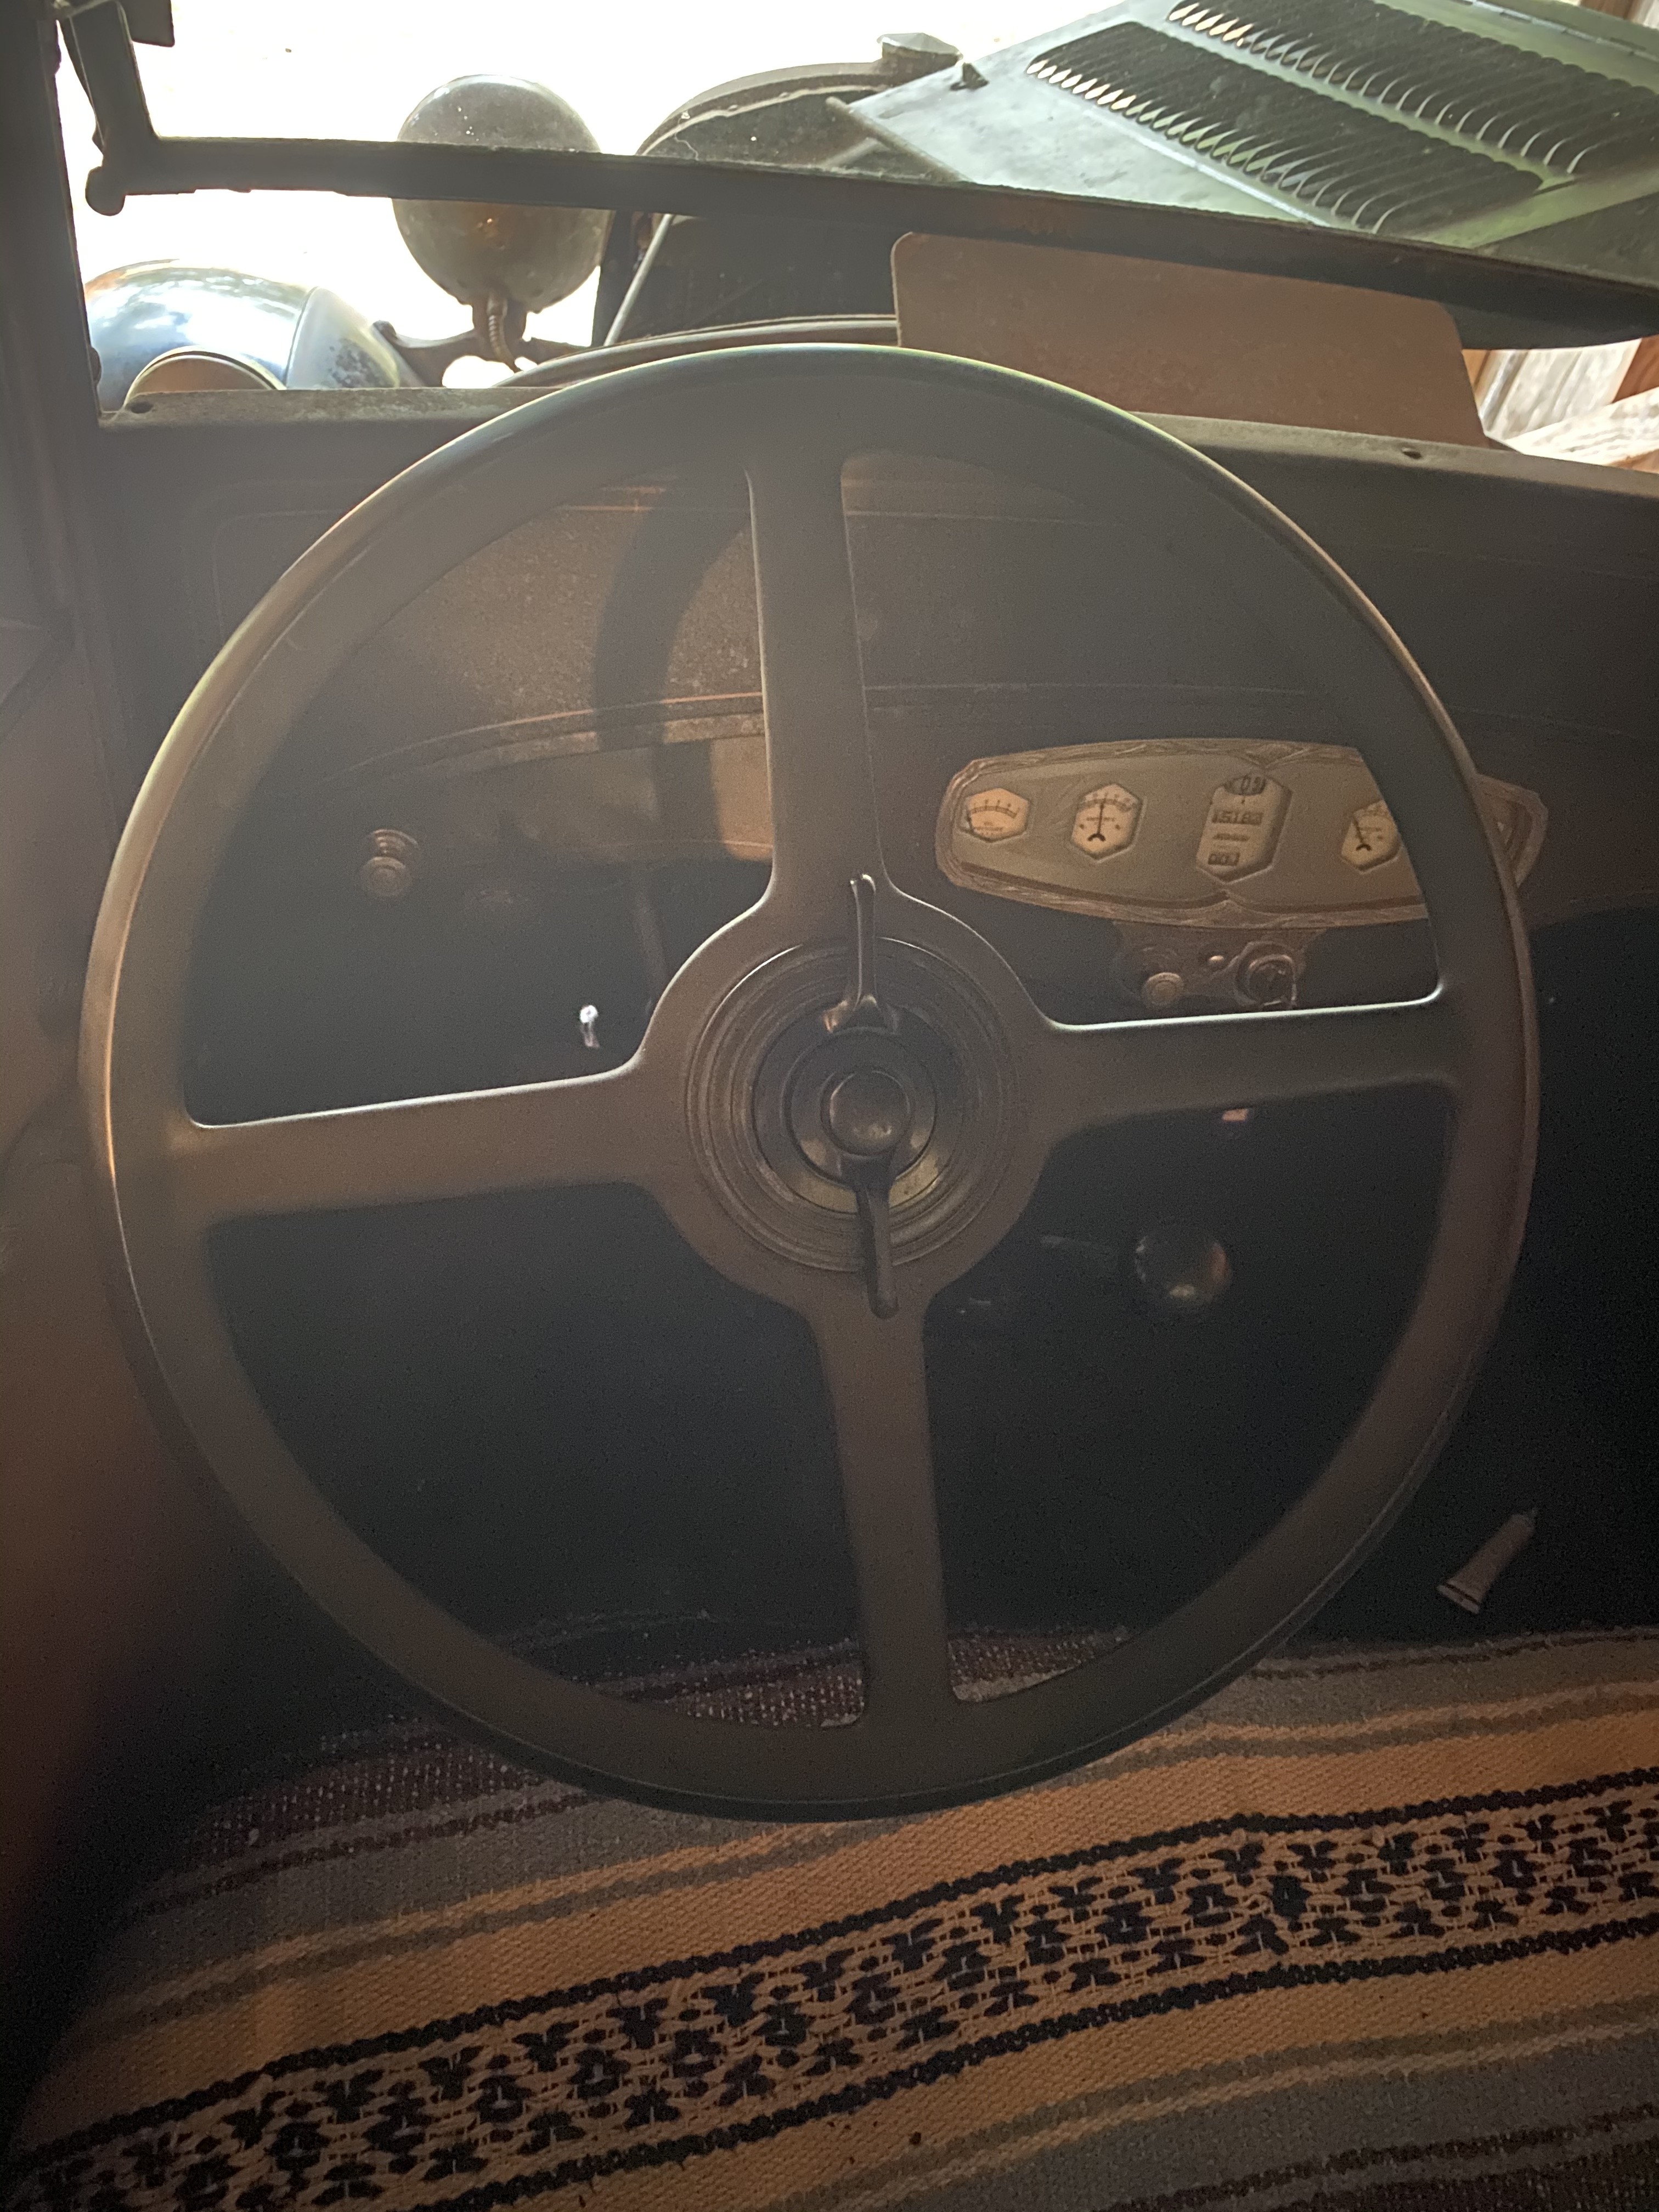 The friction band is barely tight enough to hold the first 5 degrees or so but I want to start off too loose on the friction rather then too tight. The Clum switch is now less wobbly with the friction band in place.Baby steps and it eventually pays off.The great thing about pre space age cars is there’s not 10,000 brittle plastic parts to contend with!0
 -
One thing that is essential is that you replace the tapered boss that the steering wheel screws on to, and connects to the steering column. Gary Lynch supplies these for the '29 Essex. They are die-cast and could break apart any time.0
-
Great job Kevin. Your giving the old girl the love she needed0
-
Speaking of gifts, there was a wing window crank handle for a 1936 Chevrolet in the parts you sent!35 Terraplane said:Great job Kevin. Your giving the old girl the love she needed
The Hudson Essex library you sent has been most helpful as well!Thanks again for the adoption!0 -
Most definitely, I have been corresponding with Mr. Lynch and have opted for the one nickel plated boss that he has left.Geoff said:One thing that is essential is that you replace the tapered boss that the steering wheel screws on to, and connects to the steering column. Gary Lynch supplies these for the '29 Essex. They are die-cast and could break apart any time.He’s also trying to locate a source for the capsule muffler for me as well.We’re also conspiring to have reproduction floor mats made from this one soon.0 -
Thanks to dholck.... I Just accidentally located a replacement Venturi for the Marvel V.
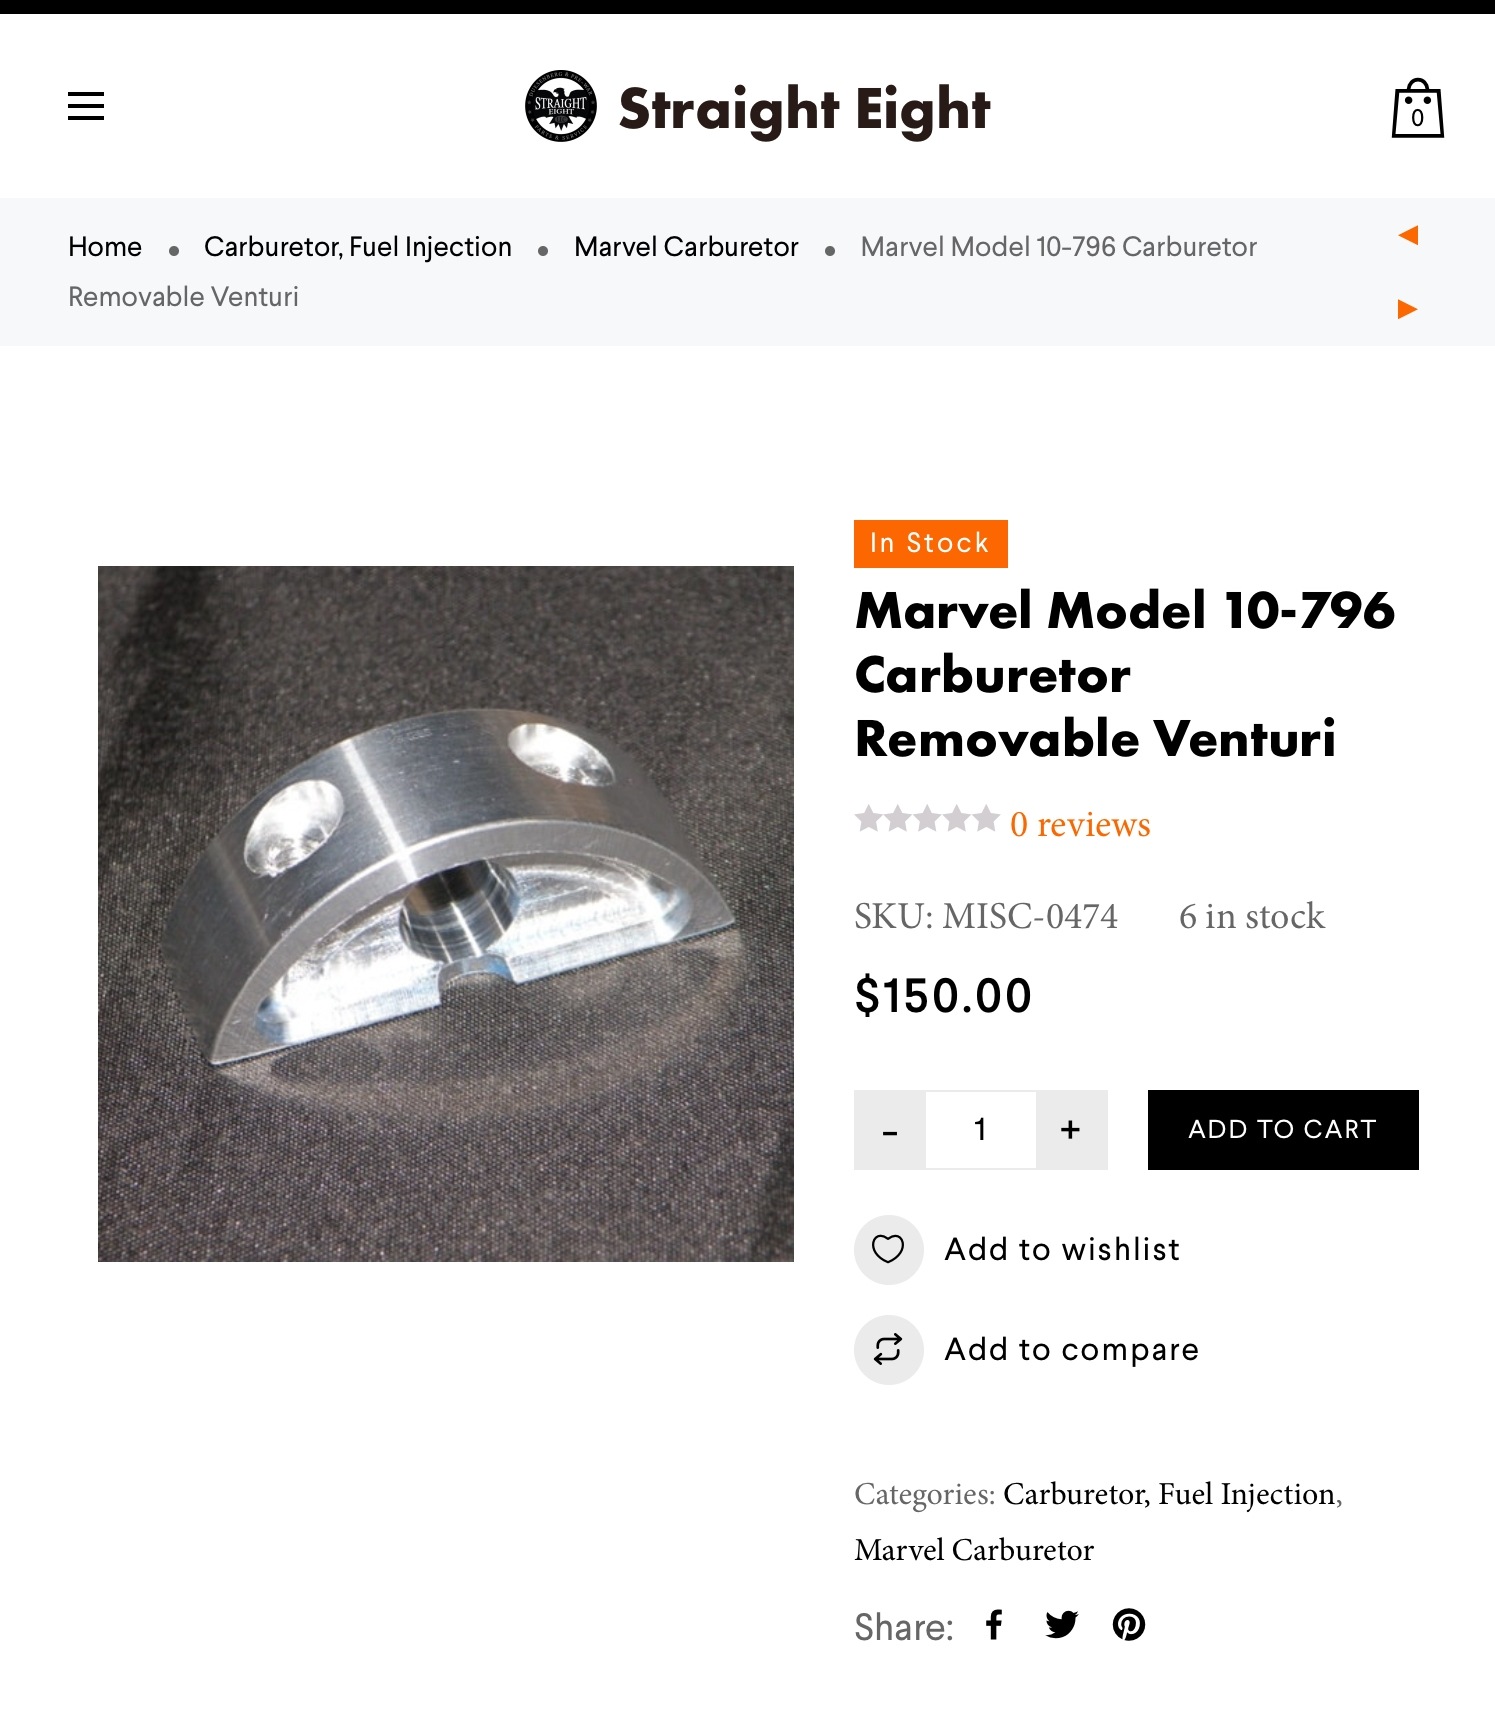 The classicandexotic.com/store website he provided is transitioning into straight-eight.com and the float and Venturi can be found there. It is for the 10-796 but looks correct for the 10- 733.
https://straight-eight.com/product/marvel-model-10-796-carburetor-removable-venturi/
I found it while buying this....
https://straight-eight.com/product/marvel-v-10-733-carburetor-float/
0 -
Look under the "how to" section, page 5 near the bottom, a thread called Antique Mufflers.... 'Bent Metal' makes them.rusty_apache said:
Most definitely, I have been corresponding with Mr. Lynch and have opted for the one nickel plated boss that he has left.Geoff said:One thing that is essential is that you replace the tapered boss that the steering wheel screws on to, and connects to the steering column. Gary Lynch supplies these for the '29 Essex. They are die-cast and could break apart any time.He’s also trying to locate a source for the capsule muffler for me as well.We’re also conspiring to have reproduction floor mats made from this one soon.0 -
Thanks for the lead! I sent him a PM.0
-
I have a new capsule muffler on the way!
As well as new fabric wrapped spark plug wires, points, plugs and spare contact points, condenser and distributor cap. I cleaned up the old points and reset the gap, which slightly advanced the timing so I did a static timing adjustment according to the manual.I’m fairly confident that I am reading it correctly but just want confirmation and also document the procedure for others in the future. It’s difficult to see, but there is a second line above the “6”.So in the photo, the flywheel is currently lined up at 1degree btdc and needs to be rotated 5 degrees anti-clockwise in order to set the static timing.Am I correct in assuming that DC1 = 1 degree before top dead center, and DC 6 = 6 degrees before TDC and they are saying to align the 6 degree mark with the lower edge of the sight hole?
Typically I set my ignition redneck style, by ear the way dad taught me but this ain't no Ford or Chevy running a newfangled water pump, so I’d imagine ignition timing is more critical.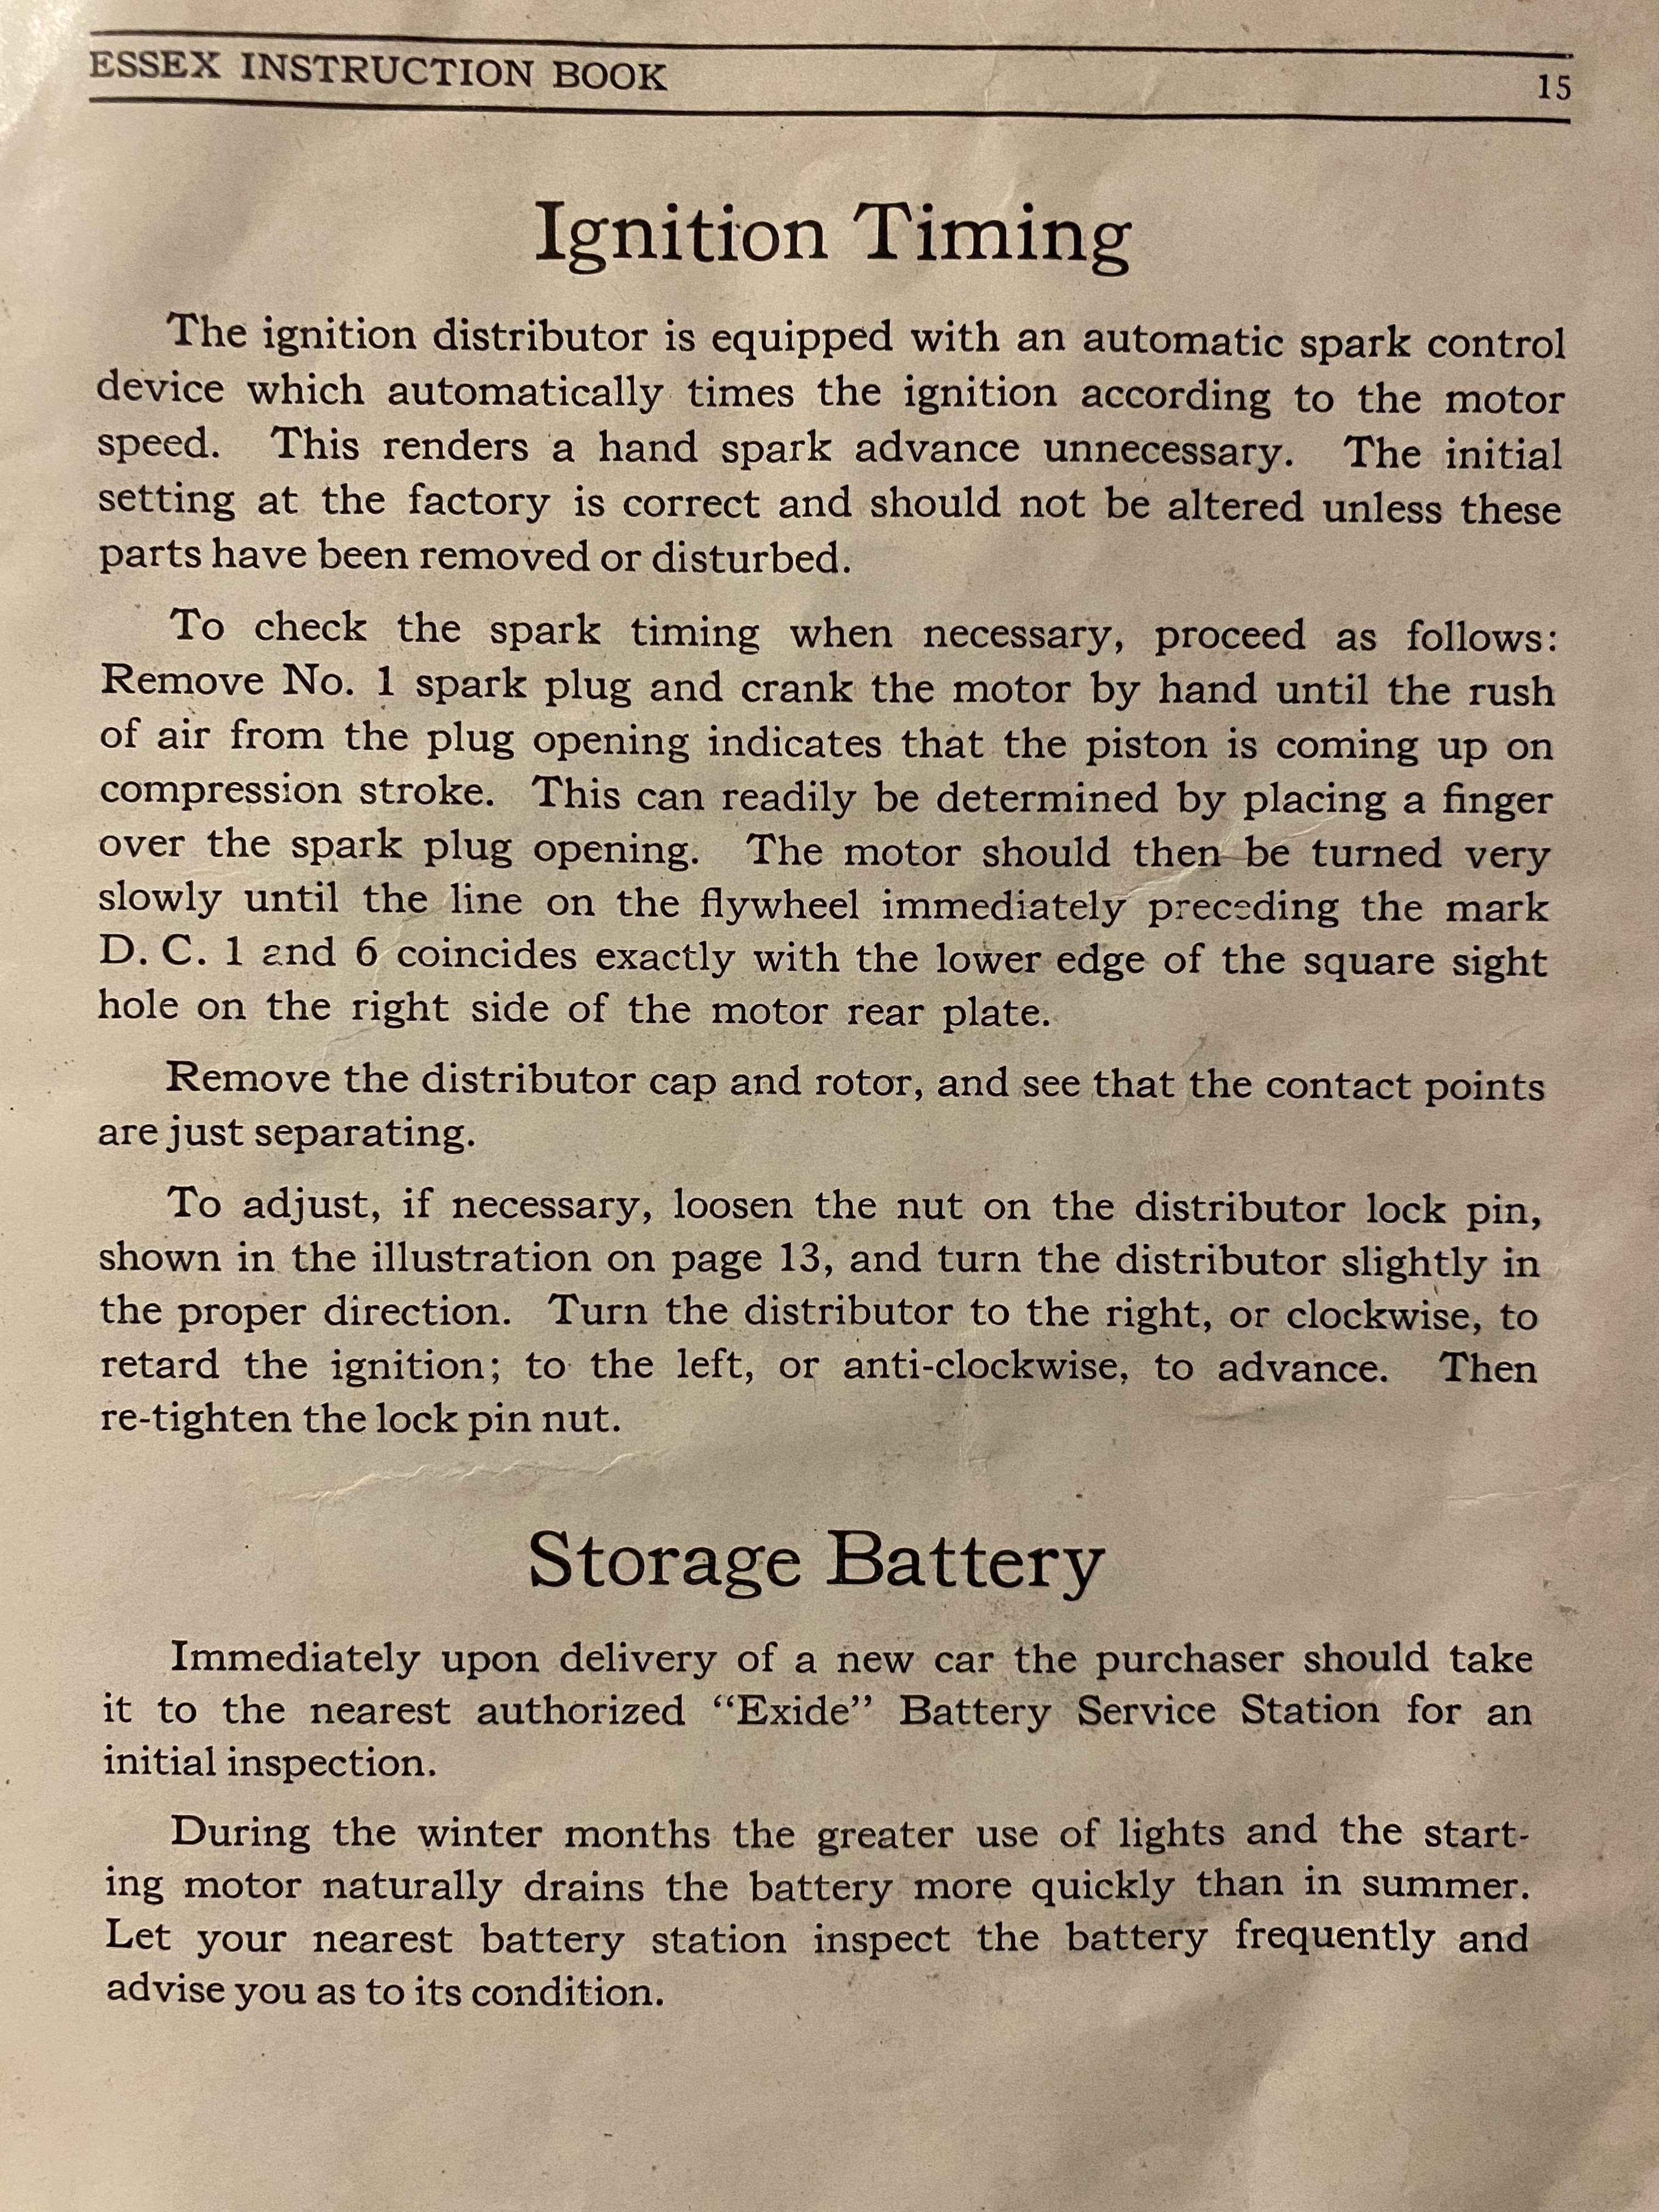 0
0 -
The mark is there as a reference point, and the setting either by ear or with a timing light is made when the engine is running. Best setting is the at first mark with engine idling, but a lot depends on the timing curve. if the springs are weak or the bushings worn it could be all over the place. Ideally it will slowly advance with engine speed to around 4 teeth. If it all of a sudden leaps forward the springs are probably shot.
0 -
Thanks much! Geoff, It’s great to get confirmation. It’s not stamped as deeply as the second timing mark so it was just a little disconcerting.I have seen some pretty sloppy distributors and you’re right, they can be very uncooperative and do strange curious things when nothing will hold still.The beauty of a low mileage original is that there is so little wear, only the ravages of 91 years. So far this particular one shows no signs of bodgery or abuse, just signs of good prior maintenance. It continues to prove itself to be a time capsule as the slow progress continues!That’s why I passed up several beautiful, lovingly restored examples needing nothing but a home, for this little tarnished one needing a little TLC.
A little update on the progress...The new synthetic carburetor float arrived. After removing flakes of decomposed cork shellac from the main jet, she’s idling like a sewing machine again. Albeit one with the exhaust rumble of a Harley, ....at least until the new American made capsule muffler comes in thanks to Mr. Spring! I’ve never seen exhaust tubing with a rolled seam in it like this before.
 I whipped up an alternate fuel line with a shutoff valve in it, so now I can run the carburetor bowl dry like the tractors and motorcycles. It’s extremely helpful in warding off the horrific effects of this confounded cork shellac eating ethanol!Note to self...
Since the fuel sender isn’t registering on the gauge I should probably go in and remove the float arm before the cork begins to suffer the ethanol scourge too!It was such a THRILL, listening to it idle, placing my left ear on the edge of the lid of the fuel feed vacuum tank and hearing the faint “tink” of the float going through it’s cycles. (The simplest things can be so captivating sometimes) It’s now running as designed with the fuel tank full of stabilized fuel.It could probably be driven a great distance at this point as is, but there are still so many mechanical details to attend to before registration and insurance are taken out on it. Thankfully they all have a finite number of parts but the classics have far fewer of them to go wrong!0 -
It’s been impossible to get it to start reliably at operating temperature. It’s a frigid 90 degrees out compared to the 114 of last month, so it is positively invigorating!
Many times that is an electrical issue, hence my interest in timing and electrical components.Thanks to Geoff and the archives here I was able to locate and order proper D-16 replacement spark plugs. I have been switching out original components for replacements and nothing has made a difference. Last night I made up a set of spark plug wires and installed them purely for aesthetics sake!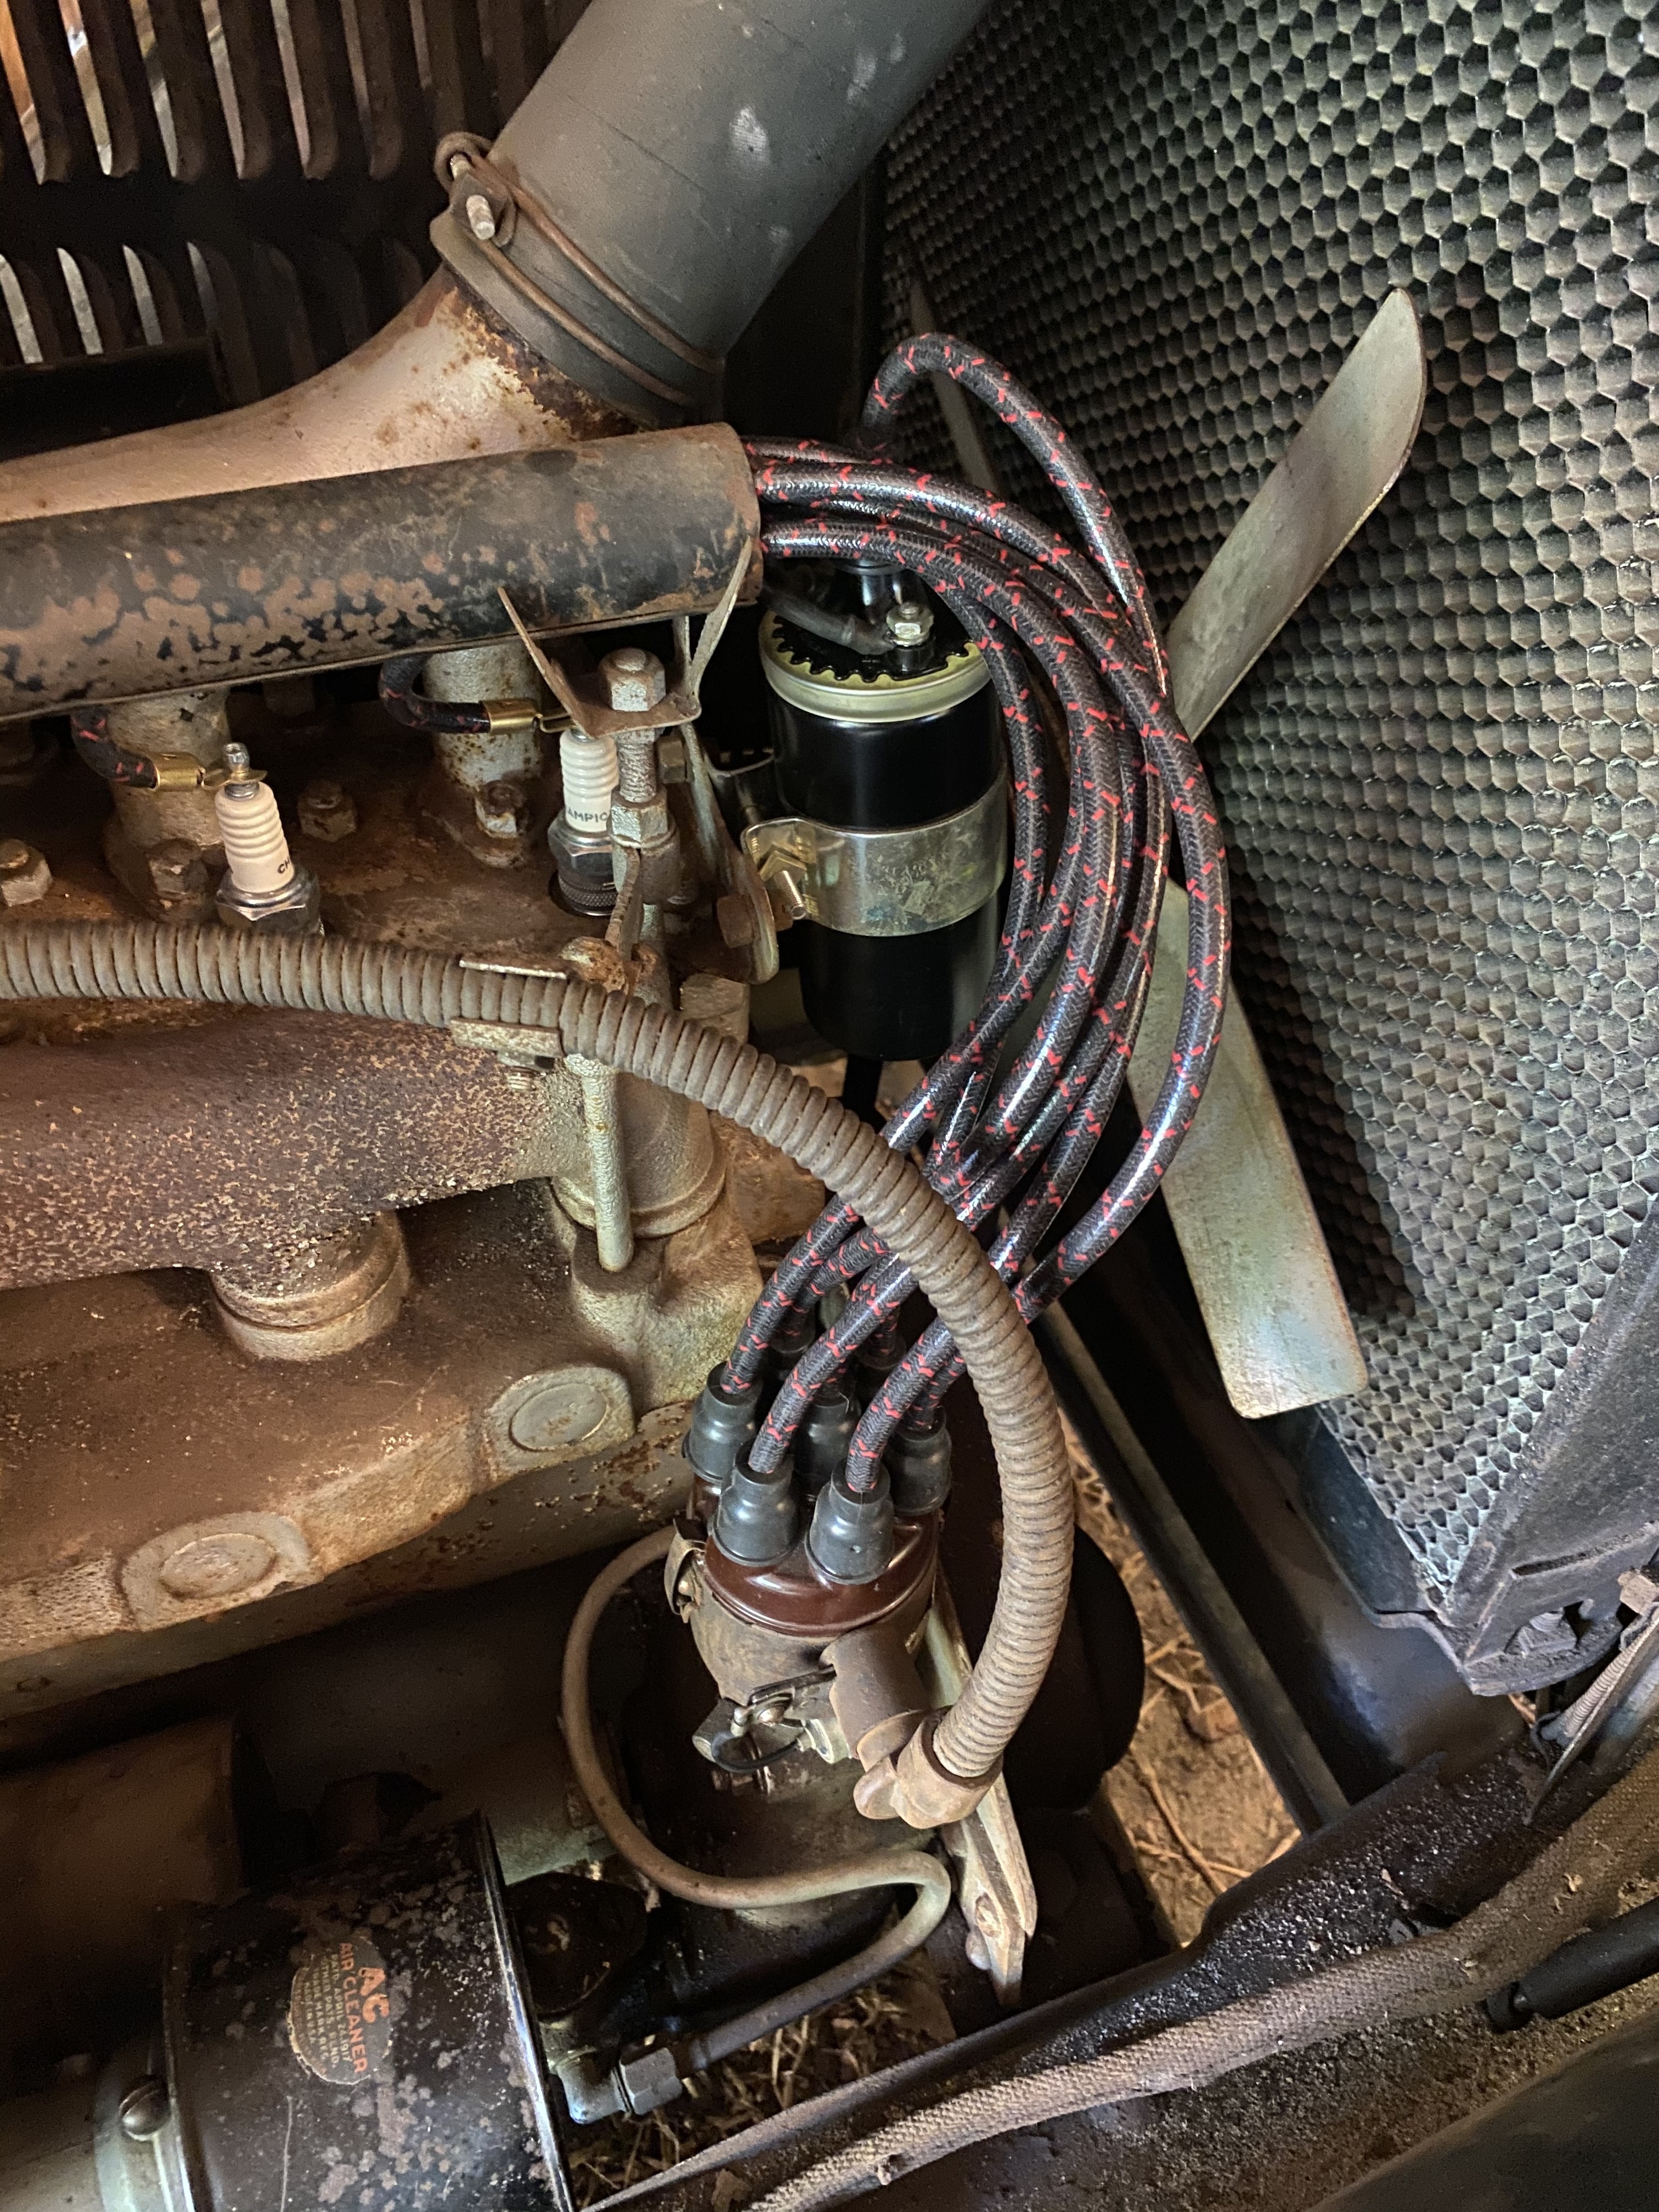
I have a 1950s era Vespa manual that says that the spark plug is usually the cause of a non starting condition. Sure enough they arrived today and now she fires up robustly at all temperatures. I should have researched the new plugs last month when I was still dealing with fuel issues. One thing I do find odd is it needs the choke pulled 1/2 out in order to start.
The culprits!
Laid out in order for closer inspection.They looked like it has good oil control last month but I’d venture to guess she’s had more run time since then so I intend to look over them again.The factory coil and condenser will be conserved for display.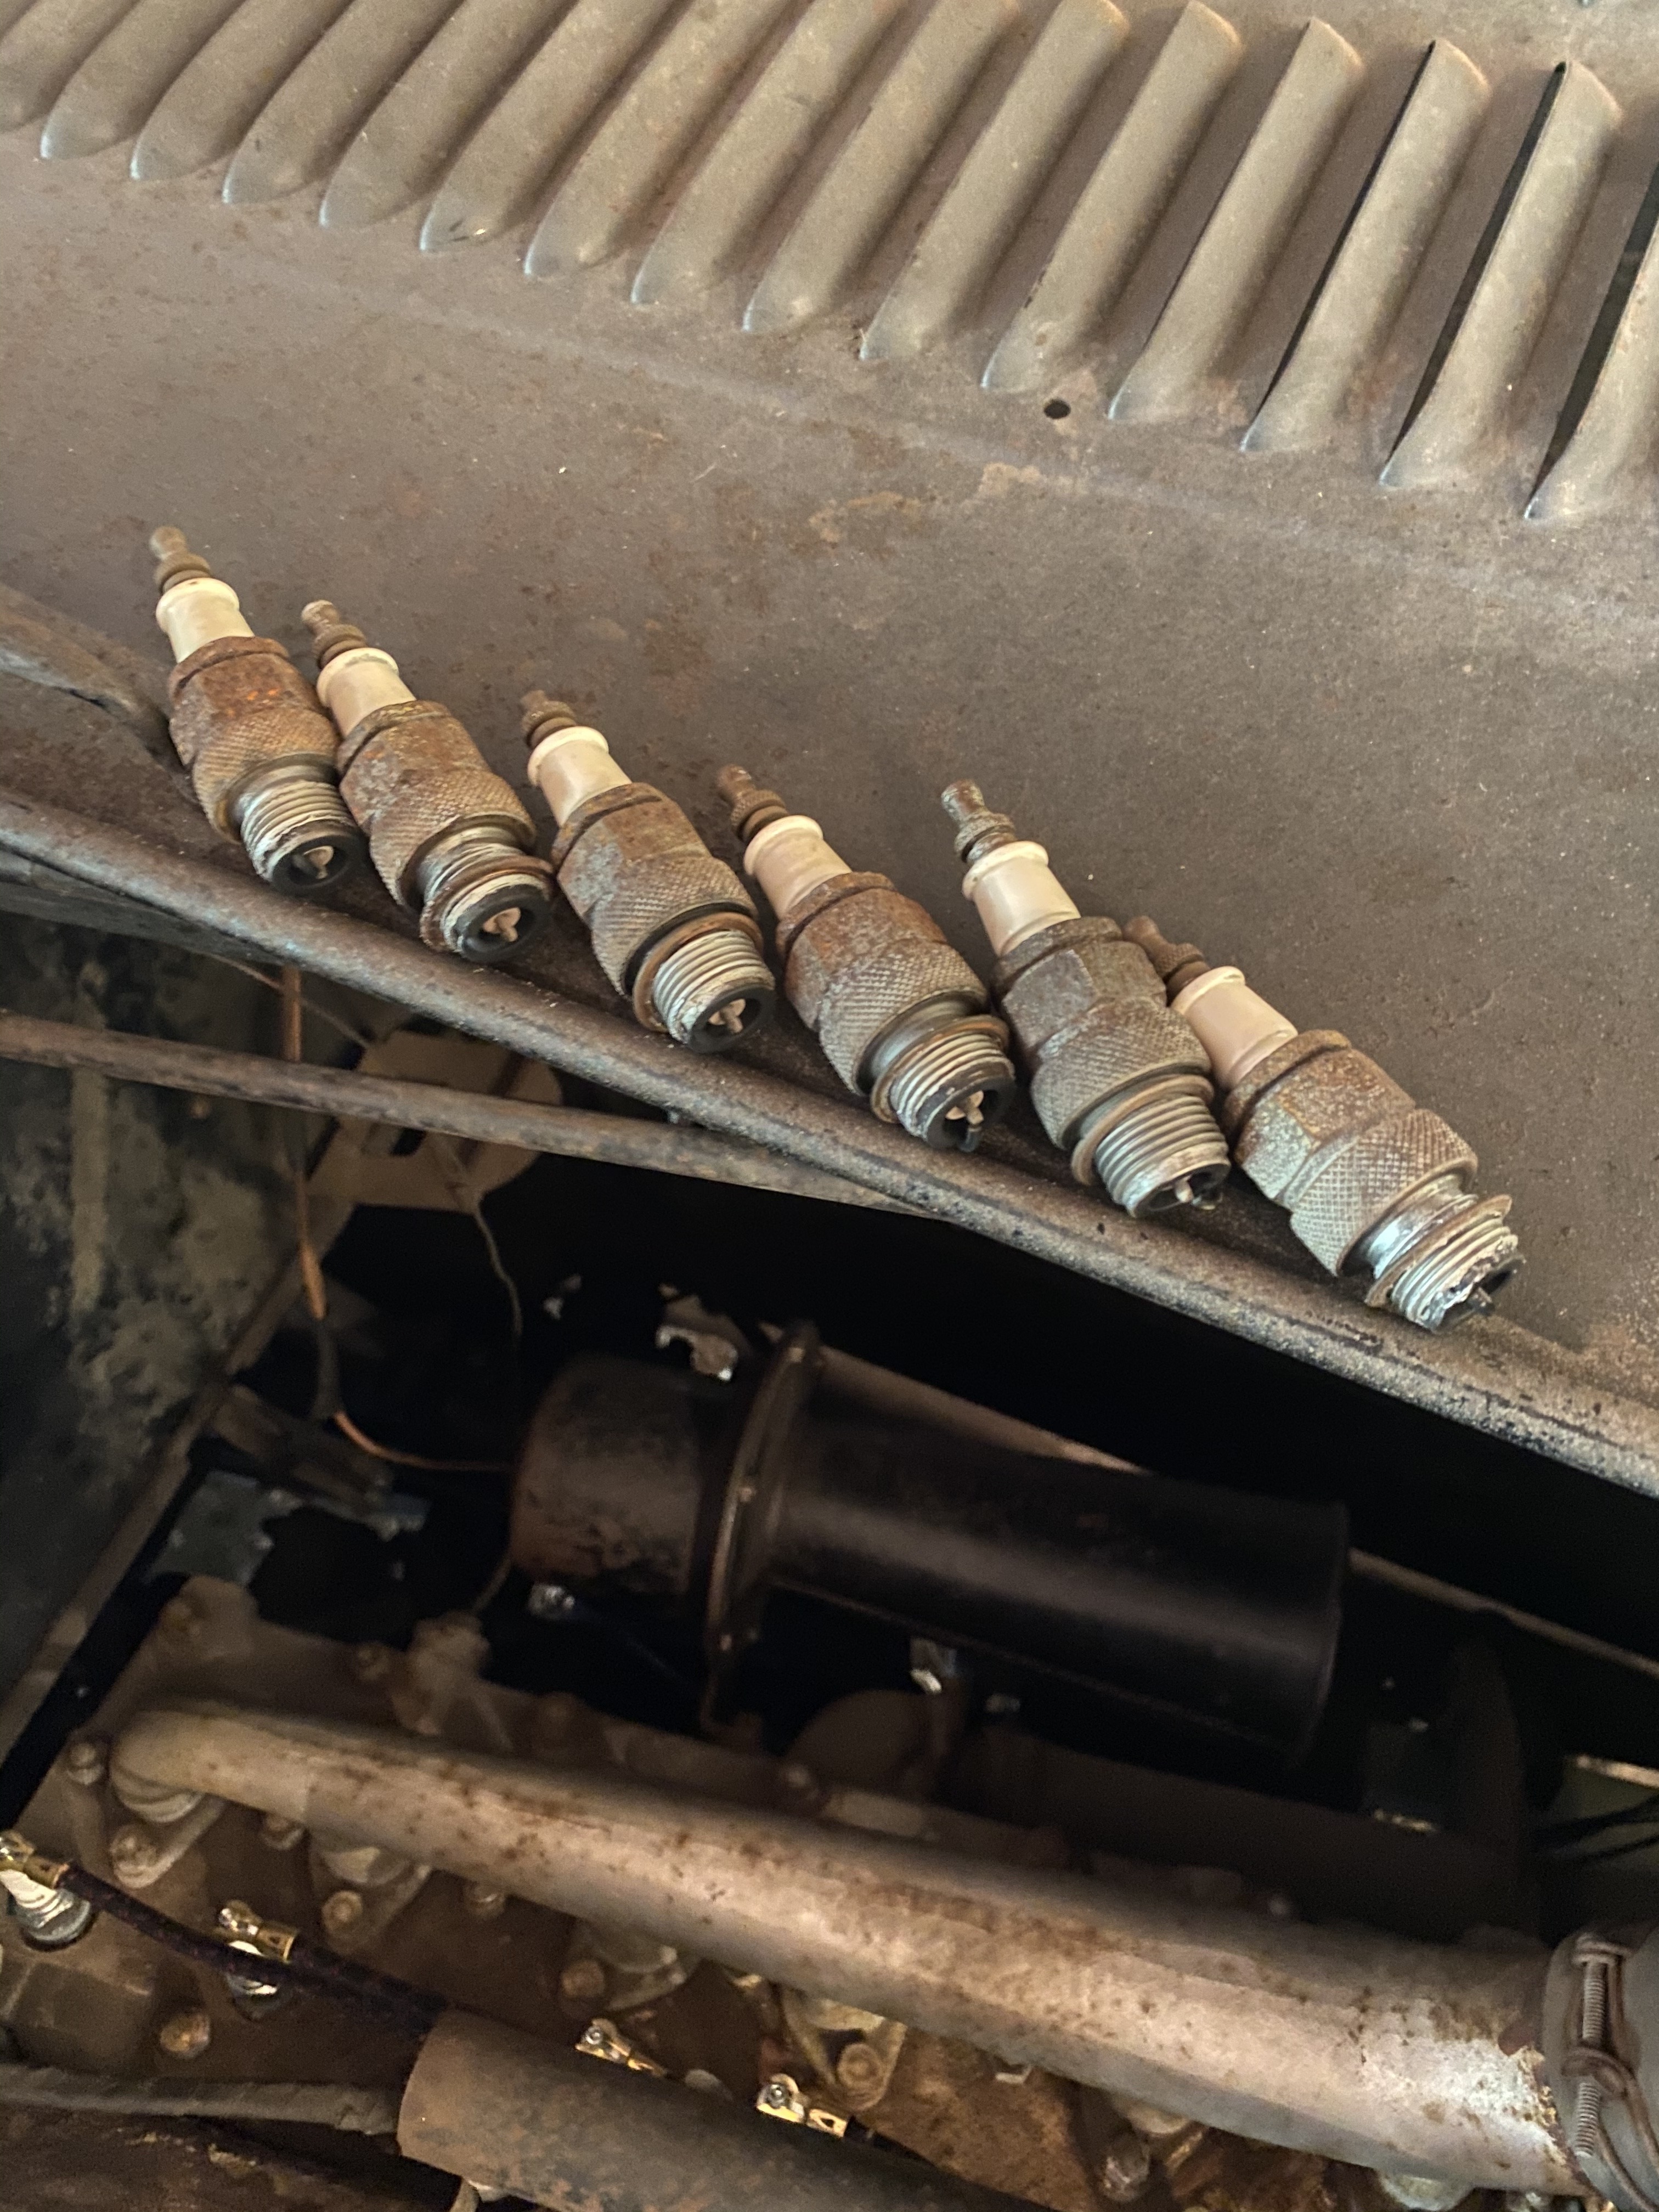 0
0 -
One cause of hard starting when hot is the coil polarity being the wrong way round.0
-
Geoff said:One cause of hard starting when hot is the coil polarity being the wrong way round.Thanks Geoff,
I took a slow motion video of the arc and it was indeed backwards in spite of the polarity marked on the coil. So I reversed the polarity.It’s a Filco UC-62, I’m guessing it was designed for a positive ground car.Do you normally have to pull the choke slightly to start at operating temperature?
I still have not checked for any more vacuum leaks lately.0 -
No intake leaks!Even the throttle shaft is airtight.
The air cleaner intake is located too close to the intake manifold to test with carb cleaner. To alleviate that situation I duct taped a vacuum cleaner hose to the mouth of the carb, taking EXTREME CARE to prevent the other end from falling into the sand!
This time the idle remained unchanged in the presence of carb cleaner!
You got me thinking about my 52 Cranbrook now. It’s always been difficult to start at temperature.I MAY have intentionally reversed the polarity, thinking the coil was not designed for a positive ground application. I need to check that...0 -
From memory, the spark should be positive at the ground electrode, so that the adjustable grounded electrode wears away instead of the insulated one in the centre.0
-
That makes a great deal of sense.Geoff said:One cause of hard starting when hot is the coil polarity being the wrong way round.A set of AC-G7 spark plugs just arrived in the post. I was able to obtain them only after learning what to look for because of a 2009 conversation that you contributed to here on the forum.It seems they are a pretty cool plug compared to the Champion D-16. They will be set aside for now since the champions can be more easily acquired.0 -
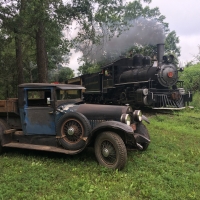
Some friends came by for some Edsel parts so I drove the Essex out to the pasture to meet them and they were smitten to say the least. His wife pointed out the pine cone motif on the rumble seat handle so I showed her all the Interior appointments. They finally concluded that the styling was definitely Art Nouveau with Art Deco premonitions.I pulled the blanket off the seat so they could photograph it too and I could tell they were beginning to hate me, they liked it so much!
The cheapo grease fitting cleaning tool does the trick. Probably the better quality impact cleaners don’t leak around the plunger as much as this one does. Forgetting to wear rubber gloves was a bad move, but I got all four rear shackles done. It’s a messy job but I have been using a pretty small hammer, I’m to see if a medium does an better on the others. Oddly it doesn’t leak at the (temporary) Zirk fitting even though there it is literally metal on metal. In order to keep track of them all, I am resisting the habit of wiping the displaced old grease down as I go.Once they are all confirmed done I will clean up.While in the O’Riellys today I noticed most of the small washable aftermarket air filter elements have a 3” inlet so I am going to fabricate an adapter elbow so I can keep the sand out of the engine.
Hopefully this will not create restriction and an abnormally rich mixture. It’s really going to stick out like a sore thumb for regular driving but like the Autolite coil, it’s easy enough to replace the original for more “formal” occasions.0 -
I found a motorcycle air filter with a 2” opening online. Going to clamp it to some tubing to slip into the carburetor and see if it is too restrictive or not.I wonder if Hudson ever offered an optional oil bath?
That would be way less offensive looking than a motorcycle filter.The capsule muffler hand crafted by Mr. Spring is going to be installed shortly. I’m definitely looking forward to it no longer sounding like a well tuned Hardly Davidson. 0
0 -
 The superior exhaust suspension system was about the main thing holding the muffler together so I just moved it out of the way and used a circular saw with a carborundum metal cutting wheel to split the remaining stubs from the original muffler.
 I was able to split the old stubs without cutting entirely through so as not to cause any leaks or weaken the tubing unnecessarily. One they split they came of with zero profane expletives.
I also discovered that while the tailpipe section of exhaust is original, the forward section has been replaced. I am also convinced that my old capsule muffler was also a depression era replacement.She sure sounds more civilized now but there’s still a nice rumble! 0
0 -
Great looking car
It’s great to see it getting preserved in as is condition
thanks for posting pictures of your project
I am jealous of your new muffler
I used a glass pack on my 25 when I replaced the exhaust system.
it sounds good but doesn’t look as period correct as what you have
0 -
Thanks man, It just occurred to me that few people will ever be looking for ways to remove 90 something year old Swiss Cheesed muffler from the old exhaust system with the intention of reusing it! I’m glad to know the progress is as interesting to others as is is to me and possibly Mr. King. Very few people ever actually check out the muffler anyway but I’m all about the authentic sound. Do you have a video of your 25? It would be interesting to compare the sound.
While enjoying the new sound I figured I should check the clutch oil, adjust the wheel bearings and brakes while it was up on jack stands. I ground down a piece of 5/16”X 1/2” steel stock down to 5/16” square to remove the plug. I put it in the jaws of a crescent wrench but will eventually weld a handle on it. It was practically full so I will change it later when I do the transmission and differential.I had already performed an eyeball front end alignment on it earlier in the day so I pulled a tape across the Center treads comparing front and rear and it is toed in 1/8”.
It was pulling hard to the right during braking when I drove it on the black top, so I checked and sure enough there was more drag on that wheel, so I pulled the wheel off and there were only a few cobwebs in there, otherwise it was sanitary and the blue, marine grade grease in the wheel bearings looked recent. The brake linings looked a little thin so they will need attention further down the road. Both front brake rods were loose so first I adjusted the shoes and then took almost all of the slack out. Finally, I also put a few drops of oil on the brake rod pivots.
After hitting 114 in the shade out here I was happy just to be outdoors under an Essex when it’s only 85 degrees outside!Since the clutch clevis was right there staring at me, there was no better time to take the slack out of the clutch pedal, so I grabbed dad’s tiny channel locks and removed the cotter key and clevis pin. I ran the clevis in about a 1/2” and it took most of the slack out.Of course I just HAD to run up to the cul de sac and back. I had such a big goofy grin I forgot to feel how the steering tracks. The acceleration is better without the brakes dragging and proper exhaust back pressure. There was no more backfiring while decelerating either! Now the brakes are pulling to the left. There is still much fun to be had, but it’s responding tremendously well to TLC. I got more “Bar Keepers friend” yesterday so I cleaned most of the oxidation and grunge on the headlight buckets. However I didn’t have the energy to wipe it off yet....This bayonet Alemite adapter came in the mail today so now I use my modern grease gun as well as the vintage screw type. 0
0


Categories
- 36.6K All Categories
- 85 Hudson 1916 - 1929
- 11 Upcoming Events
- 73 Essex Super 6
- 28.4K HUDSON
- 511 "How To" - Skills, mechanical and other wise
- 990 Street Rods
- 150 American Motors
- 170 The Flathead Forum
- 47 Manuals, etc,.
- 71 Hudson 8
- 40 FORUM - Instructions and Tips on using the forum
- 2.7K CLASSIFIEDS
- 592 Vehicles
- 2.1K Parts & Pieces
- 76 Literature & Memorabilia
- Hudson 1916 - 1929 Yahoo Groups Archived Photos