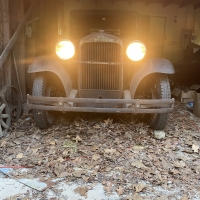
Fuel tank repair
rusty_apache
Member
This 103 degree South Texas heat is good for something, cleaning rust! But first I had to fix a few pinholes. First I cleaned it thoroughly with a gallon of carburetor cleaner in order to remove the evaporated fuel sludge and rinsed it thoroughly and pressure washed what I could get to.
Unfortunately I used silicone bronze welding rod and it created more leaks than it fixed because it seems to pull when it cools, causing cracks. Then I tried Sylfos but it had similar results so I cut a gaping hole in it and fabricated a patch panel. I was able to blast that area with the pressure washer so it is quite sanitary! Some of the possible pinholes were close to the solder joint on the end cap so I had avoid adding too much heat so as not to boil out all the solder. Some of the solder was on the metal which made it a little harder to weld.
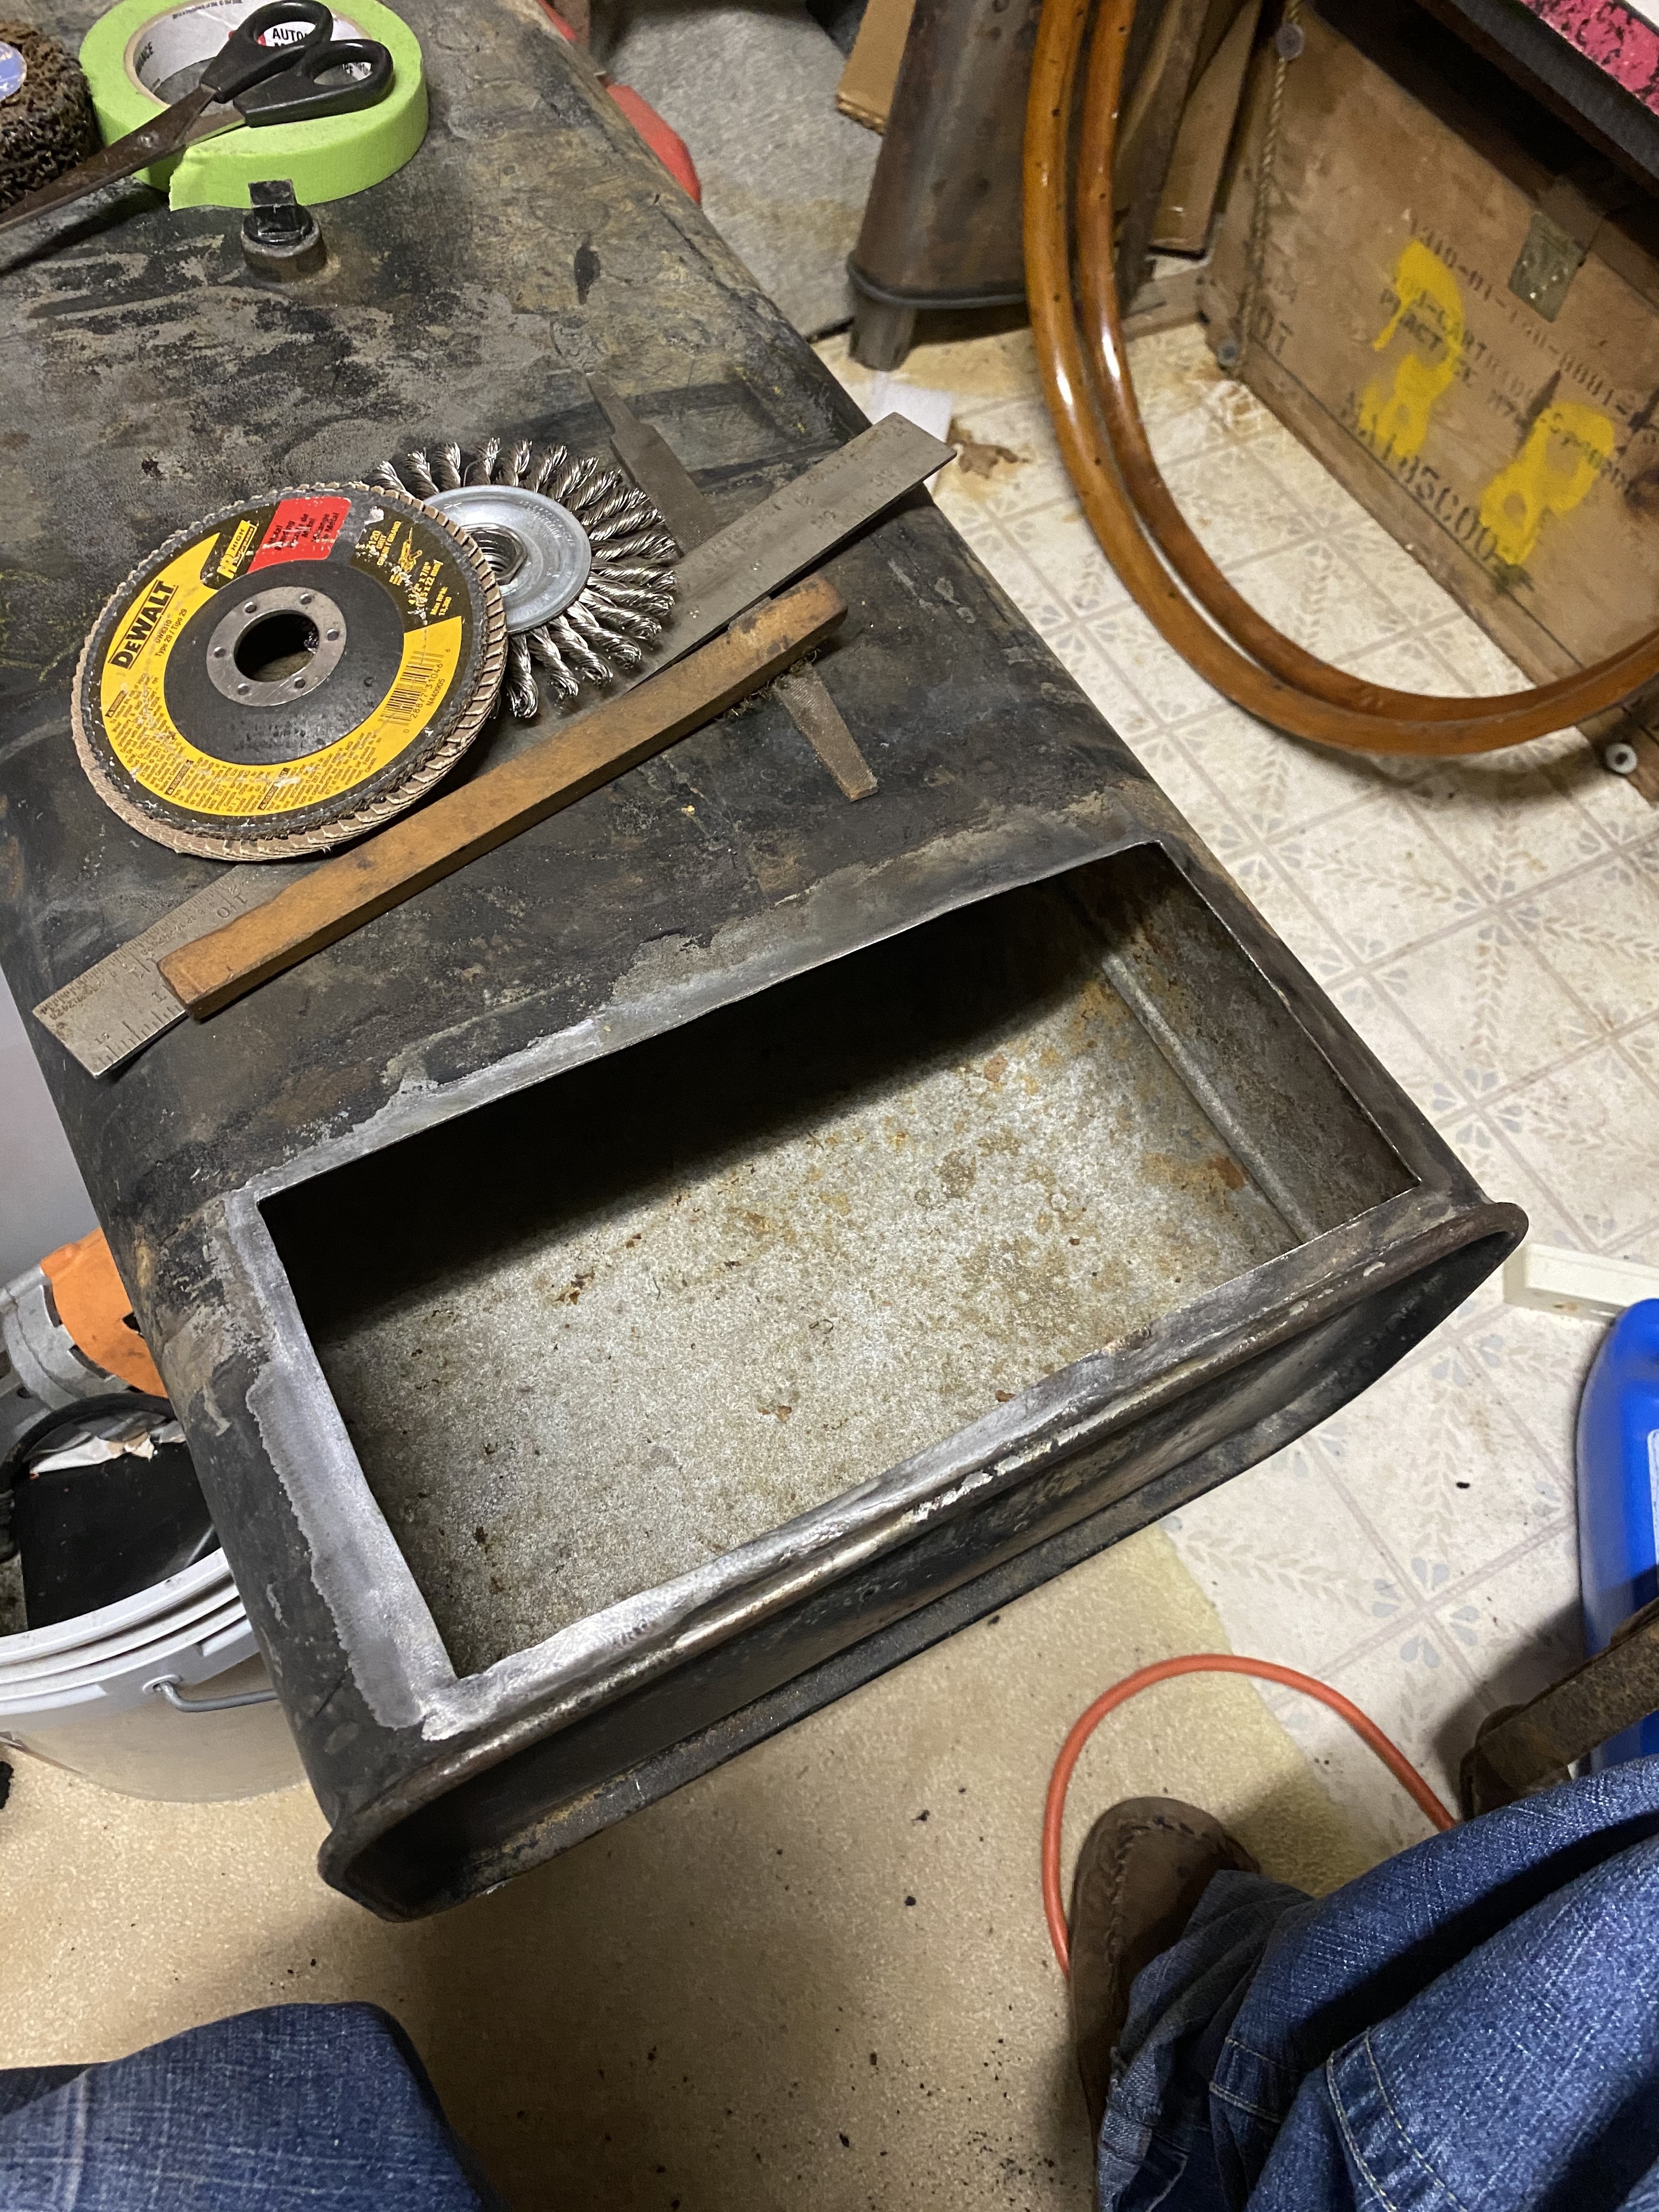
Unfortunately I used silicone bronze welding rod and it created more leaks than it fixed because it seems to pull when it cools, causing cracks. Then I tried Sylfos but it had similar results so I cut a gaping hole in it and fabricated a patch panel. I was able to blast that area with the pressure washer so it is quite sanitary! Some of the possible pinholes were close to the solder joint on the end cap so I had avoid adding too much heat so as not to boil out all the solder. Some of the solder was on the metal which made it a little harder to weld.
Now that it’s holding without leaks it has 5 gallons of white vinegar eating away at the light surface rust inside. This also will make any potential leaks show up so that they can be fixed before it’s filled with explosives again! It has been badly lined years ago and the liner is the biggest part of the mess.
Normally I clean rust with electrolytic method but have heard that it can crystallize and cause cracks. Also these tanks were lined with lead and electrolytic cleaning could release the protective coating so it will just get more time in the baking sun.
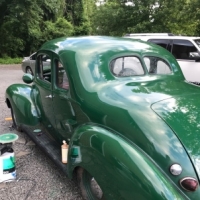
Here it us on the dolly so that it can be moved around to stay in direct sunlight. Today I will work on fabricating blank off plates and gaskets to seal the sending unit and the fuel tube port, giving me the ability to invert the tank in order to soak the entire interior.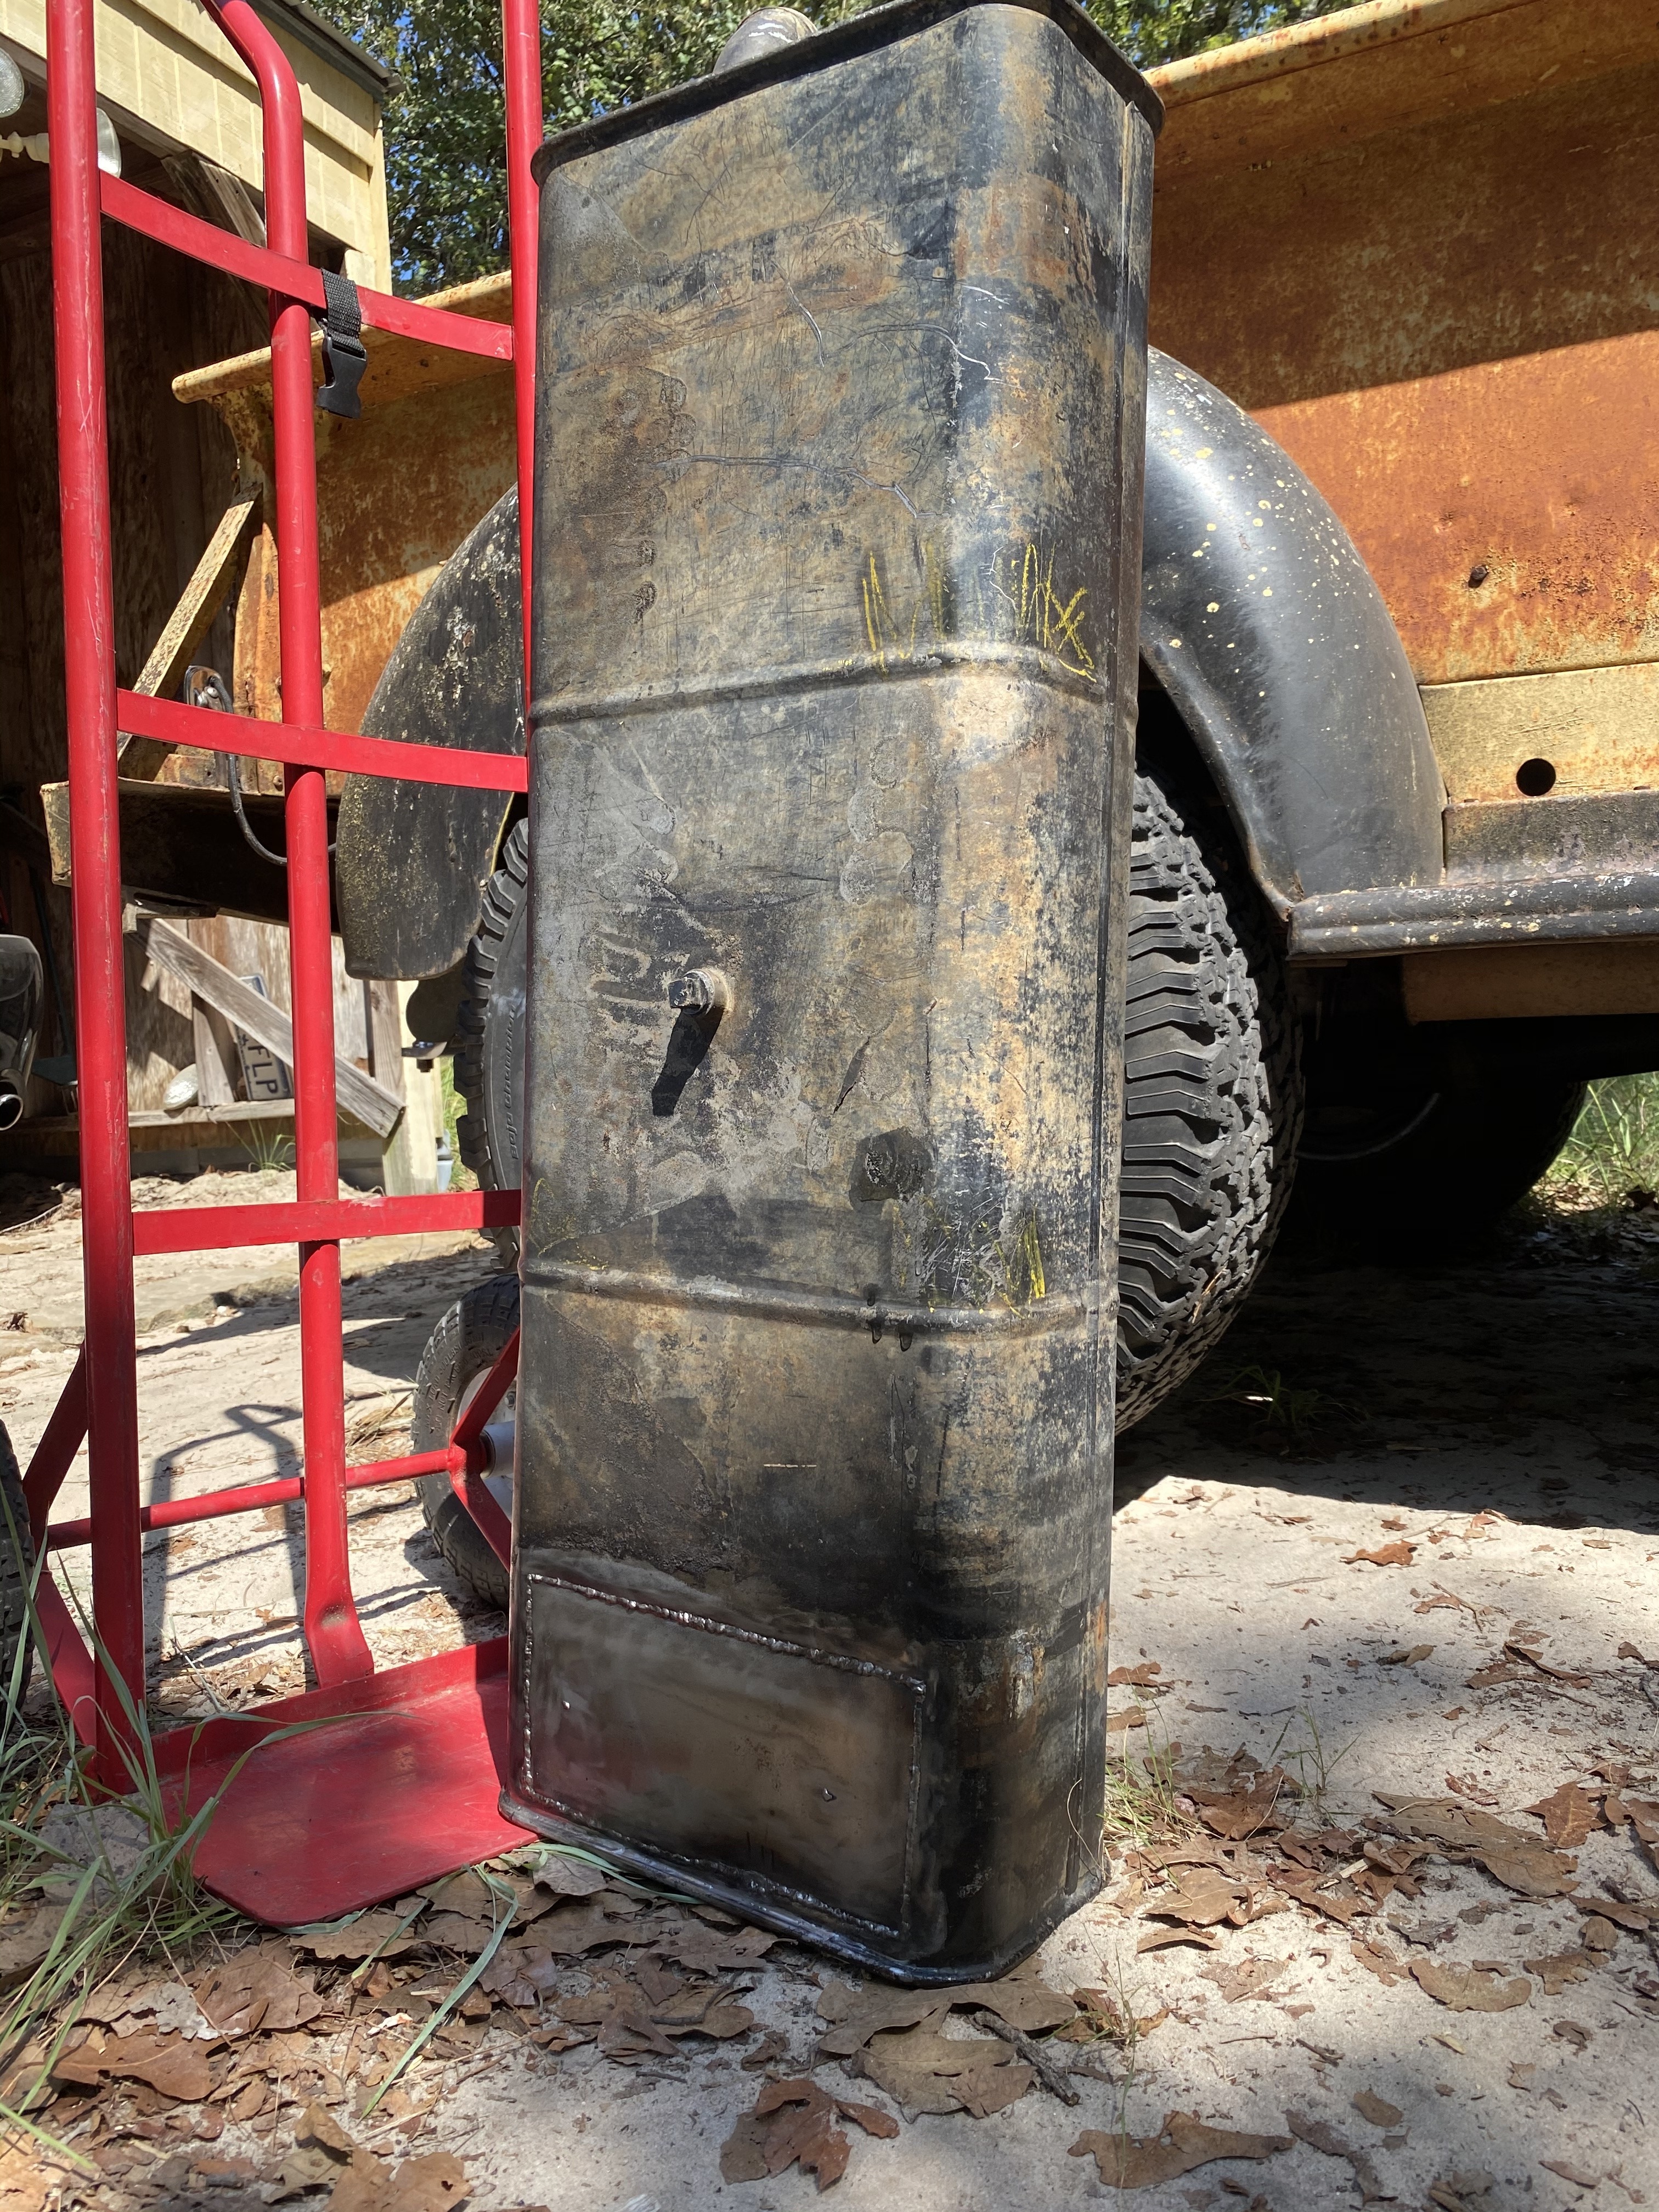
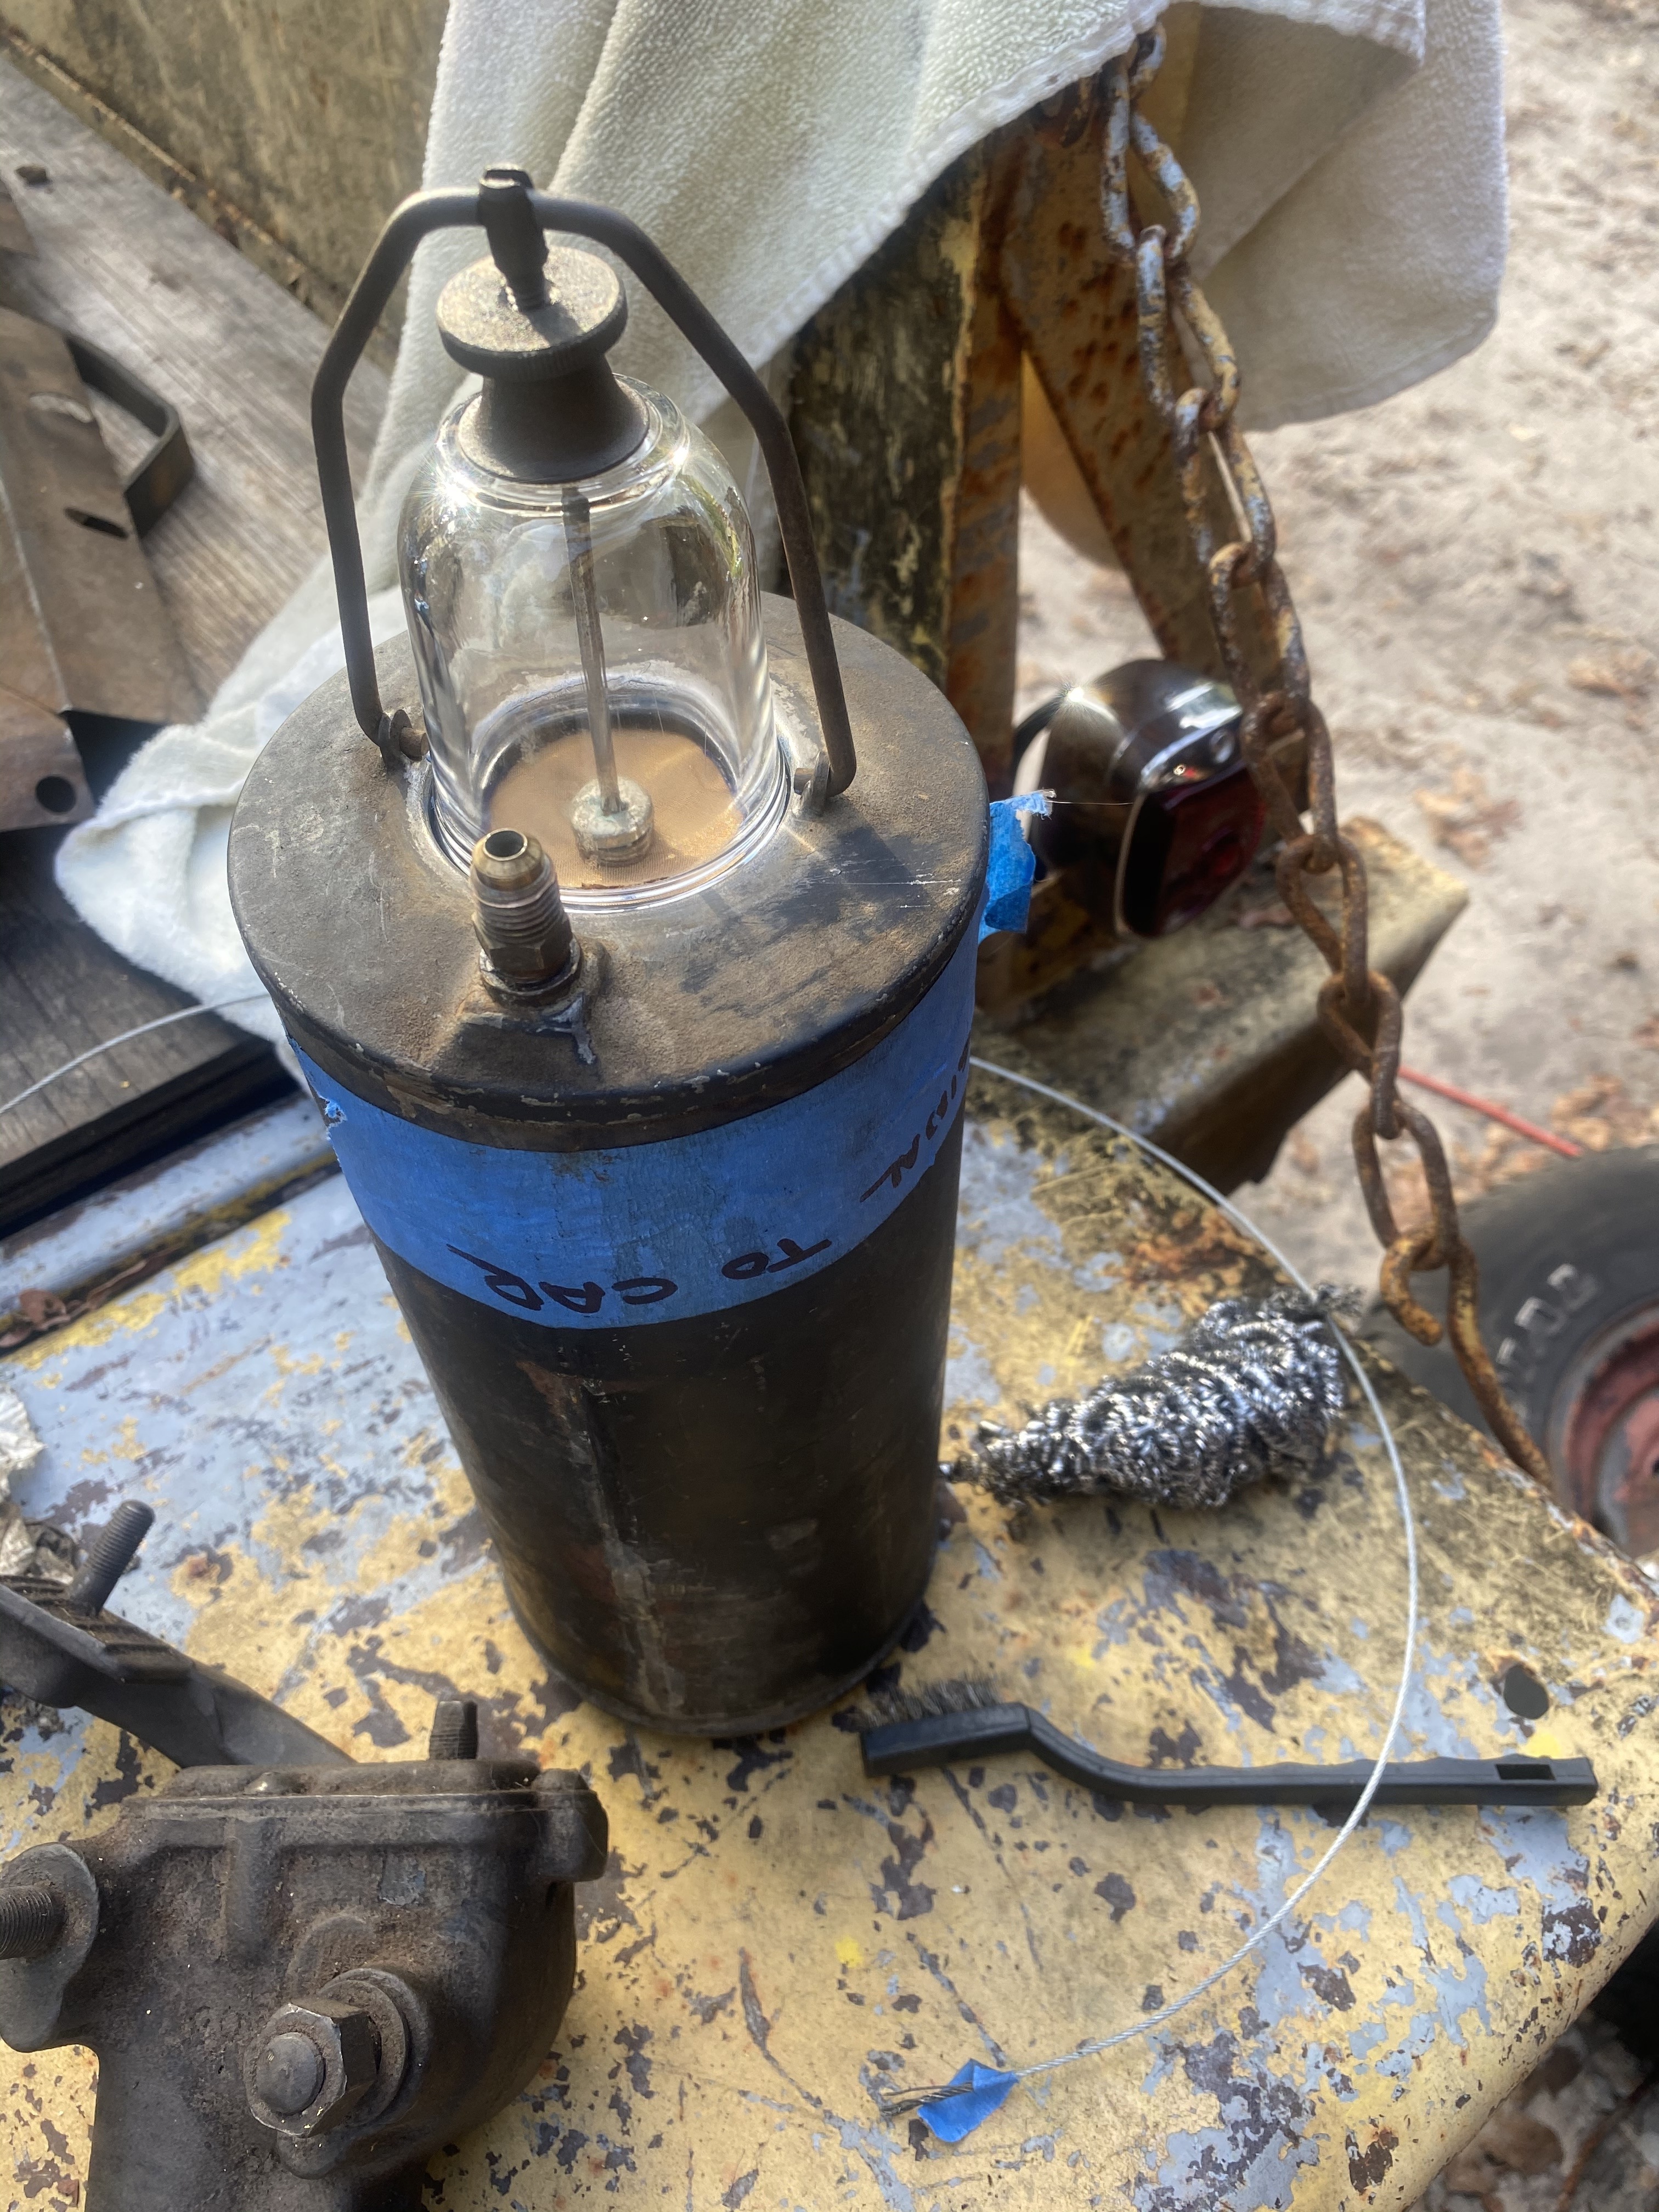
Currently I have a tight system from the Stewart Warner vacuum fuel feed tank to the carburetor. As it turns out, the sediment bowl and gasket from an Allis Chalmers tractor is a perfect replacement!
I still haven’t checked it to determine what shape the float valves are in but Mr. King supplied me with two spare tanks for parts, so it is just a matter of time until it’s drawing fuel from the tank.
0
Comments
-
What are you going to use to seal the inside of the tank with?0
-
Thanks!I treat the steel with metal prep. It is mainly phosphoric acid which converts any microscopic rust into another form of oxidation that reduces the ability for more rust to form.
The biggest issue with this tank was the failed seal that was badly applied, a half a tank of evaporated fuel and the pinholes. I got quite a bit of the failed liner out already. I have seen too many badly done liners that failed so I never use it.
It helps to keep the tank relatively full, and I use Sta-Bil marine fuel stabilizer in all my classics that are only refueled a few times a year.
0 -
Looking Good0
-
Thanks Mr. Kin- ...I mean Tom!35 Terraplane said:Looking GoodThe fuel sending unit was fully encrusted and will need a float arm. Looks like another job for the silicon bronze alloy brazing rod. What an excellent design! It keeps the rheostat out of the tank entirely so the contacts don’t become lacquered. The contact design is also more rugged than later designs. No wonder the oil Level sending unit still works!The bubbles mean the vinegar is working.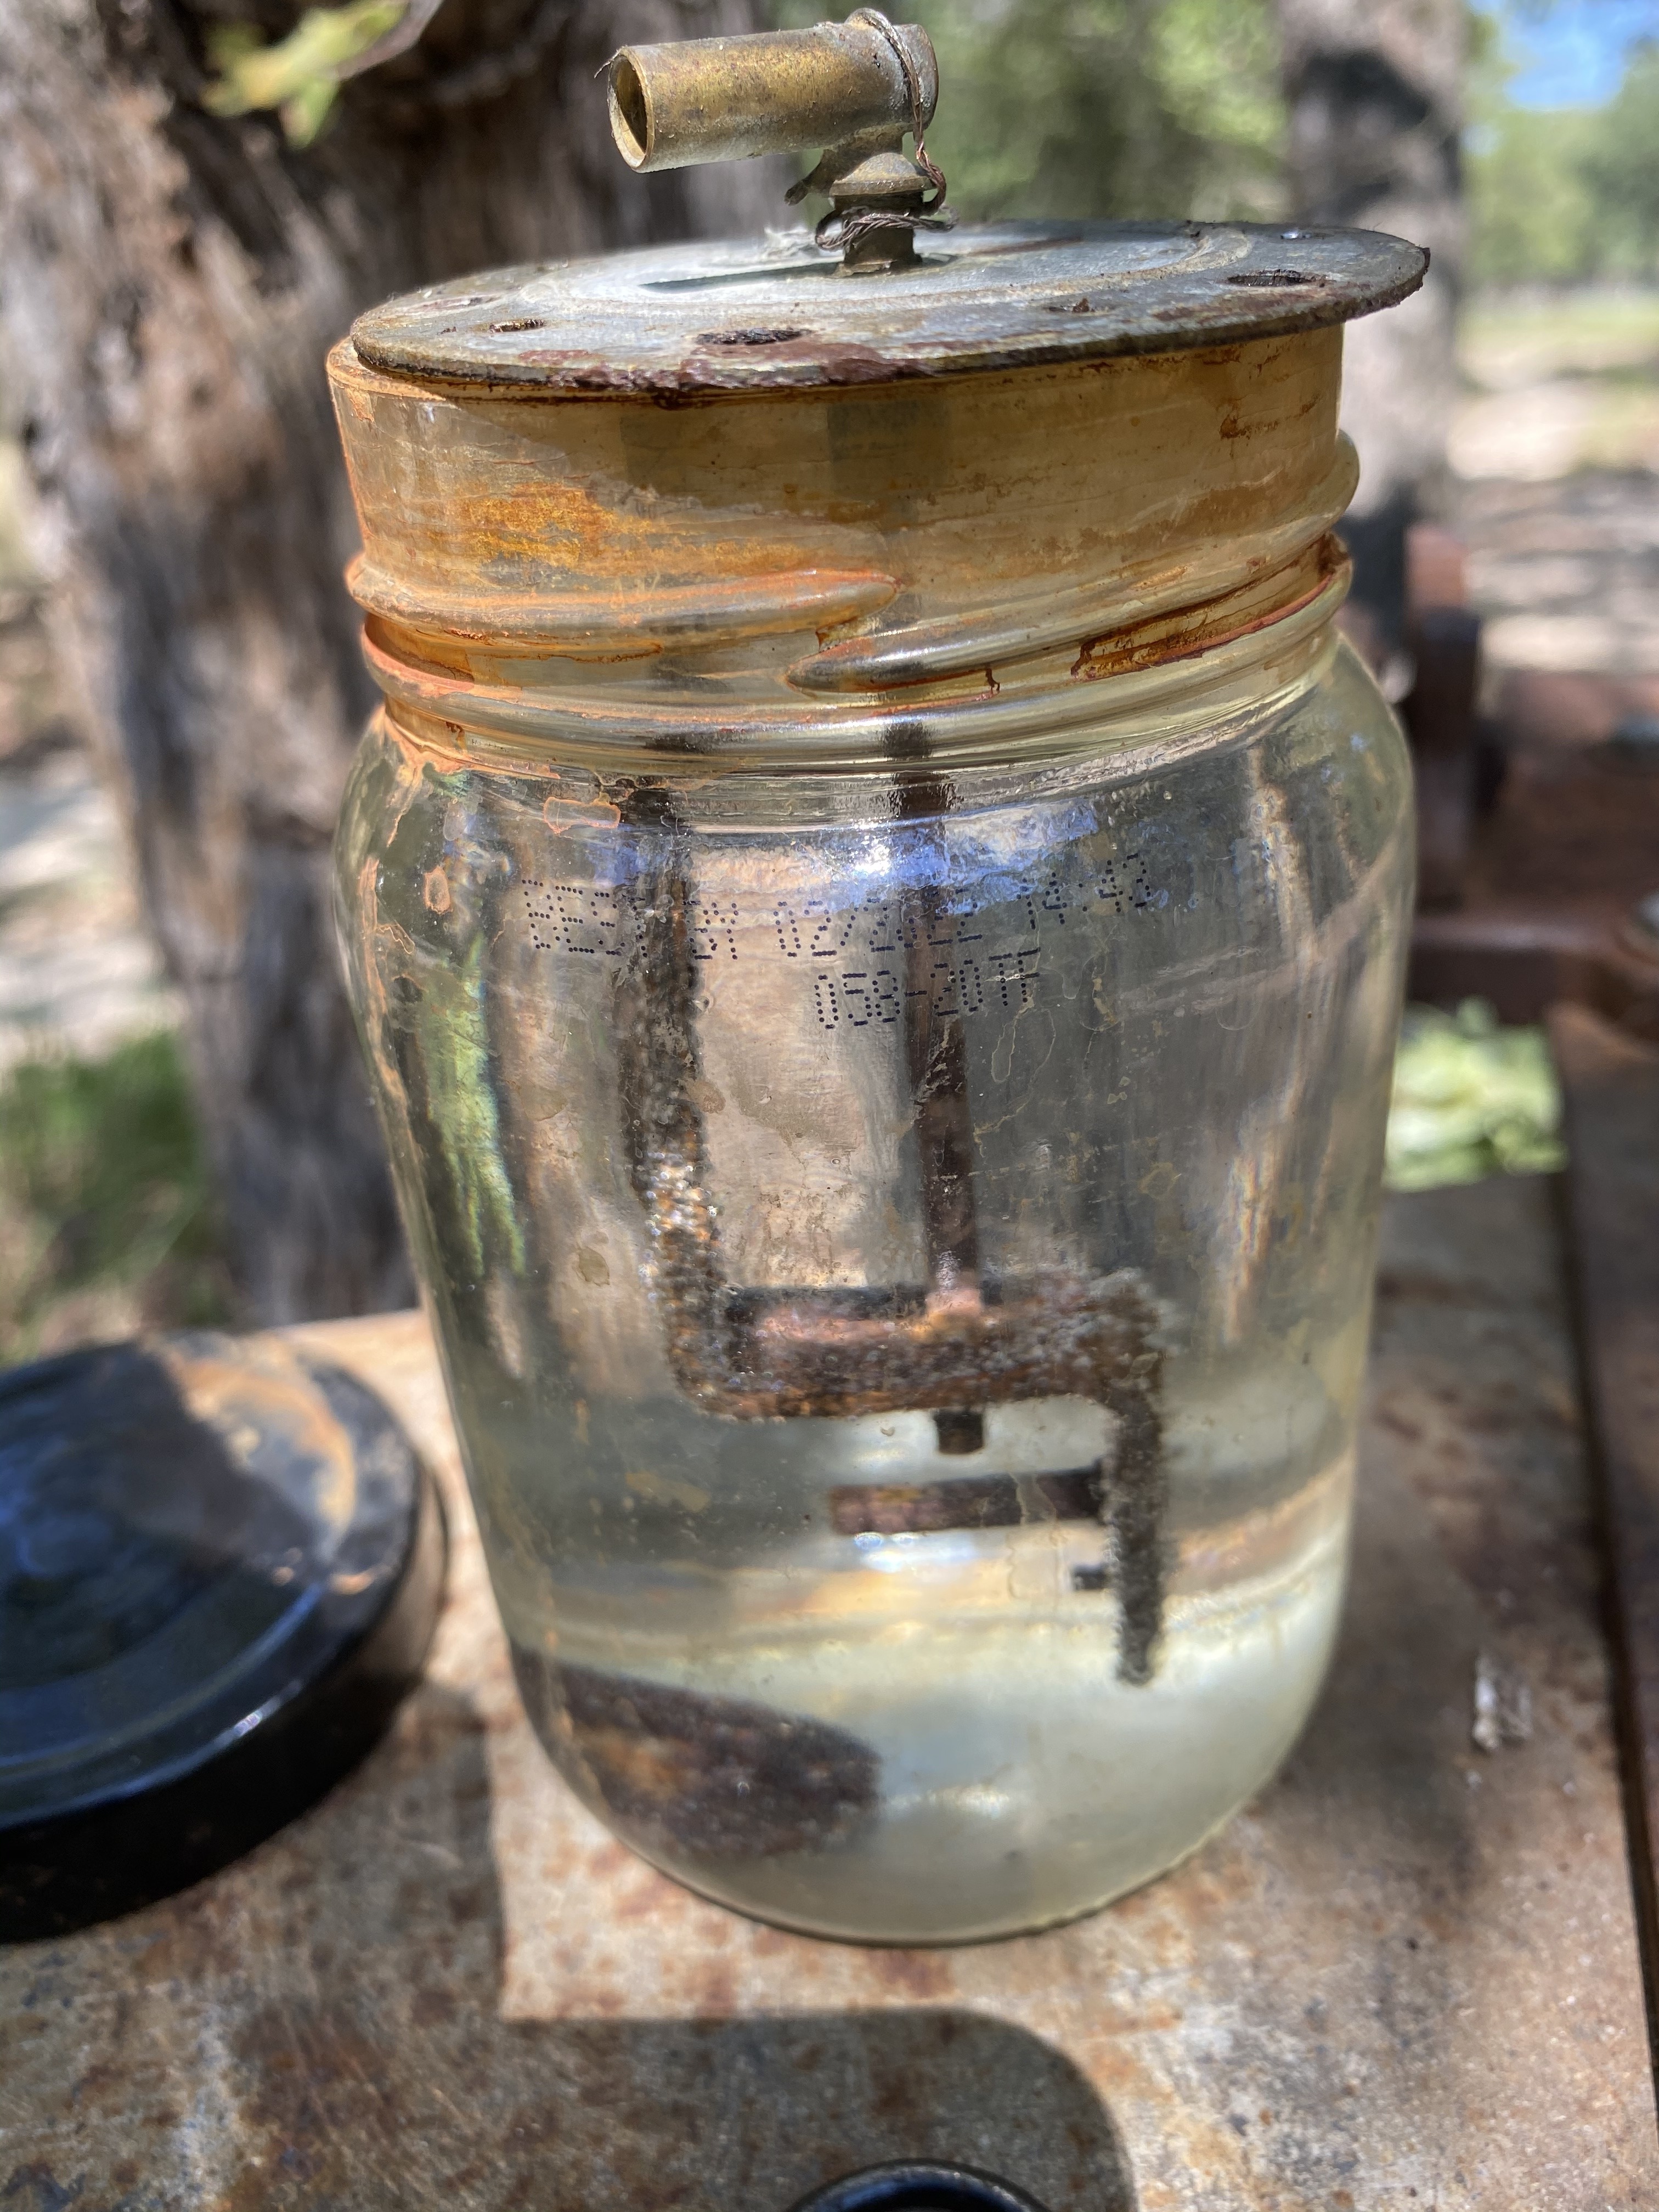 The Alemite bayonet fittings have just the right amount of scrapes and scratches in the nickel plating to show it was well maintained! I soaked them in Purple power degreaser and blew them out with compressed air. When it becomes too dirty to use the nasty stuff evaporates and the rest can go in the trash.
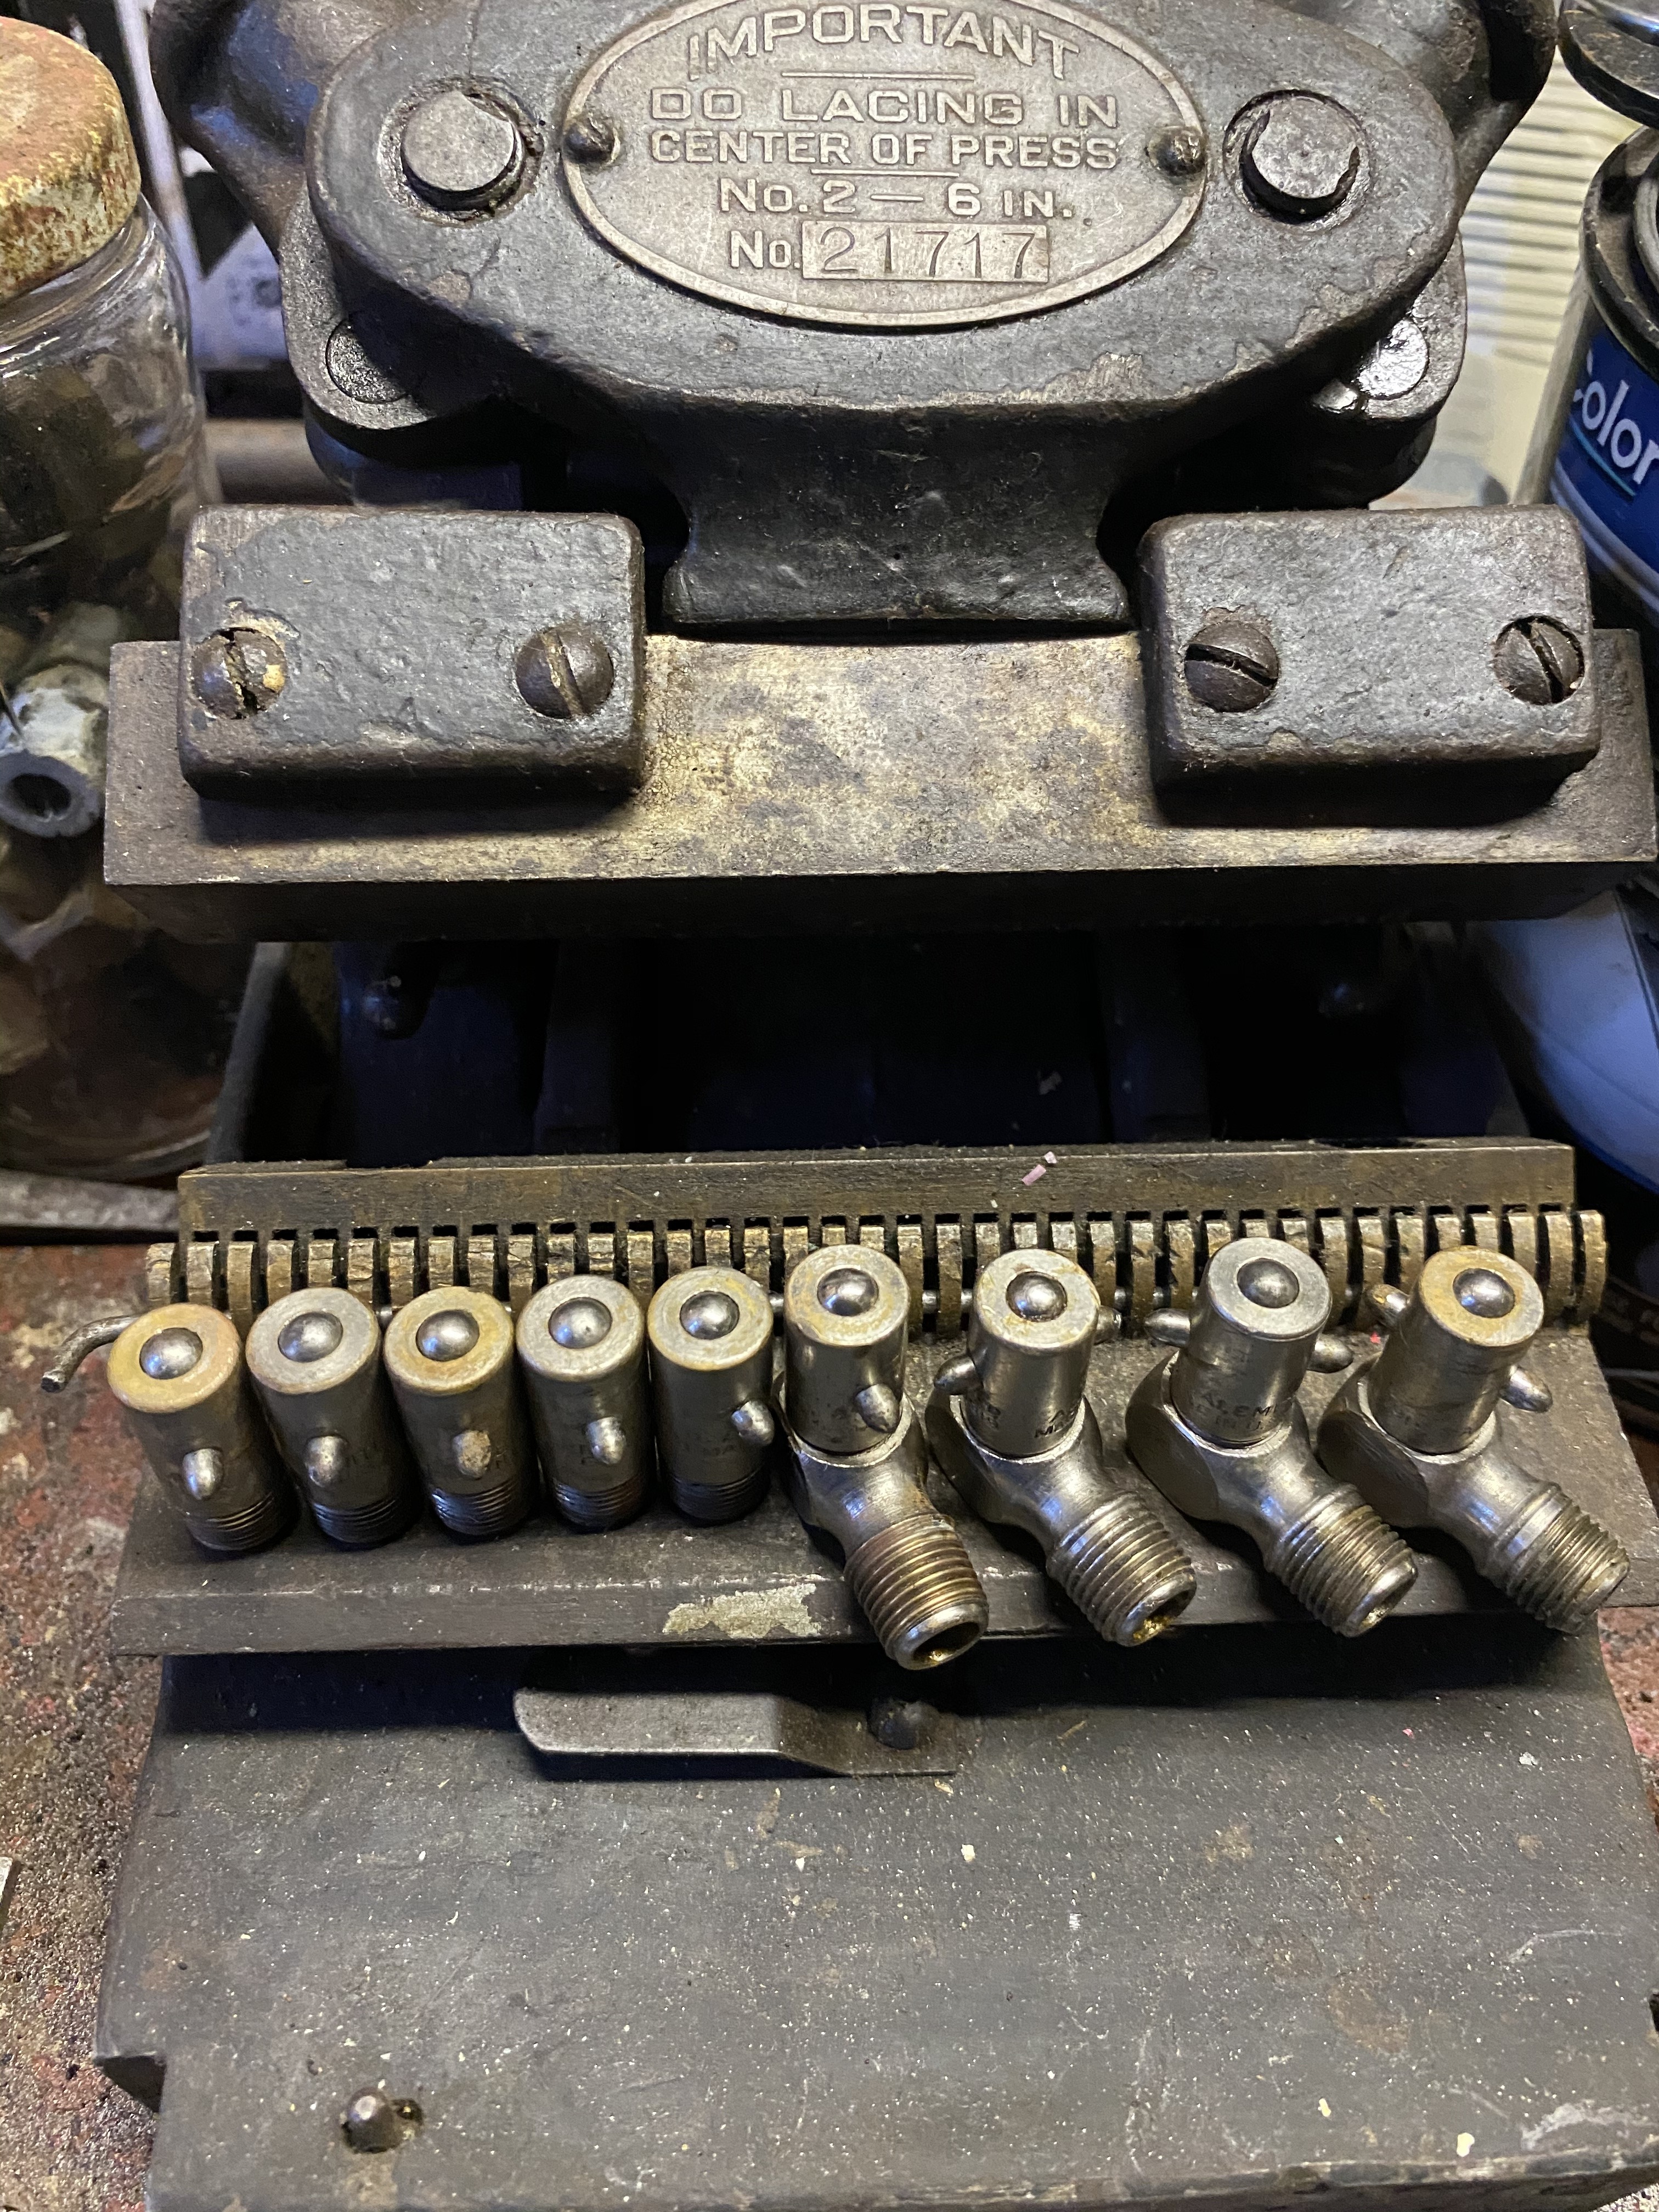 Here’s a look at the ingenious sender after cleaning and with a coating of waxoyl to prevent rust. The copper capsule on the left end of the shaft is the spring loaded contact. The rheostat was practically sanitary inside.The pinion gears and shafts are delicate, but they have lasted a lifetime with very little attention!
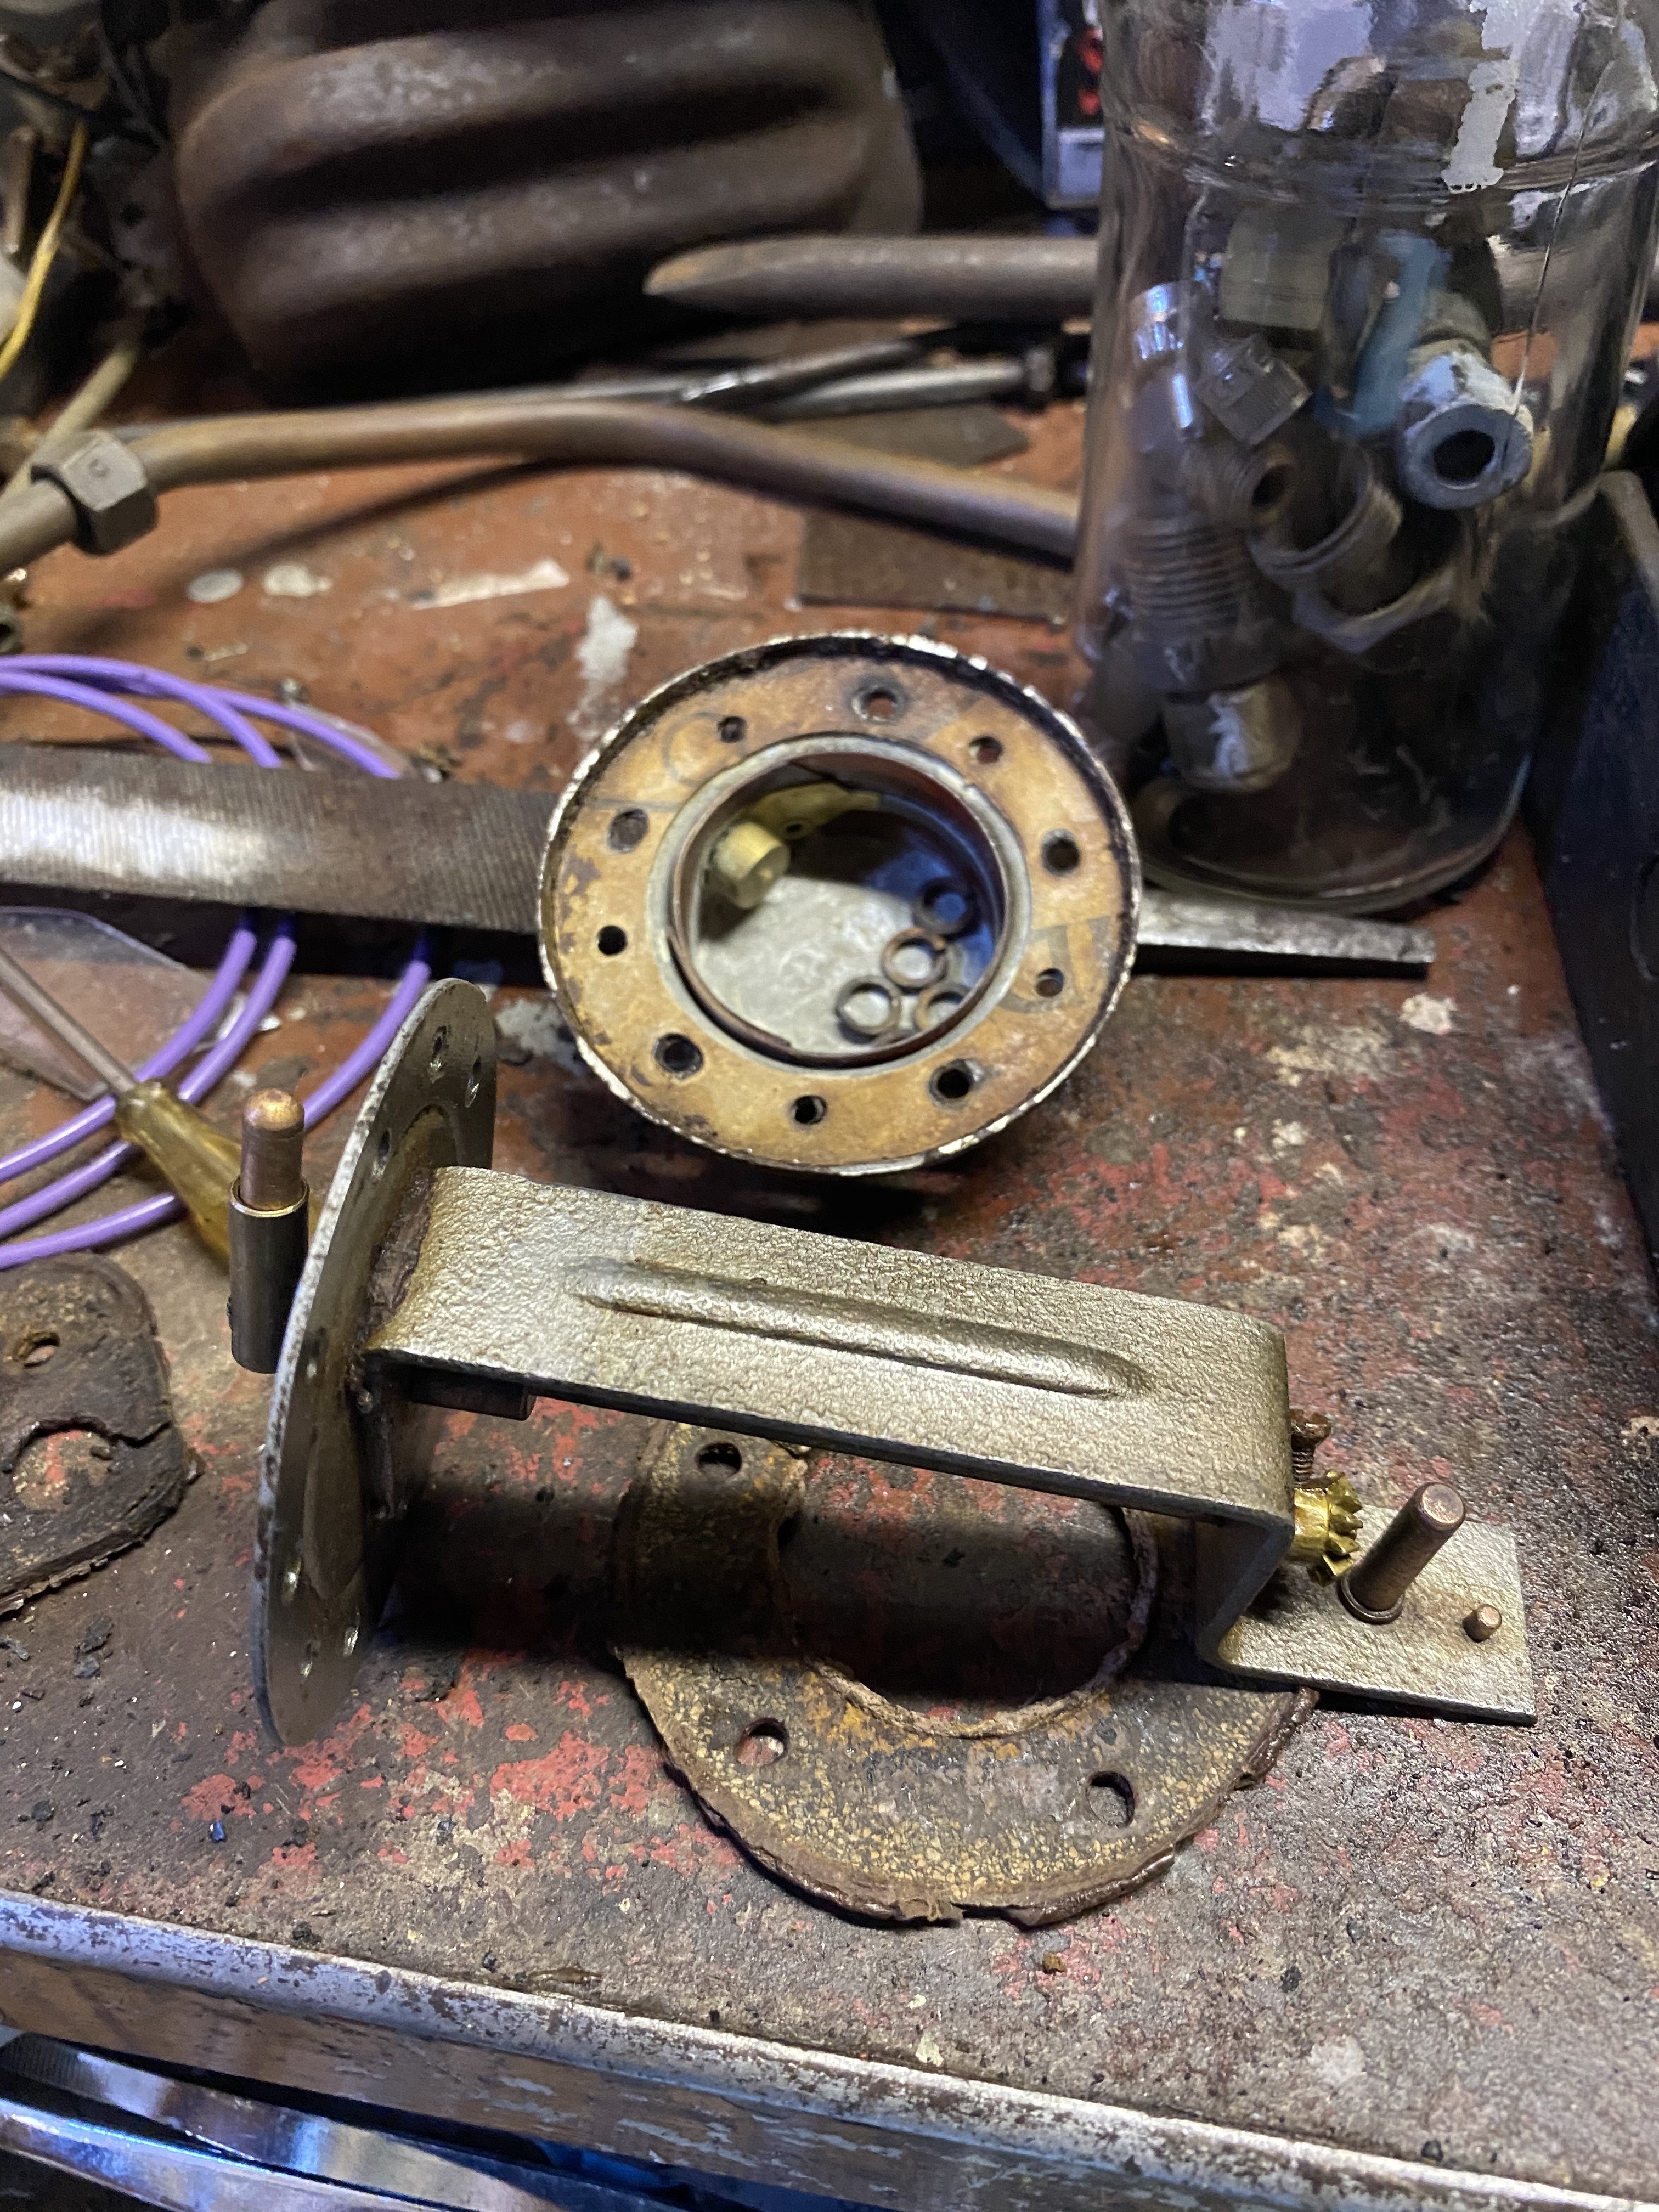 The fuel tank has stopped leaking but it’s not fooling me! I marked the location and will fix it when I pour out the vinegar.0
 -
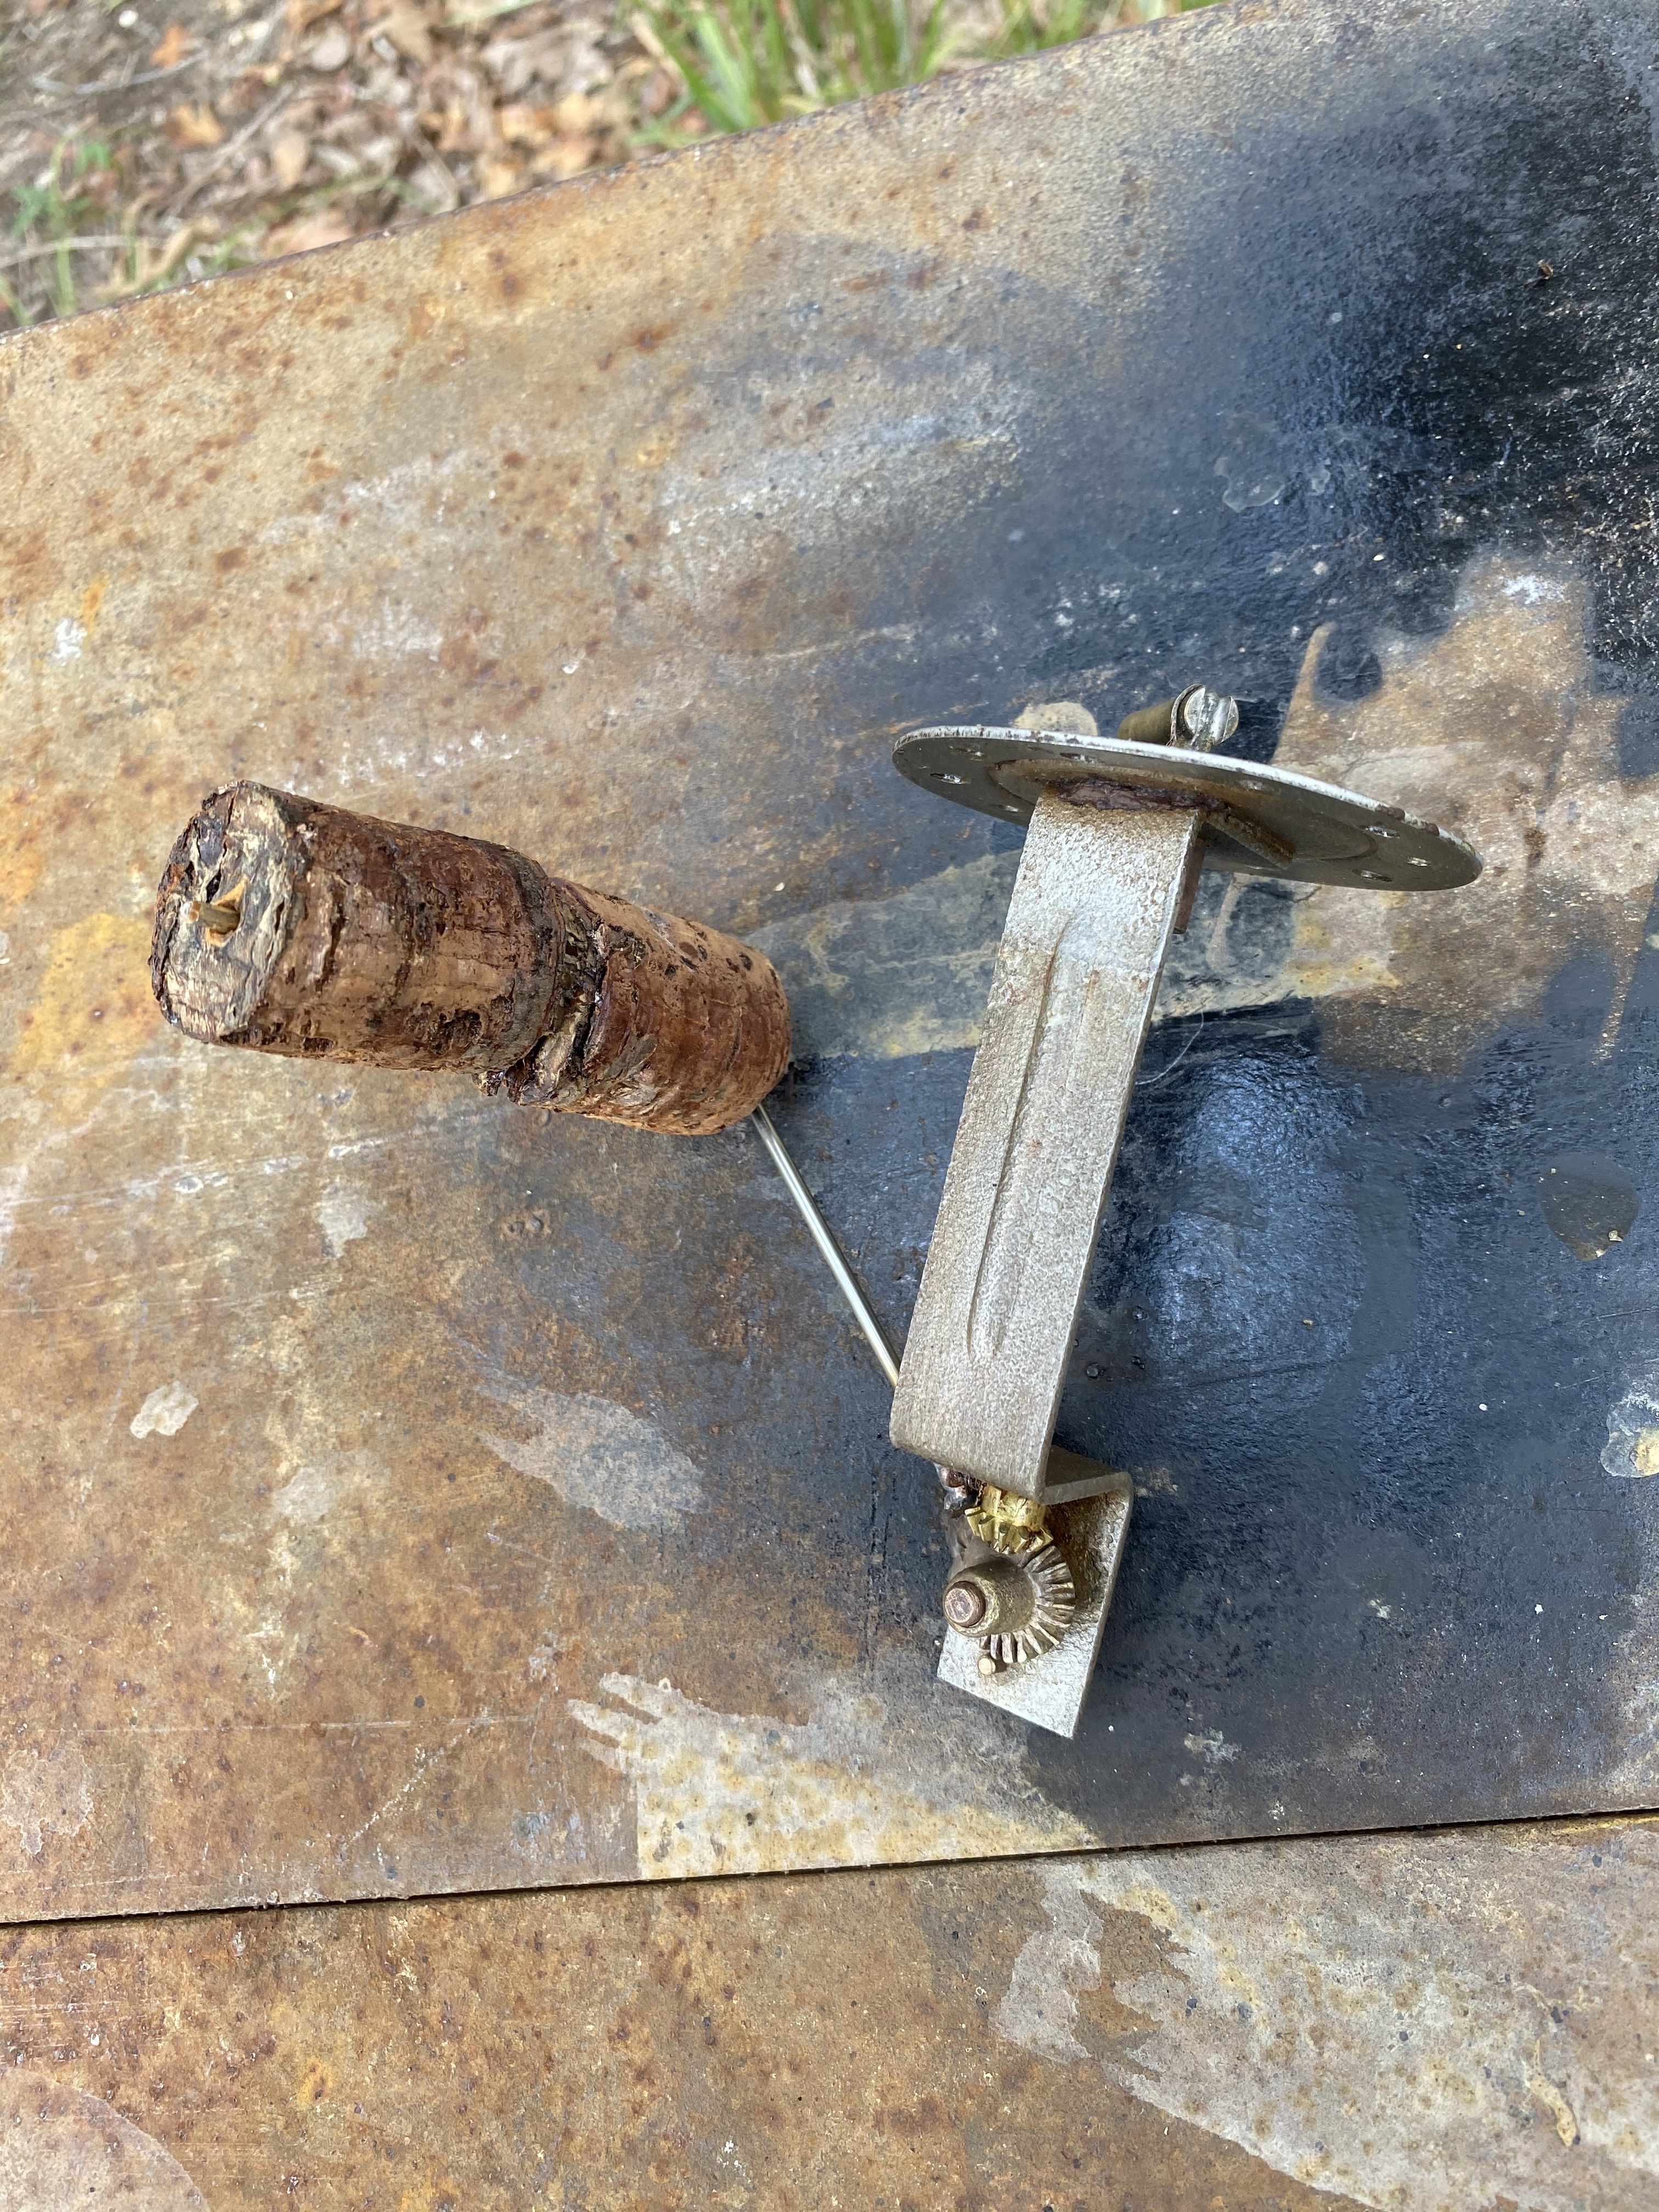
Here it is with a stainless steel float arm brazed to the pinion gear. Once the cover is riveted on again it’s good for another 90 years.
 0
0 -
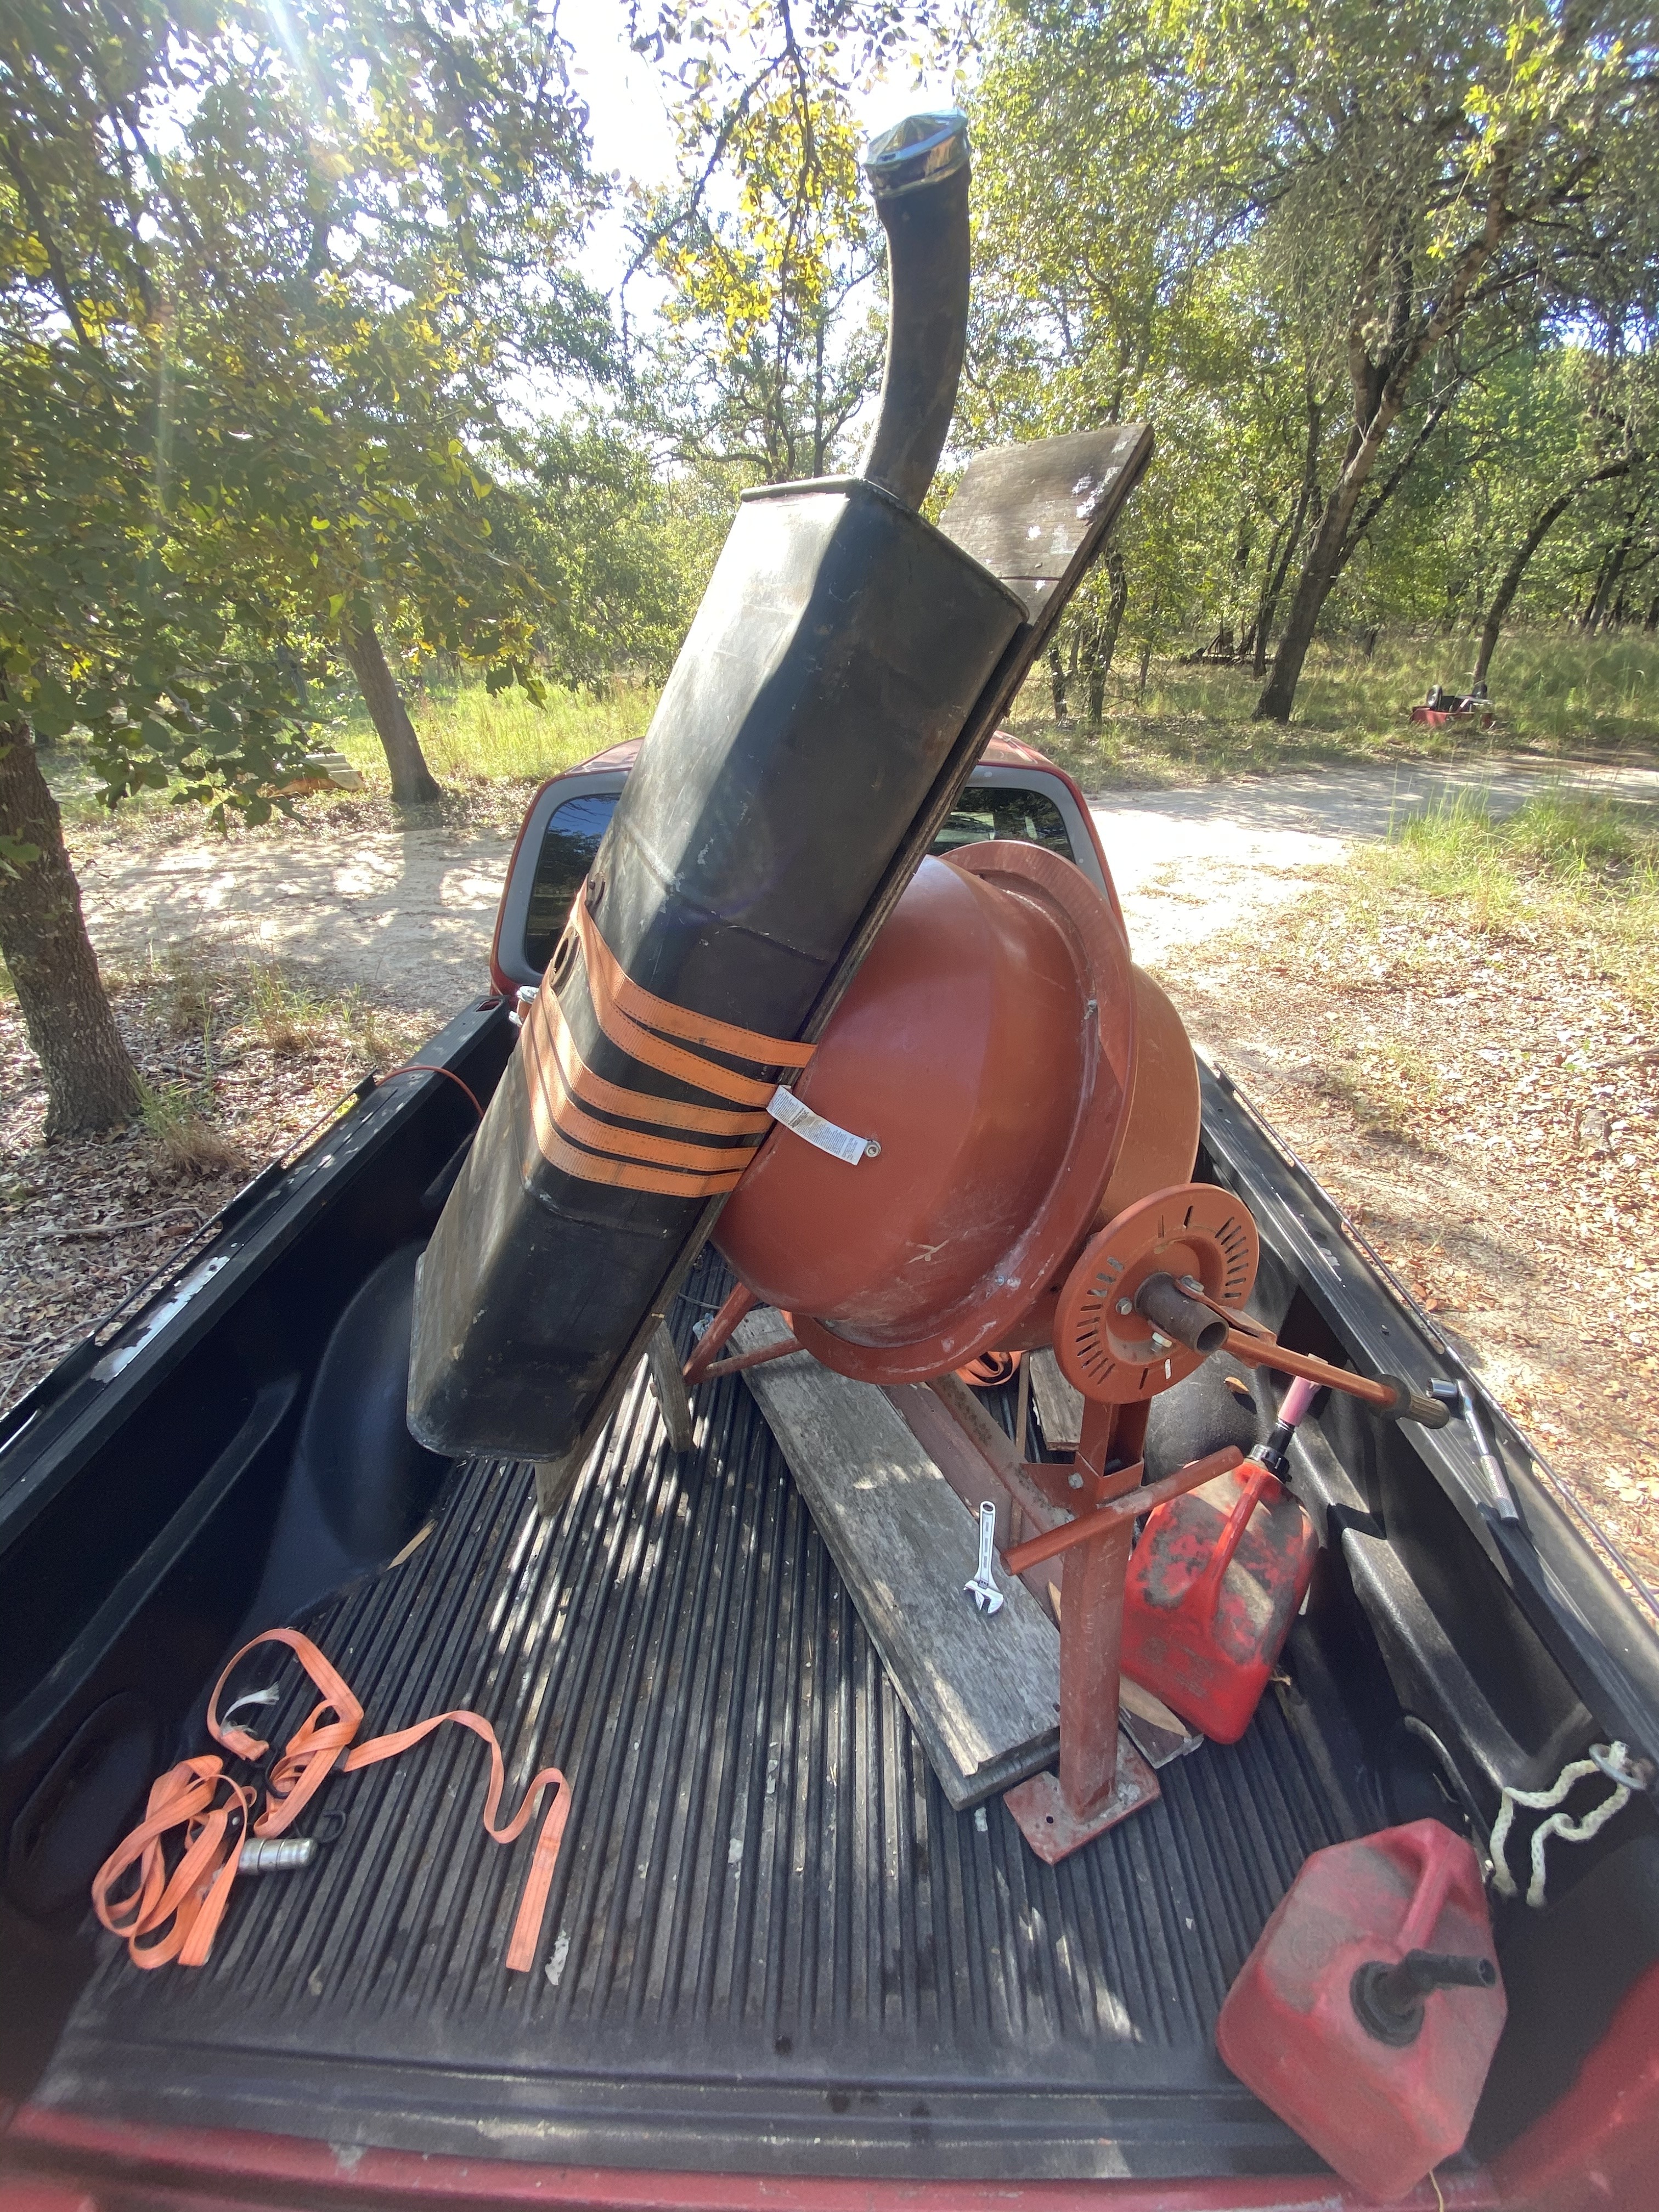
Yesterday I dug out my electric cement mixer, lashed the fuel tank to it and inserted 40 Hudson hex nuts of various sizes and about a gallon of the vinegar. I revolved the tank with the mixer for 10-15 minutes, then repositioned it to agitate other areas making sure that the nuts were on both sides of each baffle. It also helps to have a cable cam to check inside.
 There are still a few fragments of the failed tank liner that are still stuck, but I am going to attach a screen to the dip tube so any future loose sealant cant block off the flow.I flushed it thoroughly with water and treated it with about a quart of metal prep then flushed it one last time with water and flash dried it with a fan placing it in full sunlight with 102 degree Texas heat.
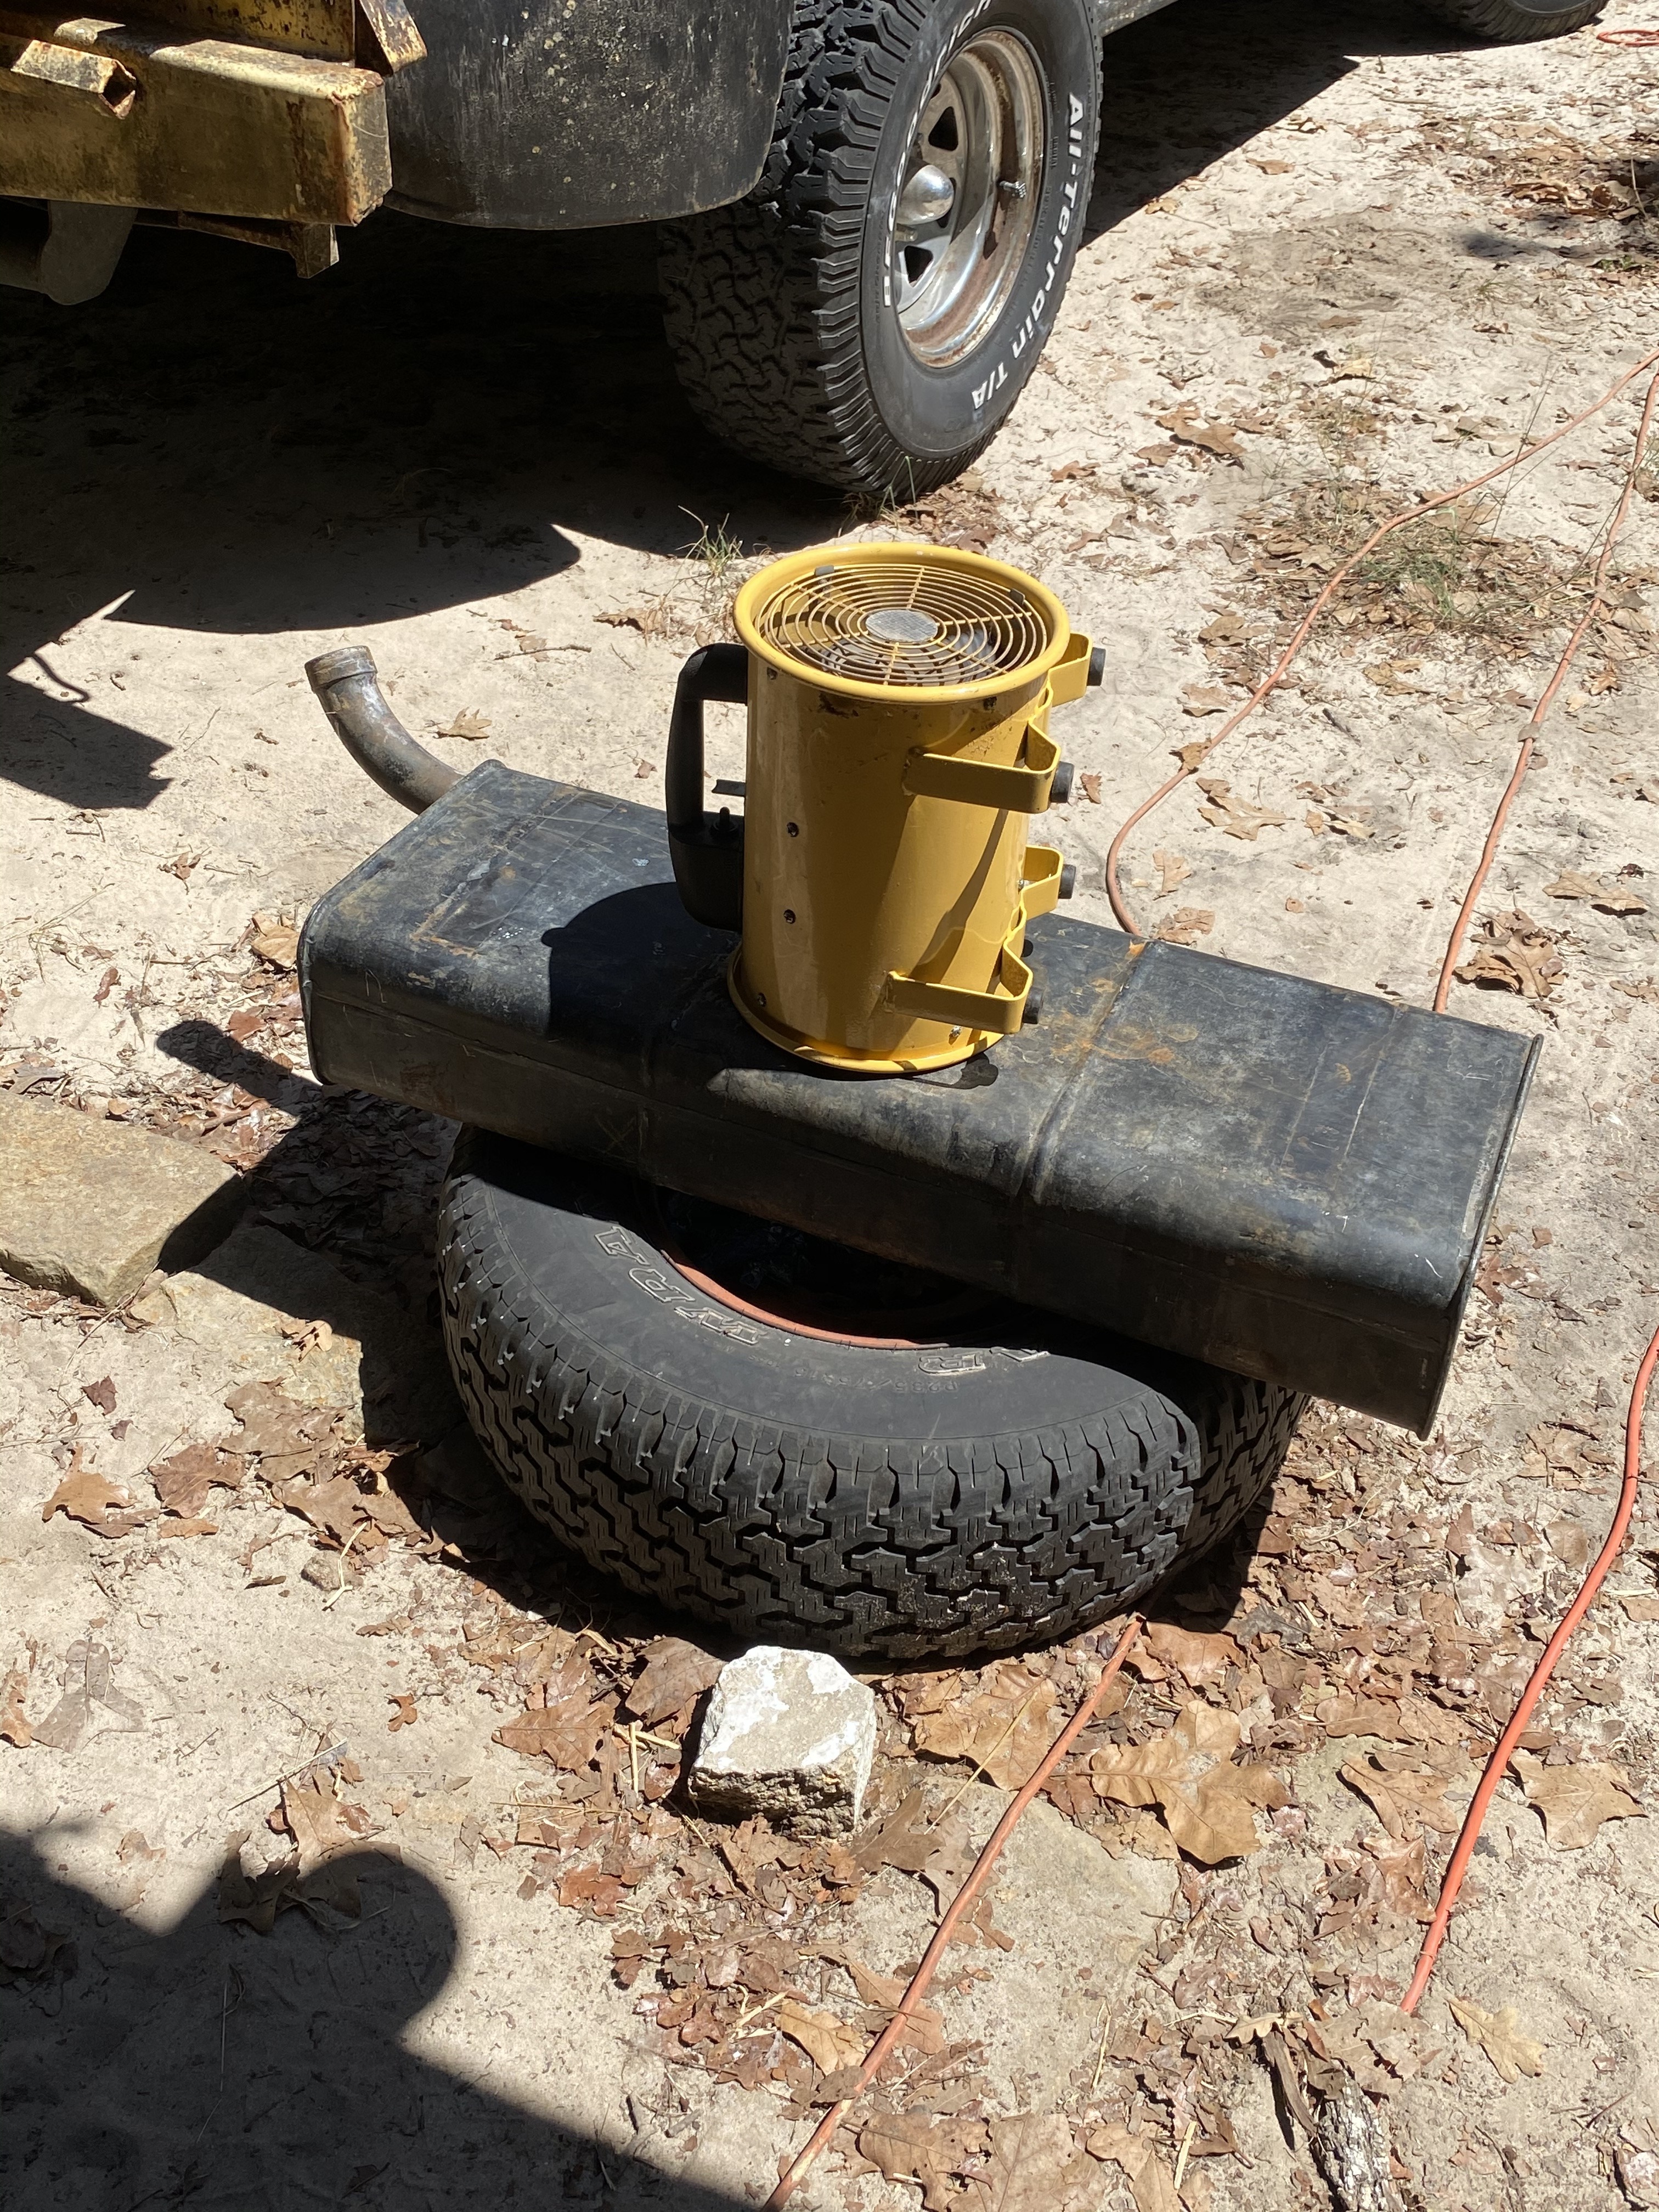 The 40/60 solder arrived yesterday so I will go over the end cap solder joint with it.
It should be going back into the car next week!My vintage Alemite bayonet grease gun arrived complete with petrified grease and rotten, blown seals. So I made some new ones out of some heavy rawhide. They were too thick to fit so I thinned them out just enough to fit. I should have the chassis fully lubricated soon!0
 -
I wouldn’t eat out of it, but I got about 2 pints of crud out with just vinegar and another two with the abrasive action of the assortment of nuts.
 0
0 -
That’s pretty impressive! Great idea with the cement mixer!0
-
Thanks, it does have the potential of going very badly. Just like welding on fuel tanks or riding ridiculous antique high wheeled bicycles!7XPacemaker said:That’s pretty impressive! Great idea with the cement mixer!0 -
Flush those tanks out with kerosene before you weld on them. My brother welded on a tank from Dad's Ford. Started rumbling and rolling all over the ground and swelled up so they couldn't get it back in the car. Lucky it didn't blow. Funny but dangerous.0
-
Thanks!Uncle Josh said:Flush those tanks out with kerosene before you weld on them. My brother welded on a tank from Dad's Ford. Started rumbling and rolling all over the ground and swelled up so they couldn't get it back in the car. Lucky it didn't blow. Funny but dangerous.
I read that in the other tank repair thread. Great knowledge for the next one, as I had already cut mine open at that point.In retrospect I wish that I had soldered up those pin holes instead of fooling around with the solicon bronze tig rod!0


Categories
- 36.6K All Categories
- 85 Hudson 1916 - 1929
- 11 Upcoming Events
- 73 Essex Super 6
- 28.3K HUDSON
- 511 "How To" - Skills, mechanical and other wise
- 989 Street Rods
- 150 American Motors
- 170 The Flathead Forum
- 47 Manuals, etc,.
- 71 Hudson 8
- 40 FORUM - Instructions and Tips on using the forum
- 2.7K CLASSIFIEDS
- 592 Vehicles
- 2.1K Parts & Pieces
- 76 Literature & Memorabilia
- Hudson 1916 - 1929 Yahoo Groups Archived Photos