51 Hornet Project. With pictures.
Comments
-
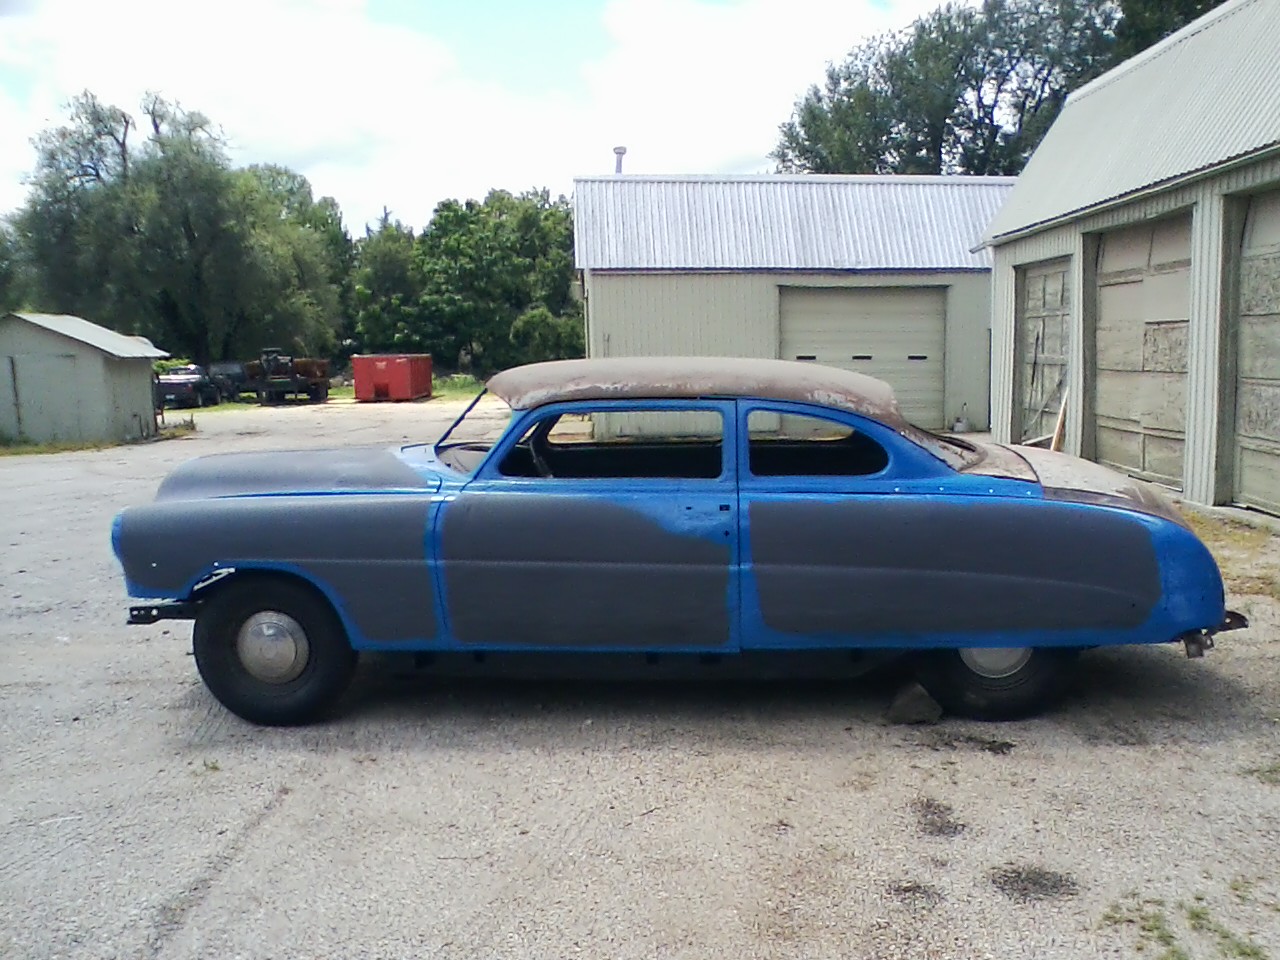
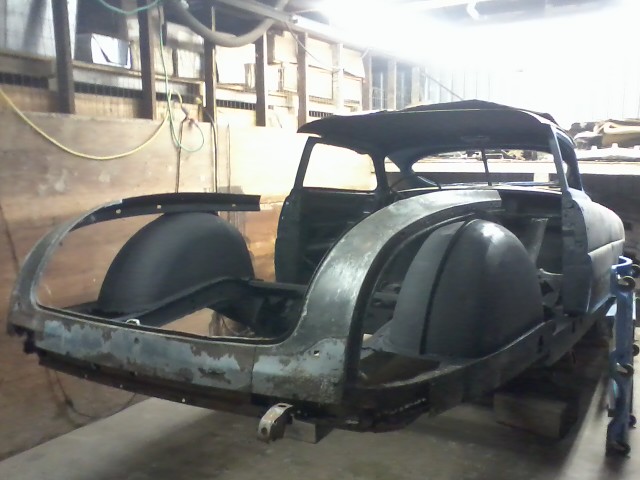
Working on painting jams and installing body panels, looks like trunk will be next.
 0
0 -
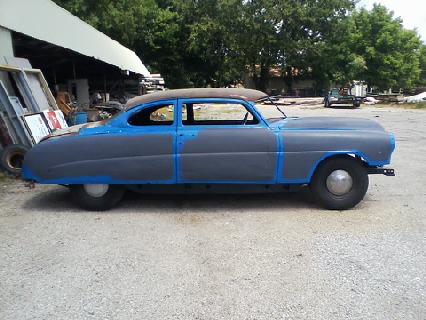
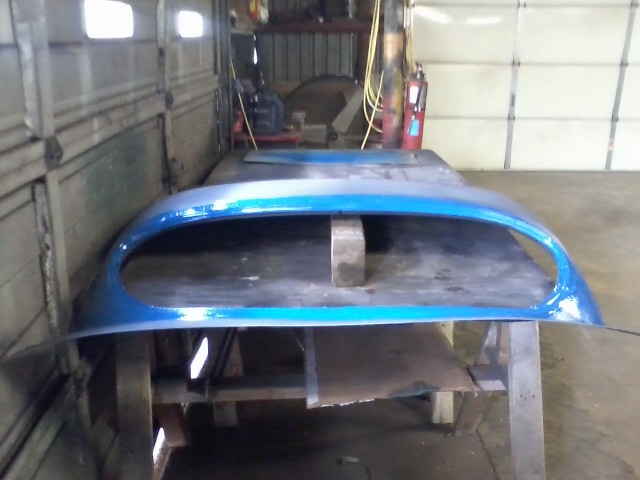
Installed a few more parts today, hope to have this car primed, and jams painted soon.
 0
0 -
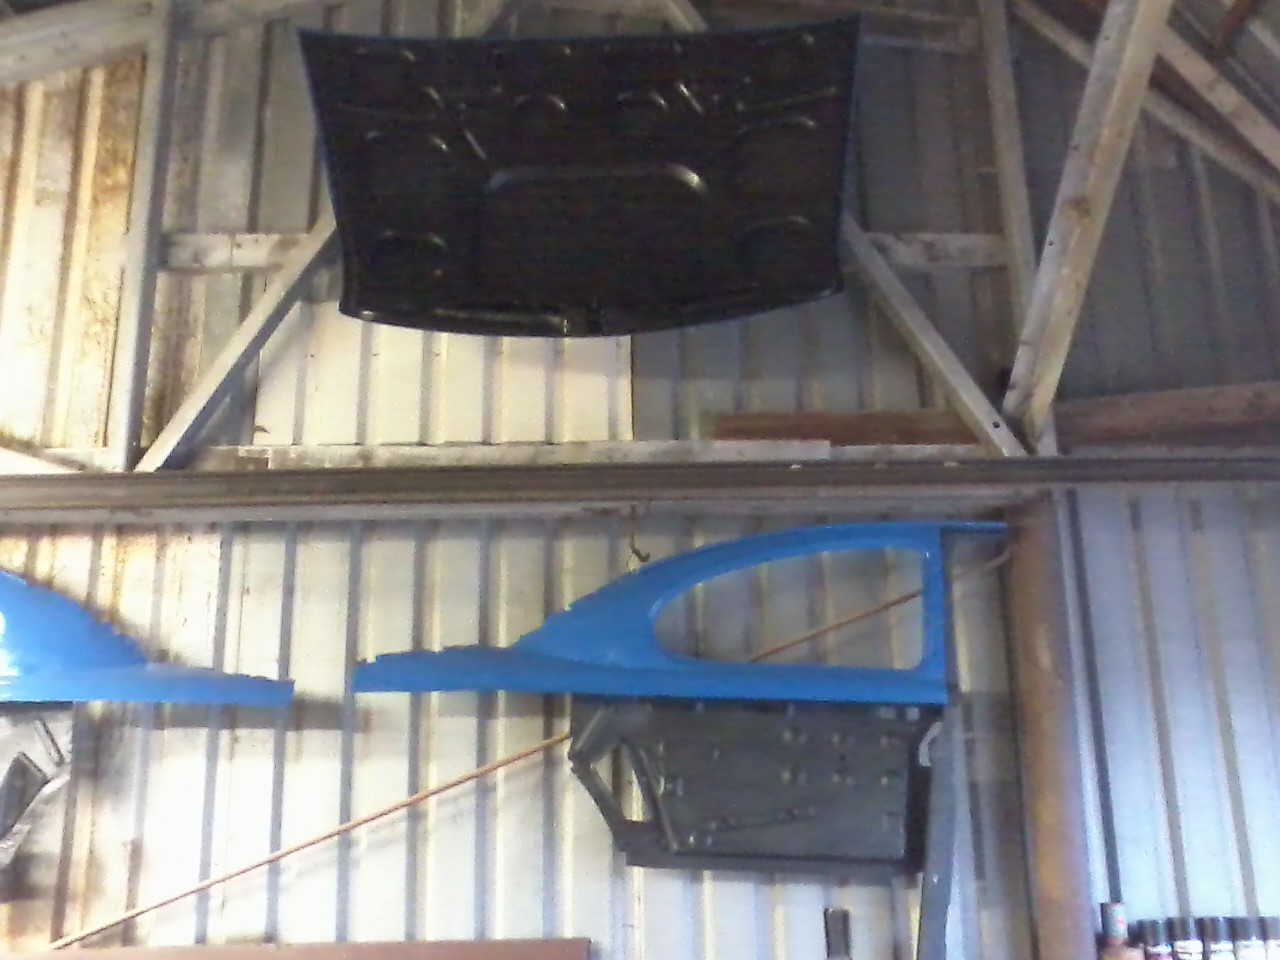
Got the trunk lid done, will be working on the last unpainted part next. we have had 100 degree heat index here for the last month, so I have been dragging my feet on welding the rear frame. I will be undercoating the frame so I guess cut, grind and weld, will be after that.
 0
0 -
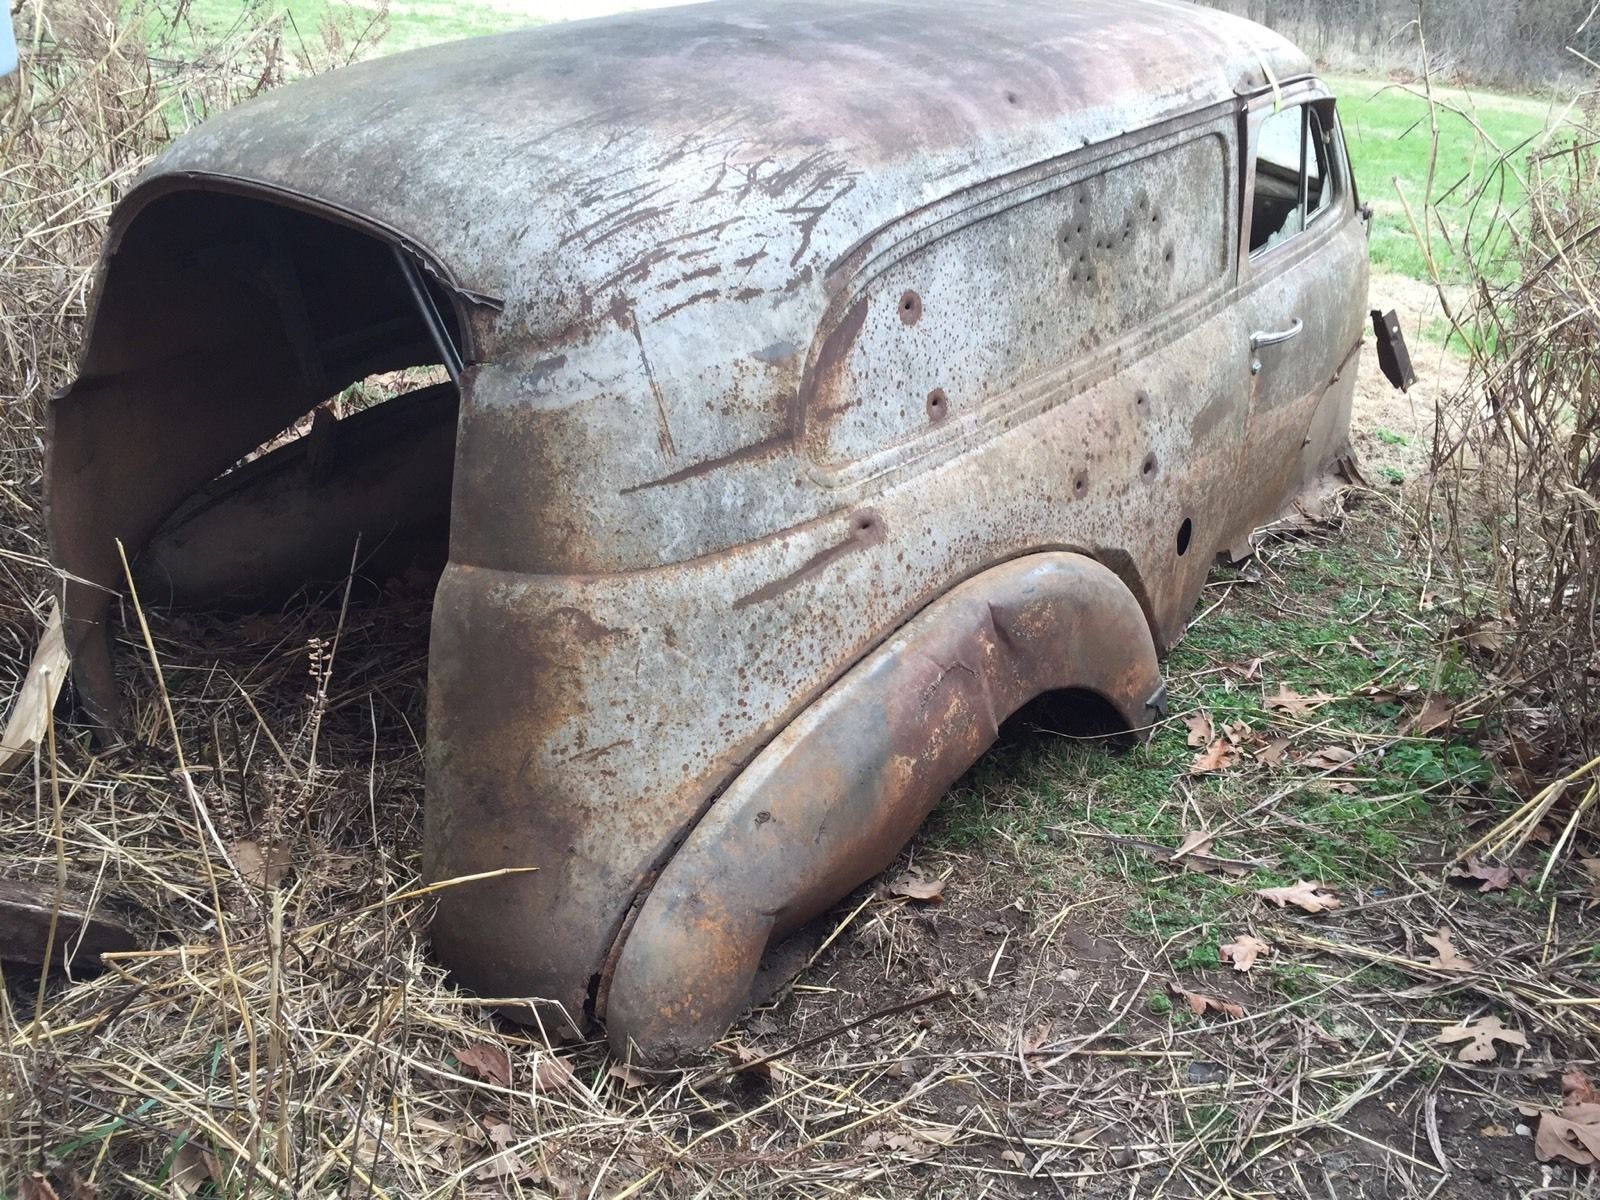
I am still working on the roof skin and rust treating the rear frame rails, however I am struggling with the thought of a couple other projects. How about a stepdown delivery? or a Pacemaker roadster?

 0
0 -
Tinman did you purchase the convertible? If so are you a Texas resident?0
-
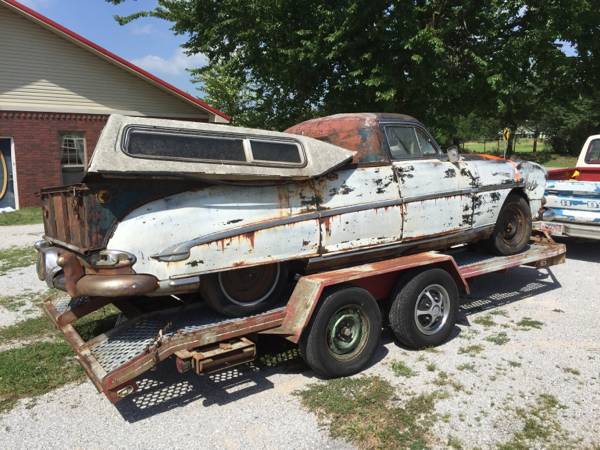
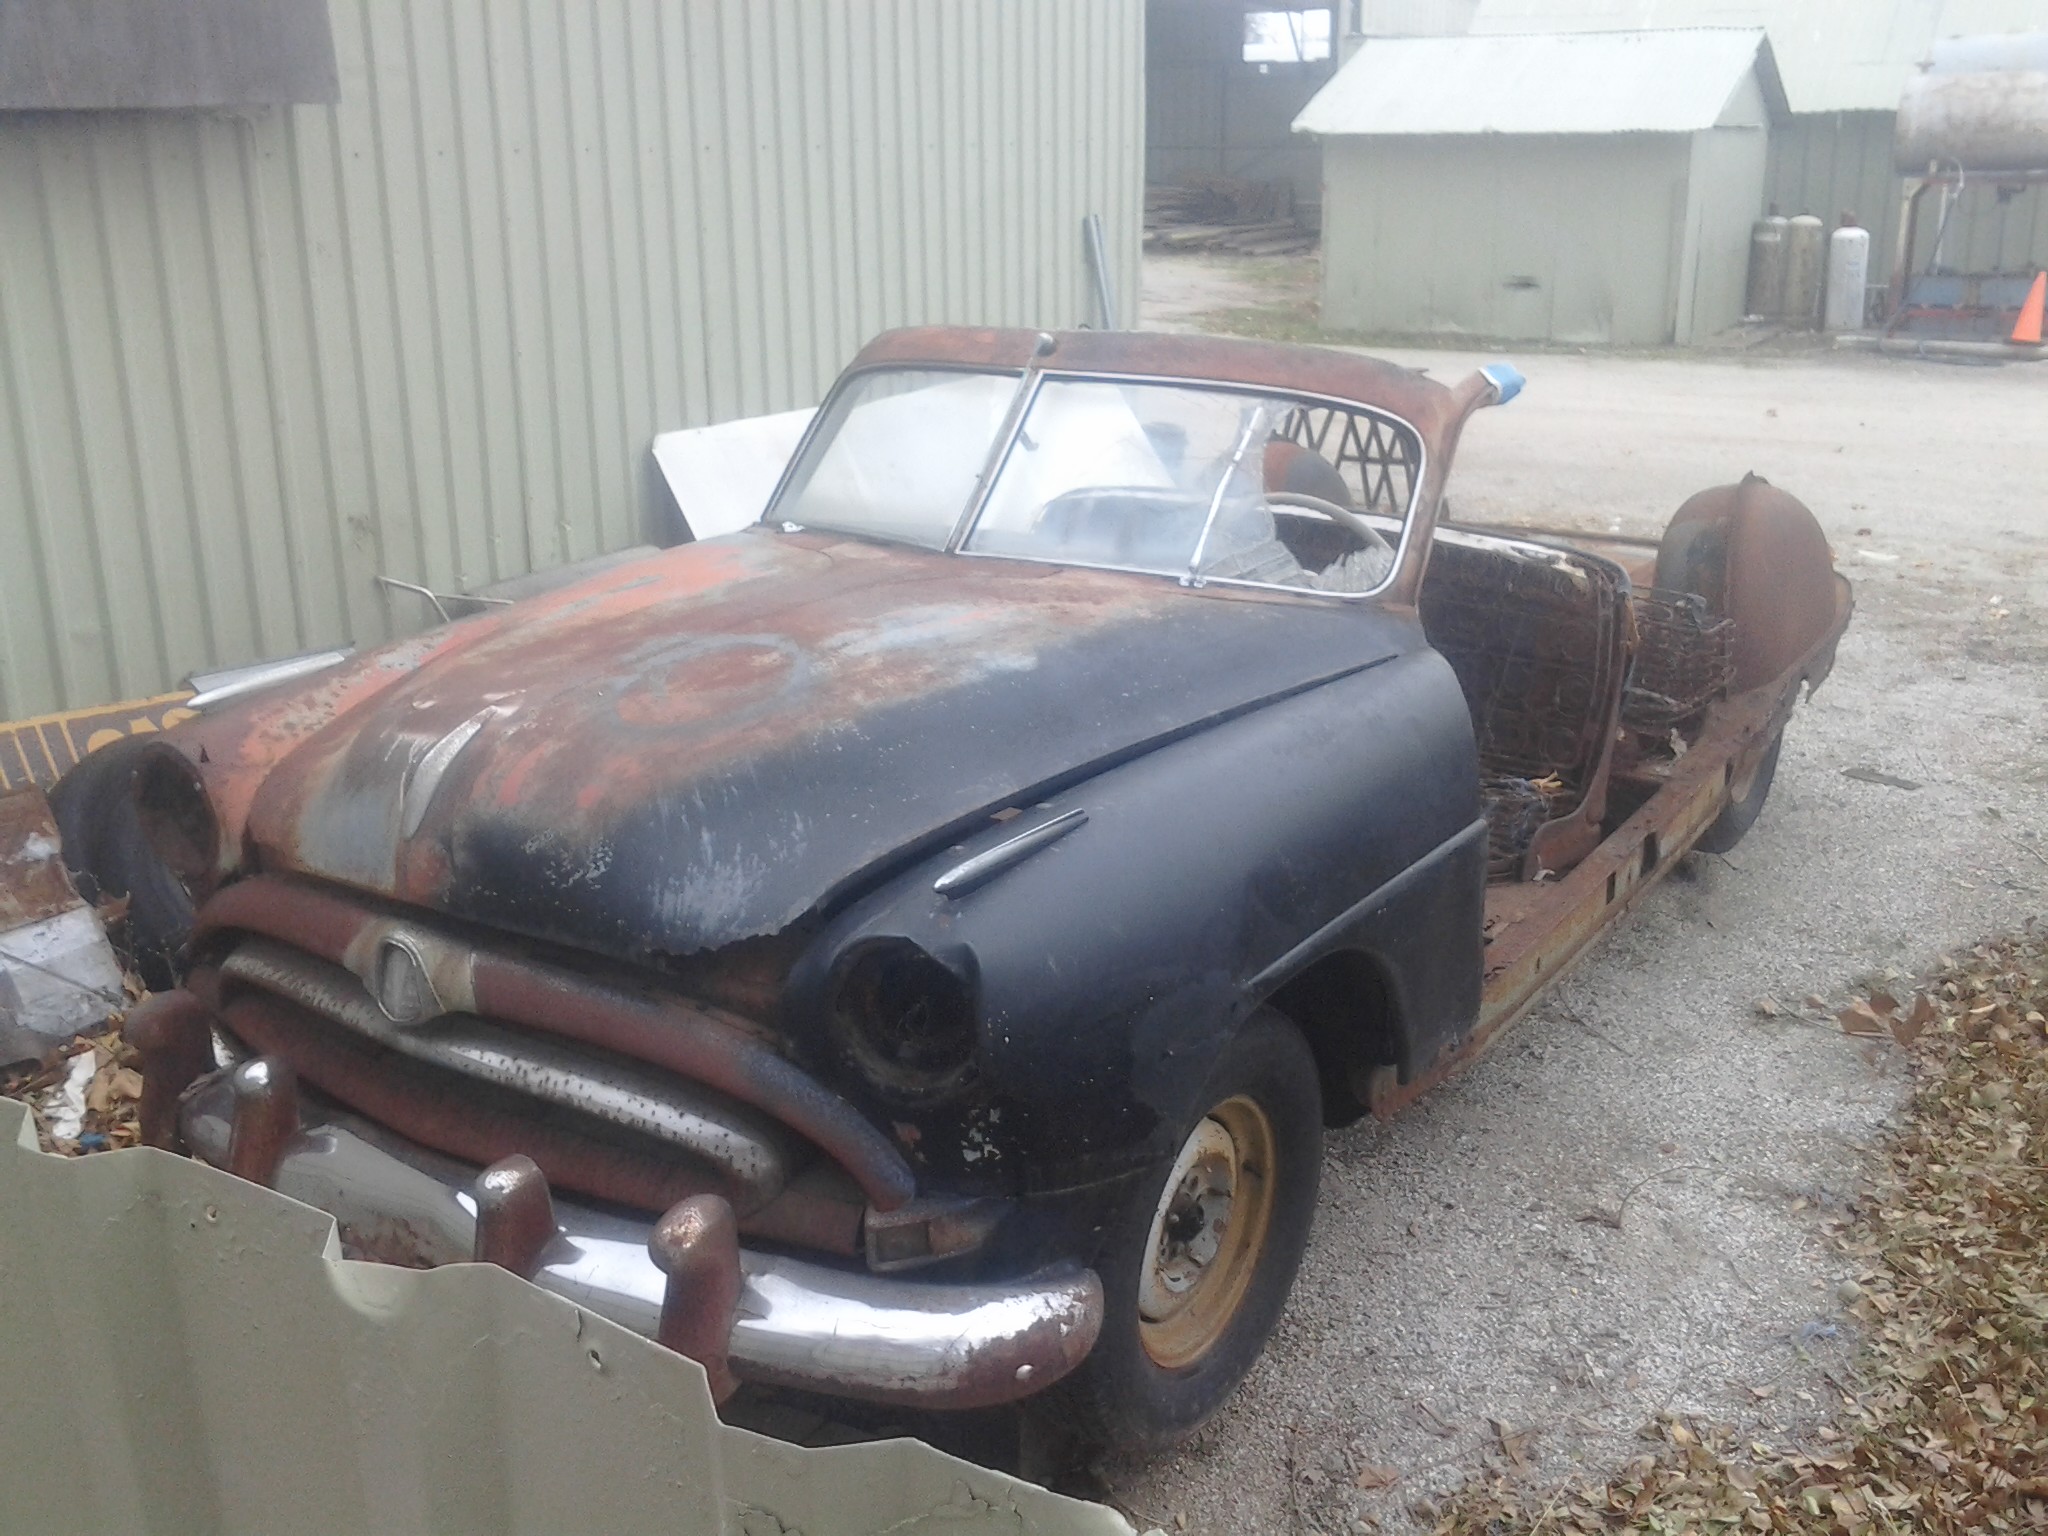
Stepdown Delivery would be a cool project. Where'd the convertible come from?0
-
Oldfarmer, I just noticed the auction ended on the convertible, I don't know if it sold or not I didn't buy it.. I live in Joplin MO. If I was closer to Texas I would have bought it, my parts car could have donated the necessary parts for that project. I should have clarified in my last post that I was struggling with wanting to buy these projects but I need the funds for the 51 Hornet project. The stepdown truck is for sale in Arkansas for $1000.00 OBO just like the convertible was. these are some fair enough prices for what they are. I want to stay focused on the 51 Hornet until I get it done.0
-
RL Chilton, That is another picture of the convertible on ebay, that I posted under my, Whats in the trunk of your car thread a couple weeks ago. It looks like it may have sold, the owner did not relist the item as of yet. It was located in Texarkana Arkansas.0
-
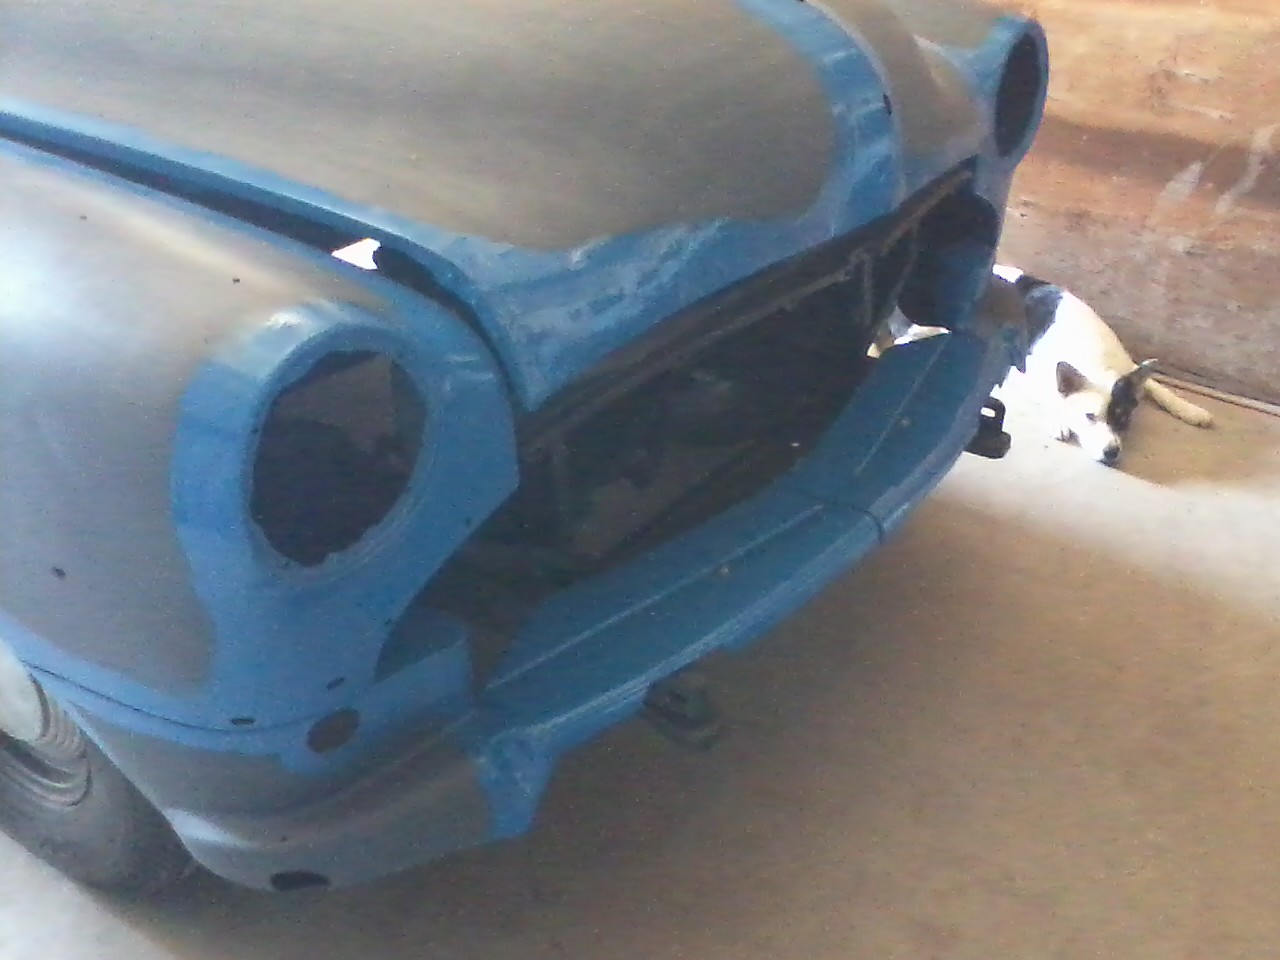
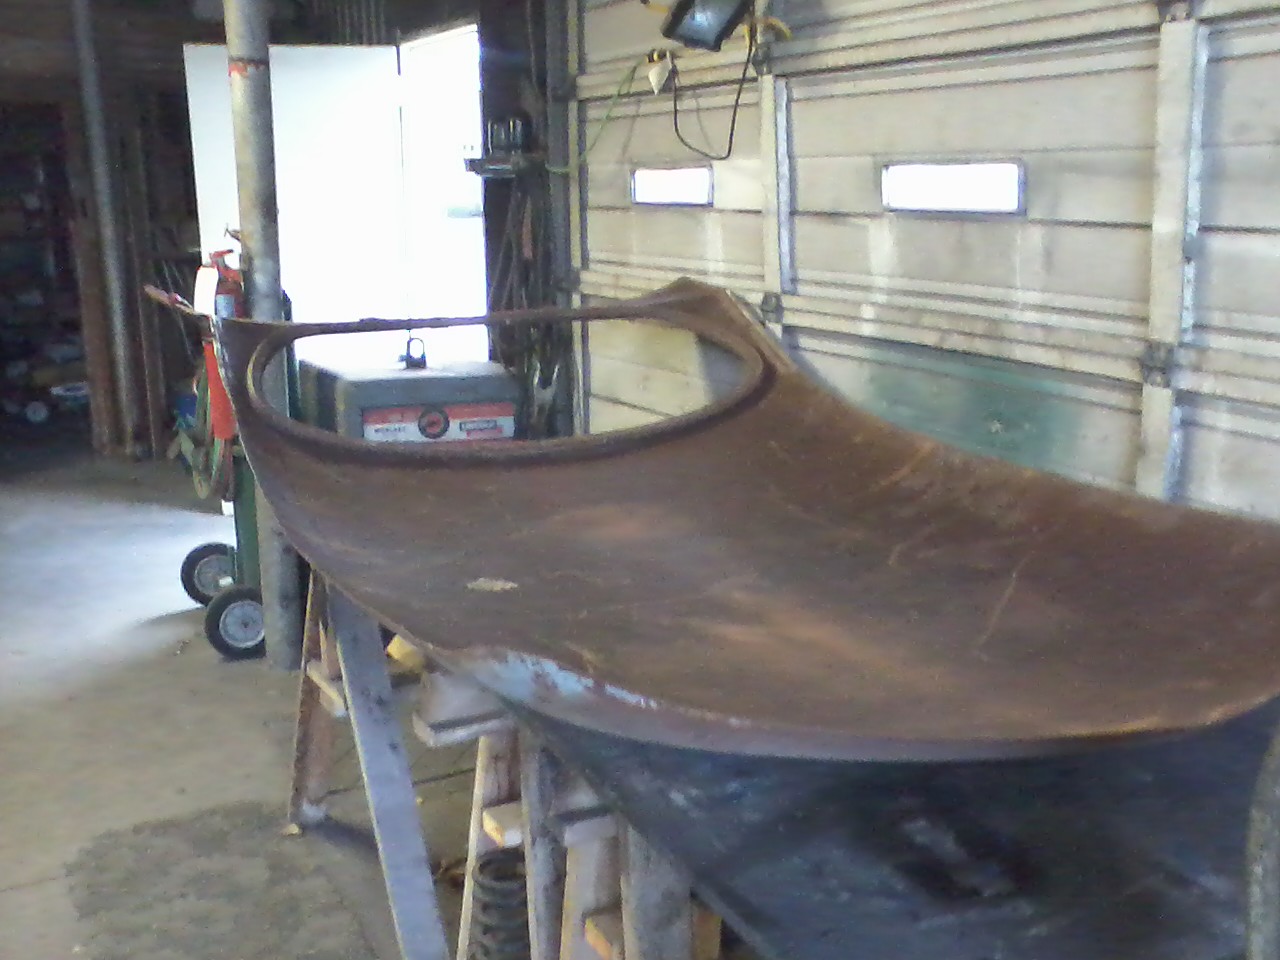
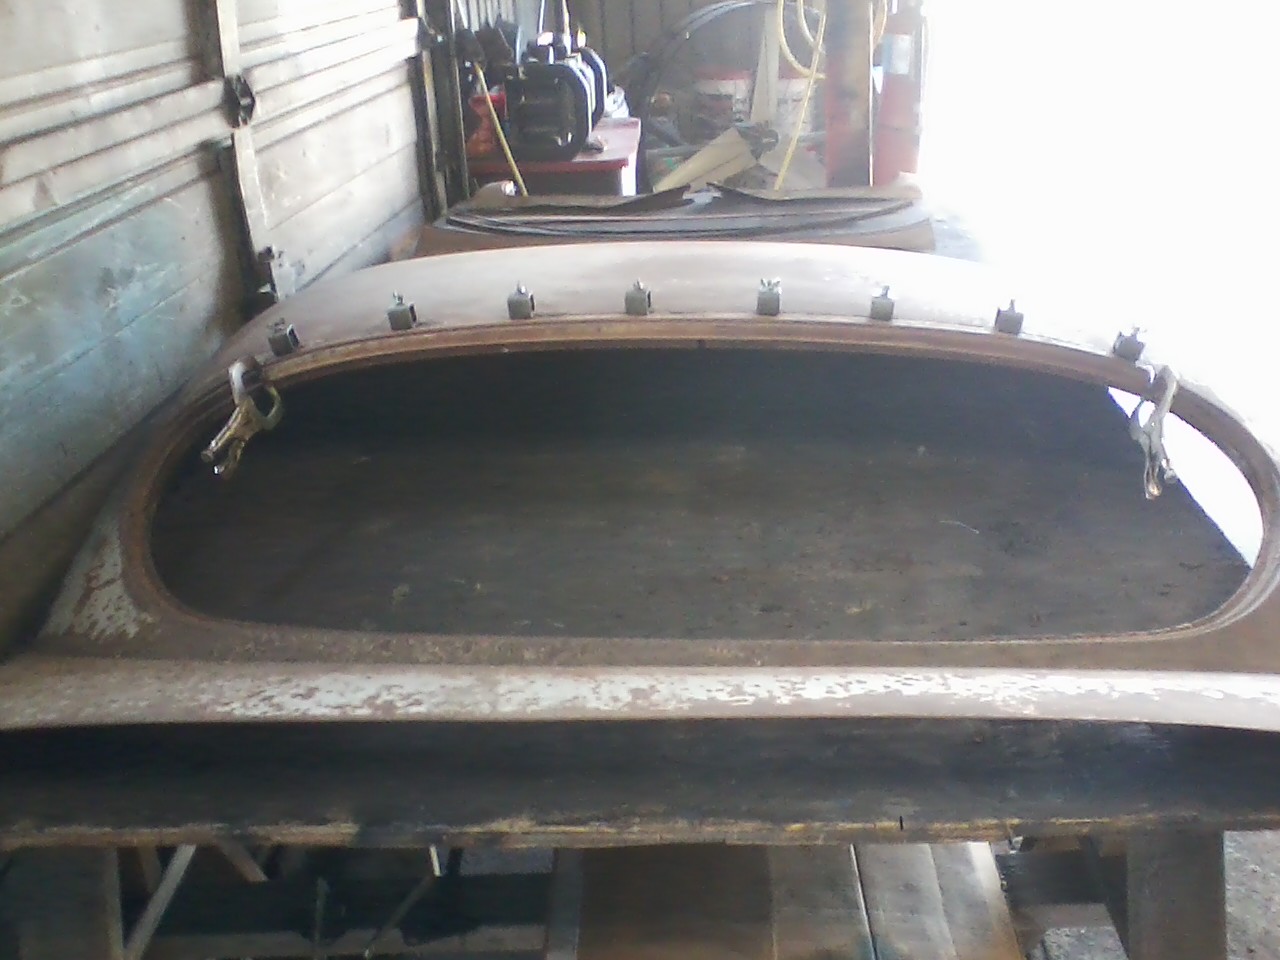
Running a little behind on my repairs of the roof skin, still working on it everyday, got a project at home taking part of my Hudson time. Here is a picture of the work in progress.
 0
0 -
Pictures really make this project look better that it actually is. I need to keep moving forward on it, I have a long ways to go. Maybe I can come back and rework some areas at a later date. I am tempted to put it all together to see it all primed and in one piece, however the temps have dropped some and I want to repair rear frame rust first.
 0
0 -
-
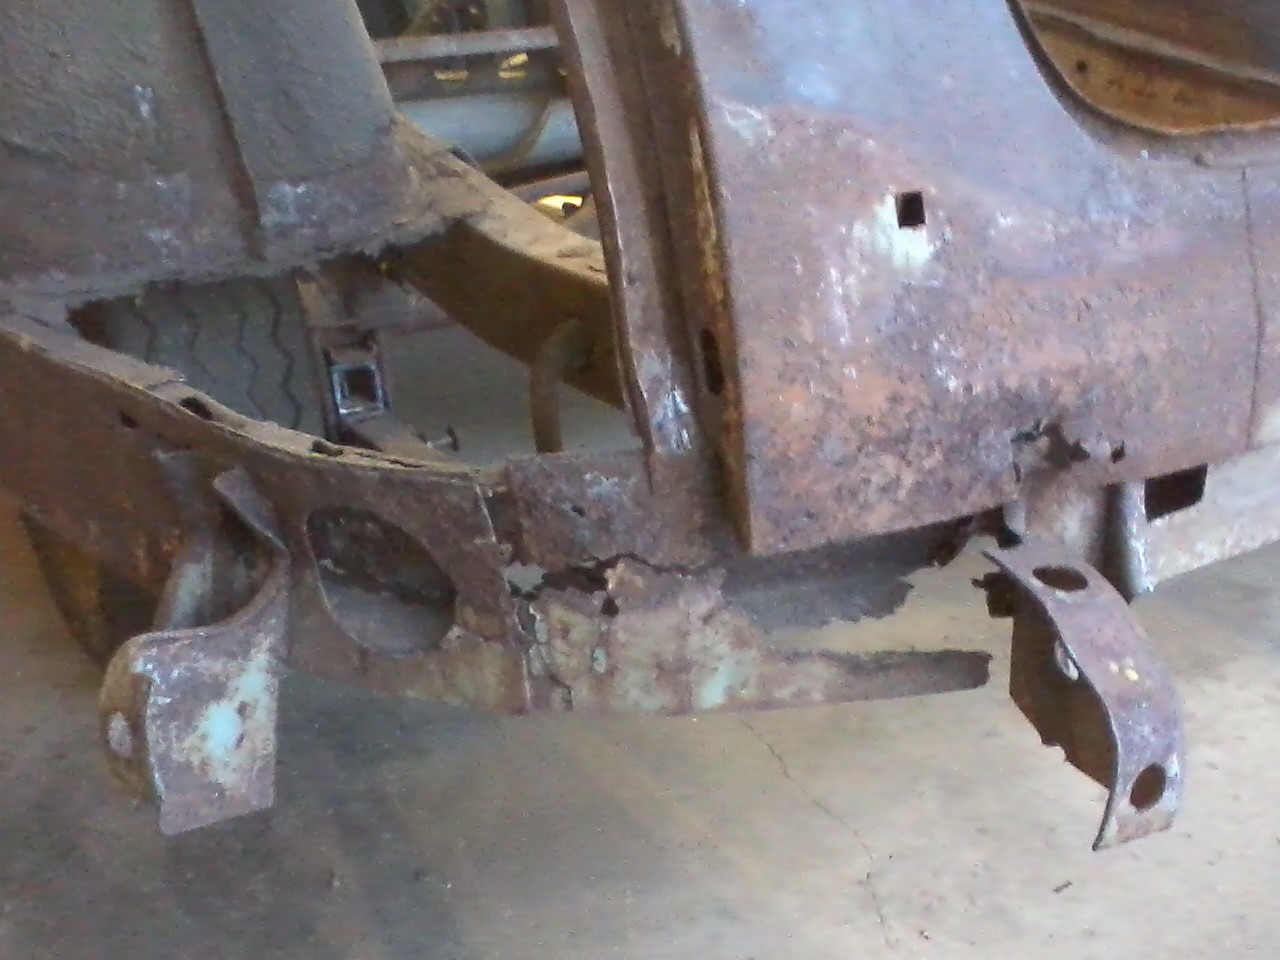
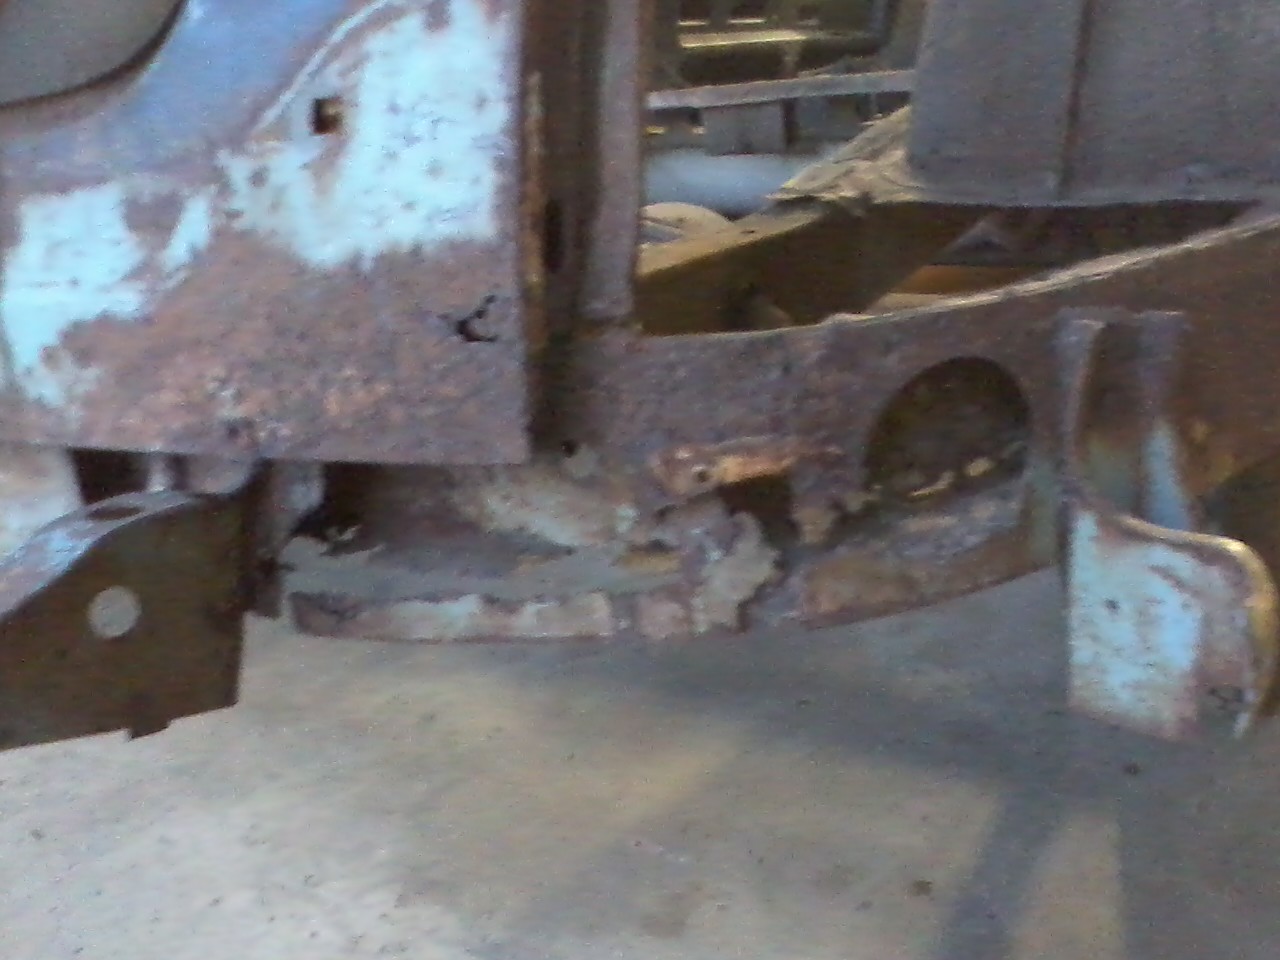
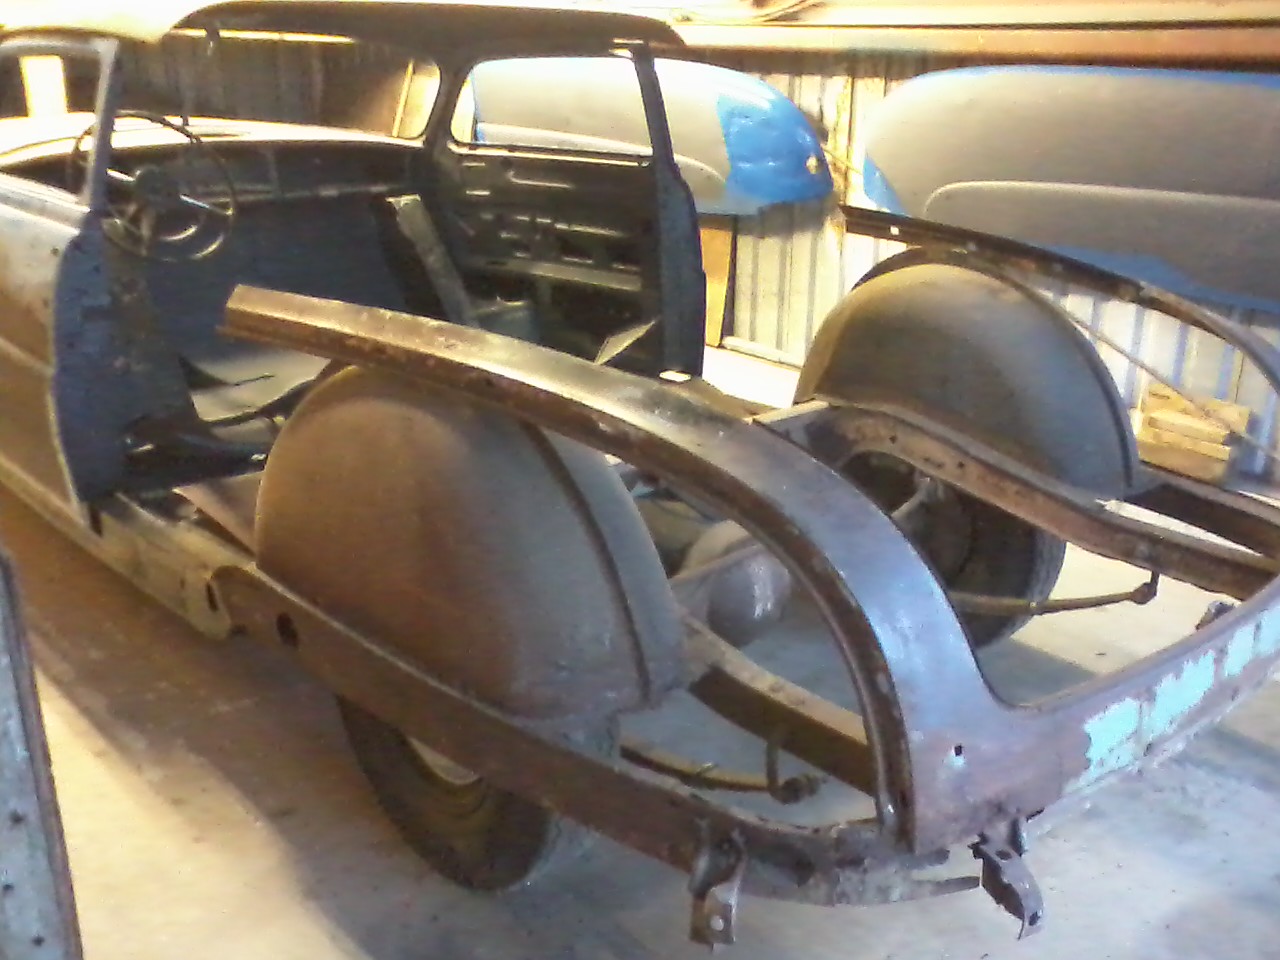
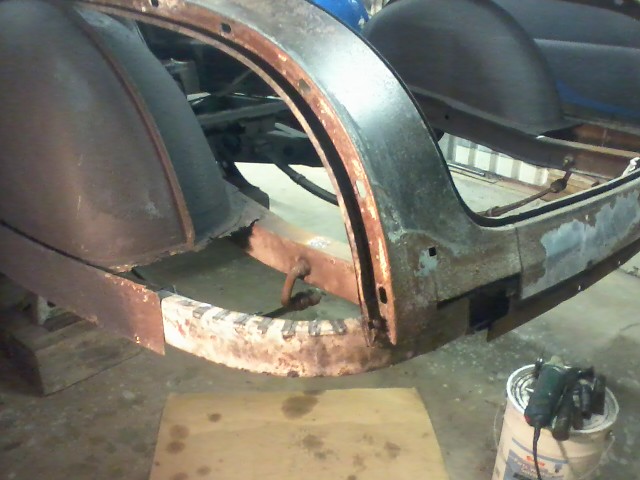
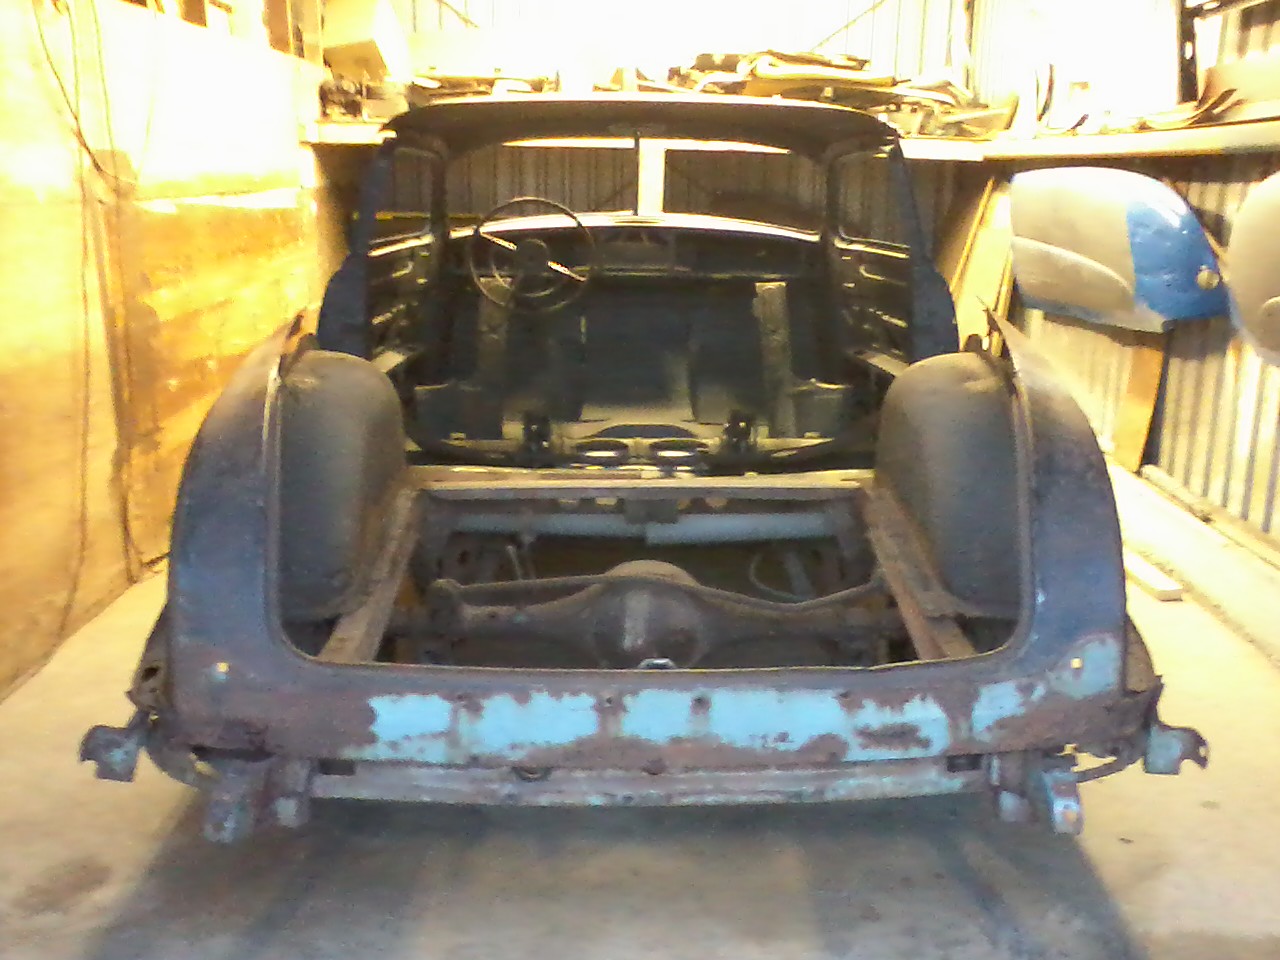
I have been scraping and rust treating the rear or the car.. I am ready to start the final rust repairs on the frame. This is what I'll be up against this fall, then do the final welding of the rear sheet metal.
 0
0 -
If you have not seen the section on frame repair that is part of my website, use this URL and visit http://hudsonrestoration1948-54.com/index.html There are very good suggestions and how to do pictures and text. Chaz F who posts here about Lola made the same frame repair pieces as shown in one of the articles0
-
Ken, thanks for info, I was going to do it the hard way until I saw those pictures. That will save me a lot of effort.
 0
0 -
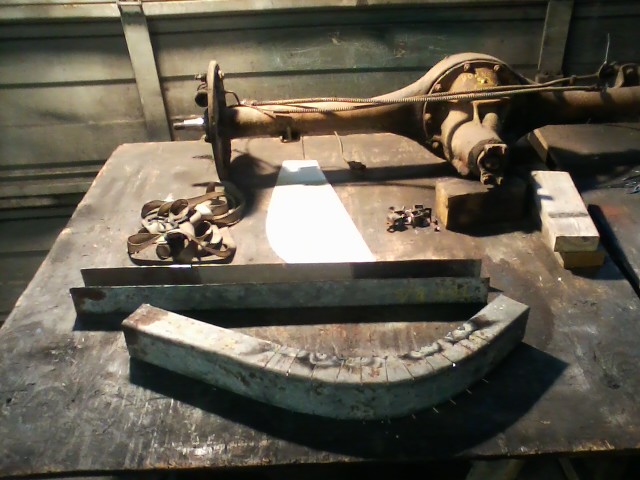
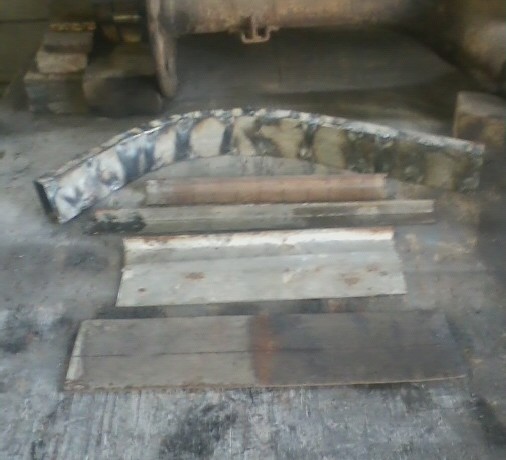
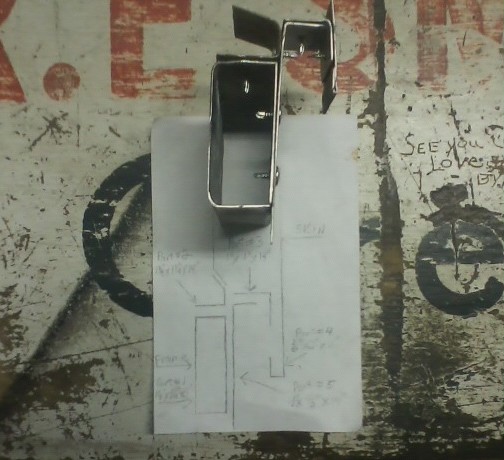
Finally making a little rust repair progress again, I have been doing rust treatment, paint and undercoating on the rear frame section. Here is some frame rails I am making for the perimeter frame.
 0
0 -
A little more everyday, everyday a little more improvement, I hope!
 0
0 -
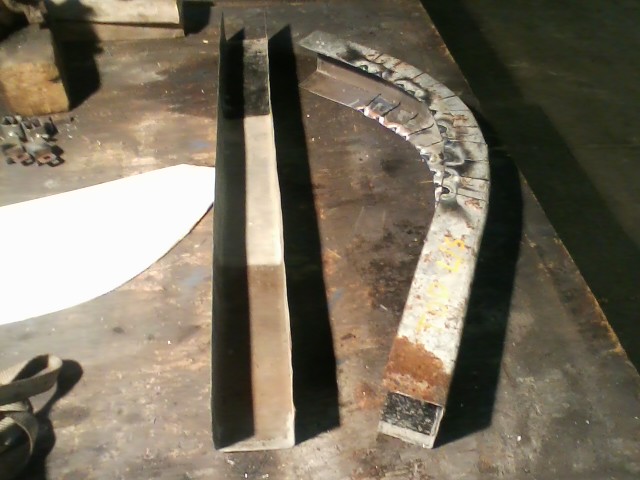
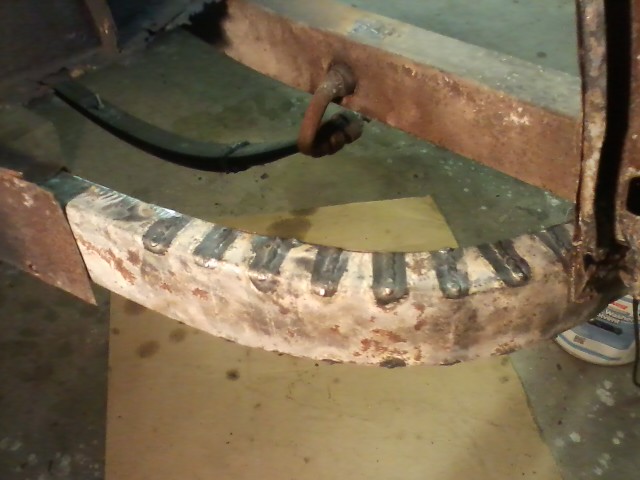
These parts are not like factory design, but it was a lot easier to fabricate this way with my limited equipment.
 0
0 -
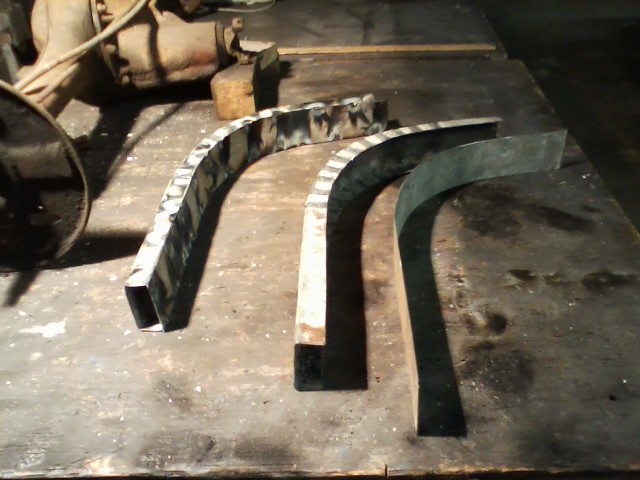
Made some more parts for the rear frame repair. One of the more difficult areas for me to fix.
 0
0 -
Super job... Your ingenuity is really outstanding!
0 -
Nice work! Good luck0
-
Still working on project, not getting alot of traction in the weather. Got a little progress done anyway. Thanks for all the encouraging comments.

 0
0 -
Looking better and better! Part of the fun is figuring out how to it.0
-
I think your doing a great job. Big project small steps.0
-
It is a big project with lots of small rewarding moments, one of the fun things for me is to imagine the workers doing the assembly work on this car when it was being built. Something that surprised me was to figure out that by starting at the front of the car and working my way back, I would have to turn around and assemble the exterior trim and drivetrain back to the front. Starting with the rear bumper, then rear differential, trans, engine, front fenders, grill and front bumper last. It has many more fun challenges for me to figure out, meeting all the goals I hoped for from this project.
 0
0 -
Where is the gas filler going to be?0
-
Sorry for the slow reply, moved into the cabin out back in the woods, we have no satellite reception out there yet. I will have a fuel cell mounted in the trunk.0
-
If you do.. Please put a metal panel between the trunk and rear seat back. In the event of someone hitting your car in the rear, you don't want raw fuel splashing into the passenger area. Fuel cells can be crushed too.
Great work. thanks for posting.
0 -
right on man.
im pretty much at the point to get cutting and welding so always interested in others work.
I think i will be moving the gas tank as well or at least modifying it so i get better clearances for the duel exhaust etc. thinking of having the filler near center rear or something. haven't really thought to much on this yet.
Want to keep it out of the trunk as it will be a driver and we do alot of long trips with luggage or heck even space for the groceries.
You keeping the bumper three piece or welding it up to a one piece? Im looking at going one piece and either removing the guards completely or moving them more to the center around the number plate that I will put on the bumper.
Nice work bro
Alex0 -
That panel is a good idea I had not though of, thanks for recommendation, it should be easy to install one.SuperDave said:If you do.. Please put a metal panel between the trunk and rear seat back. In the event of someone hitting your car in the rear, you don't want raw fuel splashing into the passenger area. Fuel cells can be crushed too.
Great work. thanks for posting.
0 -
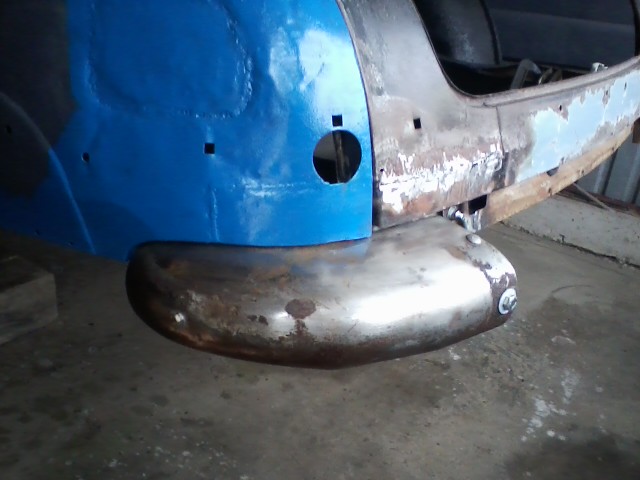
I have been watching the build on your custom, thanks for posting, I am using a Pacemaker bumper to align the bumper brackets for welding, and I have been thinking about making it a one piece and removing the guards also. I do have the 51 Hornet bumper which has a recess for number plate mounting with small guards. I am getting close to putting the rest of the bumper on so I'll get to try some different ideas on the car soon.KustomKreeps said:right on man.
im pretty much at the point to get cutting and welding so always interested in others work.
I think i will be moving the gas tank as well or at least modifying it so i get better clearances for the duel exhaust etc. thinking of having the filler near center rear or something. haven't really thought to much on this yet.
Want to keep it out of the trunk as it will be a driver and we do alot of long trips with luggage or heck even space for the groceries.
You keeping the bumper three piece or welding it up to a one piece? Im looking at going one piece and either removing the guards completely or moving them more to the center around the number plate that I will put on the bumper.
Nice work bro
Alex
0


This discussion has been closed.
Categories
- 36.6K All Categories
- 85 Hudson 1916 - 1929
- 11 Upcoming Events
- 73 Essex Super 6
- 28.3K HUDSON
- 511 "How To" - Skills, mechanical and other wise
- 989 Street Rods
- 150 American Motors
- 170 The Flathead Forum
- 47 Manuals, etc,.
- 71 Hudson 8
- 40 FORUM - Instructions and Tips on using the forum
- 2.7K CLASSIFIEDS
- 592 Vehicles
- 2.1K Parts & Pieces
- 76 Literature & Memorabilia
- Hudson 1916 - 1929 Yahoo Groups Archived Photos